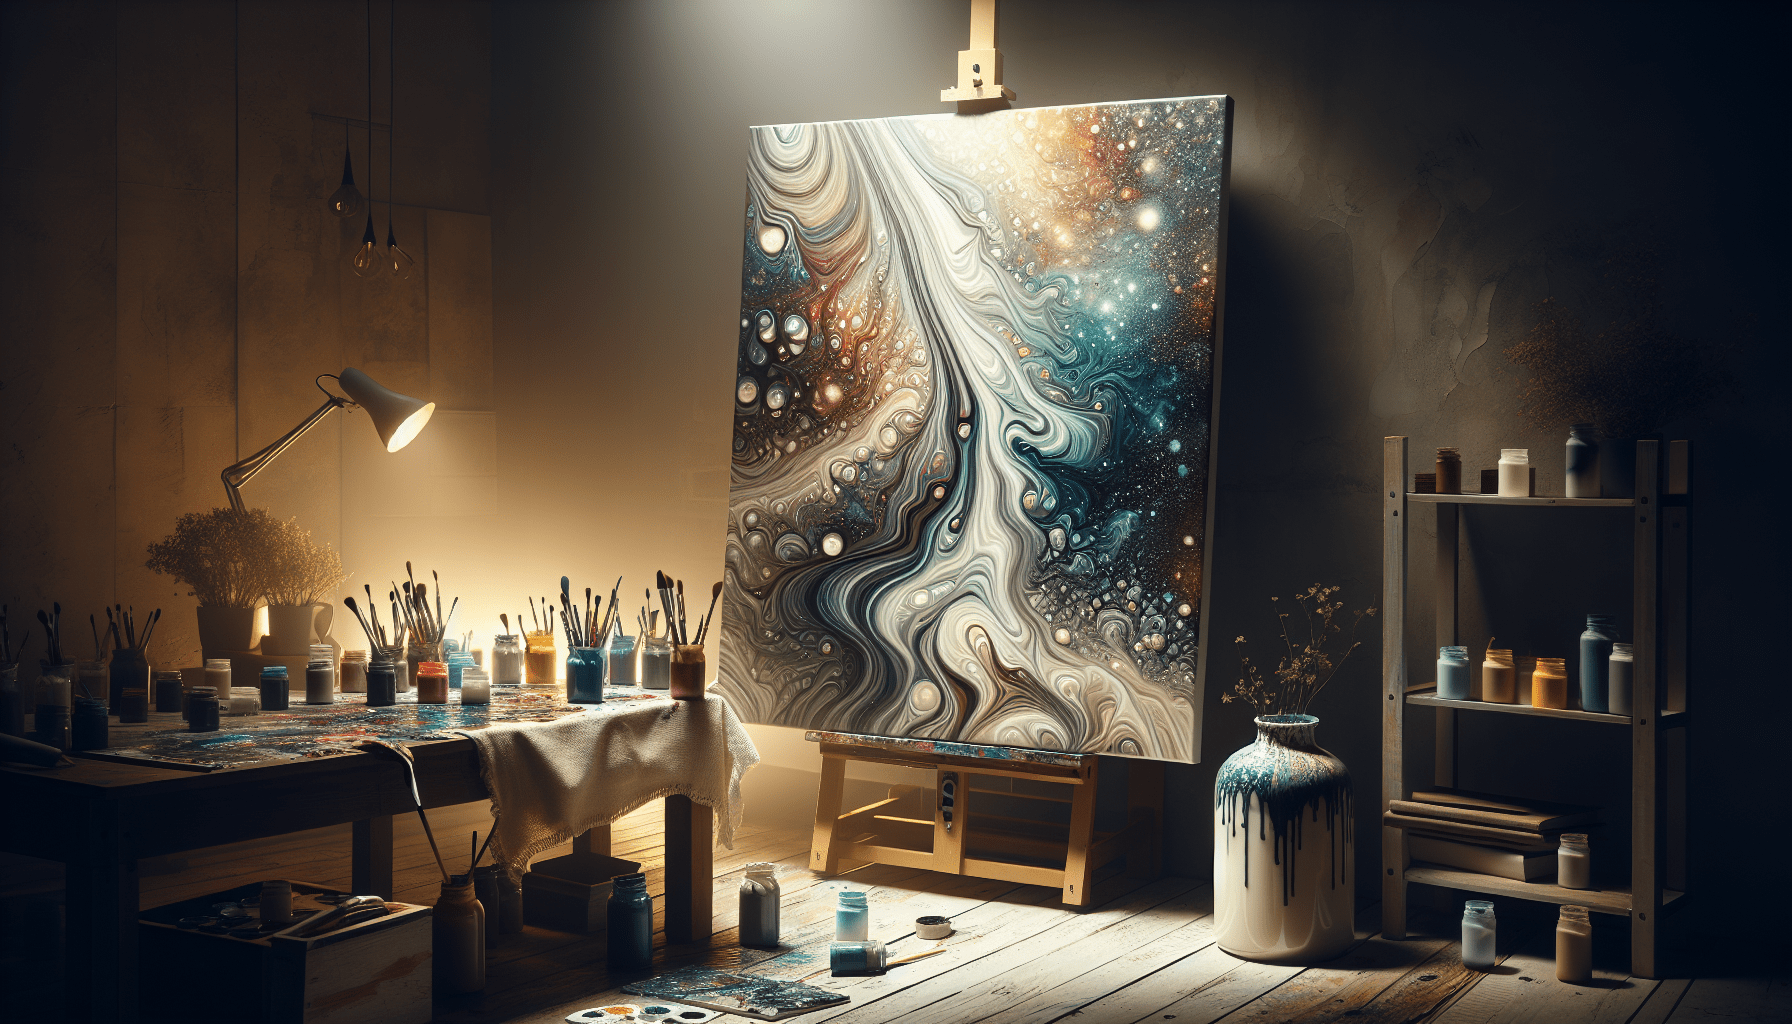
Have you ever wondered how to achieve those mesmerizing effects in pour paintings that seem to dance and flow effortlessly across the canvas? Pour painting, an innovative art technique, allows even beginners to create stunning pieces of abstract art. One of the key components that can elevate your pour painting to the next level is Floetrol—a medium that helps create the perfect consistency and flow in your paint mixtures.
Floetrol is a paint conditioner that artists commonly use in pour painting to enhance the paint’s workability and reduce brush marks. In this article, we will walk you through the comprehensive process of using Floetrol in pour painting, from the initial setup to achieving the perfect finish. Whether you are a novice or a seasoned artist, understanding how to utilize Floetrol effectively will enable you to produce visually captivating works of art.
Understanding Floetrol and its Role in Pour Painting
Floetrol is a water-based paint additive that is originally intended to improve the flow and workability of paints, especially water-based paints. In the context of pour painting, Floetrol plays a crucial role in maintaining paint consistency and ensuring a smooth application without air bubbles or lumps.
What is Floetrol?
Floetrol is essentially a paint conditioner designed to enhance the performance of water-based paints. It is manufactured by Flood and has been broadly adopted by the art community for its ability to improve paint flow while maintaining the integrity and coloring of the paint. Unlike other additives, Floetrol does not alter the original color of the paint but instead maintains it while enhancing its fluidity.
Benefits of Using Floetrol
Floetrol provides several benefits, particularly in the realm of pour painting. Here are some key advantages:
- Improved Flow: One of its primary purposes, Floetrol helps improve paint flow, allowing for smoother, more even applications.
- Reduced Brush Marks: While not a direct concern in pour painting, this feature highlights Floetrol’s general efficacy in maintaining an even paint layer.
- Creates Cells: Floetrol can help in creating cells in pour painting, which are random patterns and bubbles that make the artwork visually interesting.
- Extended Drying Time: Floetrol extends the drying time of paint, giving you more time to work with it on the canvas, preferable for paintings requiring more intricate layering or adjustments.
Floetrol vs. Other Mediums
While there are many mediums available for pour painting, such as silicone, PVA glue, or gloss medium, Floetrol uniquely balances cost-effectiveness with desirable results. While silicone is great for producing cells, it can leave an oily residue if not used correctly. PVA glue can be inexpensive but might not create the same level of smoothness and flow as Floetrol. Comparing these mediums, Floetrol stands out for its ease of use and relatively subtle impact on paint consistency and aesthetics.
Preparing for Pour Painting with Floetrol
Preparation is key to a successful pour painting experience. From gathering the needed supplies to mixing the paints correctly, every step can impact the final outcome of your art piece.
Materials and Supplies
Before you start, ensure that you have all necessary materials at hand. Here’s a checklist of the essential supplies you will need for a pour painting project using Floetrol:
| Material | Description |
|---|---|
| Canvas or Wood Panel | Choose your preferred painting surface. |
| Acrylic Paints | Various colors of quality acrylic paint. |
| Floetrol | The main medium to improve flow. |
| Silicone Oil (optional) | To create cells if desired. |
| Plastic Cups | For mixing paint. |
| Stir Sticks | To help with mixing. |
| Table Cover | Protect your working space. |
| Palette Knife or Spoon | For spreading paint and creating effects. |
| Gloves and Apron | To keep your hands and clothes clean. |
| Level or Spirit Level | Ensure your canvas is level to avoid uneven drying. |
Setting Up Your Work Space
A well-organized workspace can make the process more enjoyable and efficient. Cover your workspace with a plastic or disposable cover to catch any paint drips. Ensure the area is well-ventilated, and have enough room to lay out your materials. If you are using a canvas, use support like jars or cups to elevate it, ensuring it is level.
Safety Precautions
While Floetrol is largely non-toxic, it’s always wise to wear gloves and work in a well-ventilated area to avoid inhaling any fumes. Also, using an apron or old clothing can help protect against spills and splashes.

Mixing Paint with Floetrol
The proper mixing of paint and Floetrol is critical for achieving the best pour painting results. The mix ratio, consistency, and additional additives will influence the final outcome of your artwork.
Ratio and Consistency
The recommended starting ratio for mixing Floetrol with acrylic paint is usually 1:1. However, this can vary based on the thickness of the paint and the specific effects you want to achieve.
- Beginner’s Ratio: Start with a ratio of 1 part Floetrol to 1 part paint. Gradually adjust based on your preference for consistency.
- Desired Consistency: The mixture should have a consistency similar to that of warm honey or melted chocolate.
Adjusting the Consistency
If the mix is too thin, the colors may bleed too much, losing the vividness of your design. Conversely, if too thick, the paint might not spread or create the desired cell effects. You can gradually add small amounts of water to thin the mixture or more Floetrol if it’s too thick, adjusting until you achieve the ideal consistency.
Achieving the Right Flow
A well-mixed solution will pour smoothly and evenly on the canvas, moving without resistance but also not being too watery. Testing the mix by pouring a small amount onto a test surface can help ascertain if you’ve reached the optimal flow.
Incorporating Additives
If you wish to enhance your painting with cells, consider adding a few drops of silicone oil to your mix. Add it to specific colors and stir gently to avoid excessive blending. It creates bubbles as it separates from the water, forming the coveted cell effect in the painting.
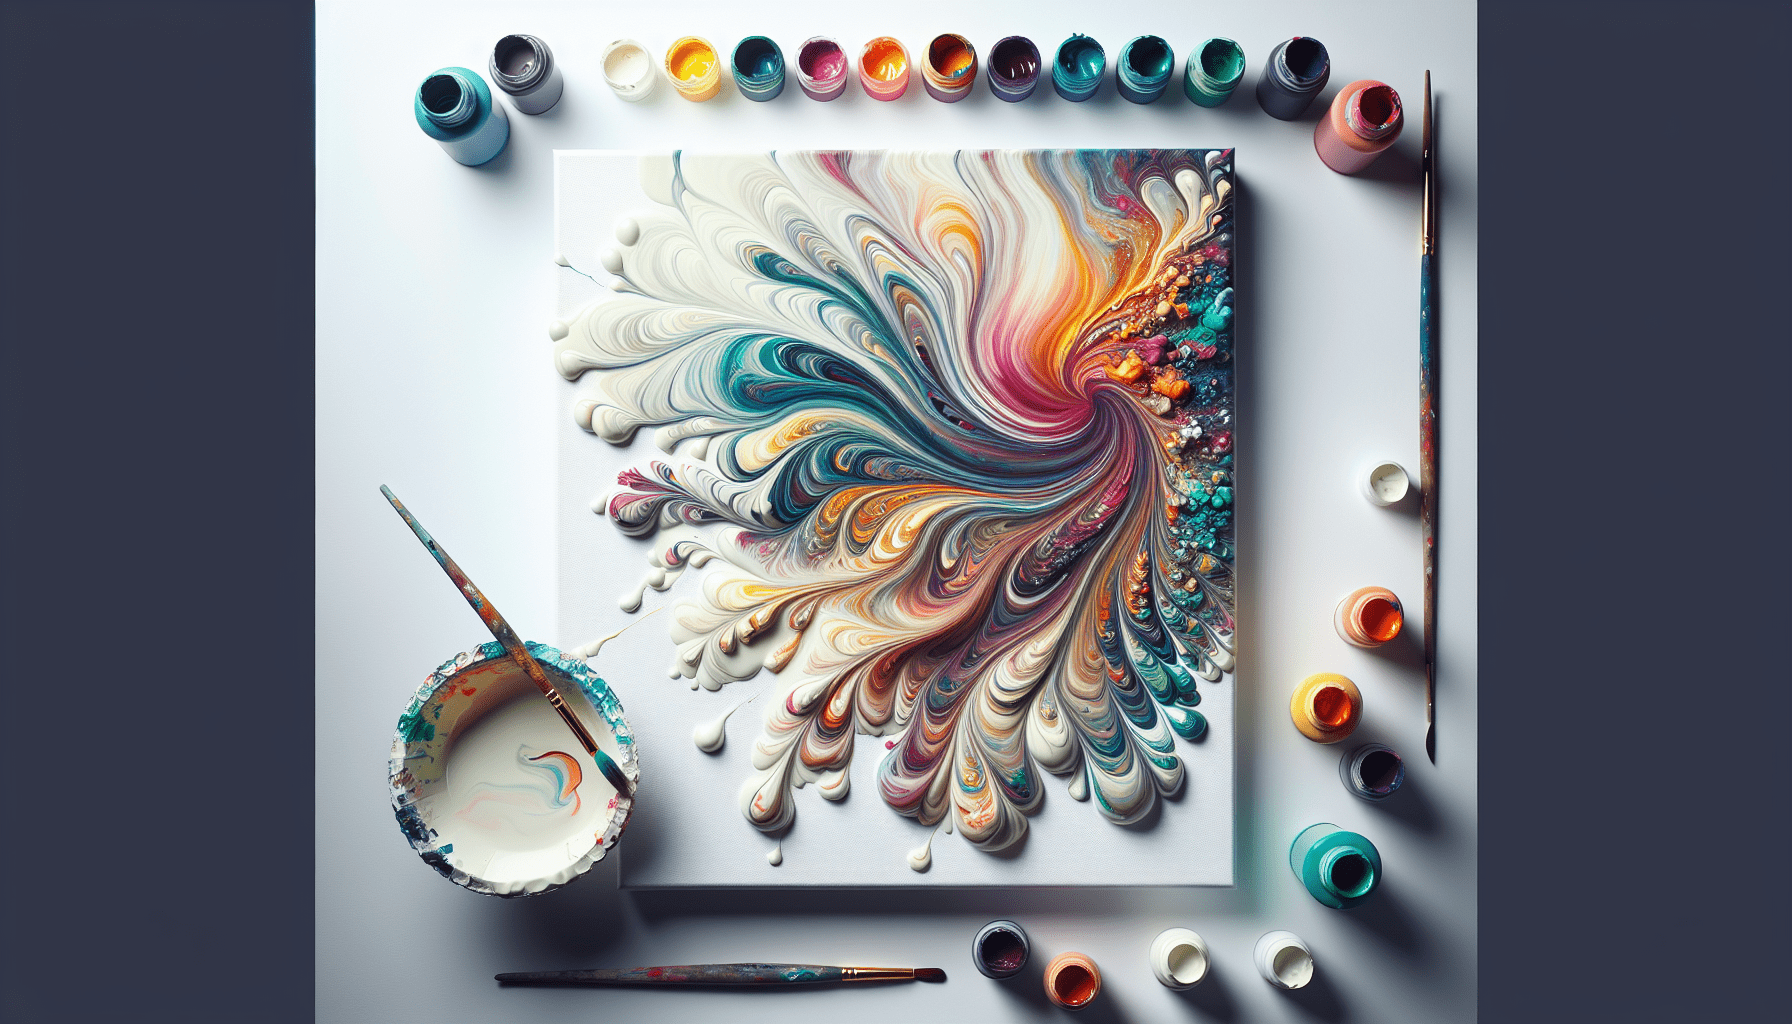
Techniques in Pour Painting
There are several techniques in pour painting that can be utilized to create different effects. Each method will produce a unique composition, allowing for endless creativity.
Dirty Pour Method
The dirty pour method involves mixing all the prepared colors in a single cup before pouring it onto the canvas. This technique allows for an organic blend of colors as they cascade over one another, producing a marble-like effect.
- Preparation: Layer your mixed colors in a cup, pouring them on top of one another gently to avoid immediate blending.
- Pouring: Quickly flip the cup onto the canvas or pour it out in a circular motion. Tilt the canvas to distribute the paint evenly.
Flip Cup Technique
The flip cup is a dramatic technique that often results in beautiful color blending.
- Layer Colors: Pour the prepared paint mixtures into a cup, layering different colors.
- Flip: Invert the cup onto your canvas and allow it to sit for a moment before slowly lifting to release the paint.
Swiping Method
The swiping method uses a tool like a palette knife or even a piece of paper to drag paint across the canvas surface, helping create interesting streaks and cell formations.
- Initial Layering: Pour the paint onto the canvas in puddles or lines.
- Swipe: Using a swipe tool, lightly drag across the surface to blend and form cells.
Tree Ring Pour
The tree ring pour produces mesmerizing ring patterns resembling the rings of a tree.
- Layering Colors: Pour your mixed paints slowly into the center of your cup, letting them layer.
- Pouring: Gradually pour out the mixture onto the canvas in a circular motion, allowing the colors to form rings.

Finishing and Preserving Pour Paintings
Once you’ve completed your painting, proper care and finishing techniques will ensure its longevity and vibrancy.
Drying Your Painting
Allow your painting to dry flat to avoid movement of the paint. Depending on the amount of paint and room conditions, drying can take several hours to a couple of days.
Sealing Your Artwork
Sealing is essential to protect your painting from dust, dirt, and UV light, which might cause fading.
- Varnishing: Use a clear acrylic sealer or varnish as the final top coat. There are choices between gloss, satin, or matte finishes based on your preference.
- Application: Apply evenly with a brush, taking care to avoid air bubbles and streaks. Alternatively, spray varnishes can provide a more uniform layer.
Tips for Long-term Preservation
- Store your paintings in a dry, cool place to prevent warping.
- Avoid prolonged exposure to direct sunlight and high humidity environments.
Conclusion
Pour painting with Floetrol opens up a world of creative possibilities and stunning visual effects that both beginner and experienced artists can enjoy. By understanding how Floetrol works to improve paint flow, incorporating it into your pouring techniques, and following careful preparation and finishing practices, you can create impressive artwork with rich textures and vibrant colors. Your mastery of Floetrol in pour painting will undoubtedly become a valued tool in your artistic arsenal, allowing you to express your creativity in captivating and unpredictable ways.