Sprucing up your home décor can be a daunting task, especially when it comes to reviving old and dull light fixtures. But what if there was a way to breathe new life into them without the hassle of taking them down? In this article, you will discover a simple yet effective method to transform your light fixtures using spray paint. With step-by-step instructions and expert tips, you’ll be able to give your fixtures a fresh and modern look, all while saving time and effort. Say goodbye to outdated lighting and hello to a more vibrant and stylish home with this innovative approach.

This image is property of images.unsplash.com.
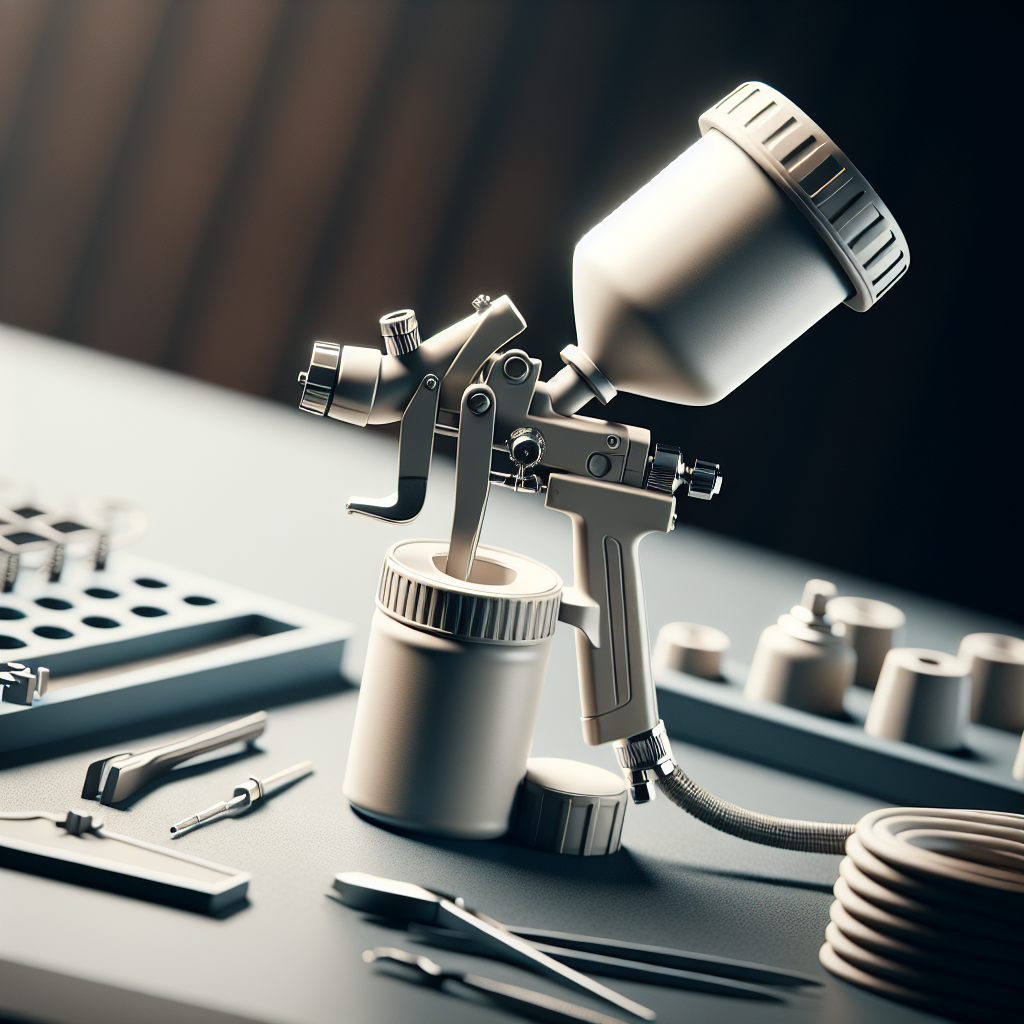
Preparation
Before you begin spray painting your light fixtures, it is important to gather all the necessary materials. You will need spray paint in your desired color, a suitable primer, masking tape, drop cloths or newspaper to protect the surrounding area, a screwdriver to remove the fixture cover, and cleaning supplies such as a microfiber cloth and mild detergent.
Choosing a suitable location for the spray painting process is crucial. It is best to work in a well-ventilated area, such as a garage or an outdoor space, to ensure proper airflow and prevent inhalation of fumes. Adequate ventilation will also help with the drying and curing process of the paint. Additionally, make sure to select a location that has enough space to comfortably move around with the fixture.
Ensuring proper ventilation is an integral part of the spray painting process. You should open windows or use fans to create a flow of fresh air in the area where you will be working. This will help to minimize the concentration of fumes and ensure that you can work comfortably. Proper ventilation is not only important for your health and safety, but also for achieving a smooth and even finish on your light fixture.
Cleaning the Fixture
Before you can proceed with spray painting, it is essential to clean the fixture thoroughly. Start by turning off the power to the light fixture to avoid any accidents. Use a screwdriver to remove the cover of the fixture carefully.
Once the cover is removed, use a microfiber cloth and a mild detergent to clean the fixture. Gently wipe away any dust, dirt, or grime that has accumulated over time. Be thorough in your cleaning to ensure that the paint adheres well to the surface.
After cleaning, allow the fixture to dry completely before moving on to the next step. It is important to have a clean and dry surface for the primer and paint to adhere properly.
Masking and Protecting
To protect the electrical parts of the light fixture, cover them with masking tape. This will prevent any paint from getting on the wires or sockets, ensuring the safety and functionality of the fixture. Take care to cover all areas that you do not want to be painted.
In addition to masking off the electrical parts, you may want to protect certain areas of the fixture from being accidentally sprayed with paint. For example, if there are decorative elements or specific sections that you want to maintain their original color, use masking tape or plastic sheets to shield those areas.
Before you start spray painting, it is also important to prepare the surrounding area. Place drop cloths or newspaper on the floor or any nearby surfaces to catch any overspray. This will make cleanup easier and help prevent paint from adhering to unintended surfaces.
Priming the Surface
Choosing a suitable primer is crucial to ensure proper adhesion of the spray paint and enhance the longevity of the finish. Select a primer that is compatible with the material of your light fixture, such as metal or plastic. A bonding primer is recommended as it provides excellent adhesion and helps the paint adhere better to different surfaces.
Apply the primer to the surface of the light fixture according to the instructions provided by the manufacturer. Use a brush or a spray can, depending on the type of primer you have chosen. Ensure that the primer is applied evenly and covers the entire surface of the fixture.
After applying the primer, allow sufficient drying time. Refer to the instructions on the primer can for the recommended drying time. It is essential to let the primer cure completely before moving on to the next step, as this will ensure a smooth and durable paint finish.

This image is property of images.unsplash.com.
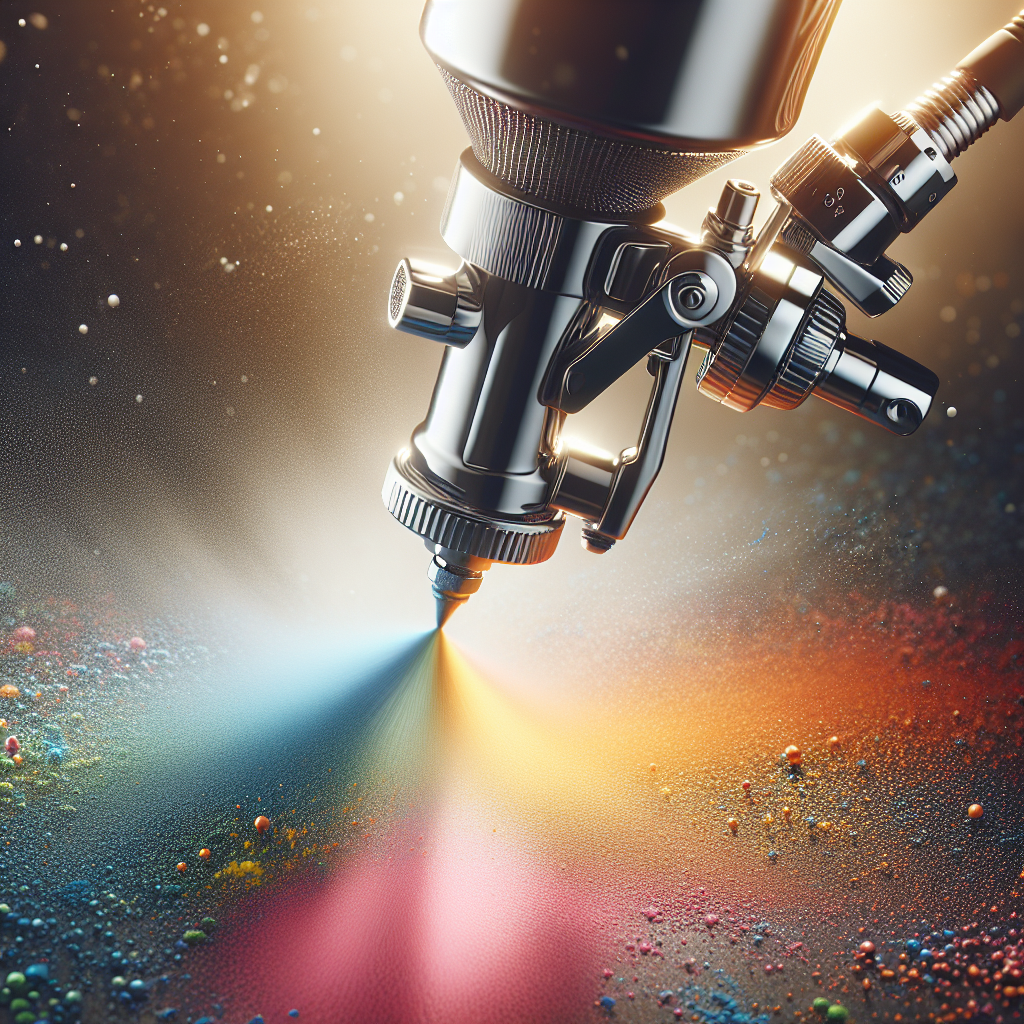
Spray Painting Techniques
Choosing the right spray paint is crucial to achieving the desired result. Select a spray paint that is suitable for the material of your light fixture, whether it is metal, plastic, or another surface. Consider the finish you want to achieve, such as matte, glossy, or metallic. Additionally, check if the spray paint you have chosen is heat resistant, especially if you are spray painting light fixtures that generate heat.
When applying spray paint, it is important to do so in thin and even coats. Hold the spray paint can approximately 6-8 inches away from the fixture and apply the paint in smooth, sweeping motions. Using thin coats will help prevent drips, runs, and uneven surfaces.
Avoid applying too much paint at once, as this can result in a heavy and uneven finish. Instead, build up the color gradually by applying multiple thin coats, allowing each coat to dry before applying the next one. This technique will give you better control over the final result and help you achieve a professional-looking finish.
Be mindful of the recommended spraying distance indicated on the spray paint can. Maintaining the proper spraying distance will ensure that the paint is distributed evenly and prevent any blotches or clumps from forming. Practice control and patience while spray painting to achieve the best outcome.
Drying and Curing
After you have finished spray painting, allow adequate drying time before handling the light fixture. Refer to the instructions on the spray paint can for the recommended drying time. Keep in mind that drying times can vary depending on factors such as temperature and humidity.
Once the paint has dried, it is essential to ensure proper curing. Curing is the process in which the paint fully hardens and reaches its maximum durability. Follow the manufacturer’s instructions on the spray paint can for the recommended curing time. Avoid touching or moving the fixture until it has fully cured to prevent any damage to the paint finish.
Handle the newly painted fixture with care after it has dried and cured. Make sure to avoid excessive touching or rubbing, as this can result in smudges or scratches on the surface. Treat the freshly painted fixture gently to maintain its appearance and longevity.

This image is property of images.unsplash.com.
Reassembling and Reinstalling
After the paint has dried and cured, it is time to reassemble and reinstall the light fixture. Start by removing the masking tape and any protection you placed on the fixture. Carefully peel off the tape, taking care not to damage the newly painted surface.
Next, reattach the fixture cover using the screwdriver. Ensure that the cover is secure and properly aligned. Double-check that no paint has gotten onto the cover.
Finally, restore the power supply to the light fixture. Turn on the electricity and test the light to ensure that it is functioning correctly. If everything is in order, you have successfully spray painted and reinstalled your light fixture.
Maintenance and Cleaning Tips
To maintain the newly painted light fixture, regular dusting and wiping are essential. Use a soft, dry cloth or a microfiber cloth to remove any dust or dirt that may have accumulated. Avoid using abrasive cleaners, as they can damage the paint finish. Instead, use a mild detergent diluted in water if deeper cleaning is necessary.
Inspect the painted fixture periodically and touch up any areas that may require it. Over time, the paint may wear or chip, especially in high-traffic areas or areas prone to accidental contact. By promptly addressing these areas, you can prevent further damage and ensure the longevity of the paint finish.

Safety Precautions
When spray painting light fixtures, it is important to prioritize your safety. Always wear protective gear, such as gloves, safety goggles, and a mask, to protect yourself from harmful fumes and potential paint or primer splatters. Ensure that you are working in a well-ventilated area to minimize inhalation of fumes and allow for proper airflow.
Follow the manufacturer’s instructions provided on the spray paint and primer cans for best results. These instructions will guide you on the proper usage, drying times, and safety precautions specific to the products you are using. Adhering to these instructions will help ensure the safety and effectiveness of the spray painting process.
Choosing the Right Paint
Selecting the right type of spray paint is essential for achieving a successful outcome. Consider the material of your light fixture when choosing a spray paint. For example, if the fixture is made of metal, choose a spray paint designed specifically for metal surfaces. Similarly, choose a spray paint suitable for plastic if your fixture is made of plastic.
In addition to considering the material, think about the finish and color you want to achieve. Spray paints come in a variety of finishes, such as matte, glossy, or metallic. Choose a finish that complements your overall design aesthetic. Similarly, select a color that matches or enhances the desired look of your light fixture.
If your light fixture generates heat, such as a pendant light or a recessed light, it is crucial to check for heat resistance when selecting spray paint. Heat-resistant spray paints are designed to withstand high temperatures without compromising the finish or color of the paint. Using a heat-resistant spray paint will ensure the durability and longevity of the painted light fixture.
In conclusion, spray painting light fixtures without taking them down requires careful preparation, masking, and the right technique. By following the steps outlined in this comprehensive article, you can successfully transform the look of your light fixtures and enhance the aesthetic appeal of your space. Remember to prioritize safety, choose the appropriate materials, and follow proper maintenance and cleaning practices to ensure long-lasting and beautiful results.