In the world of firearms, personalization is a key factor that adds value and personality to your weapon. This gem of an article reveals to you the intricacies of refining these treasures by showing you how to spray paint a shotgun. Through this captivating guide, you’ll be exposed to a meticulous step-by-step process that guarantees a breathtaking transformation for any shotgun in your armory. By the end of this informative read, a refined, vibrant and aesthetically pleasing shotgun will be in your possession, a testament to your ability to merge functionality with style.

Choosing the Right Supplies
To properly spray paint your shotgun, you will need to choose the appropriate supplies. This task includes selecting the paint, primer, and other materials you will need during the process.
Selecting the Right Paint
Choosing the right paint is crucial for your shotgun spray painting project. Opt for specially manufactured paints designed for firearms, known for their lasting qualities. These paints can survive extreme weather conditions, abrasions, and direct impacts. Ensure to choose paints that are resistant to oils and solvents, as regular cleaning of your firearm could quickly ruin a standard paint job.
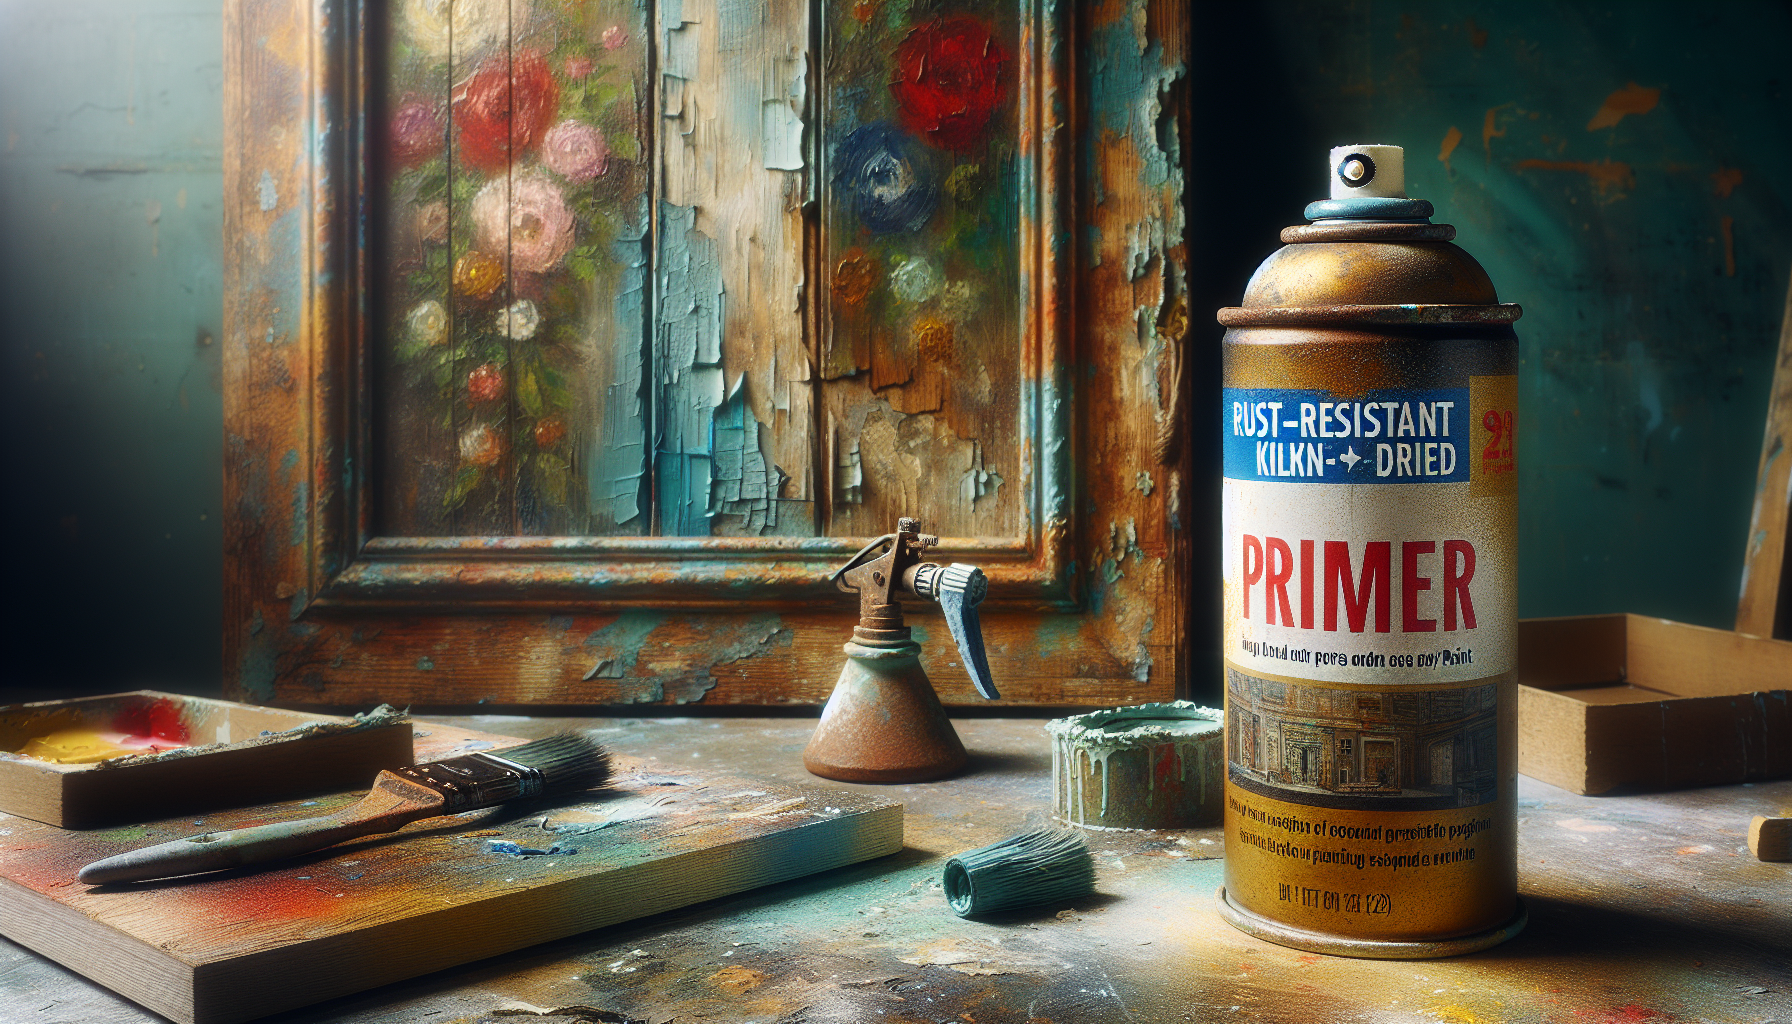
Choosing a Primer
A primer is vital when spray painting a shotgun as it improves paint adhesion and increases the durability and lifespan of your paint job. Choose a primer that is developed for metal surfaces, ideally one that is corrosion-resistant and promotes high-level adhesion for paint.
Gathering Other Materials
Apart from paint and primer, you’ll need additional supplies like fine-grit sandpaper, a mask to cover non-metal parts, a clean cloth, clear coat for a protective finish, and stencils or tape for camouflage patterns. Depending on your chosen design, you might also require several paint colors.
Preparing the Shotgun
Preparation is key to achieving a perfect paint job. This includes disassembling, cleaning, and sanding the shotgun to prime it for painting.
Disassembling the Shotgun
You’ll need to start by disassembling your shotgun. It is crucial to learn how to properly disassemble your specific firearm model to prevent any damage.
Cleaning the Shotgun
Once disassembled, ensure to clean all the individual parts thoroughly. Use a soft cloth and a cleaning solution to remove any dirt, grime, grease, or oil.
Sanding the Metal Surfaces
Sanding the metal surfaces is crucial to remove any existing finish and provide a rough surface for the primer and paint to adhere to. Use fine-grit sandpaper for this task.
Applying the Primer
Once the shotgun is prepared, you’ll start with the application of primer. Start by masking off non-metal parts, apply the primer, and let it dry.
Masking Off Non-Metal Parts
Before you spray, mask off all non-metal parts of the shotgun to avoid unintended coloration.
Applying the Primer
After masking, spray the primer evenly over all the metal parts. Remember to maintain a consistent distance to avoid uneven application.
Allowing the Primer to Dry
After application, allow the primer to dry thoroughly. This step is crucial, otherwise, your paint might not adhere properly.
Creating Paint Patterns
Creating a unique design can make your painted shotgun a standout piece.
Choosing a Camouflage Pattern
Selecting a camouflage pattern, or any other design of your choosing, gives your shotgun a personalized touch.
Preparing Stencils or Tape
Utilize stencils or tape to create your pattern. Stencils can be purchased, or you can make your own by cutting shapes out of tape.
Applying the Camouflage Pattern
Once the primer is dry, apply the design using your stencils and chosen paint colors. Ensure to take your time at this stage to achieve perfect results.

Applying the Base Coat
Now you are ready for the application of the base coat.
Setting Up a Controlled Painting Area
Setting up a well-ventilated and dust-free space to paint will ensure a clean and professional finish.
Applying the Base Coat
After setting up, apply the base coat evenly on all the primed parts of your shotgun.
Drying the Base Coat
Let the base coat dry completely before proceeding. This will ensure that the subsequent layers adhere properly.
Adding Detail and Depth
Make the design on your shotgun truly unique by adding detail and depth.
Using Secondary Colors
Use secondary colors within your chosen palette to add depth and visual interest to your design.
Applying Highlights and Shadows
Applying highlights and shadows can define the elements of your design. Use darker shades for shadows and lighter shades for highlights.
Creating Weathering Effects
Weathering effects can add a touch of realism and age to your design. There are various techniques to create these effects, like sponging and dry brushing.
Adding a Protective Finish
A protective finish will seal your paint job and keep it looking fresh and sharp.
Applying Clear Coat
Applying a clear coat helps preserve the color and design. This will add shine and protect the paint from damage, increasing durability.
Baking the Finish
Baking the finish helps it harden and set. Follow the recommended temperature and bake time for your specific coating.
Curing and Cooling the Shotgun
Once baked, let your shotgun cool at room temperature and allow it to cure. Do not rush this process.
Reassembling the Shotgun
Your shotgun is now freshly painted and ready to be put back together.
Cleaning and Lubricating the Components
Before assembling, clean and lubricate the internal mechanisms and moving parts for smooth operation.
Reassembling the Shotgun
With everything sparkling and ready, piece together your shotgun carefully.
Test Firing and Function Check
Once the gun is reassembled and the paint job is complete, perform a test fire to ensure all parts are working as they should.
Maintaining and Touching Up the Finish
Congratulations, you now have a freshly painted shotgun! To keep it looking great, we recommend regular maintenance and touch-ups.
Cleaning the Shotgun Regularly
Regular cleaning prevents build-up of dirt and keeps your paint job looking fresh.
Touching Up Minor Scratches
Small scratches and chips are inevitable. With your leftover paint, you can easily touch up these minor imperfections.
Repeating the Process when Required
To maintain the fresh look, you may need to repeat the painting process occasionally.
Safety Precactions
Safety should be a priority whenever working with firearms.
Working in a Well-Ventilated Area
Always work in a well-ventilated area to avoid exposure to harmful paint fumes.
Wearing Protective Gear
When applying paint or handling chemicals, remember to wear protective gear like masks and gloves.
Practicing Safe Handling of Firearms
Always follow safety protocols when handling your shotgun, even when it’s disassembled. This includes keeping the muzzle pointed in a safe direction and ensuring the firearm is unloaded.
And there you have it! Now you are well-equipped to give your shotgun a fresh and personalized new look!