Brightening up your space doesn’t always require a complete makeover, sometimes a simple repurposing of an existing item can breathe new life into your home. In this creative journey, you will discover a simple yet effective way to transform your chandelier from drab to fab! In this article, “How To Spray Paint A Chandelier Without Taking It Down”, you’ll find easy instructions on how to give your chandelier a fresh pep-up, to bring back its sparkling charm, without the hassle of having to remove it. So, grab your spray paint and let’s add a touch of magic to your chandelier!

Materials Needed
Before you start your project, you’ll need to gather some essential materials. Your foremost requirement will be spray paint; be sure to choose a color and finish that suits your taste and blends well with the decor of the room. Also vital are a drop cloth or old sheets, which prevent spray paint from getting on the floor or other furniture.
Masking tape is key in allowing you to protect areas of the chandelier that you don’t want to paint. Similar to this, newspapers or cardboard can safeguard surrounding surfaces from being inadvertently painted. For personal protection, be sure to have safety goggles and rubber gloves on hand to protect your eyes and skin.
A lint-free cloth ensures that your chandelier is free from dust and dirt both pre and post painting. You’ll also need plastic bags large enough to protect the electrical parts of the chandelier. Last but not least, arm yourself with a pair of scissors, which come in handy in various situations, like cutting the protective plastic bags or tape strips.
Preparation
To begin, choose a well-ventilated area for your project. This is crucial because it ensures that you won’t be inhaling harmful paint fumes in an enclosed space. Similarly, it helps speed up the drying process.
Next, take measures to cover the surrounding area with drop cloths or old sheets to prevent accidental paint splatters. This includes protecting furniture and walls in the vicinity.
Ensuring safety precautions is also of prime importance. Remember to put on the safety goggles and rubber gloves mentioned earlier to keep yourself safe while you work.
Finally, depending on your chandelier’s design, you might need to dismantle it to some extent. This can enable easier access to intricate parts and sections for better cleaning and painting results.
Cleaning the Chandelier
Before you start applying any paint, make sure the chandelier is clean. Remove dust and dirt using a lint-free cloth, ensuring all surfaces are neat.
Apply a vinegar and water solution to add sparkle to your chandelier. You can do this using an old toothbrush to scrub the solution gently onto the chandelier surface, reaching all corners and crevices.
After this process is done, remember to wipe your chandelier dry with a lint-free cloth. This prevents water stains from forming on your chandelier, ensuring a clean and shiny surface for the paint to adhere to.
Masking and Protecting
Once your chandelier is clean and dry, you’ll need to protect some parts from paint. This includes any electrical components. Cover these with plastic bags, securing them with masking tape.
You should also use the masking tape to shield any areas of the chandelier that you wish to remain unpainted. Be detailed in this, thinking about the final look of your chandelier.
Finally, cover your surrounding areas again to be doubly sure you’re not risking a paint splatter. You can use your old sheets or drop cloth for this purpose.

Choosing the Right Paint
Using the right spray paint is crucial. Select a paint that is suitable for the material your chandelier is made from – there are different types for plastic, glass, metal, and more.
Also, consider the existing color of your chandelier, as some colors may require a primer or multiple coats to cover effectively.
Finally, think about the finish you want – matte, glossy, metallic – the choices are numerous. Make sure you choose a finish that suits the style of the chandelier and the decor of your room.
Preparing the Paint
Preparing your spray paint is a crucial step. Shake the spray paint can vigorously before usage to ensure the paint is thoroughly mixed.
It’s a good idea to test your spray paint on a piece of scrap material or hidden area, so you can adjust your technique if required without harming the final outcome.
Finally, be mindful of the temperature and humidity levels, which can affect how the paint sticks and dries. Instructions on the paint can often provide guidance on optimal conditions.
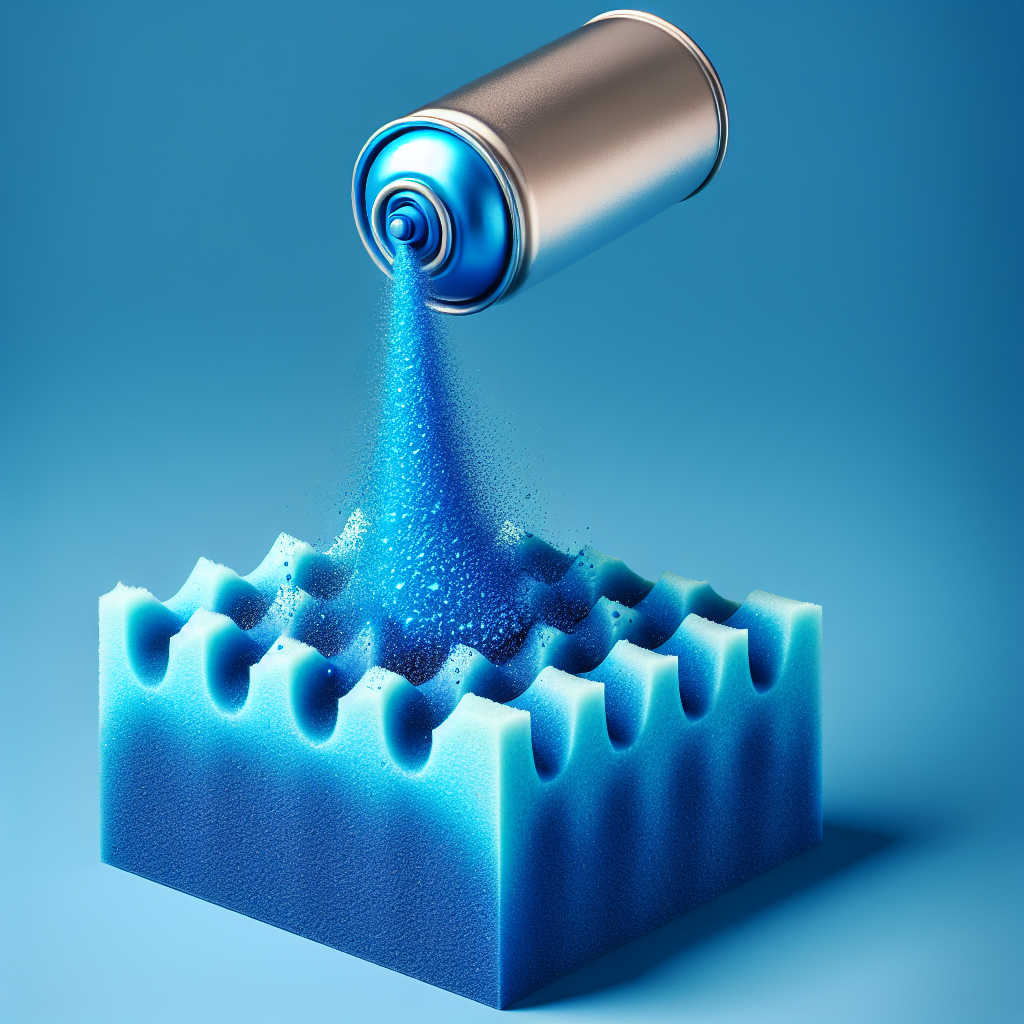
Painting the Chandelier
For painting, apply thin, even coats of the paint. This guarantees a smooth finish and prevents drips.
If your initial color was dark, or if you’re drastically changing the color, you might need to start with a primer.
Holding the can at the proper distance, usually about a foot away, can ensure even coverage. Use sweeping motions as you paint for a better finish.
Remember, patience is key – allow each coat to dry thoroughly before applying another. Rushing can result in a blotchy paint job.
Fine-Tuning and Touch-ups
Once the final coat has dried, inspect the chandelier carefully for any misses or imperfections. If there are drips or uneven sections, you may need to lightly sand and repaint.
Don’t be too quick to decide your chandelier is done; sometimes, another coat of paint can make all the difference in achieving that flawless finish.
Remember, any touch-ups should also be allowed to dry before moving on to the reassembling step.
Reassembling the Chandelier
Before you begin reassembling, make sure to remove all the protective coverings and masking tape.
Next, you’ll want to reattach any removed parts from the dismantling process. Make sure you do so carefully, as the paint on these might still be a bit fragile.
Finally, clean and position the light bulbs. Now you’re all set to hang your renewed chandelier!
Tips and Warnings
Always avoid over-spraying, as it can cause drips and runs that tarnish the look of your DIY project. Make sure to use the appropriate safety gear at all times during your spray paint project.
Resist the temptation to rush the process. Good things take time, and a rushed job is likely to show in the end result.
Finally, if at any point you feel uncertain about what to do, consider seeking professional help. Painting a chandelier can be a meticulous process, and there’s no harm in asking for assistance to ensure your chandelier looks its best.