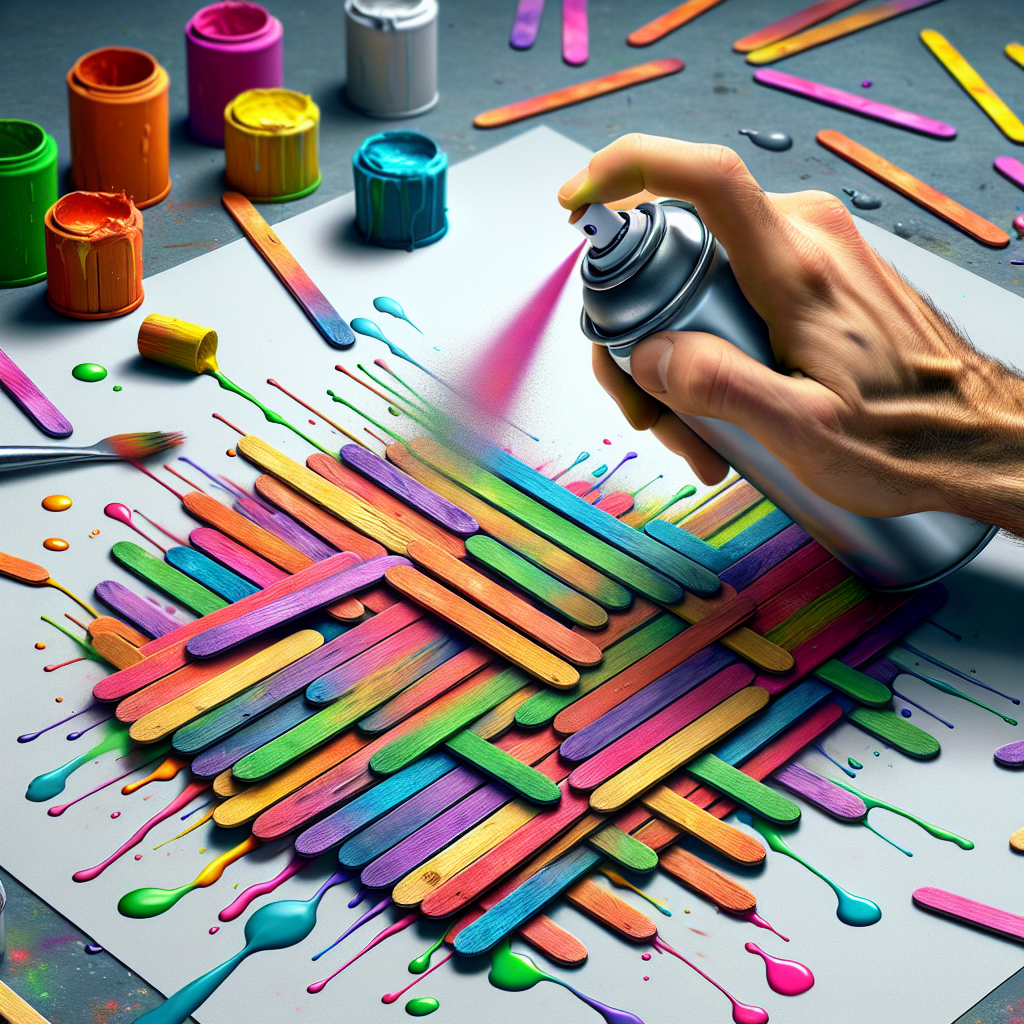
If you’ve ever fancied giving your popsicle stick creations a colorful upgrade, this article is just what you need! “How To Spray Paint Popsicle Sticks” offers you a step-by-step guide to transforming those plain sticks into vibrant works of art. By the end of this guide, you’ll know exactly how to safely apply a layer of spray paint to popsicle sticks, preparing you for countless creative projects with a personalized touch.
Gather Supplies
Before you can get started on your popsicle stick painting project, you want to make sure you have all your supplies ready. Nothing can be more frustrating than getting excited about a new project only to realize you’re missing a crucial component! Thankfully, most of what you need is relatively easy to find, either in your own home or at a nearby craft store.
Choose the Right Paint
As you’re preparing your project, you want to ensure you’re selecting the right type of paint. The best kind of paint for this task is spray paint, given its versatility and ease of use. There’s a massive range of colors and finishes to choose from, allowing you to unleash your creativity and explore a palette that suits your style and vision.
Select Popsicle Sticks
Next on your must-have list are the popsicle sticks themselves. Popsicle sticks come in various sizes, ranging from tiny to jumbo. Depending on your project’s purpose, you’ll want to choose sticks that complement your vision. You can find packs of sticks at most craft stores.
Prepare Your Work Area
You’re almost ready to get started, but first: don’t forget to prepare your work area. Spray painting can be messy, and you’ll want to protect any nearby surfaces from accidental splatters or spills. Lay out some newspaper or a drop cloth where you’ll be working to keep everything clean.
Prepare the Popsicle Sticks
So, you’ve got all your supplies in order. Now comes the productive part: preparing your popsicle sticks for painting.
Sand the Surface
To get the smoothest finish on your painted sticks, start by lightly sanding the surface. This step is particularly useful if you’re using cheaper popsicle sticks with rough edges. It can be a taxing part of the process, but it’s definitely worth it for a neat, blemish-free finish.
Clean Popsicle Sticks
After you’ve sanded down your popsicle sticks, it’s important to clean them. Sanding creates dust that can mix with the paint and ruin your finish. Wipe your sticks down with a bit of damp cloth, then let them dry.
Prime the Popsicle Sticks
Choose a Primer
Picking the right primer can help the spray paint adhere better to the popsicle stick surface. Use a general-purpose primer for most projects, and if you’re planning to use a darker color, a grey primer works best.
Apply Primer to the Popsicle Sticks
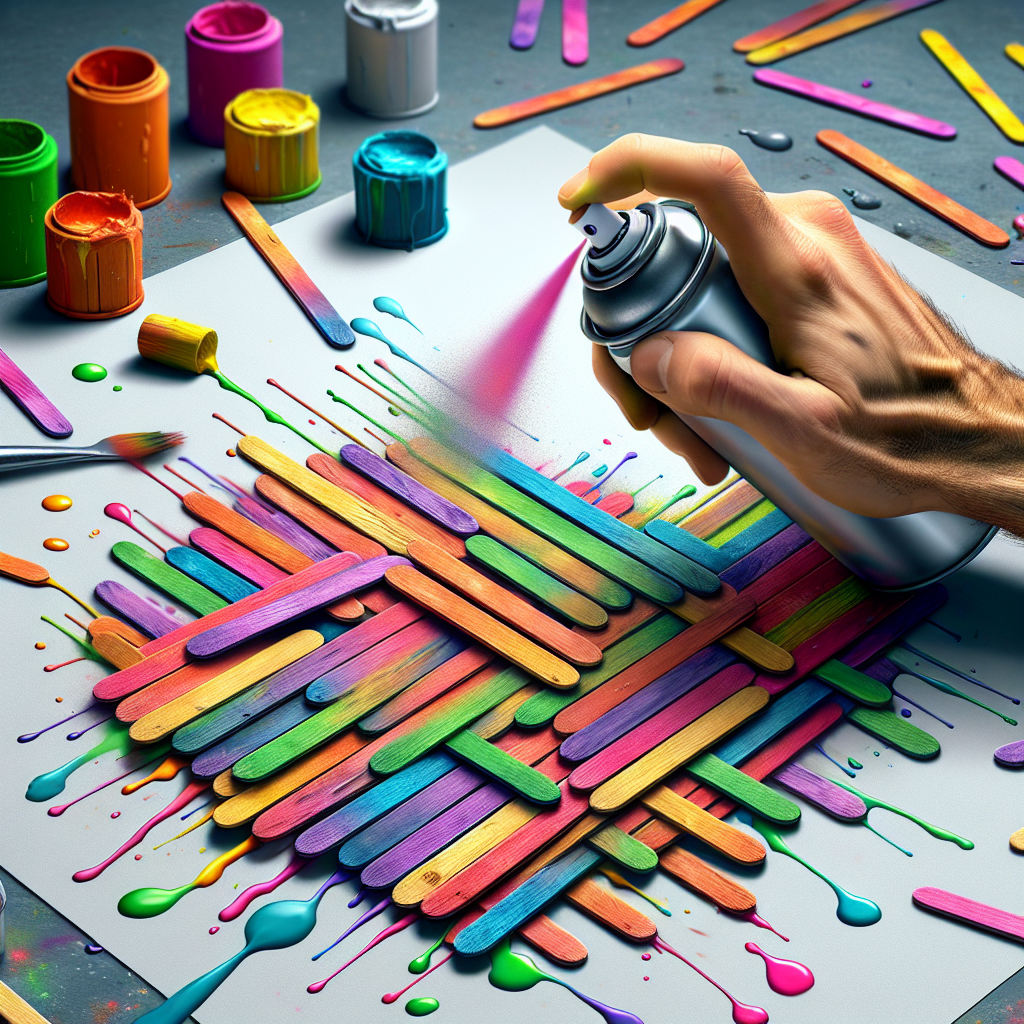
Once you’ve chosen your primer, now it’s time to apply! Just like applying the paint, you’ll want to keep the can about 10-12 inches away from the popsicle stick, and apply the primer in gentle sweeps rather than soaking the stick. Allow the primer to dry before moving onto painting.
Spray Painting Techniques
Alright, your popsicle sticks are primed and ready to go! But before you get carried away, it’s beneficial to brush up on some basic spray painting techniques.
Shake the Spray Paint Can
First things first, be sure to shake your spray paint can before you start using it. This is a vital step to get a smooth and even color dispersion.
Test the Spray Paint
Before you start painting the popsicle sticks, it’s a good idea to test the spray paint on a separate piece of cardboard or paper. This allows you to get a feel for the spray’s force and gives you an idea of the color and finish.
Hold the Spray Can Correctly
Holding the can approximately 10-12 inches from the surface you’re painting gives you the best distance for an even application. Too close and you’ll end up with drips, too far away and the coverage will be uneven.
Spray at the Right Distance
To ensure a smooth coat, be mindful of the distance and angle at which you spray. Try to maintain a consistent distance, and remember to keep the can upright and parallel to the surface.
Use Thin Coats
When you’re ready to paint, start with light, thin coats. It’s far easier to add more paint than it is to take it off! You can always add more layers until you reach your desired opacity.
Apply Multiple Layers
Once your initial thin coat is dry, apply additional layers until you’re happy with the color. Remember to allow each coat some drying time before adding another.
Allow Drying Time Between Coats
This is one of the most crucial stages of spray painting. It can be tempting to rush between coats but resist the urge. Allow each coat to dry fully before applying the next. This ensures your finish stays smooth and prevents peeling or smudging.
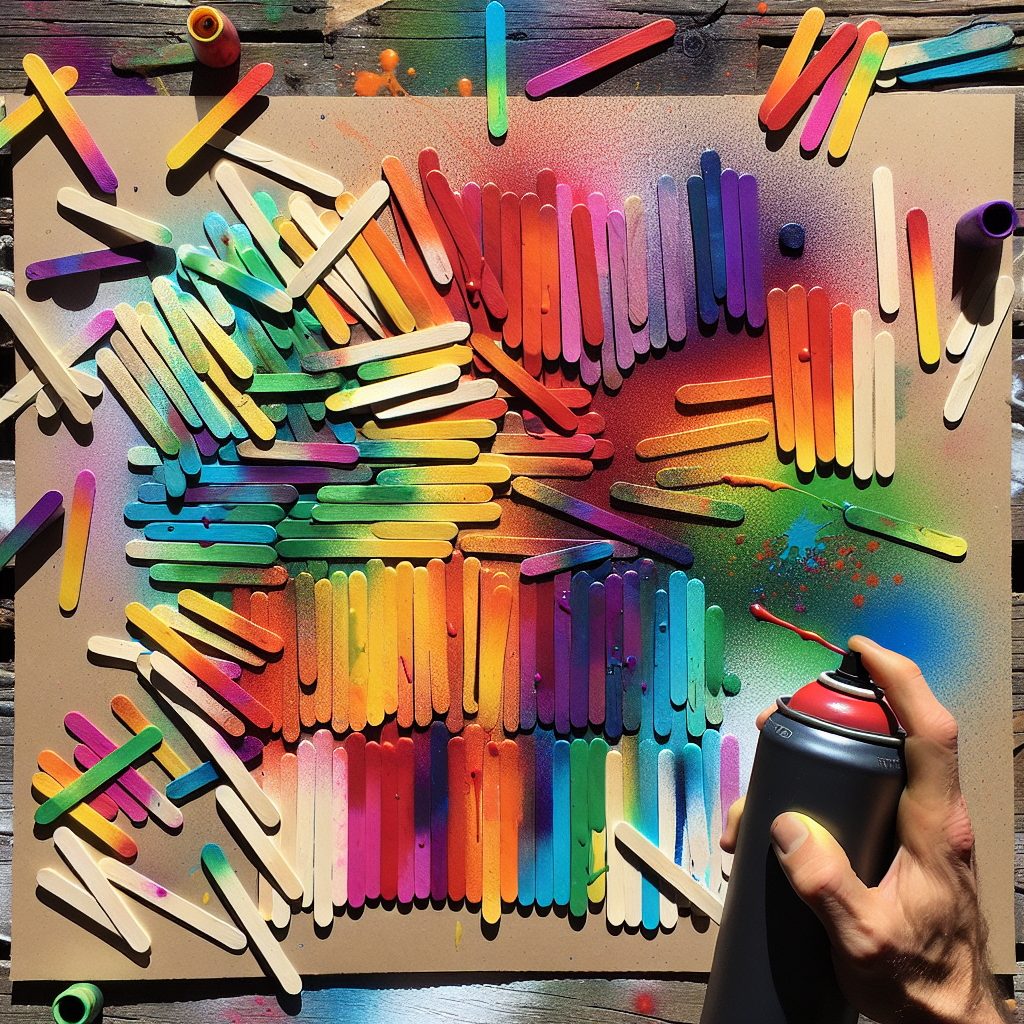
Painting the Popsicle Sticks
Now that we’ve gone over the basics of spray painting let’s put them into action.
Choose Spray Paint Colors
Select one or more colors consistent with your intended design. Whether you want to stick with one shade, make a rainbow of colors, or anything in between, the choice is yours.
Apply the Base Coat
Start with your base coat. Following the techniques discussed above, spray a thin coat onto the popsicle sticks. Let this coat dry fully before you proceed.
Add Additional Layers
Once your base coat has dried, continue adding layers until you’re satisfied. Remember to let each layer dry before adding the next!
Create Patterns or Designs
Now comes the truly fun part – creating patterns or designs! You’re limited only by your creativity here, so feel free to experiment. Use painter’s tape to create blocks of color or access special stencils for unique designs.
Finishing and Sealing
With the painting finished, it’s time to seal and finish your project.
Allow Sufficient Drying Time
Before moving on to sealing, it’s crucial to let your painted popsicle sticks dry thoroughly. Wet paint is more susceptible to smudging or chipping, so be patient.
Apply Clear Topcoat
Once your popsicle sticks are dry, apply a clear topcoat to seal in your design and make your project more durable. A clear topcoat offers an additional layer of protection for your artwork.
Consider Optional Sealant
In some cases, you might want to use a sealant to make your project even more durable. This step is optional and not always necessary, but it could be a good choice if your project will be exposed to heavy handling or extreme conditions.
Let the Sticks Completely Dry
And now, the hardest part – waiting for everything to dry completely. Patience is key here. Rushing can ruin your project, so give it plenty of time.
Tips and Tricks
In this section, we’ll share some tips and tricks to help you on your painting journey!
Work in a Well-Ventilated Area
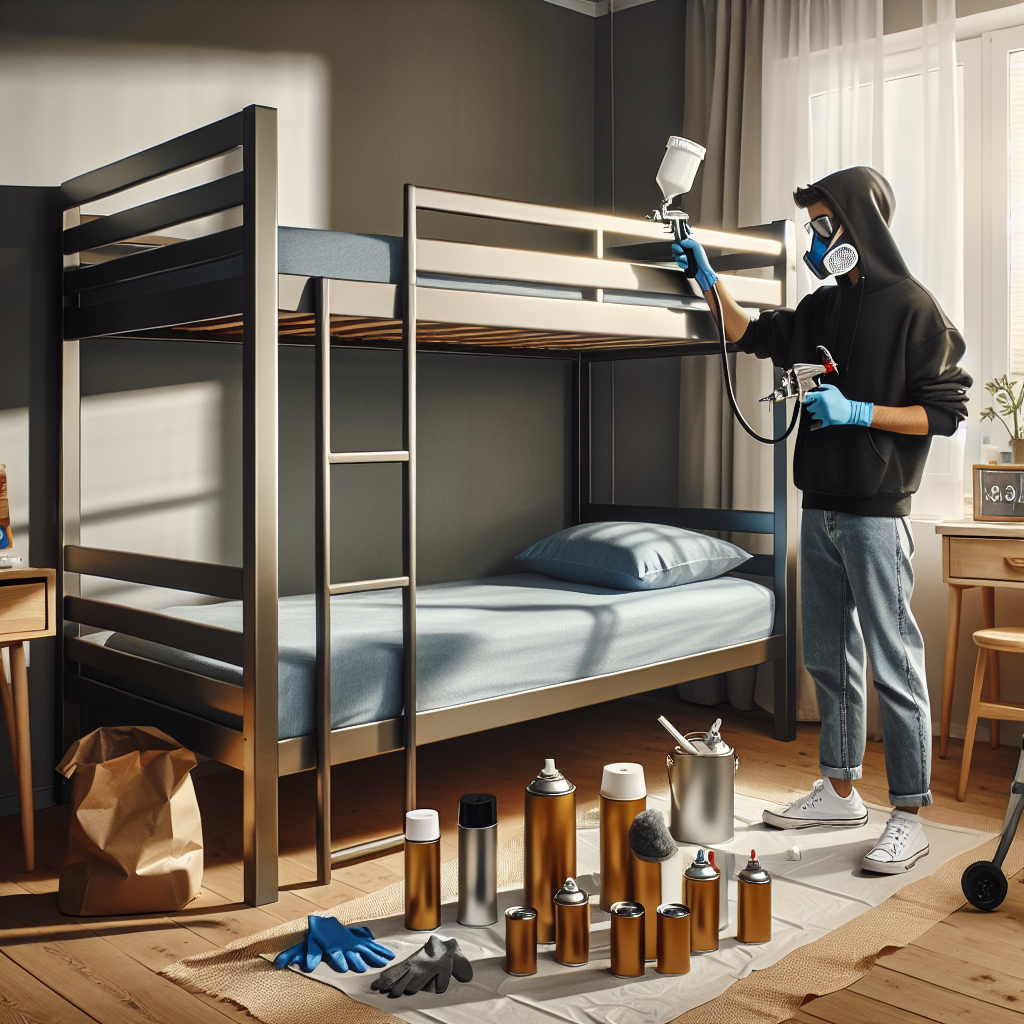
Spray paint releases fumes that could be harmful if inhaled in large quantities. Therefore, it’s important to work in a well-ventilated area, preferably outside or in a room with plenty of air circulation.
Protect Yourself and Surfaces
Remember to protect yourself and the surfaces around you before you start spraying. Consider wearing safety goggles, gloves, and suitable clothing.
Experiment with Different Techniques
Don’t be afraid to experiment with different painting techniques! You might surprise yourself with your creativity and talent. The beauty of DIY projects lies in their personal touch, so have fun with it.
Mix and Match Colors
Mixing and matching colors can help you achieve a unique design for your project. Whether you prefer pastel or neon, monochrome or rainbow, don’t be afraid to play around.
Use Stencils or Masks
Consider adding lifted designs to your painted popsicle sticks with stencils or masks. You can buy these at your local craft store or make your own!
Clean Up Properly
Remember to clean up after you’re done with your project. Dispose of your used materials properly, including any excess paint or empty spray cans.
Creative Projects with Spray Painted Popsicle Sticks
There are countless projects you can undertake with your newly painted popsicle sticks! Here are a few inspiration ideas.
Make Colorful Crafts
Painted popsicle sticks are perfect for a multitude of colorful crafts. You could make a vibrant picture frame, construct a miniature house, or create a colorful fan.
Design Unique Bookmarks
You could also design unique and personal bookmarks. By adding a colorful string or decorating with suitably sized rhinestones, you could transform a simple craft into a gift anyone would love!
Create Custom Photo Frames
Why buy a photo frame when you could make your own? Painted popsicle sticks provide a perfect base for crafting custom photo frames.
Craft Miniature Furniture
This one’s for all you dollhouse lovers out there! Miniature furniture is a charming application for spray-painted popsicle sticks. Whether you are creating a tiny table or a petite bed, the popsicle sticks are versatile.
Construct Jewelry or Keychains
Popsicle sticks can also be fashioned into jewelry or keychains. Make a simple pendant or string several sticks together to form a statement piece.
Build Small Decorative Structures
Build small structures like fences or houses for your garden or indoor plants using these colorful painted sticks.
Troubleshooting and Common Mistakes
Even with the best preparation, issues may arise here and there. However, most common spray painting mishaps are easily avoidable or fixable.
Avoiding Drips and Runs
Avoiding drips and runs is possible by applying thin, even layers and holding your can the correct distance from your surface.
Preventing Smudges
Smudges occur when you handle the paint before it’s dry. A remedy for this is patience. Always wait for the paint to dry fully before moving or touching it.
Fixing Uneven Coats
Uneven coats can happen due to irregular spraying or by spraying from too far away. Hold the spray can consistent distance from the surface, and apply the paint in a sweeping motion.
Dealing with Clogged Nozzles
Clogged nozzles are usually due to paint build-up. To prevent this, clean the nozzle after each use. If it does happen, take the nozzle off and soak it in warm water or use a pin to clear out the dried paint.
Safety Precautions
Working with spray paint is lots of fun, but it’s also essential to keep safety in mind!
Use Protective Equipment
Protective equipment like gloves and safety goggles are essential when working with spray paint. Also, considering wearing old clothes or an apron to avoid paint stains.
Work in a Well-Ventilated Space
Again, work in an adequately ventilated area since spray paint can release harmful fumes. If you start feeling dizzy or lightheaded, step away from the project area and get some fresh air.
Read and Follow Instructions
Read and follow the instructions provided on your spray paint can. Each brand may have unique specifications and warnings.
Keep Spray Paint Away from Flames
Always keep spray paint away from open flames or heat sources, as it is highly flammable.
With this comprehensive guide, you are now ready to dive into the world of spray painting popsicle sticks! Remember to be safe, be creative, and most importantly, have fun with your project.
