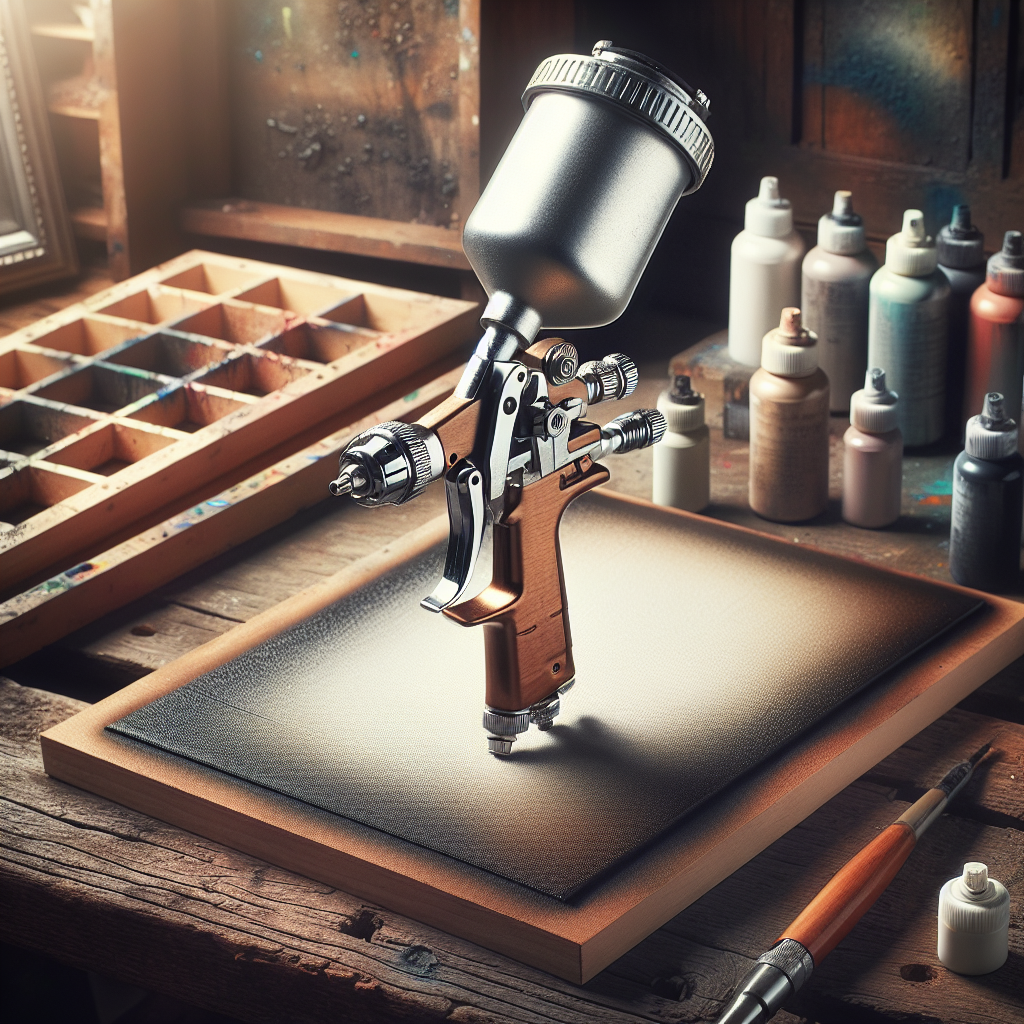
Upon embarking on this fascinating journey, you’re about to gain insights into the art and science of using a gravity feed spray gun. This article illuminates the process, practical uses, and pro-tips in gravity feed spray painting, offering a comprehensive guide that will traverse beyond just the basics. You’ll gain a newfound appreciation for the pivot required in using this unique artistry tool, setting you on a path to creating effortless, smooth finishes with your paint projects. So brace yourself, as you’re about to delve into a transformative painting experience.
Preparing the Spray Gun
Before you start your paint activity, you need to ensure that your spray gun is ready. The preparation of the spray gun involves cleaning, assembling, and adjusting the air pressure.
Cleaning the Gun
A clean gun will ensure a smooth and quality finish. Therefore, you should always clean your gun regularly, especially immediately after each use, to prevent any dried paint from clogging the nozzle. You can clean the gun by disassembling it and using a soft brush and a cleaning solution suitable for the kind of paint you usually use.
Assembling the Gun
After cleaning, it’s time to assemble the gun. This process can vary depending on the specific model of your spray gun. However, it generally involves attaching the nozzle to the gun body, installing the cap to the nozzle, and then attaching the paint cup to the body. Make sure everything is securely tightened but not overly so to avoid damaging the parts.
Adjusting the Air Pressure
The last step in preparing the spray gun is adjusting the air pressure. The correct air pressure is essential for achieving a smooth finish. You can adjust the air pressure by turning the pressure regulator on the gun. The ideal pressure may vary depending on the type of paint you are using and the result you desire.
Preparing the Workspace
Preparation of the workspace involves choosing the right location, covering and protecting surfaces, and ensuring adequate ventilation.
Choosing the Right Location
Choose your painting location wisely. It should be a well-lit area where you can clearly see your work. Also, the location should be spacious enough for easy maneuverability and free from dust and dirt that can sabotage your paint job.
Covering and Protecting Surfaces
Make sure to cover any nearby items or surfaces that you don’t want to paint. You can use painter’s tape and plastic sheeting or drop cloths for this purpose.
Ensuring Adequate Ventilation
Ensure your workspace is adequately ventilated to avoid inhaling paint fumes which can be harmful to your health. It will also help in drying the painted surfaces faster.

Preparing the Paint
Preparing the paint involves selecting the right paint, straining the paint, and mixing the paint properly.
Selecting the Right Paint
The type of paint you select can affect the finish of your painting. Consider factors like the surface you are painting, the environmental conditions, and the desired finish when choosing your paint.
Straining the Paint
Always strain the paint before using it. This ensures that there are no lumps or debris that can clog your spray gun or ruin your paint job.
Mixing the Paint Properly
Before spraying, make sure to mix your paint properly. Some paints may require thinning with a specific solvent. Check the paint manufacturer’s instructions for guidance.
Practicing Spray Techniques
To ensure an even application of paint, you need to master various spray techniques.
Using a Test Panel
Before you start spraying on your target surface, practice using a test panel first. This will help you to get comfortable with the gun and make any necessary adjustments to achieve the desired spray pattern.
Mastering the Trigger Technique
Learn to press the trigger correctly. Start pressing the trigger before the spray reaches the object and release it after you have passed the object.
Maintaining the Correct Distance
Keep the spray gun at the right distance from the surface. Holding the gun too close or too far from the surface can result in runs or uneven coverage.

Setting Up the Equipment
Now that you have mastered the spray techniques, it’s time to set up the equipment. This involves attaching the air hose, filling the paint cup, and securing the spray gun.
Attaching the Air Hose
Attach the air hose to the spray gun and the air compressor. Make sure the connections are tight to avoid air leaks.
Filling the Paint Cup
Fill the paint cup with the prepared paint. Avoid overfilling to prevent spills and ensure easy handling.
Securing the Spray Gun
Lastly, secure the spray gun on a sturdy surface to avoid falling or tipping over.
Setting the Spray Gun Controls
The spray gun controls involve adjusting the fluid control, adjusting the fan pattern, and setting the air pressure.
Adjusting the Fluid Control
The fluid control knob allows you to regulate how much paint comes out of the gun when you press the trigger. Adjust it according to the type of paint you are using and your desired finish.
Adjusting the Fan Pattern
The fan pattern control allows you to adjust the shape and width of the paint spray. Choose a wider fan pattern for larger surfaces and a narrow pattern for smaller areas.
Setting the Air Pressure
You already set the air pressure during the spray gun preparation. However, you may need to make minor adjustments after using the gun on a test panel to achieve the optimal spray pattern and paint flow.
Spraying Techniques
In addition to preparing and setting up correctly, you need to master specific spraying techniques.
Starting Off the Object
Always start spraying off the object and move onto it to avoid heavy buildup of paint on the edges.
Overlapping Strokes
Overlapping your strokes ensures an even coverage. Each pass should cover about half of the previous pass.
Working in a Pattern
Working systematically in a pattern will help you maintain an even coverage. You can work either vertically, horizontally, or in diagonal strokes.
Maintaining a Consistent Speed
Maintaining a consistent speed is crucial for achieving a smooth finish.
Avoiding Fast or Slow Movements
Moving the spray gun too fast can result in a thin and uneven finish, while too slow movement can cause runs and sagging. Practice maintaining the right speed for an even application.
Practicing Controlled Passes
Each pass of the spray gun should be controlled and deliberate. Maintain a consistent speed and overlap of passes as you move along the surface.
Avoiding Dwell Times
Avoid stopping or dwelling in one spot while spraying as it can result in excessive build-up of paint, leading to runs and drips.
Avoiding Common Mistakes
Even experienced painters can make some common mistakes. Awareness about these mistakes can help you avoid them and achieve a superior finish.
Avoiding Overspray
Overspray can result in an uneven finish and wasted paint. You can avoid overspray by properly adjusting the spray gun settings and maintaining the appropriate distance from the surface.
Preventing Runs and Drips
Runs and drips can spoil the look of your paint job and often occur due to over-application of paint. Ensuring proper gun distance, maintaining a consistent speed, and avoiding dwell times can help prevent runs and drips.
Dealing with Orange Peel
‘Orange peel’ is a term used to describe a finish that resembles the skin of an orange. It is usually caused by excessive air pressure, too fast drying paint, or not properly preparing the surface. You can avoid orange peel by carefully preparing your paint and surface, adjusting the spray gun settings, and applying the paint properly.
Cleaning and Storing the Spray Gun
After finishing your painting task, clean and store your spray gun properly to ensure its longevity.
Flushing Out the Paint
After using the spray gun, flush out the remaining paint to avoid clogging. You can do this by running the appropriate cleaning solution for the type of paint you used through the gun until it comes out clear.
Disassembling and Cleaning
Once you have flushed out the paint, disassemble the gun and clean all the parts to remove any leftover paint residue. Use a soft brush and the proper cleaning solution for this.
Proper Storage
After the gun is clean and dry, store it in a clean, dry place where it won’t be knocked over or damaged. Proper storage not only ensures the equipment’s longevity but also ensures it is ready for use whenever you need it.
That’s it! You’re now armed with the knowledge to make your next painting project a success with your gravity feed spray gun. Happy painting!


