In this informative article, you will discover the essential steps and techniques required to create a stunning portrait using acrylic paint. Whether you are new to the world of painting or seeking to refine your skills, this guide will provide you with valuable insights and practical tips to help you confidently embark on your artistic journey. From selecting the right materials to mastering the foundational elements of portraiture, this article will equip you with the necessary knowledge and guidance to successfully paint a captivating portrait in acrylic.
Materials Needed
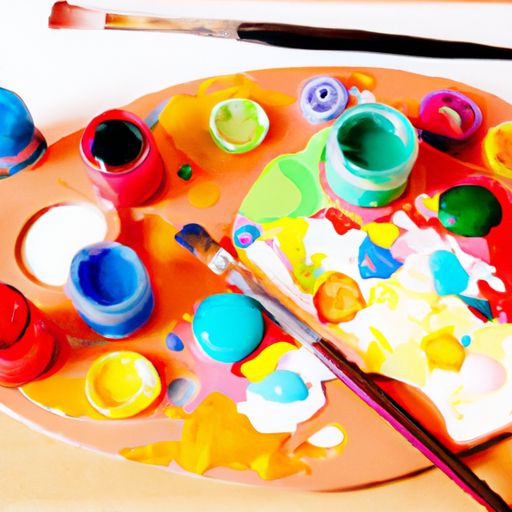
Acrylic painting is a versatile and popular medium for creating portraits. To get started, you will need several materials. The first is acrylic paint, which comes in a wide range of colors and can be easily mixed to achieve different shades. Next, you will need a canvas or painting surface to work on. It’s important to choose a sturdy and primed surface that will properly hold the paint. Additionally, you will need a variety of paint brushes in different sizes and shapes to achieve different effects. A palette or surface for mixing colors is also necessary, as well as a water jar to clean your brushes. A palette knife can be useful for mixing colors and creating texture. While not essential, an easel can provide a comfortable and adjustable workspace. Paper towels or rags are needed for cleaning brushes and wiping excess paint. Finally, you will need a reference photo or subject to guide your painting, as well as a painting medium, such as glazing liquid or retarder, to modify the drying time and consistency of the paint.
Preparing the Workspace
Before you begin painting, it’s important to set up your workspace properly. If you have an easel, this can provide a comfortable and adjustable surface to work on. If not, choose a flat surface that is large enough to accommodate your canvas and materials. Lay down a plastic or protective cover to prevent any paint spills or stains. Arrange your materials in an organized manner, making sure everything is easily accessible. Proper lighting is crucial in order to accurately see the colors and details of your painting. Natural light is ideal, but if that’s not possible, consider using daylight bulbs or a combination of warm and cool lighting. Ventilation is also important, especially if you are working with any toxic paint mediums. Make sure the room is well-ventilated to ensure your safety.

Choosing a Reference Photo
Selecting the right reference photo is essential when painting a portrait. Look for a clear and well-lit photo that captures the likeness and features of the person you want to paint. Consider the composition and framing of the photo, as it will affect the overall feel and focus of your painting. Ensure that the size and proportions of the photo match your canvas, unless you are intentionally cropping or enlarging specific areas. If necessary, print or enlarge the photo to ensure you have a clear reference to work from.
Preparing the Canvas
Before you begin painting, it’s important to prepare your canvas properly. Start by applying a gesso primer to the canvas. Gesso acts as a barrier between the paint and the canvas, ensuring better adhesion and longevity of your artwork. Apply the primer with a brush or a roller, covering the entire surface evenly. Allow the primer to dry completely according to the manufacturer’s instructions. Once dry, you can choose to sand the canvas surface for a smoother texture. This step is optional, but can help create a more even and professional-looking finish for your portrait.

Setting Up the Palette
A well-organized and prepared palette is key to efficient and effective painting. Start by squeezing out the acrylic paint colors you will need for your portrait. Arrange the colors in a logical order, such as warm colors on one side and cool colors on the other. Leave enough space between the colors to allow for mixing and blending. Before starting, clean and wet your palette to prevent the paint from drying out too quickly.
Choosing Brushes
Selecting the right brushes is crucial for achieving different effects and details in your portrait. It’s recommended to have a variety of brush sizes and shapes to suit different areas of your painting. Flat or filbert brushes are ideal for larger areas, such as the background or base colors. Round or detail brushes are more suited for finer details and intricate work, such as facial features or wisps of hair. Ensure that your brushes are clean and dry before starting, as any leftover paint or moisture can affect the outcome of your painting.

Mixing Colors
Achieving the right color palette is essential for creating a realistic and vibrant portrait. When mixing colors, it’s important to refer to your reference photo for color matching. Use a palette knife to mix the colors on your palette, gradually adding small amounts of each color until you achieve the desired shade. It’s always recommended to start with less paint and gradually add more as needed, as it’s easier to darken a color than to lighten it. Experiment with different color ratios to achieve subtle variations and highlights. Remember to mix enough paint for one area at a time, as acrylic paint dries quickly and can be challenging to re-mix the same shade once it has dried.
Blocking In the Portrait
To start the painting process, begin by sketching the basic outline of the portrait on your canvas. use light pencil lines or a thinned-down layer of paint to establish the main shapes and proportions. This stage is called blocking in, where you focus on capturing the overall forms and proportions of the subject. Use a thin layer of paint to block in the main shapes, focusing on establishing the general colors and values. This is not the final layer, but rather a foundation to build upon.

Layering and Building Depth
Once you have blocked in the portrait, it’s time to add subsequent layers of paint to refine the details and create depth. Building up layers allows you to add more details, highlights, shadows, and textures to your portrait. Focus on creating depth through highlights and shadows, paying attention to the light source in your reference photo. Blend the colors and edges for a smoother transition between different areas. Layering also allows you to correct any mistakes or make adjustments to the colors and shapes as needed.
Finishing and Displaying the Painting
After you have completed the painting process, it’s important to allow your artwork to dry completely. This ensures that the colors settle and any wet paint doesn’t smudge or ruin your work. Once dry, carefully remove any tape or masking used during the process. Clean and organize your workspace, removing any excess paint and materials. Consider framing the painting to protect and enhance its presentation. Alternatively, you can place it on a display easel to showcase your masterpiece. Share and celebrate your painting with others, as it’s a testament to your hard work and creativity.