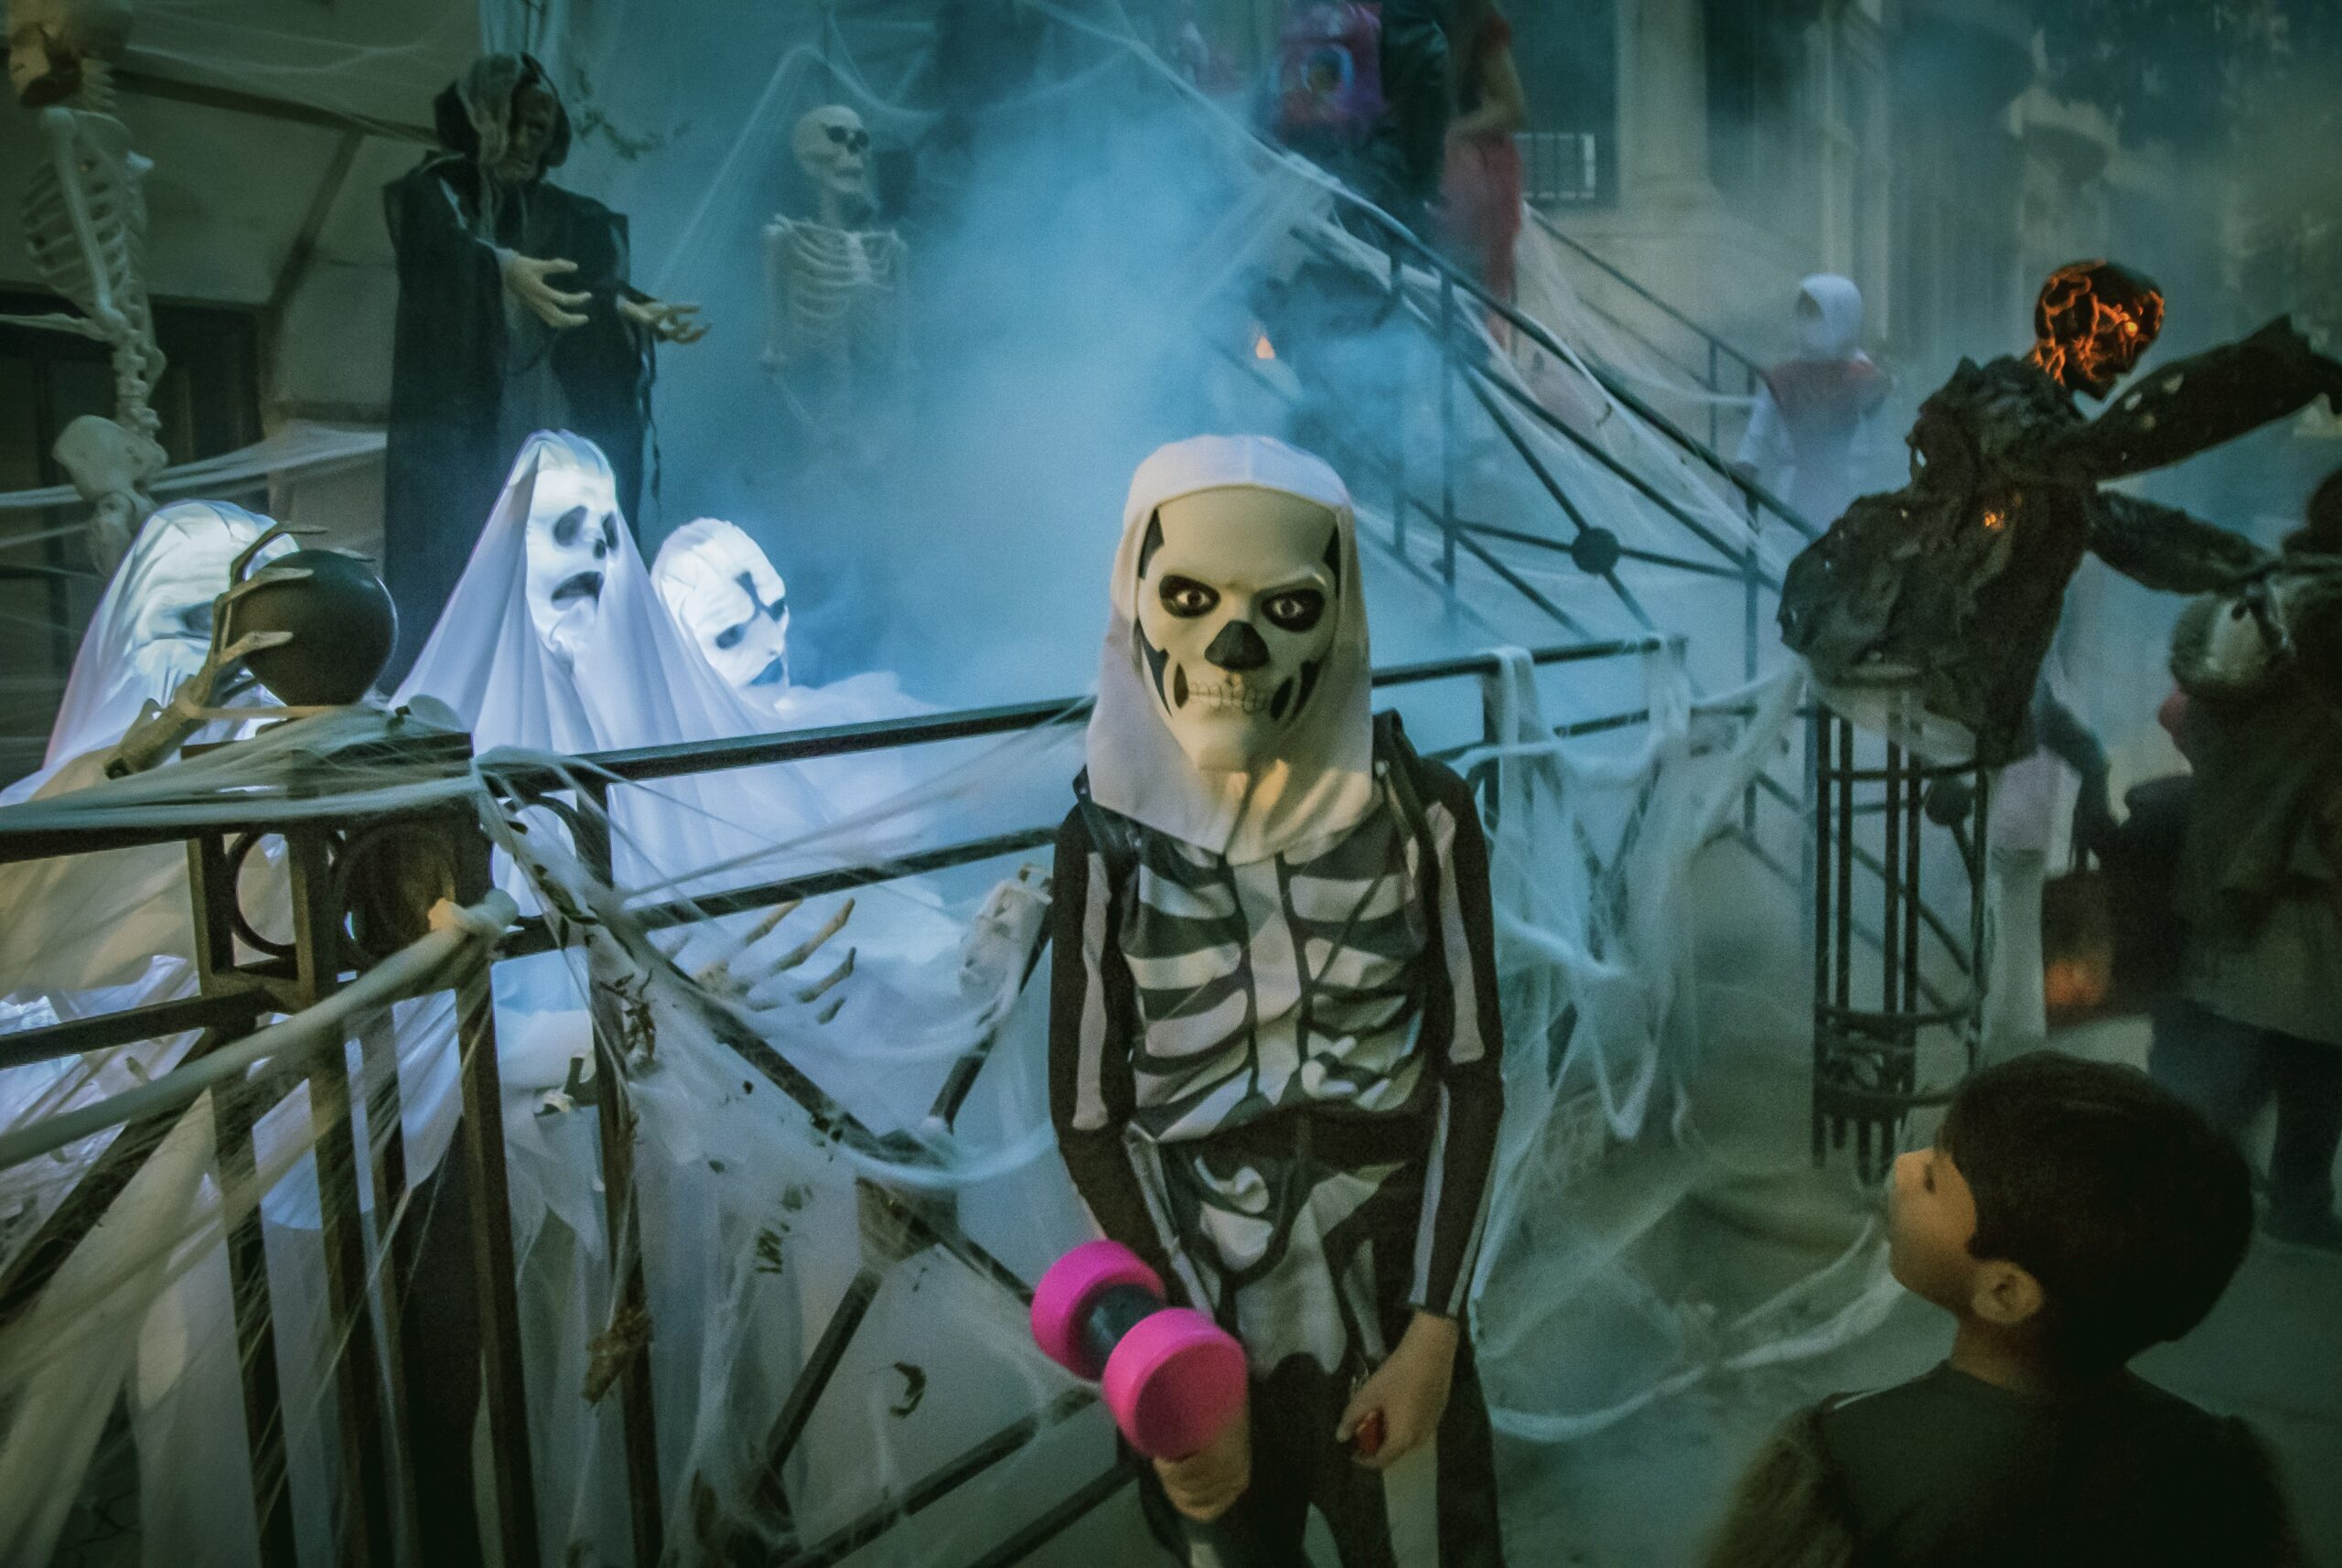
If you are looking to add an extra touch of realism to your Halloween decor, aging a skeleton with acrylic paint can be a great way to achieve that eerie, weathered look. By following a few simple steps, you can transform a bright-white plastic skeleton into a haunting relic that will spook your guests and enhance the overall atmosphere of your Halloween festivities. In this article, we will guide you through the process of aging a skeleton using acrylic paint, allowing you to bring an extra level of authenticity to your spooky decorations.

Gathering Materials
Before you begin aging your skeleton, it’s important to gather all the necessary materials. Here is a checklist of what you’ll need:
Acrylic paint
acrylic paint is a versatile medium that is perfect for aging a skeleton. Choose colors that will give your skeleton a realistic and weathered appearance.
Black and white paint
Black and white paint are essential for creating shadows and highlights on the skeleton. These colors will help to add depth and dimension.
Paintbrushes
You’ll need a variety of paintbrushes for different techniques and applications. Consider getting brushes of different sizes and shapes to have more control over the details.
Palette or mixing tray
A palette or mixing tray will allow you to mix and blend different colors to achieve the desired shades and hues.
Water cup
Having a water cup nearby will allow you to rinse your brushes and thin down the paint when needed.
Paper towels
Keep some paper towels handy to wipe off excess paint or clean your brushes.
Skeleton props
You’ll need a skeleton to work on. Whether it’s a full-size anatomical skeleton or a smaller plastic Halloween prop, make sure it’s clean and in good condition.
Protective gloves
To protect your hands from paint and chemicals, wear protective gloves throughout the process.
Newspaper or drop cloth
Place a newspaper or a drop cloth underneath your work area to protect the surface from any paint spills or splatters.
Optional: Spray sealer
If you want to protect the finished skeleton and make it more durable, you can consider applying a spray sealer over the painted surface. This step is optional but can help preserve your work for future use.
Preparing the Skeleton
First, it’s important to prepare the skeleton before applying any paint. Here are the steps to follow:
Clean the skeleton
If your skeleton is dirty or dusty, give it a thorough cleaning. Use a cloth or a soft brush to remove any debris or loose particles. This step will ensure that the paint adheres properly to the surface.
Cover sensitive parts
If there are any sensitive or delicate parts on the skeleton, such as movable joints or mechanisms, cover them with masking tape or cling film to protect them from paint.
Assemble or position the skeleton
If your skeleton comes in separate pieces, assemble it according to the manufacturer’s instructions. If it’s already assembled, make sure it’s securely positioned and won’t move while you’re working on it.
Protect the surrounding area
Cover any nearby furniture or objects that you don’t want to get paint on. Use old newspapers or a drop cloth to create a barrier between the skeleton and the surrounding area.
Creating the Base Coat
Now that the skeleton is prepared, it’s time to apply the base coat. This step will provide a foundation for the aging process. Follow these steps:
Choose a color scheme
Decide on the color scheme you want to achieve for your aged skeleton. Common choices include off-white, beige, or grayish tones to mimic aged bone.
Thin the paint
Thin acrylic paint with water or a paint medium to make it easier to apply. This will also help create a transparent base coat that allows the natural color of the skeleton to show through.
Apply the base coat
Using a large brush or a sponge, apply the thinned paint to the skeleton in even strokes. Start from the top and work your way down, making sure to cover all areas.
Allow to dry
Let the base coat dry completely before moving on to the next step. This may take a few hours or overnight depending on the thickness of the paint and the humidity level.
Adding Shadows
Shadows are crucial for creating depth and realism in your aged skeleton. Here’s how to add shadows effectively:
Mix a dark shade
Mix black paint with a small amount of a dark brown or gray color to create a shadow shade. Experiment with different ratios until you achieve the desired darkness.
Identify areas for shadow
Observe the skeleton closely and identify areas where shadows would naturally occur, such as under the ribcage, along joints, or in crevices. Take reference photos or use anatomical diagrams to guide you.
Apply shadows
Using a smaller brush or a sponge, apply the dark shade to the identified areas. Be gentle and build up the shadow gradually, blending it with the base coat to create a seamless transition.
Blend and soften
To create a more realistic effect, blend and soften the shadow areas with a clean brush or a soft cloth. This will help to eliminate any harsh lines and make the shadows appear more natural.

Enhancing Texture and Detail
To make your aged skeleton even more convincing, add texture and enhance its details. Here’s how:
Mix a lighter shade
Mix white paint with a small amount of the base coat color to create a lighter shade. This will be used to highlight raised areas and add dimension to the skeleton.
Highlight raised areas
Using a small brush, carefully apply the lighter shade to raised areas of the skeleton, such as the cheekbones, knuckles, or spine. This will make these areas stand out and add depth.
Add texture
To mimic the texture of aged bone, you can lightly dab or stipple the paint with a brush or a sponge. This technique will create a rough, weathered look that adds authenticity to the skeleton.
Define bone structure
Use a thin brush and a darker shade of paint to define the bone structure. Add thin lines or markings along the edges of the bones to create a more realistic appearance.
Add cracks or damage
If you want to give your skeleton a more weathered or damaged look, you can add cracks or chips using a fine brush and a darker color. Be strategic in your placement to make it look natural and worn.
Creating a Distressed Look
For a truly aged and weathered skeleton, you can create a distressed look with these techniques:
Mix a dirt or rust color
Mix brown or orange paint with a small amount of black to create a dirt or rust color. This will simulate the effects of dirt and aging on the skeleton.
Apply dirty or weathered effect
Using a sponge or a brush, apply the dirt or rust color sparingly to specific areas of the skeleton. Focus on joints, crevices, or areas that would naturally accumulate dirt or show signs of wear.
Add rust or corrosion
To mimic the appearance of rust or corrosion, you can use a sponge or a small brush to dap on a mixture of brown and orange paint. Apply it lightly and selectively, focusing on areas where metal parts might be present.
Create aging effects
To create aging effects on the skeleton, use a dry brush technique with a light color. Apply the paint lightly and sparingly to certain areas, such as the edges of bones or the tips of fingers, to give the illusion of wear and tear.

Adding Depth and Realism
To make your aged skeleton look more realistic, focus on adding depth and fine-tuning the details. Here are some techniques to achieve that:
Dry brushing technique
The dry brushing technique involves loading a small amount of paint onto the brush and then removing most of it by brushing it onto a paper towel. Lightly brush the remaining paint onto the skeleton to highlight texture and add dimension.
Gradual layering
Layering multiple thin coats of paint can help build up depth and richness in color. Apply each layer after the previous one has dried to gradually build up the desired effect.
Incorporate washes
Using a wash involves diluting the paint with water and applying it in thin layers over the skeleton. This technique can create a translucent effect that mimics the natural aging process.
Blend colors
When adding layers or washes, blend the colors together using a clean brush or a soft cloth. This will help to create smooth transitions and prevent any harsh lines or patches.
Increase contrast
To add more visual interest to your aged skeleton, increase the contrast by applying dark shades in the recessed areas and lighter shades on the raised surfaces. This will make the details stand out and enhance the illusion of depth.
Adding Finishing Touches
To complete the aging process and add the final touches to your skeleton, follow these steps:
Fine-tune details
Step back and assess your work. Use a small brush and a steady hand to fine-tune any details that may need improvement or adjustment. This is your opportunity to add precision and refine the overall appearance.
Highlight certain areas
Choose certain areas that you want to stand out more and apply a little more paint to add emphasis. This could include areas like facial features, hand bones, or the spine, depending on the effect you want to achieve.
Create a glossy or matte finish
Decide whether you want to go for a glossy or matte finish. Apply an acrylic sealant that matches your desired finish to protect the paint and give the skeleton a polished look.
Optional: Apply a spray sealer
If you want to further protect your aged skeleton from dust or damage, consider applying a spray sealer. Follow the instructions on the sealer carefully and ensure the skeleton is completely dry before application.

Tips and Tricks
Here are some additional tips and tricks to help you achieve the best results when aging a skeleton with acrylic paint:
Experiment on a small area first
Before applying paint to the entire skeleton, test your techniques and color combinations on a small, inconspicuous area. This will give you a better idea of how the paint will interact with the surface and allow you to make adjustments if necessary.
Start with a light hand
When applying paint, start with a light hand and gradually build up the desired effect. It’s easier to add more paint than to remove excess, so take your time and be patient throughout the process.
Build up layers gradually
To achieve a more realistic and nuanced appearance, build up the layers of paint gradually. This will allow you to control the intensity of the aging effect and create a more natural look.
Use reference images
If you’re unsure about certain details or are striving for a specific look, refer to reference images of aged bones or skeletons. These can provide helpful guidance and inspiration for your painting techniques.
Take breaks to assess progress
Take regular breaks while working on your skeleton to step back and assess your progress. This will help you to identify any areas that need adjustment or additional work.
Clean and care for your brushes
After each painting session, clean your brushes thoroughly with soap and water or a brush cleaner. This will help to maintain the quality of your brushes and ensure they’re ready for future use.
Safety Precautions
When working with acrylic paint and aging a skeleton, it’s important to prioritize safety. Here are some essential safety precautions to keep in mind:
Wear protective gloves
To avoid skin irritation or contact with potentially harmful chemicals, always wear protective gloves throughout the entire process.
Work in a well-ventilated area
Ensure that you’re working in a well-ventilated area. Acrylic paint can emit fumes, so open windows or use a fan to improve air circulation.
Avoid contact with eyes and skin
Be cautious when working with acrylic paint and try to avoid contact with your eyes and skin. In case of accidental contact, rinse the affected area immediately with clean water.
Dispose of materials properly
Dispose of any used paint containers, brushes, or paper towels properly. Follow local regulations and guidelines for proper disposal of hazardous materials.
Keep away from children and pets
Store all paints and materials safely out of reach of children and pets. Acrylic paint should not be ingested or come into contact with animals.
By following these steps and safety precautions, you can successfully age a skeleton using acrylic paint. Whether you’re preparing for Halloween or a spooky-themed event, this technique will allow you to create a realistic and weathered look that will impress and delight. Happy aging!


