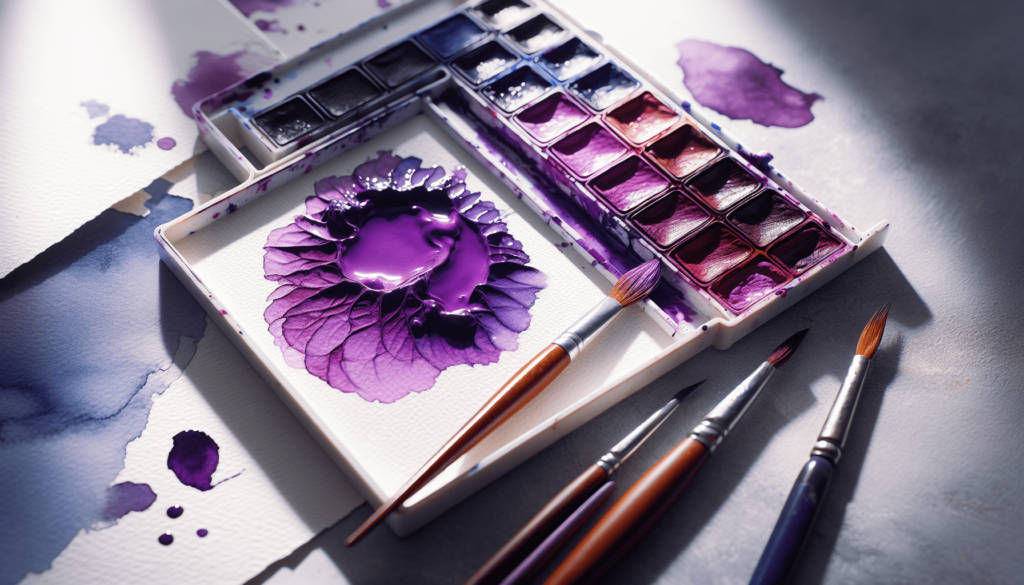
In “How To Make Purple Watercolor Paint,” you will discover a step-by-step guide to creating your own vibrant purple watercolor paint. The article explains the process of combining various shades of blue and red to achieve the perfect hue. It provides tips on selecting the right pigments, achieving consistency in color, and experimenting with ratios to suit your artistic preferences. By following the outlined techniques, you will be able to mix high-quality purple watercolor paint that enhances your artwork and brings your creative vision to life. Have you ever wondered how to create the perfect shade of purple with your watercolor paints? Whether you’re a beginner in the world of watercolor painting or an experienced artist looking to refine your techniques, understanding how to mix and create various shades of purple is essential for your artistic repertoire. This guide aims to give you detailed instructions and insights into making purple watercolor paint that suits your specific creative needs.
Understanding Basic Color Theory
Before jumping straight into the mixing process, it’s crucial to have a foundational understanding of color theory. Color theory covers the principles of color mixing and the challenging task of creating specific hues, shades, and tints.
Primary Colors
Primary colors—red, blue, and yellow—cannot be created by mixing other colors. These colors are the building blocks for all other colors, including purple.
Secondary Colors
When you mix two primary colors, you get a secondary color. These include green, orange, and purple. In this guide, we’ll focus on mixing red and blue to achieve purple.
Tertiary Colors
Tertiary colors are created when you mix a primary color with a secondary color. While this might not be directly related to creating purple, understanding this can help you nuance your purple hues.
Materials You’ll Need
Ensure you have the right materials before you start. This will help you achieve the best results and make the process smoother.
Watercolor Paints
Invest in good quality watercolor paints. The quality of your paint will affect the vibrancy and the ease with which you can blend colors. Consider using both warm and cool hues of red and blue.
Palette
A palette provides a surface where you can mix your watercolor paints. Ensure it’s clean and has ample space for color manipulation.
Brushes
Different brushes serve different purposes. For mixing and applying your paint, you’ll typically use round brushes in various sizes.
Water and Containers
You will need clean water for mixing your colors and cleaning your brushes. Separate containers for clean and dirty water are advisable.
Paper
Good quality watercolor paper is essential. The paper’s texture and weight can significantly influence how your paint behaves.
Initial Color Mixing
Start by mixing the primary colors to see how they interact. Understanding how red and blue combine will give you a base from which to create different shades of purple.
Warm vs. Cool Colors
Knowing whether your red or blue is warm or cool helps in creating the exact shade you want. Let’s look at some common watercolor paints:
| Warm Reds | Cool Reds | Warm Blues | Cool Blues |
|---|---|---|---|
| Cadmium Red | Alizarin Crimson | Ultramarine Blue | Phthalo Blue |
| Scarlet Lake | Carmine | Prussian Blue | Cerulean Blue |
Mixing Warm Reds and Blues
When you mix warm reds (like Cadmium Red) with warm blues (like Ultramarine Blue), you’ll generally get a warmer, more muted purple.
Mixing Cool Reds and Blues
Cool reds mixed with cool blues produce a cooler, more vibrant purple. Experiment with different combinations to see the variety of purples you can make.
Creating Custom Shades of Purple
Once you understand the basics, you can start creating custom shades of purple.
Light Purple
To achieve a light purple, you’ll need to dilute your purple mix with more water. Keep a light touch with your brush, applying more water to the pigment ratio.
Dark Purple
To create darker shades of purple, increase the concentration of pigment in your mix and reduce the amount of water. Consider adding a bit of black or Payne’s Gray for an even deeper hue.
Muted Purple
If you want a muted or desaturated purple, you can add a tiny amount of the color’s complementary color, which is yellow.
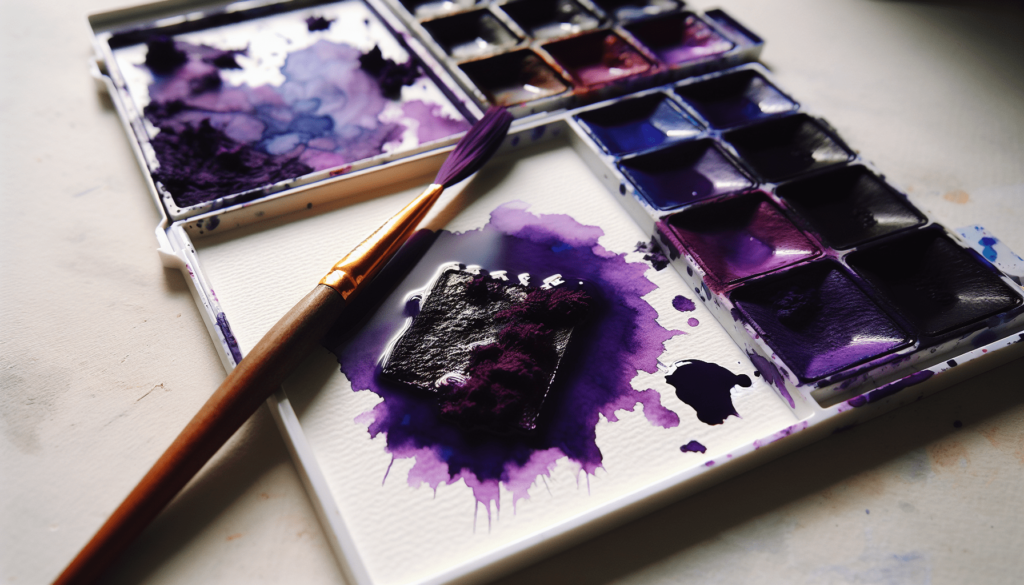
Experimenting with Complements
Understanding complementary colors helps you add depth and contrast to your paintings. Yellow is purple’s complement, and when mixed in tiny quantities, it helps mute or tone down the purple.
Rectifying Common Mistakes
Mixing the perfect purple isn’t always straightforward. Here are some common mistakes and how to correct them:
Muddy Colors
Your colors might appear muddy if you accidentally mix too many pigments. Stick to using just two colors initially—one red and one blue.
Uneven Mixing
Ensure that your mixing is thorough. Incomplete mixing can lead to streaks in your painting, which can either be a stylistic choice or a distraction.
Bleeding
When using wet-on-wet techniques, bleeding can occur, causing colors to spread unpredictably. Practice controlling the amount of water on your brush and paper.
Practical Applications: Using Purple in Your Art
Understanding how to mix purple is just the first step. Applying it in a meaningful way in your artwork is where your knowledge really comes to life.
Purple in Nature
Consider the elements of nature that feature purple—lavender, grapes, and certain types of flowers. Using the right shades can make these elements pop in your artwork.
Backgrounds
Light purples can create atmospheric backgrounds, especially in scenes featuring twilight or dawn. Dark purples can instill a sense of mystery or depth.
Shadows
Shadows often contain hints of purple, especially in natural light. Experiment with adding a touch of purple to your shadow areas for added realism.
Accents
Purple works wonderfully as an accent color. Use it minimally to make certain elements stand out without overwhelming your painting.
Advanced Techniques
Ready to take your purple mixing to the next level? Experiment with these advanced techniques:
Layering Watercolor
Layering involves applying multiple washes of color. Start with lighter shades and gradually layer darker shades on top. Each layer should be thoroughly dry before applying the next.
Glazing
Glazing is similar to layering but requires more precision and a thin application of paint. It allows for a gradual build-up of color, adding complexity and richness to your shades.
Splattering
For a more textured effect, use a loaded brush and flick paint onto your paper. This technique is great for adding interest to abstract backgrounds or specific areas.
Water Droplets
Add interest to your purple washes by dropping clean water onto painted areas. The water will push the pigment away, creating organic patterns.
Conclusion
The art of mixing and using purple watercolor paint involves a keen understanding of color theory, the quality of materials, and precise techniques. By thoroughly exploring these different angles—such as mixing warm vs. cool colors, adjusting color intensities, and applying various artistic methods—you’re well on your way to mastering how to make and use the perfect shades of purple in your watercolor artwork.
Remember, practice and experimentation are key. Each painting session brings you closer to understanding the nuances of this beautiful color. So, gather your materials and start mixing! Your perfect shade of purple is just a brushstroke away.

