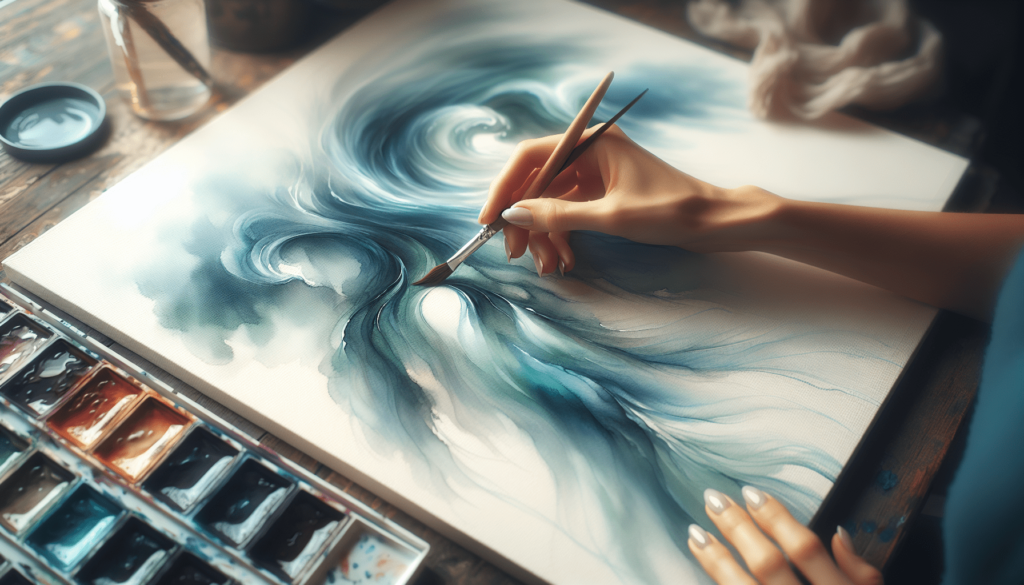
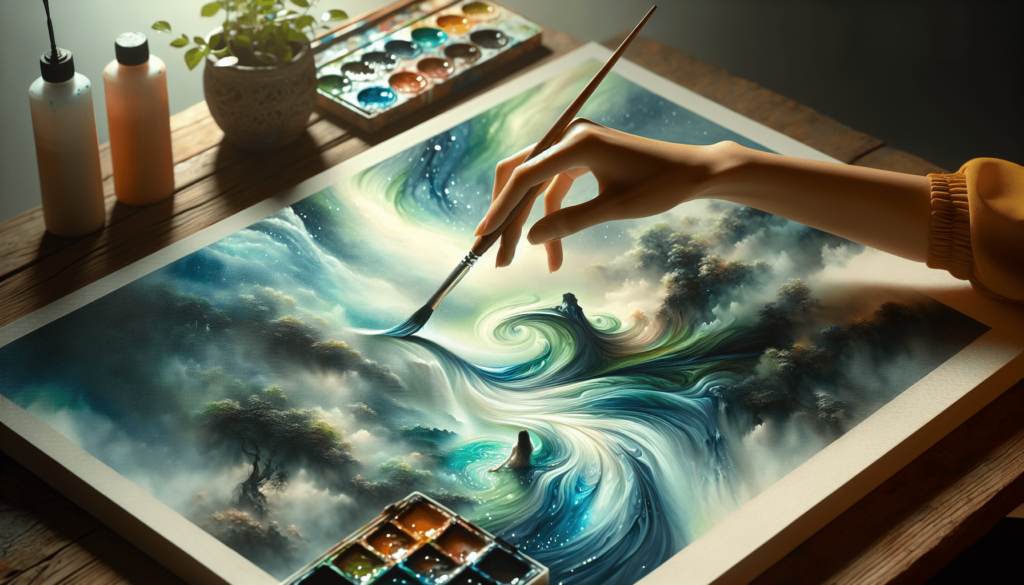
In “How To Paint Water With Watercolors,” you will discover the nuanced techniques essential for capturing the fluidity and tranquility of water using watercolors. This comprehensive guide will equip you with the skills to reflect the delicate interplay of light and shadow on water surfaces, effectively portraying streams, lakes, and ocean waves. By mastering the art of layering, glazing, and manipulating transparency, you will enhance your artistic repertoire, resulting in evocative and realistic water scenes. Have you ever looked at a watercolor painting and wondered how artists manage to make water look so realistic and fluid? Painting water can be one of the most challenging and rewarding subjects in watercolor art. This guide will take you step-by-step through the process of painting water with watercolors. Whether you’re a seasoned artist or a beginner, these techniques will help you capture the essence of water in your artwork.

Understanding Water Dynamics
Before you even pick up your brush, it’s essential to understand the dynamics of water. Water can be still like a lake, dynamic like an ocean, or somewhere in between like a river or stream. Each type has unique characteristics that you need to replicate in your artwork.
Observation and Study
Spend some time observing water in different settings. Notice how the light interacts with the water, creating highlights and shadows. Understand how water moves and how objects are reflected differently on the surface.
Key Elements of Water
There are several key elements to consider when painting water:
- Transparency
- Reflection
- Movement
- Color
By mastering these elements, you’ll be able to create more realistic and engaging water scenes in your paintings.
Materials You’ll Need
Before you start painting, gather all the necessary materials. Working with the right tools can make a significant difference in your outcomes.
| Material | Description |
|---|---|
| Watercolor Paper | Choose a high-quality, 300gsm paper for best results. |
| Watercolor Paints | A set of professional-grade watercolors. |
| Brushes | Variety of sizes (round, flat, detail brushes). |
| Palette | For mixing colors. |
| Water Jars | One for clean water and one for rinsing brushes. |
| Masking Fluid | Optional, for preserving white areas. |
| Pencil | For sketching. |
Basic Techniques for Painting Water
Let’s go through some basic techniques that are foundational for painting water.
Wet-on-Wet Technique
The wet-on-wet technique involves applying wet paint onto a wet surface. This is excellent for creating soft transitions and blending colors, ideal for painting skies and water reflections.
Dry Brush Technique
The dry brush technique uses a brush with very little paint and almost no water. This method is perfect for adding texture and fine details, like the ripples on the water surface.
Glazing
Glazing involves applying a thin, transparent layer of paint over a dry layer. This technique is useful for building depth and creating luminous effects.
Steps to Paint Different Types of Water
Now, let’s break down the steps to paint various types of water. Each type requires a slightly different approach.
Still Water
Still water, such as ponds or lakes, reflects the surrounding environment and is often calm and smooth.
- Initial Wash: Start with a light wash of blue. You can add a touch of green or brown, depending on the setting.
- Add Reflections: Use the wet-on-wet technique to add reflections of trees, buildings, or skies. Keep the strokes horizontal to mimic the flatness of the water.
- Detailing: Once the base layers are dry, use a dry brush to add ripples and small waves to indicate movement on the surface.
- Final Touches: Add final touches like shadows and highlights to enhance realism.
Flowing Water
Flowing water, such as rivers and streams, has movement and often includes more color variations and textures.
- Base Color: Apply a light blue wash to indicate the water body.
- Flow Lines: Add lines and curves to indicate the flow direction. Use darker shades of blue or green to add depth.
- Highlights: Use a lighter shade of blue or even white to add highlights where light hits the water.
- Foam and Bubbles: Use a dry brush with white paint to add foam and bubbles, especially around rocks and obstacles.
Ocean Waves
Painting ocean waves is more complex and involves capturing both the movement and power of the sea.
- Sketch Lines: Lightly sketch the lines where the waves will be, including the crest and trough.
- Base Layer: Apply a gradated wash from dark blue at the horizon to a lighter blue near the shore.
- Wave Crests: Use a medium brush to add the shadow areas of the waves, blending as you go.
- Highlights and Spray: Use a fine brush or a toothbrush to spatter white paint, creating the effect of spray and foam.
- Depth and Shadows: Add deeper shades to create the illusion of depth and shadow within the waves.

Advanced Techniques and Tips
Once you are comfortable with the basic techniques and processes, you can start experimenting with more advanced methods to make your water paintings even more realistic and dynamic.
Layering and Glazing
Use multiple layers and glazing techniques to build up depth and luminosity. This is particularly effective for painting complex water scenes with multiple elements.
Masking Fluid
Masking fluid can be used to preserve areas that you want to keep white or lighter. This is particularly useful when you want to paint around areas that will later be added as highlights or reflections.
Spattering and Sponging
These techniques can add texture and create interesting effects in your water scenes. Spattering involves flicking paint onto the paper, while sponging can create rough textures similar to rocks or sea foam.
Troubleshooting Common Issues
Even seasoned artists face challenges when painting water. Here are some common problems and how to address them:
| Issue | Solution |
|---|---|
| Colors too muddy | Use clean water and a limited palette to prevent over-mixing. |
| Lack of depth | Implement more layers and use the glazing technique to add depth and luminosity. |
| Harsh edges | Use a damp brush to soften edges and blend transitions smoothly. |
| Unrealistic reflections | Observe real water reflections and practice replicating them accurately. |
Practicing and Improving
Like any skill, painting water with watercolors improves with practice. Here are some strategies to help you hone your skills:
Consistent Practice
Set aside time each week to practice painting different types of water. Consistency will help you develop muscle memory and improve your technique.
Study Other Artists
Look at the works of other artists who excel at painting water. Analyze their techniques and try to incorporate some of their methods into your practice.
Seek Feedback
Share your work with other artists or join an art community. Constructive feedback can help you identify areas for improvement and inspire new ideas.
Experiment
Don’t be afraid to experiment with different techniques, colors, and tools. Sometimes the best discoveries in art come from trying something new and unexpected.
Conclusion
Painting water with watercolors can seem daunting, but with the right techniques and practice, you can master this captivating subject. Remember to observe real water closely, practice consistently, and don’t hesitate to experiment and learn from others. With time and dedication, you’ll be able to create water scenes that are both realistic and full of life.


