Are you looking for a creative way to add a pop of color to your crafts or costume designs? Look no further! In this article, we will show you how to dye feathers with acrylic paint, a simple and inexpensive method that will allow you to create stunning and vibrant feathers in just a few easy steps. Whether you want to make a colorful feather headdress or add a unique touch to your home decor, this tutorial will guide you through the process, giving you the confidence and know-how to transform ordinary feathers into works of art. So grab your acrylic paints and get ready to bring a burst of color to your feathered creations!
Materials Needed
To dye feathers with acrylic paint, you will need the following materials:
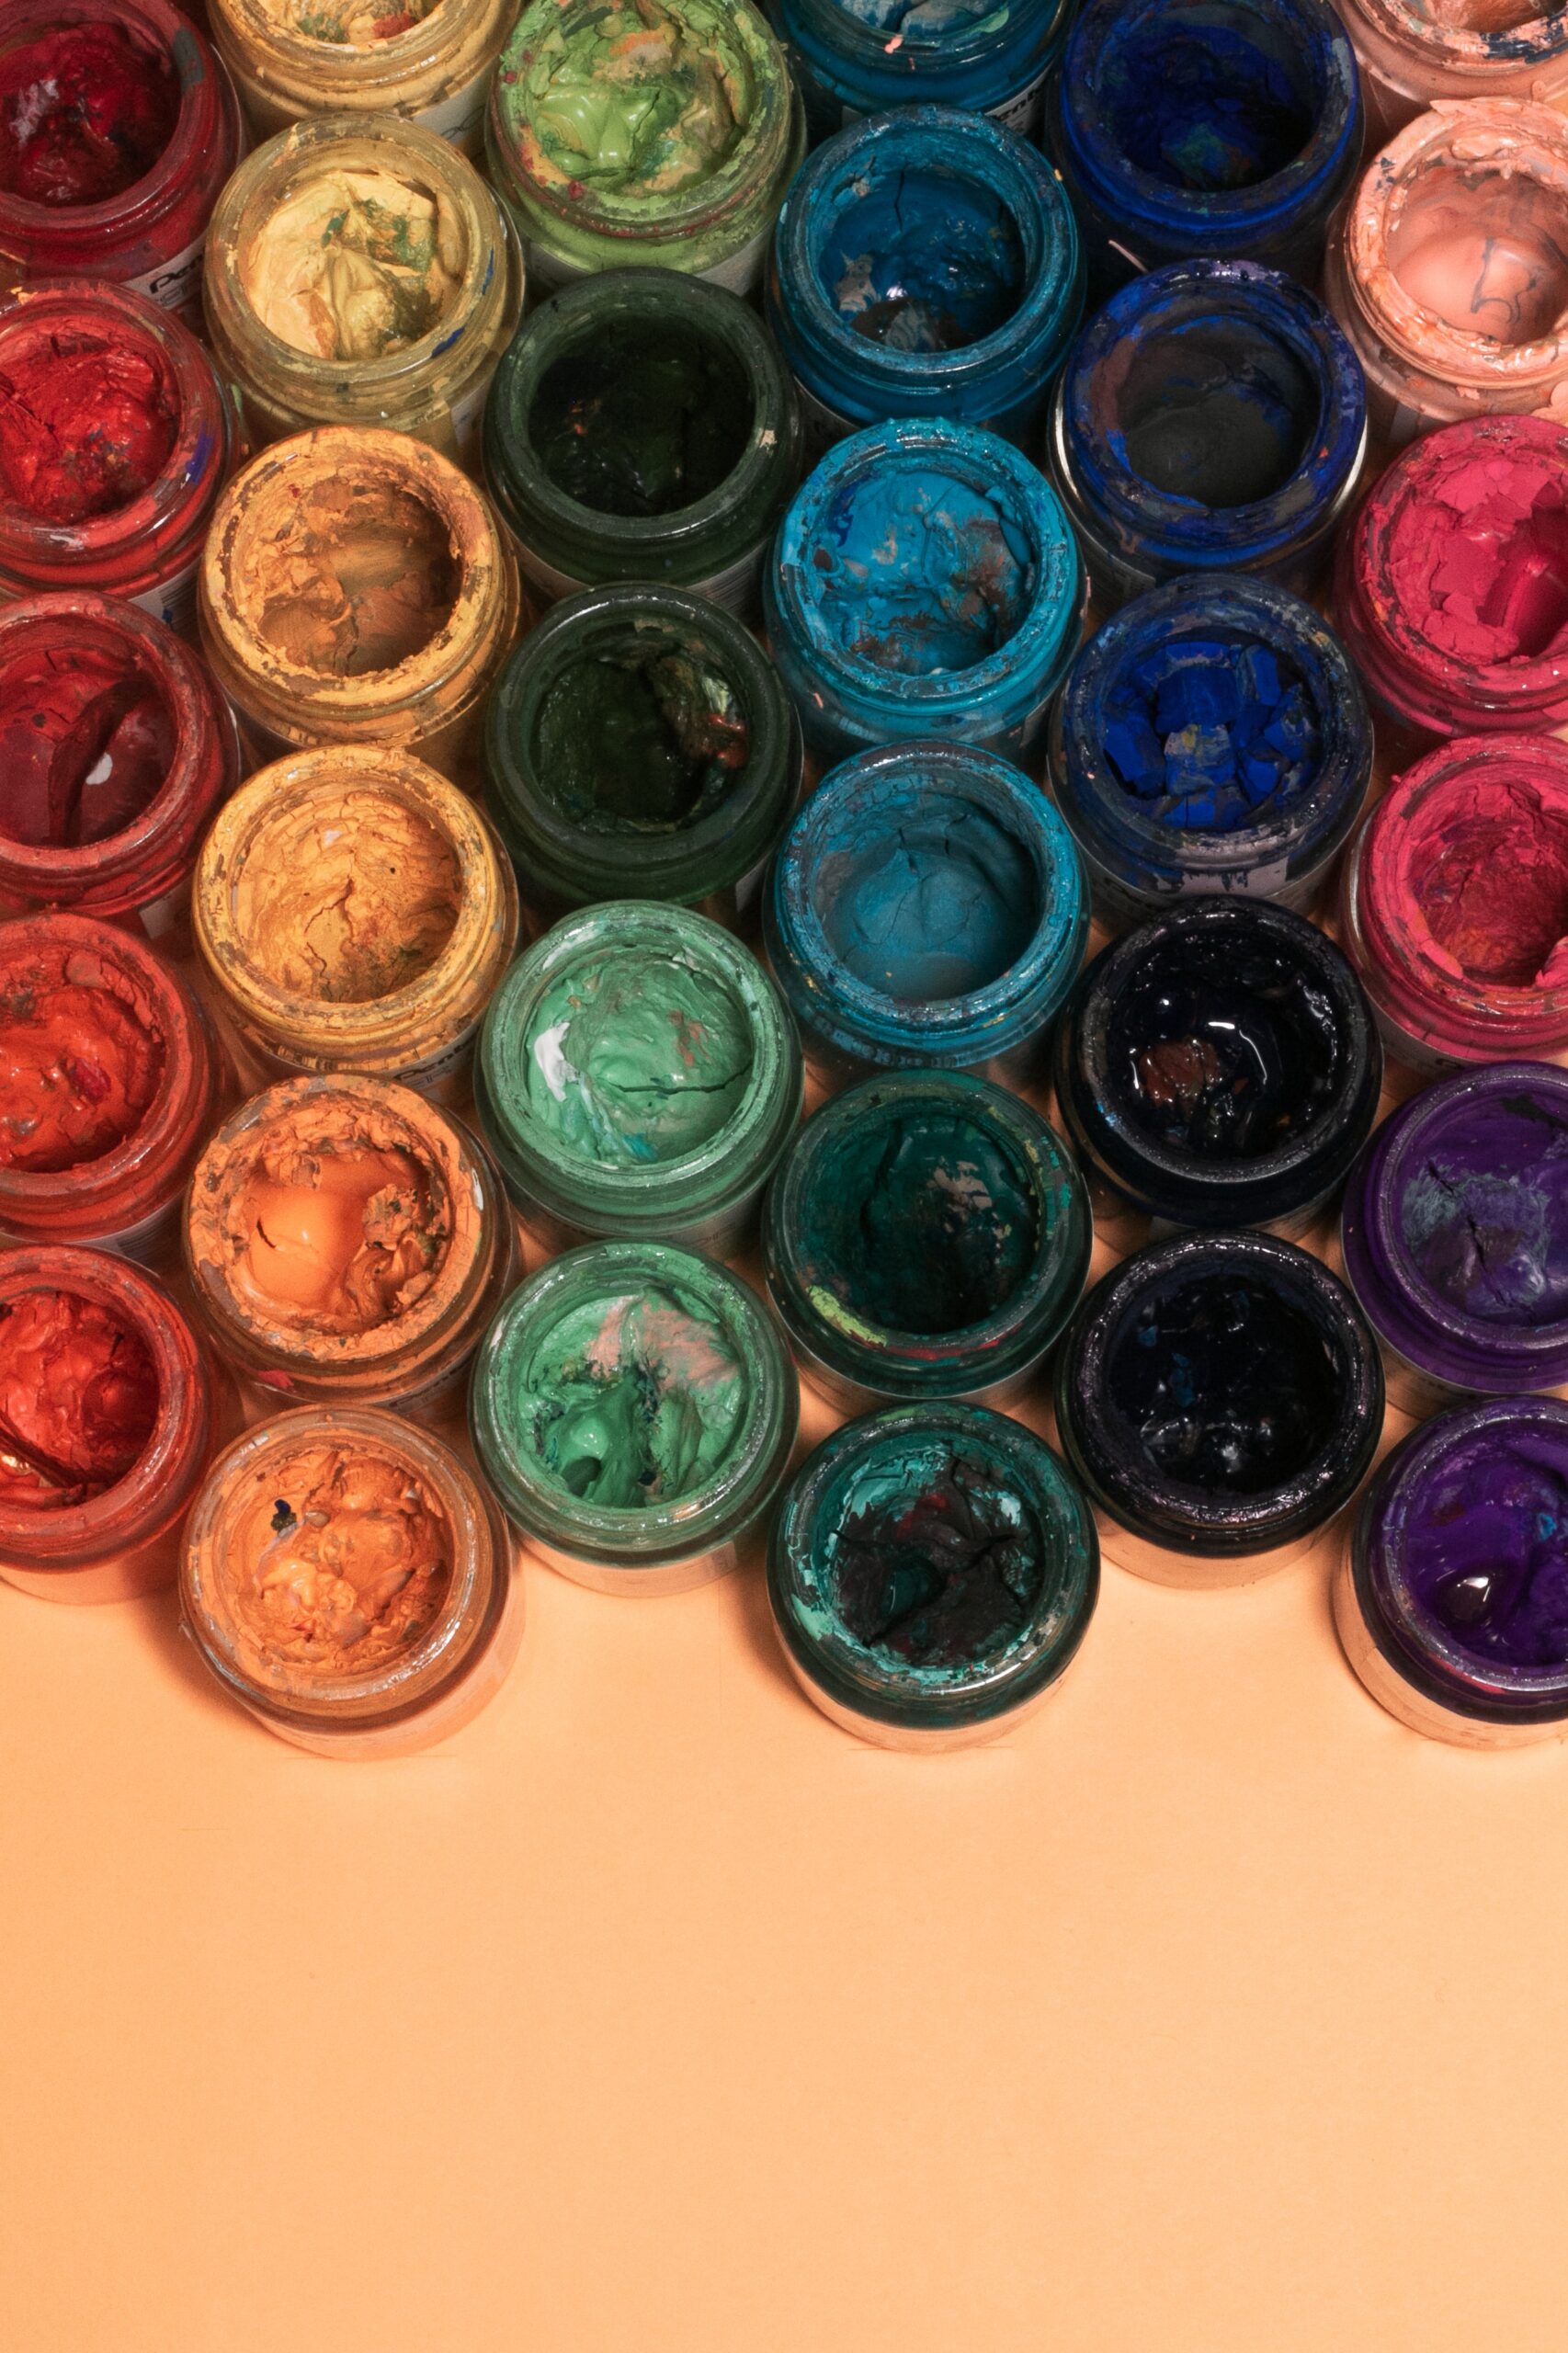
Acrylic paint
Acrylic paint is the main ingredient for dyeing feathers. It comes in a wide range of colors and is easy to work with. Make sure to choose high-quality acrylic paint for vibrant and long-lasting results.
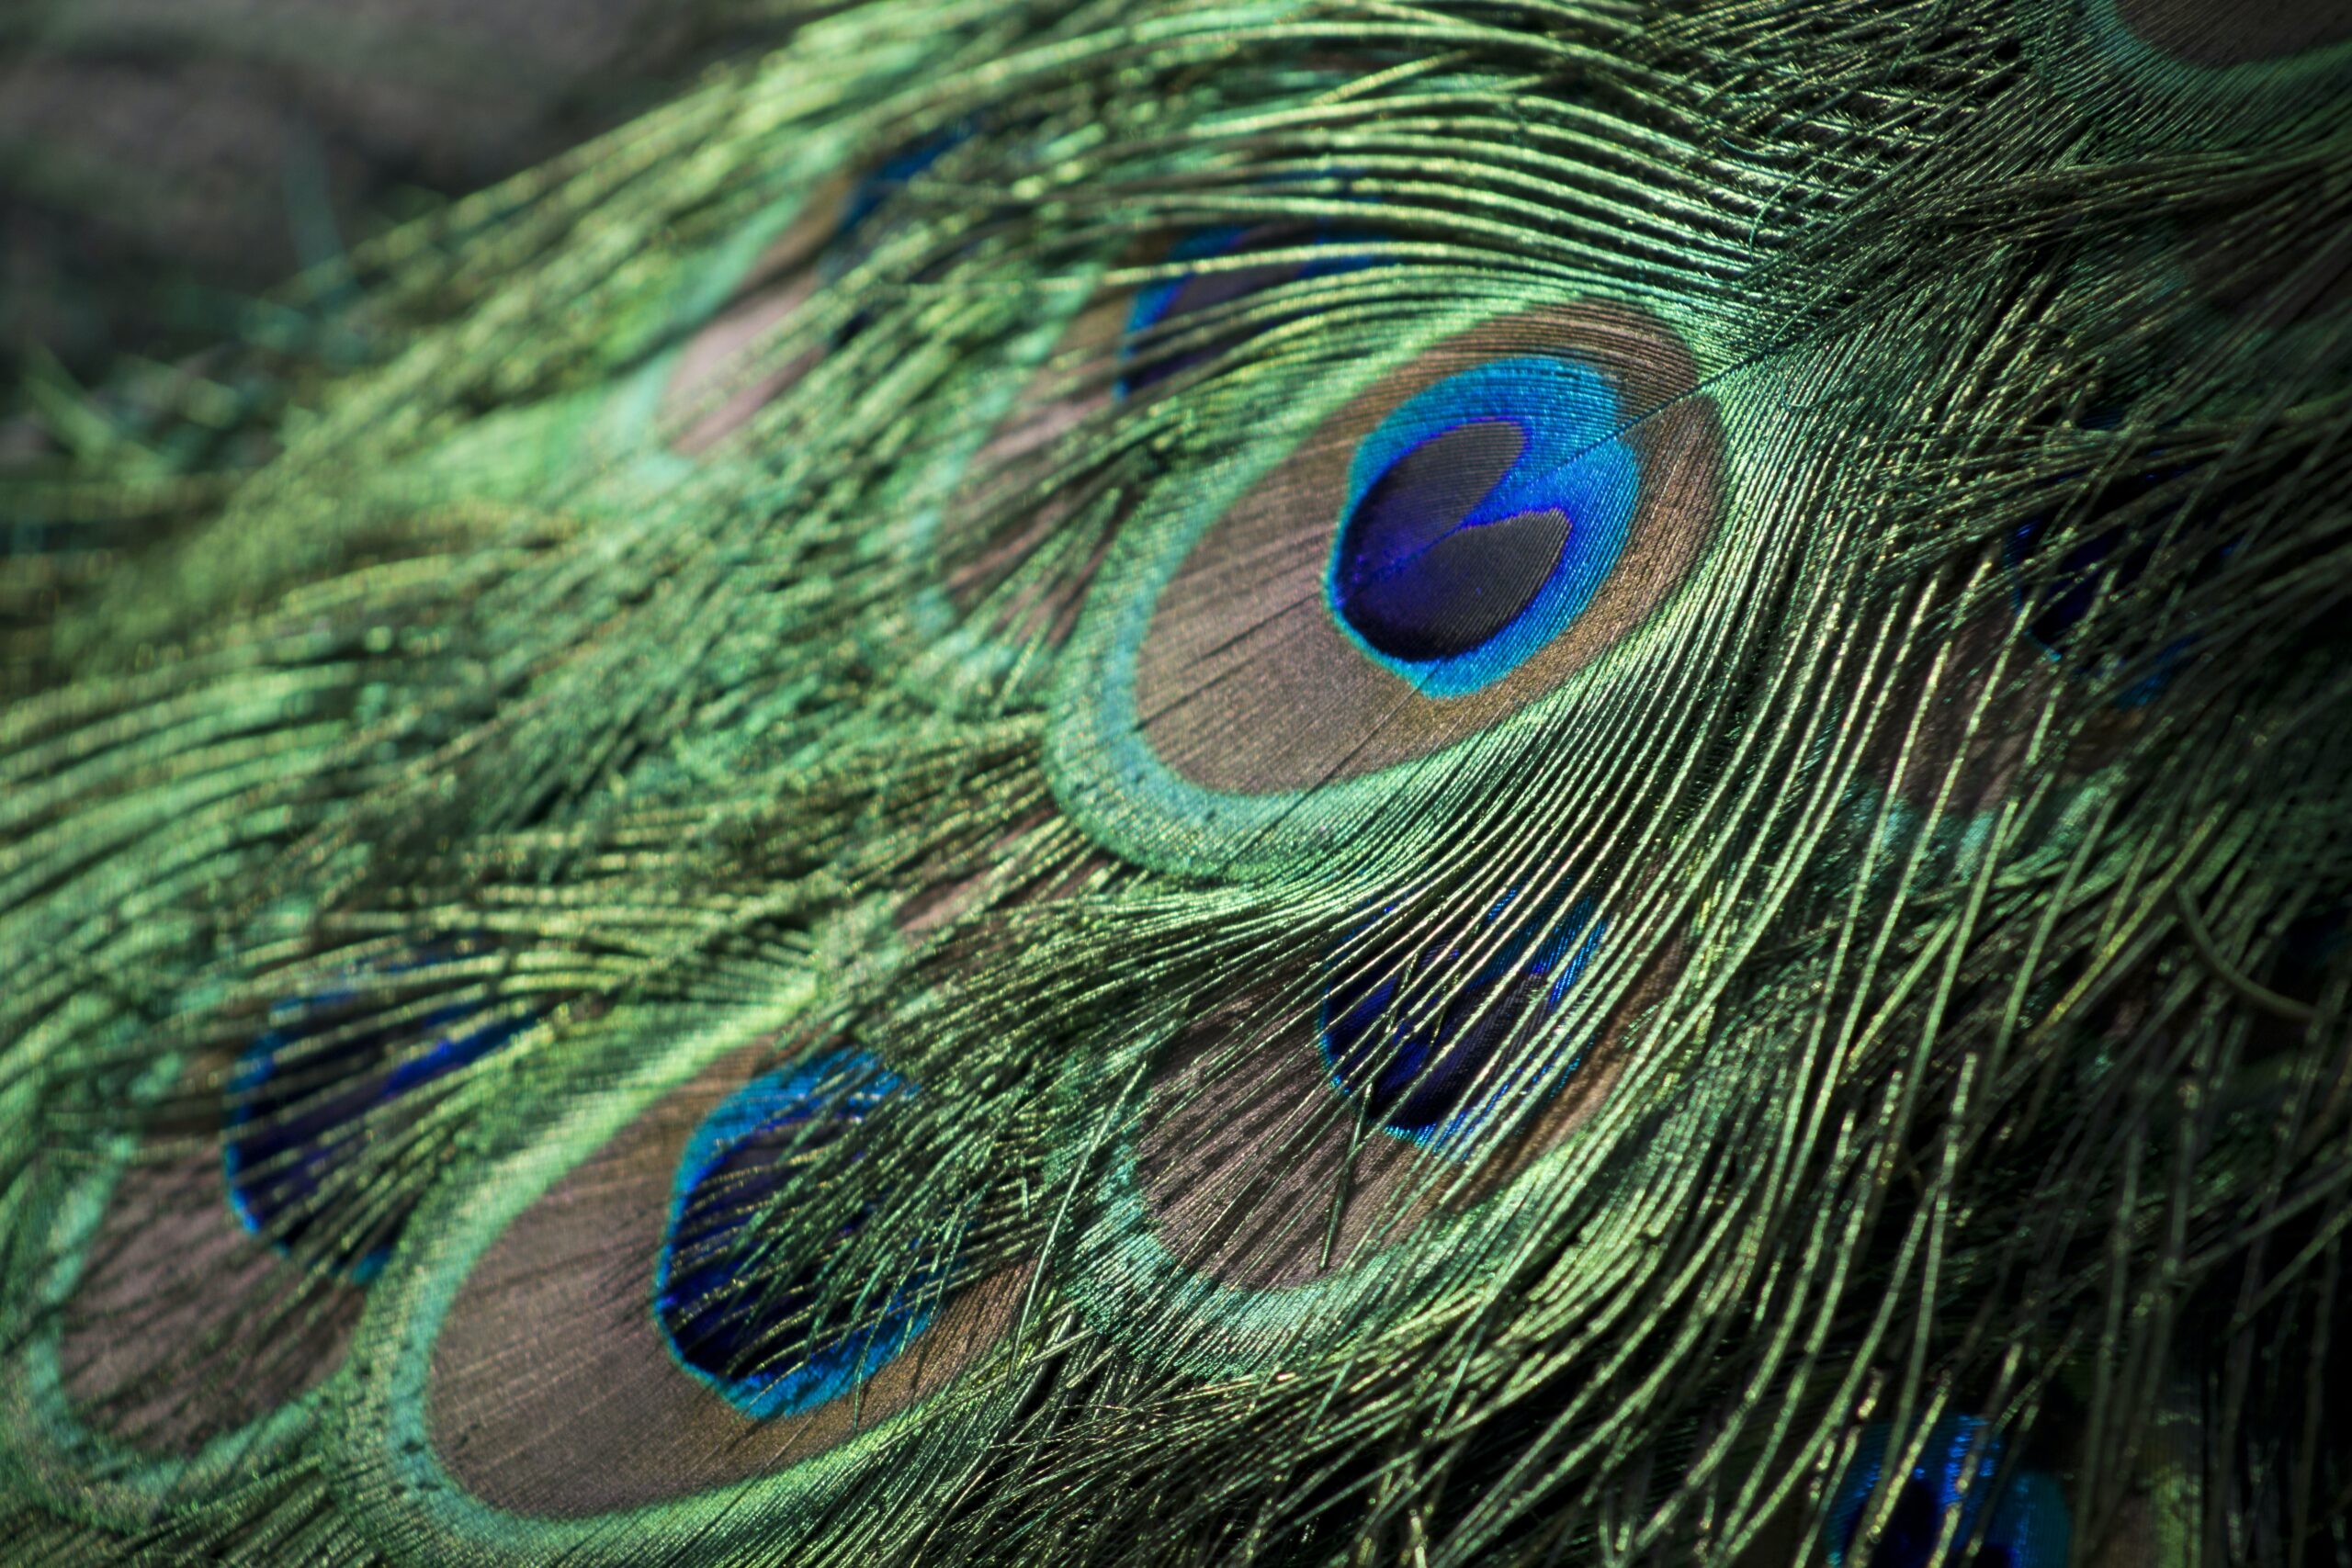
Feathers
Feathers are the canvas for your artistic creation. You can find them in various shapes and sizes, such as peacock feathers, ostrich feathers, or even synthetic feathers. Choose feathers that are clean and free from any damage.
Paintbrushes
Different paintbrushes will give you different effects when applying the paint to the feathers. Have a variety of brushes with different brush sizes and shapes. This will allow you to experiment with different techniques and achieve various textures.
Palette
A palette is where you mix your acrylic paint. You can use a traditional artist palette made of plastic or a disposable palette pad. Make sure it has enough space to mix multiple colors together.
Water
Water is essential for diluting the acrylic paint and creating desired shades. Having a container or cup of water nearby will make it easier to clean your brushes and adjust the consistency of the paint.
Paper towels
Paper towels are handy for cleaning brushes, blotting excess paint, and protecting your work area from any accidental spills or drips. Keep a stack of paper towels within reach to ensure a smooth and mess-free painting session.
Preparing Feathers
Before you begin dyeing the feathers, it’s important to prepare them properly. Follow these steps:
Clean the feathers
Start by gently cleaning the feathers to remove any dust or debris. You can use a soft brush or blow dryer on a low setting to remove any loose particles. Be careful not to damage the delicate feather structures.
Arrange the feathers
Lay out the feathers on a clean surface in the desired order or pattern. This will help you visualize the final design and make it easier to apply the acrylic paint evenly.
Protect your work area
Cover your work area with a plastic sheet or newspaper to protect it from any potential paint spills or stains. This will make the cleanup process much easier and prevent any damage to the surrounding surfaces.

Mixing Acrylic Paint
mixing acrylic paint allows you to create custom colors and achieve the desired shade for your feathers. Follow these steps:
Choose your colors
Select the acrylic paint colors you want to use for dyeing the feathers. Consider the overall color scheme or theme you want to achieve. You can mix primary colors to create new shades or use pre-mixed colors from the tube.
Squeeze acrylic paint onto the palette
Squeeze a small amount of each chosen color onto the palette. Start with a little and add more as needed. You can always mix more paint, but it’s better to start with less and avoid wastage.
Add water
Add a small amount of water to the paint on the palette. Use the water sparingly at first and gradually increase the amount until you achieve the desired consistency. The water helps dilute the paint, making it easier to apply and creating lighter or more translucent shades.
Mix colors to achieve desired shades
Use your paintbrush or palette knife to mix the colors together on the palette. Experiment with different combinations to create new shades or lighter/darker variations of the original colors. Take your time to find the perfect blend for your feather dyeing project.
Applying Acrylic Paint
Once you have prepared the feathers and mixed the acrylic paint, it’s time to apply it. Depending on the effect you want to achieve, you can use different application techniques:
Choose your application technique
Decide whether you want to brush the paint directly onto the feathers, dip the feathers into the paint, or spray the paint onto the feathers. Each technique will give you a different texture and visual result, so choose the one that best suits your creative vision.
Brushing the paint directly onto the feathers
Using a clean paintbrush, dip it into the acrylic paint mixture and brush it directly onto the feathers. Apply the paint evenly, following the natural direction of the feather strands. This method gives you more control over the paint application and allows for precise details.
Dipping feathers into paint
If you want to achieve a more saturated and uniform color, you can dip the feathers directly into the paint mixture. Hold the feather by the quill and carefully dip it into the chosen color. Gently shake off any excess paint and let the feather dry completely before handling.
Spraying paint onto the feathers
For a more abstract or gradient effect, you can use a spray bottle or airbrush to apply the paint onto the feathers. dilute the acrylic paint with water and load it into the spray bottle or airbrush. Hold the feathers at a distance and spray the paint in even strokes, allowing the colors to blend naturally.

Creating Gradient Effects
Creating gradient effects with acrylic paint adds depth and visual interest to your dyed feathers. Here’s how you can achieve different gradient effects:
Blend colors together
To create a smooth gradient effect, paint two or more colors onto the feathers and gently blend them together while the paint is still wet. Use a clean brush or a soft sponge to blend the colors, working from one color to another in a gentle back-and-forth motion.
Create an ombre effect
For an ombre effect, start with one color at the base of the feather and gradually transition into another color towards the tip. Apply the colors in separate sections or bands, blending them slightly at the transition points. This will create a beautiful gradient effect that mimics a natural feather pattern.
Use multiple brushes for blending
Using multiple brushes with different colors at the same time can create a unique gradient effect. Load each brush with a different color and blend them together on the feather surface, creating a soft and seamless transition between the colors. Experiment with different brush sizes and strokes to achieve the desired effect.
Allowing the Paint to Dry
After applying the acrylic paint, it’s important to allow the feathers to dry completely. Follow these tips for optimal drying:
Lay feathers flat to dry
Place the painted feathers on a clean surface, such as a drying rack or a piece of paper, and allow them to dry flat. This will prevent any unwanted drips or smudges. Avoid stacking wet feathers on top of each other, as this may cause the colors to bleed or transfer.
Avoid touching the wet paint
While the paint is drying, avoid touching it or putting any pressure on the painted surface. Acrylic paint can smudge easily when still wet, which may ruin the desired effect or blend the colors together. Exercise patience and let the paint dry naturally.
Consider using a hairdryer for quicker drying
If you’re short on time or impatient to see the final result, you can use a hairdryer on a low setting to speed up the drying process. Keep the hairdryer at a safe distance from the feathers to avoid heat damage or blowing away any loose feathers.

Adding Extra Details
To enhance the beauty of your dyed feathers, you can add extra details using fine-tipped brushes and other techniques. Consider the following options:
Using fine-tipped brushes
Fine-tipped brushes are perfect for adding intricate details or small patterns to the painted feathers. Dip the brush into a contrasting or complementary color and carefully paint delicate lines, dots, or shapes onto the feathers. This will add depth and texture to your artwork.
Adding patterns or designs
Get creative and experiment with different patterns or designs on the painted feathers. You can create geometric shapes, floral motifs, or even abstract art. Use stencils, stamps, or freehand techniques to achieve the desired patterns. Let your imagination and personal style guide you in this artistic process.
Overlaying metallic or glitter paint
For a touch of glamour and sparkle, you can overlay the painted feathers with metallic or glitter paint. Wait for the acrylic paint to dry completely, then use a clean brush to apply the metallic or glitter paint onto specific areas of the feathers. This will make them stand out and catch the light, adding a touch of magic to your creations.
Sealing the Paint
To protect the painted feathers and ensure their longevity, it’s important to seal the acrylic paint. Here’s how you can do it:
Choose a sealant
Select a sealant that is compatible with acrylic paint. There are various options available, such as acrylic varnish or spray sealants. Choose a sealant that is suitable for the feather material and the desired finish (matte, satin, or glossy).
Spray or brush the sealant onto the feathers
Follow the instructions on the sealant product and either spray it or brush it onto the painted feathers. Make sure to cover all areas evenly, paying attention to any detailed patterns or designs. Allow the sealant to dry completely before handling the feathers.
Allow the sealant to dry
Once the sealant has been applied, let the feathers dry for the recommended amount of time. Avoid touching or moving the feathers during this time to prevent any smudging or damage to the sealant. Once completely dry, your painted feathers will be protected and ready for use.

Caring for Dyed Feathers
Proper care and storage will ensure that your dyed feathers retain their beauty and longevity. Consider the following tips:
Avoid excessive handling
Feathers are delicate and can be easily damaged. Minimize handling the feathers unnecessarily to prevent breakage or color fading. When necessary, handle them gently by holding the quill or base, avoiding any pressure on the painted surface.
Store in a dry and protected place
To prevent damage and maintain the vibrant colors, store the dyed feathers in a dry and protected place. Avoid humid or damp environments, as moisture can cause the feathers to curl, mold, or lose their color. Place them in a box or container with acid-free tissue paper or silica gel packets to absorb any moisture.
Avoid exposure to water
Acrylic paint is water-based, so prolonged exposure to water may cause the colors to fade or bleed. Avoid getting the dyed feathers wet or exposing them to high humidity. If the feathers do get wet, gently pat them dry with a clean paper towel and let them air dry completely.
Using Dyed Feathers
Now that you have beautifully dyed feathers, let’s explore some creative ways to use them:
Craft projects
Dyed feathers can be used in a wide range of craft projects. From dreamcatchers and jewelry to greeting cards and scrapbooking, feathers add a touch of elegance and natural beauty. Use the dyed feathers as decorative accents or create entire projects centered around them. The possibilities are endless!
Costume accessories
Feathers are a popular choice for costume accessories, such as headdresses, wings, or masks. Use the dyed feathers to create unique and eye-catching accessories for Halloween, cosplay events, or themed parties. Combine them with other materials like fabric, beads, or wire to bring your creative vision to life.
Home decor
Dyed feathers can also be used to enhance your home decor. Create stunning wall art by framing a collection of painted feathers or incorporate them into a floral arrangement or centerpiece. You can also attach them to decorative objects like lampshades, vases, or wreaths for a unique and personalized touch.
In conclusion, dyeing feathers with acrylic paint is a fun and rewarding artistic process. With the right materials, technique, and creativity, you can transform plain feathers into vibrant works of art. Whether you use them for crafts, costumes, or home decor, the possibilities are endless. So, grab your paintbrushes and feathers, and let your imagination take flight!