Imagine having beautiful marbled patterns on your wooden furniture or décor, adding a touch of elegance to your home. In this article, you will discover a simple yet stunning technique on how to marble wood with acrylic paint. With just a few materials and some artistic flair, you will be amazed at how easy it is to transform ordinary wood into a captivating work of art. So grab your paintbrush and let’s embark on this creative journey together!
Materials Needed
To marble wood with acrylic paint, you will need the following materials:
Acrylic paint in various colors
Acrylic paint is the primary medium used for marbling wood. Choose a variety of colors that you like and that complement each other.
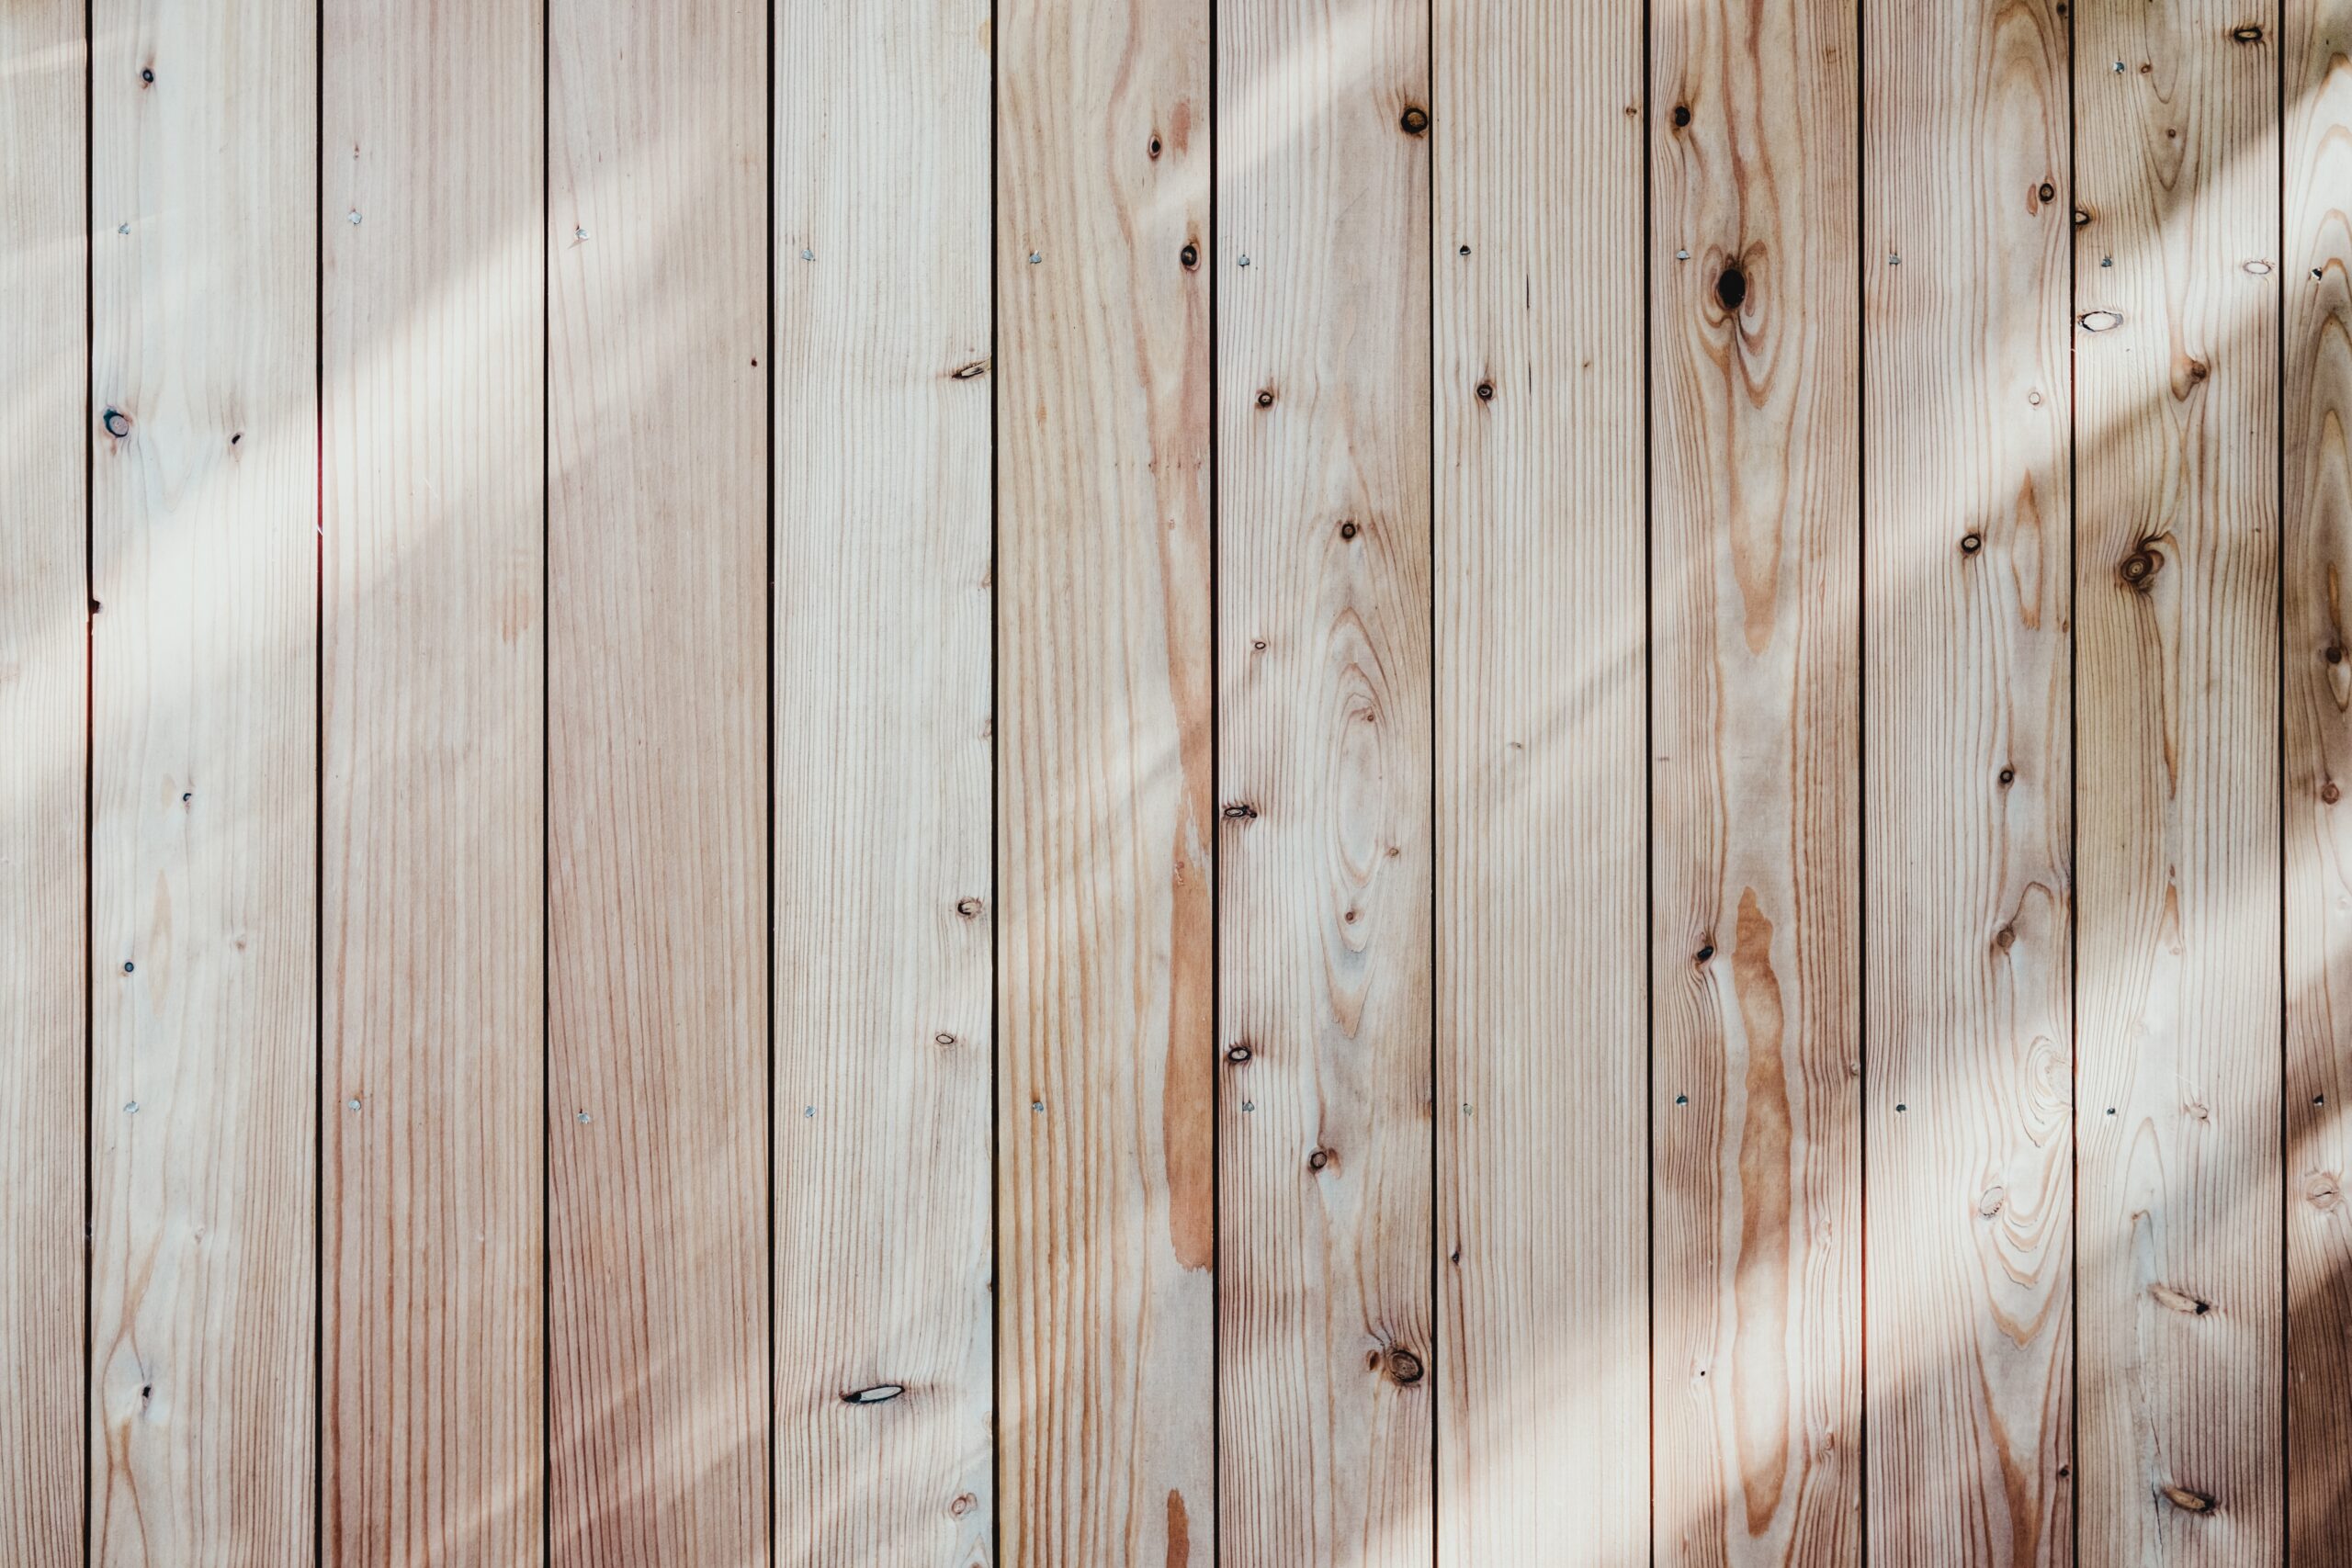
Wooden surface to marble
Select a wooden surface that you want to marble. This can be anything from a small decorative item to a larger piece of furniture.
Water
Water is used to create the marbling effect. You will need a container large enough to fit your wooden surface.
Mixing palette
A mixing palette will be used to thin and mix your acrylic paint.
Paintbrushes
You will need different sizes and types of paintbrushes for various techniques in marbling.
Marbling comb
A marbling comb is a tool that is specially designed to create patterns in the marbled paint.
Sponges
Sponges are used to add texture to the marbled paint and create different effects.
Masking tape
Masking tape is used to protect the edges of the wood surface and create clean lines.
Sealer or varnish
To protect the finished marbled wood, you will need a sealer or varnish.
Protective gloves
It is essential to wear protective gloves when working with acrylic paint to avoid any skin irritation or staining.
Preparation
Before you start marbling wood with acrylic paint, it is important to prepare properly. Follow these steps:
Choose the right type of wood
Select a wood surface that is suitable for marbling. Choose a smooth and untreated piece of wood for the best results.
Prepare the wood surface
Ensure that the wood surface is clean, smooth, and free from any dust or debris. Sand the surface if necessary to create a smooth base.
Protect the surrounding area
Place a protective covering or tarp on your work area to prevent any paint splatters or spills from damaging your workspace.
Wear protective gloves
Always wear protective gloves when working with acrylic paint to protect your hands and prevent any skin irritation or staining.

Creating the Base Coat
The base coat is the foundation for your marbling design. Follow these steps to create a beautiful base coat:
Select a base color
Choose a base color for your marbled wood. This color will form the background of your design and should complement the other colors you intend to use.
Apply the base coat
Using a paintbrush or roller, apply the base coat evenly to the wood surface. Make sure to cover the entire surface and allow it to dry completely.
Allow the base coat to dry
It is important to let the base coat dry completely before moving on to the next steps. This will ensure that the paint layers do not mix or smear.
Preparing the Marbling Paint
To create the marbling effect, you need to prepare the acrylic paint. Follow these steps:
Choose additional colors
Select additional colors that you want to use in your marbled wood design. Consider using colors that complement or contrast with the base color.
Thin the acrylic paint
Add some water to each color of acrylic paint and mix it on a mixing palette. The consistency should be thin enough to drip off a paintbrush easily.
Test the paint consistency
Before starting the marbling process, test the consistency of the paint on a small surface. Adjust the amount of water until you achieve the desired effect.

Creating the Marbled Pattern
Now it’s time to create the marbled pattern on your wood surface. Follow these steps to achieve stunning results:
Drip acrylic paint onto the water surface
Take one color of thinned acrylic paint and drip it onto the water surface. Repeat this step with different colors, creating a random pattern.
Use a marbling comb to create patterns
Drag the marbling comb through the paint on the water surface to create patterns and swirls. Experiment with different comb designs to achieve various effects.
Transfer the marbled pattern to the wood surface
Carefully place the wood surface onto the water surface, allowing the paint to transfer onto the wood. Press gently to ensure good paint adhesion.
Repeat the process
Repeat the marbling process, adding more paint and creating different patterns, until you are satisfied with the overall design. Let each layer dry before adding a new one.
Adding Depth and Texture
To enhance the marbled wood effect, you can add depth and texture with these techniques:
Create fine lines with a paintbrush
Use a fine-tipped paintbrush to create thin lines and details on the marbled surface. This technique adds depth and interest to the design.
Use a sponge to add texture
Dip a sponge into thinned acrylic paint and dab it lightly on the wood surface. This technique creates texture and adds dimension to the marbled pattern.
Experiment with different techniques
Don’t be afraid to experiment with different techniques and tools to add depth and texture to your marbled wood. Try using different brushes, sponges, or even your fingers to create unique effects.

Finishing Touches
After you have achieved your desired marbled wood design, it’s time to add the finishing touches:
Remove excess paint
Use a paper towel or sponge to remove any excess paint from the wood surface. This will help enhance the clarity of the marbled pattern.
Allow the paint to dry
Ensure that the paint is completely dry before proceeding with the next step. This is important to prevent any smudging or blending of the colors.
Apply a protective sealer or varnish
To protect the marbled wood and make it last longer, apply a protective sealer or varnish. Follow the manufacturer’s instructions for the best results.
Troubleshooting and Tips
Here are some troubleshooting tips to keep in mind while marbling wood with acrylic paint:
Avoid over-mixing the paint
Over-mixing the paint can lead to a muddy or murky marbled effect. It is best to keep the paint gently mixed to maintain distinct and vibrant colors.
Use masking tape for cleaner edges
To create clean and defined edges on your marbled wood, use masking tape to protect the edges from paint splatters or smudges.
Practice on a test board first
If you are new to marbling wood, it is always a good idea to practice on a small test board or scrap piece of wood first. This will allow you to familiarize yourself with the technique and experiment with different colors and patterns.
Experiment with different color combinations
Don’t be afraid to mix and match different colors to create unique and eye-catching marbled designs. Play around with different color combinations to discover what works best for you.

Cleaning Up
After you have completed your marbled wood project, it’s important to clean up properly:
Clean brushes and tools immediately
Clean your brushes, marbling comb, sponges, and any other tools used in the process immediately after use. Use warm soapy water to remove any acrylic paint residue.
Dispose of excess paint properly
Dispose of any excess paint properly according to your local regulations. Avoid pouring paint down the drain or in regular trash bins.
Conclusion
Marbling wood with acrylic paint is a fun and creative way to add a unique touch to wooden surfaces. By following the steps outlined in this article and using the right materials and techniques, you can create stunning marbled wood masterpieces. Enjoy the process, experiment with different colors and patterns, and let your creativity shine in your marbling projects.