As an art enthusiast or professional curator, you may encounter the challenge of dealing with oil paintings tainted by months or even years of exposure to cigarette smoke. This article titled “How to Clean An Oil Painting from Cigarette Smoke” is uniquely tailored for you. It provides a comprehensive guide on the best techniques to remove the yellowish nicotine stains, restoring your cherished piece to its original vibrancy and gloss. With these expert insights at your disposal, handling smoke-damaged artwork with care and precision will become an effortless task.
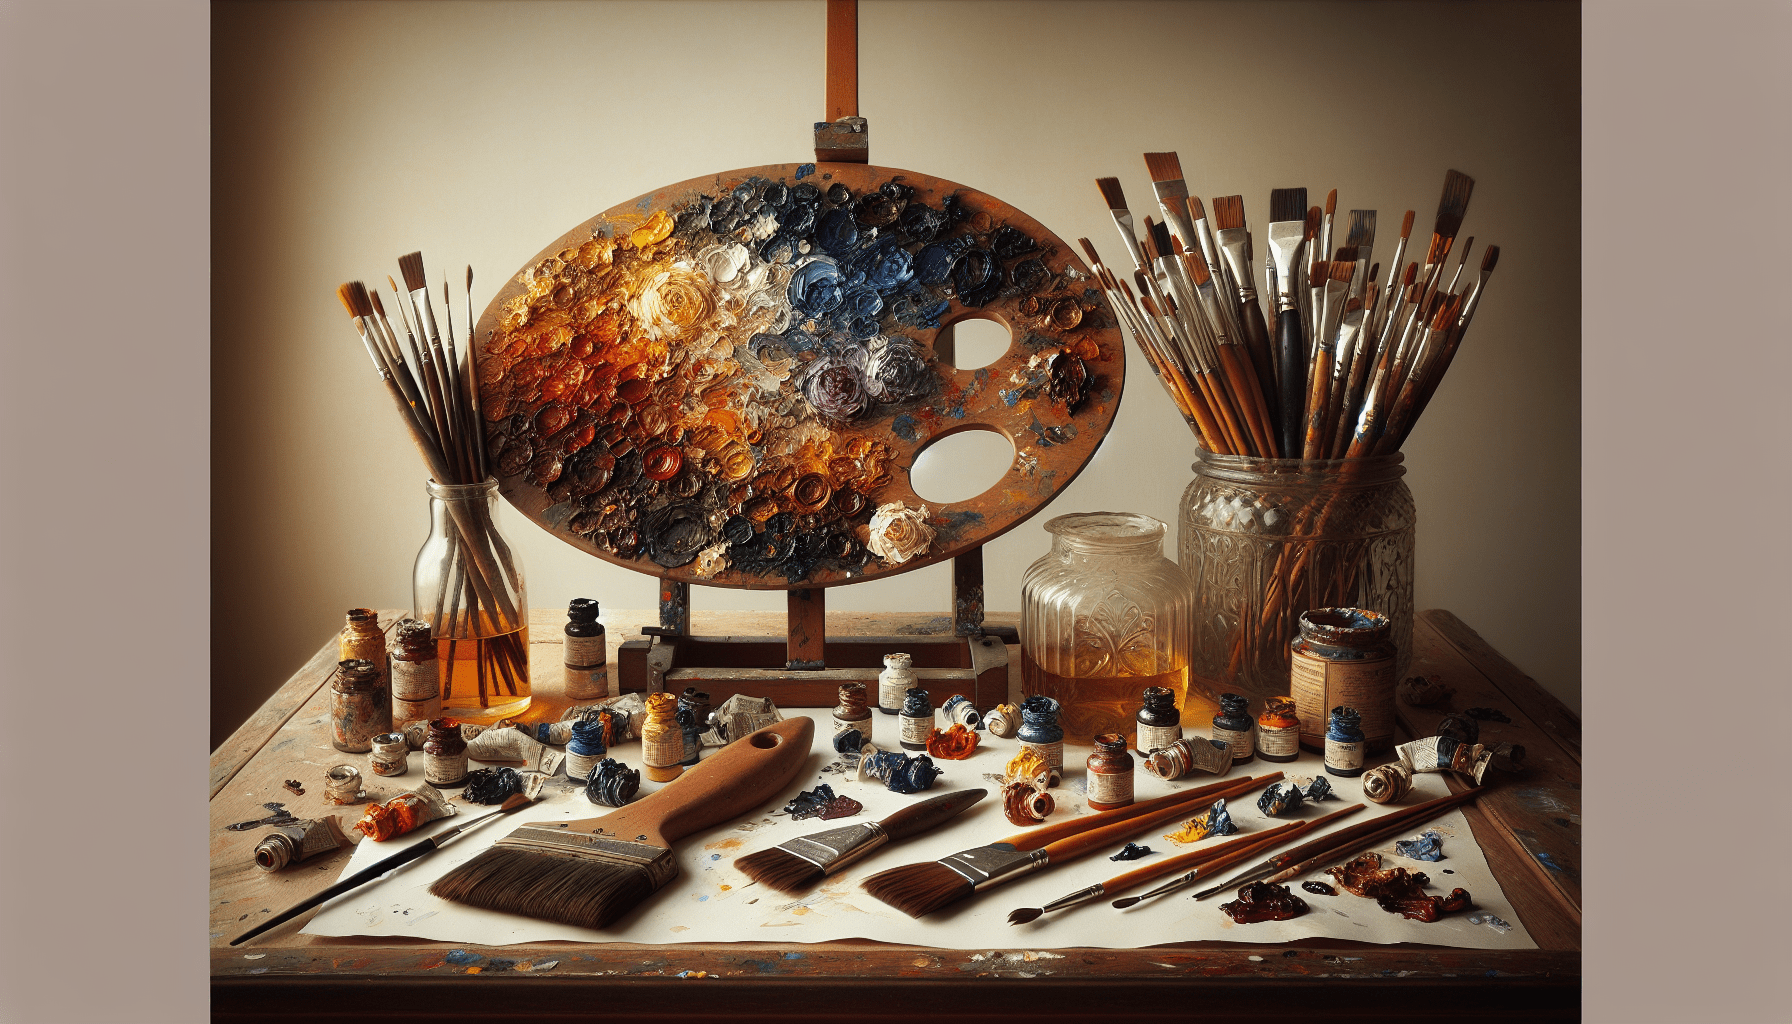
Supplies Needed
Before you embark on the process of cleaning your oil painting, there are certain supplies you will need. These include a non-abrasive cloth or sponge, mild dish soap or art restoration cleaner, and distilled water. Additionally, you will need a soft bristle brush, painting varnish (optional), and a microfiber cloth or lint-free cloth. The non-abrasive cloth or sponge will be useful for gentle cleaning, while the mild dish soap or art restoration cleaner will help to remove cigarette smoke residue. The soft bristle brush will aid in dusting off the loose dirt, and the painting varnish will provide added protection. Lastly, the microfiber cloth or lint-free cloth will be needed for the final cleaning stages and drying the painting.
Preparation
The first step in the process will be the preparation phase. Always choose a well-ventilated area to perform this activity due to the potential for fumes or dust. For the safety of the artwork, it is recommended that you wear gloves to protect the painting from oils and dirt present on your skin. Place the painting on a clean and soft surface, this will prevent any possible damage to the painting while you clean it.

Dry Cleaning
Next, you will proceed to the dry cleaning step. Gently remove any loose dirt and dust from the surface of the painting using a clean, dry cloth. A soft bristle brush can also be used to remove dust from intricate areas of the painting. Be sure to exercise caution to avoid causing any damage to the painting’s surface or disrupting any delicate areas.
Wet Cleaning
Once the dry cleaning process is complete, it is time to proceed with wet cleaning. Always test a small, inconspicuous area of the painting first to ensure that the materials and techniques you are using will not damage the artwork. Mix a mild solution of dish soap and distilled water. Once your solution is ready, immerse a clean, non-abrasive cloth or sponge into this mixture. Begin to blot the affected area gently, starting from the edges and gradually moving inward. Remember to avoid excessive rubbing or scrubbing which can lead to damaging the painting. It is best to rinse your cloth or sponge frequently to avoid spreading dirt or smoke residue. Dampen a separate clean cloth with distilled water and gently blot the cleaned area to remove any soap residue. Repeat the process if necessary until the painting is clean.

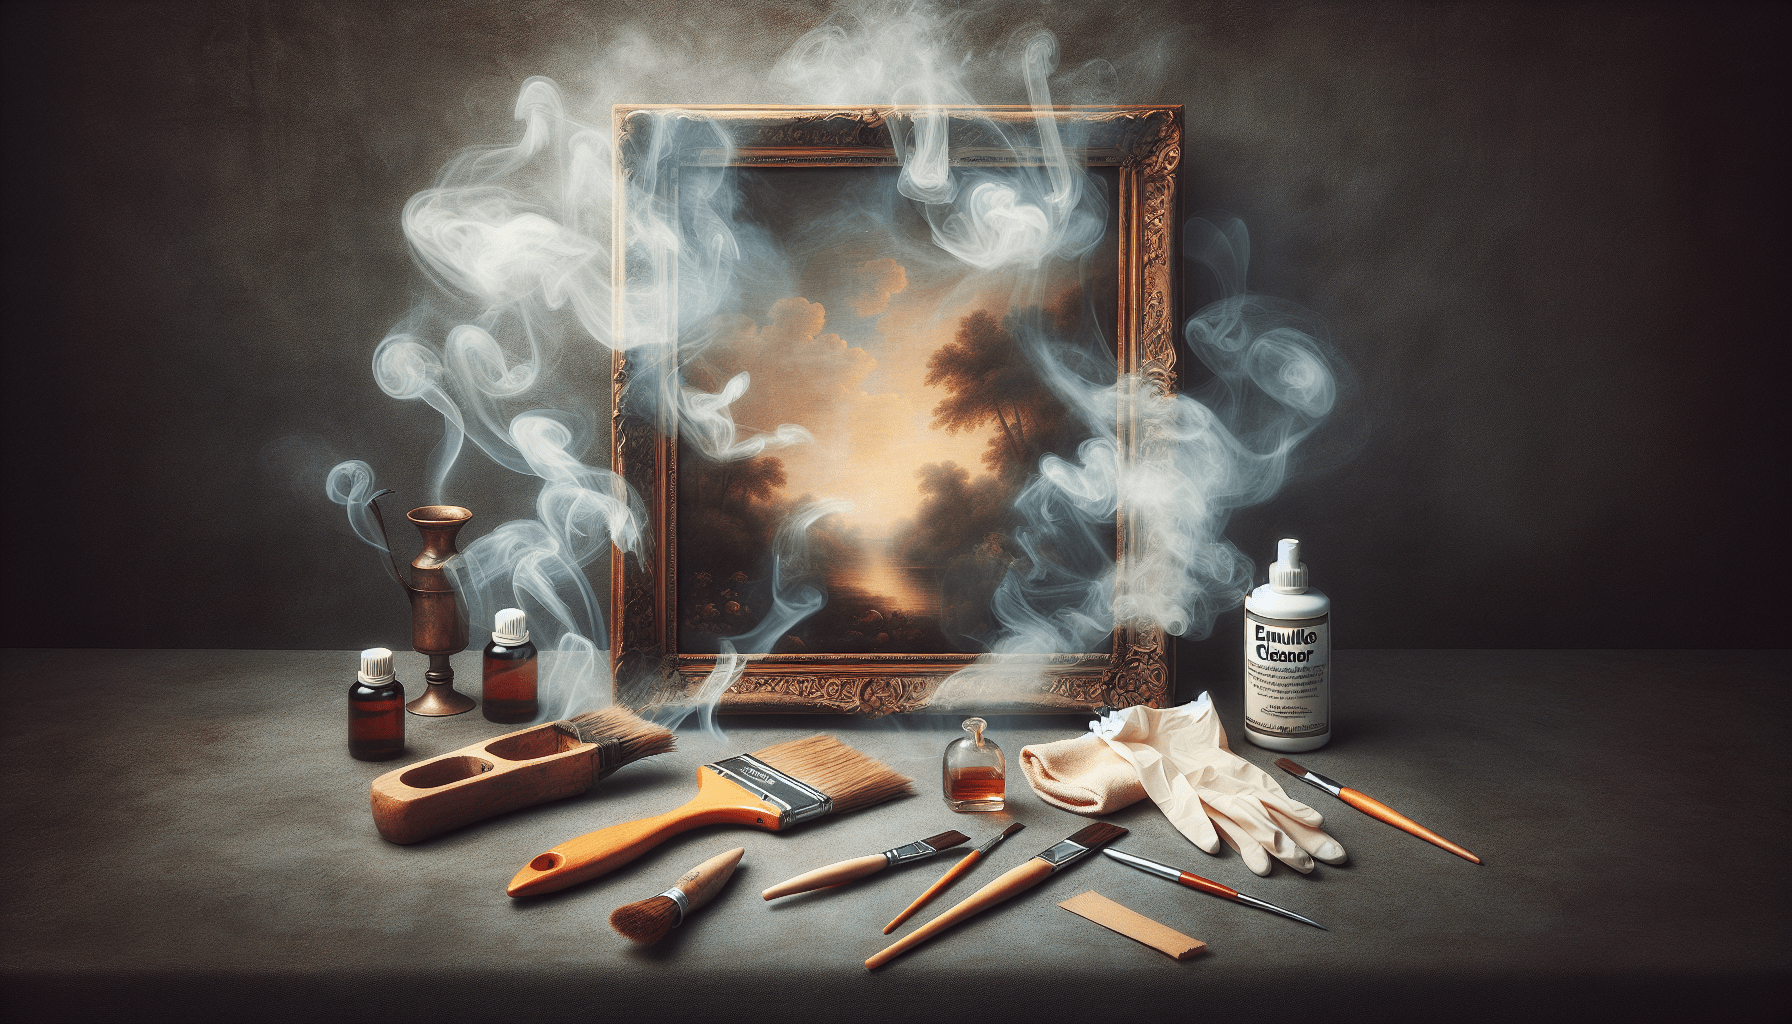
Removing Stubborn Stains
Depending on the longevity and severity of exposure to cigarette smoke, your painting may have stubborn stains that require more careful attention. For nicotine stains, lightly dab the stained area with a cotton swab soaked in rubbing alcohol. Be careful not to oversaturate the painting, as this can potentially cause damage. Immediately blot the area with a clean cloth dipped in distilled water to remove the alcohol. If the stain appears to persist, you may repeat the process. In the case of more stubborn or severe stains, it may be beneficial to consult a professional art restorer.
Drying the Painting
After the cleaning is completed, the painting must be allowed to dry. The painting should be air-dried in a well-ventilated area to prevent humidity build-up and encourage even drying. To avoid potential damage, keep your painting away from direct sunlight or heat sources. Drying is a slow process, and patience is key. Oil paintings can take several days to dry completely, so it’s important not to rush this process.
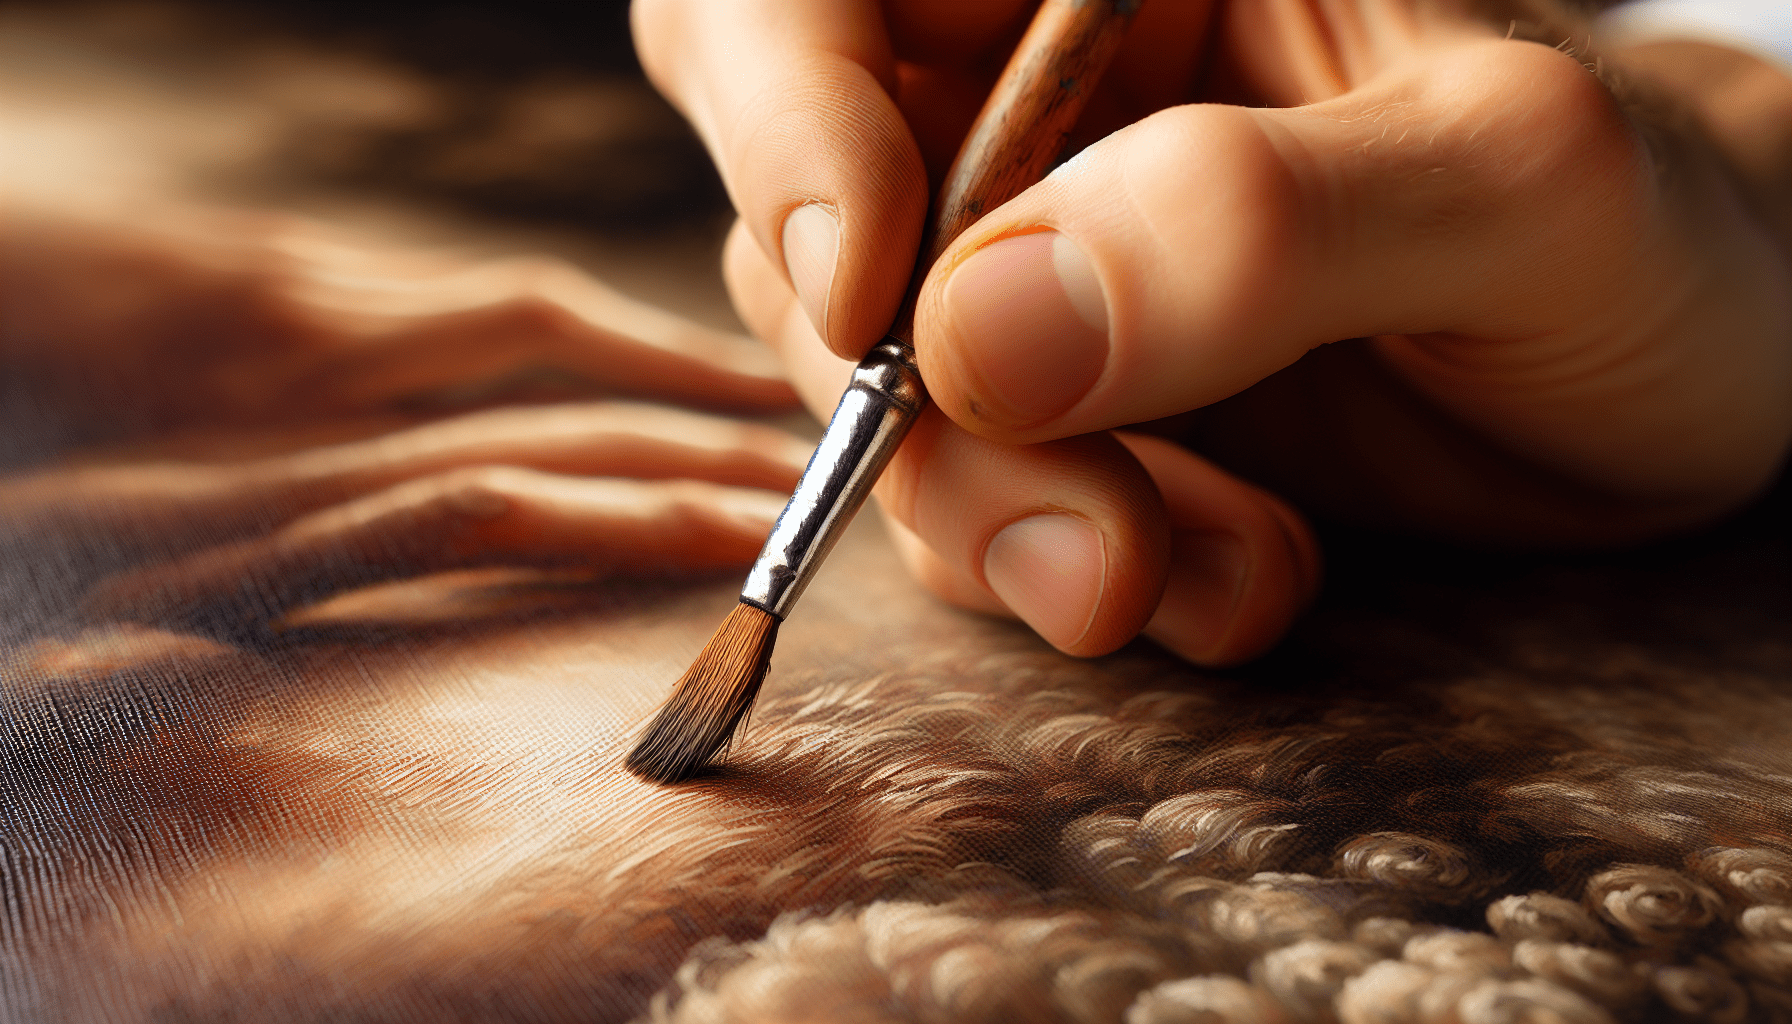
Applying Varnish (Optional)
Varnishing is an optional step that provides a protective layer to the artwork. To ensure a successful application, the painting must be completely dry before applying the varnish. When choosing a varnish, ensure it is specifically designed for oil paintings to avoid any damages or reactions. Always follow the instructions on the varnish product carefully to achieve the best result. Applying a thin, even coat using a soft brush or a spray ensures a smooth and protective layer. Allow the varish to dry fully before handling or displaying the painting.
General Tips
As you clean your oil painting, there are some general tips to remember. Never use solvents or abrasive cleaners on an oil painting as these can cause irreparable damage. Always exercise extra caution with delicate or sensitive areas of the painting. If you are unsure about any part of the cleaning process, it’s best to consult a professional art restorer. To prolong the cleanliness of your painting, remember to regularly dust and keep the painting in a clean environment to prevent future accumulation of cigarette smoke or dirt.
Preventive Measures
While cleaning can significantly improve the appearance of an oil painting affected by cigarette smoke, prevention is always better than cure. Avoid smoking near valuable artworks to prevent them from absorbing the smoke and acquiring a nicotine stain. Always ensure that your paintings are properly framed and sealed to provide an extra layer of protection. Considering installing air purifiers or using ventilation systems in rooms where smoking occurs can also help prevent smoke particles from settling on your paintings. Lastly, establish a regular cleaning routine for maintaining the artwork’s condition. This will greatly reduce the accumulation of smog residue and ensure your oil painting remains in the best possible condition.