In “How To Paint Flowers With Oil Paint”, you’ll unveil the beauty of nature through the vibrant strokes of oil paint on canvas. The piece breaks down the process, offering insight into the techniques and tools required to transform simple dabs of color into breathtaking floral masterpieces. You’ll immerse yourself in the soul-stirring world of art, learning how to bring flowers to life with grandeur and finesse.
Choosing the Right Supplies
To paint flowers with oil paint, your first step is to select appropriate supplies. Each material you select significantly influences the final outcome of your work.
Selecting the Oil Paint
Choosing high-quality oil paints is crucial if you want rich, vibrant colours that will maintain their hue over time. Always opt for artist-grade oil paints instead of student-grade ones, as they have a higher pigment concentration, providing brighter and richer colours. You’ll typically need basic colors, including primary colours (blue, red, and yellow), black, and white to create any shade or tint you want, but you can also opt for additional hues depending on the flowers you intend to paint.
Choosing Brushes
Different brushes yield different effects, so it’s important to have a variety of brushes at your disposal. Natural-hair brushes are ideal for oil painting as they hold more paint and help in creating smooth strokes. The size and shape of the brush also matters. Larger, flat brushes are ideal for broad strokes and blocking in form, while smaller, round brushes help in adding finer details.
Gathering Other Essentials
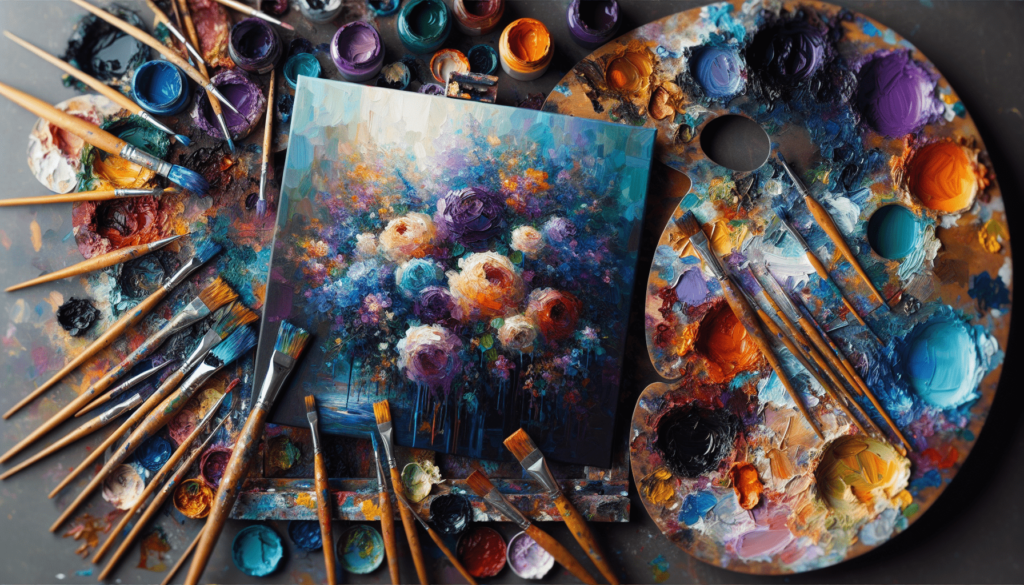
Besides paints and brushes, you’ll need several other items. A palette will help mix your colours; a palette knife can help mix paints and create texture. A medium such as linseed oil or turpentine is necessary to modify the consistency of your paint. Additionally, you’ll need rags or paper towels for cleaning brushes and rags or drop cloths to protect your working area.
Preparing the Canvas
Before you start painting, preparing your canvas is an essential step.
Priming the Canvas
Priming the canvas helps provide a suitable surface for the oil paint. An unprimed canvas will absorb the oil from your paint, creating a dull and muted look. Most canvases available for purchase are pre-primed, but you can always apply an extra layer of primer, or gesso, for better results.
Transferring the Sketch
Once the canvas is primed, the next step is to sketch your subject. If you’re finding it tricky to freehand draw directly onto the canvas, you can draw it on paper first, then transfer it onto the canvas using transfer paper or a grid system.
Creating a Background
The background can either enhance or detract from your subject. Decide whether you want a plain, gradient, or textured background. Remember, the focus should be flowers. Hence, the background should not be too busy or colorful; often, neutral tones work well.
Understanding Color Mixing
As an oil painter, understanding color theory is extremely crucial. Proper colour mixing can bring life and balance to your flowers.
Learning the Color Wheel
The color wheel has three primary colors – blue, red, and yellow. Combining these primary colours gives secondary colors, i.e., purple, orange, and green, and so on. Understanding this basic theory provides a base for creating any desired shade.
Blending Primary Colors
Knowing how to blend primary colors to form secondary colors is imperative in painting. Not only it broadens your palette but also allows you to create harmony and contrast in your painting.
Creating Tints and Shades
To create tints (lighter versions of a color), add white to your color. For shades (darker versions), add black or a darker shade of the same color. Creating a range of tints and shades will add depth and dimension to the flowers you’re painting.
Creating a Base Layer
When painting flowers, starting with a base layer gives your painting depth and structure.
Sketching the Flowers
Start with a basic sketch of the flower’s shape and structure. Focus on the outer edge and the lines that divide the petals. This will serve as your guide in the next steps.
Blocking in Basic Shapes
Use a large brush to paint the basic shapes of your flowers, leaves, and stems. At this stage, don’t worry about details – just concentrate on the overall shapes and forms.
Establishing Light and Shadow
Identify the light source and begin incorporating shadows and highlights on your base shapes. This creates volume and depth in your painting, making the flowers appear more lifelike.
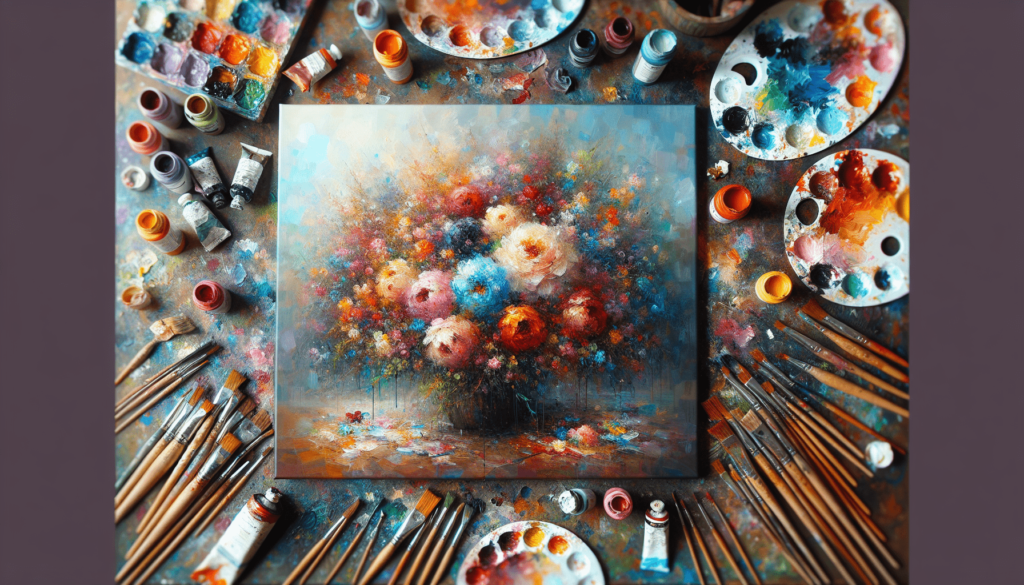
Adding Details
After placing the base layer, it’s now time to add finer details to add realism to your flower painting.
Defining Petal Edges
With a smaller brush, refine the edges of each petal. The petals’ edges can drastically change the flower’s expression, so take your time with this step.
Painting Veins and Stamen
The intricate details like veins on the petals and the stamen, the flower’s reproductive part, add to the realistic portrayal of the flowers. Pay attention to your reference to capture these elements accurately.
Enhancing Textures
In addition to painting fine details, consider the texture. Use thicker paint or a palette knife to give the flowers texture, making them look more three-dimensional and realistic.
Working with Highlights and Shadows
Highlights and shadows will bring your painting to life, making it look more vivid and vibrant.
Identifying Light Source
An established light source helps identify where to place highlights and shadows. The areas of your flowers closer to the light source will be lighter, while areas further away will be darker.
Adding Highlight Colors
Using lighter versions of your flower colors, add highlights to the areas that are closer to your light source. This helps in creating the illusion of sunlight hitting the petals.
Layering Shadows
Darken the areas further from the light source. Layering these darker tones will create a sense of depth and form giving your painting a realistic look.
Blending and Layering Techniques
Applying different blending and layering techniques helps enhance the overall feel of the painting.
Using Wet-on-Wet Technique
The wet-on-wet technique is where you apply fresh paint onto still wet paint. This technique helps to blend colors smoothly and is especially helpful when painting soft petals.
Building Layers of Color
Layering colors enhances the richness and depth of your flowers. Starting with a darker undertone and gradually adding lighter layers helps achieve a sense of volume and depth.
Feathering and Glazing
Feathering helps in smooth transitions between colors. Glazing, which involves applying a thin layer of transparent paint, can help add depth and luminosity to your flowers.
Mastering Different Flower Styles
As you become familiar with techniques and textures, you can explore various flower painting styles.
Painting Realistic Flowers
This style aims to create a detailed and accurate representation of flowers. It requires careful observation and a lot of patience but results in a beautifully realistic piece.
Creating Impressionistic Blooms
Impressionism focuses more on capturing the feeling or experience rather than accurate detail. It often involves loose brushwork and vibrant colors.
Developing Abstract Floral Art
Abstract style gives total freedom to the artist’s interpretation. You can play with shapes, colors, and composition to create highly stylized renditions of flowers.
Adding Final Touches
Before calling your piece complete, adding some final touches can make a big difference in your painting.
Refining Details
Look at your painting as a whole, and refine any details that need more work. Pay attention to edges of petals, veins, and stamen details.
Creating Depth and Dimension
Check the contrast in your painting. If everything appears flat, add more darkness to your shadows or brightness to your highlights. This will help you achieve more depth and dimension.
Signing and Varnishing
Once satisfied, don’t forget to sign your work. A varnish can be applied to protect the painting and enhance its overall appearance.
Taking Care of Oil Paintings
The longevity of a painting does not only depend on how it was created but also on how it is looked after. Here are a few tips on this.
Drying and Storing Artwork
Remember, oil paints take longer to dry. Be patient and let the paint dry naturally. Avoid storing your paintings in a high-moisture area or direct sunlight; a cool, dark place is ideal.
Cleaning and Maintaining Brushes
Taking care of your brushes ensures they last longer. Clean your brushes after each session using turpentine or a brush cleaner, and reshape them before letting them dry.
Preserving the Colors
With time, colors of an oil painting can fade. To avoid this, varnishing your paintings can provide a protective layer that preserves the colors.
Mastering the art of painting flowers with oils requires time, patience, and practice. With each painting, you’ll learn more about color mixing, blending, layering, and composition, making every subsequent painting better than the last. So, pick your supplies, prepare your workspace, and let your creativity flow.

