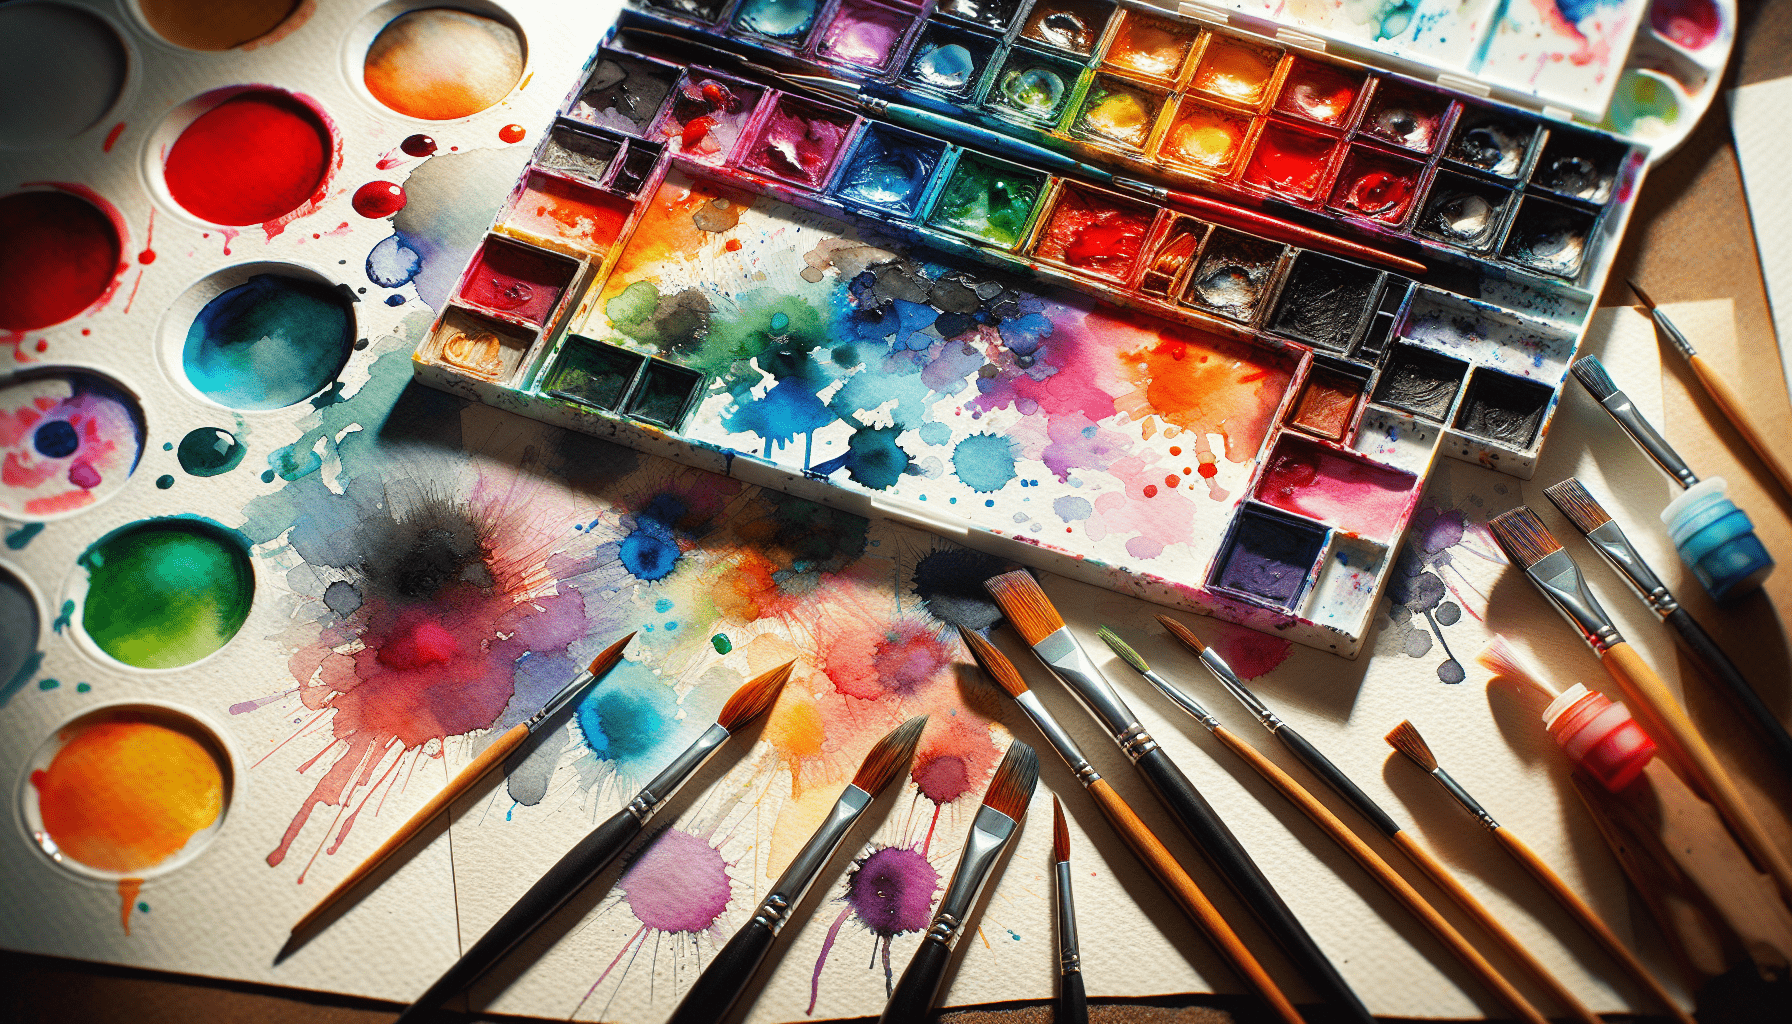
In “How Do You Mix Watercolor Paints,” you will find a comprehensive guide to mastering the nuances of watercolor mixing. This article delves into the essential techniques and tools you need to create a harmonious palette and achieve your desired hues. By exploring the fundamental principles of color theory, you will learn how to blend pigments seamlessly and avoid common pitfalls. Whether you are a beginner or looking to refine your skills, this guide will provide you with the knowledge to enhance your watercolor artwork. Have you ever wondered how to mix watercolor paints to achieve the perfect shades and hues for your artwork? If so, you’re not alone. Watercolor painting is a delicate and intricate art form that requires a deep understanding of colors, techniques, and materials. Whether you’re a beginner just starting out or a seasoned artist looking to enhance your skills, learning how to mix watercolor paints effectively is crucial.
Understanding the Basics of Watercolor Paints
Before diving into the techniques of mixing watercolor paints, it’s essential to understand the basic properties of these paints. Watercolors are typically made from pigments suspended in a water-soluble binder, making them different from other types of paints like oils or acrylics.
Pigments and Binders
Pigments are the colored powders that give the paint its color. These pigments can be either natural or synthetic. The binder, usually gum arabic, is the substance that holds the pigment particles together and allows them to adhere to the paper when applied with water.
Transparency and Opacity
Watercolor paints are known for their transparency, which allows light to pass through the colors and reflect off the white paper to create a luminous effect. However, the level of transparency can vary between different pigments. Opaque colors will appear more solid and block out the underlying layers of paint or paper.
Lightfastness
Lightfastness refers to the resistance of the pigments to fading when exposed to light. High-quality watercolor paints generally have better lightfastness, ensuring that your artwork retains its vibrancy over time.
Essential Tools and Materials
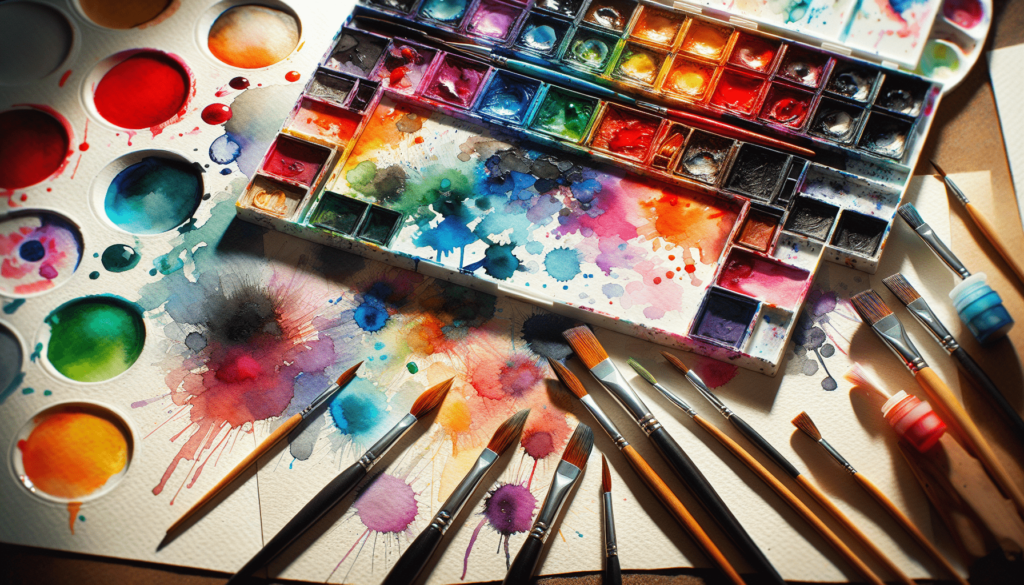
Having the right tools and materials can significantly impact your watercolor painting experience.
| Tool/Material | Description |
|---|---|
| Paints | Quality watercolor paints in various colors. |
| Brushes | A range of brush types and sizes, including round and flat brushes. |
| Paper | Watercolor paper that can withstand multiple washes without warping. |
| Water Containers | Clean water for rinsing brushes and mixing paints. |
| Palette | A mixing palette with wells and compartments to mix your paints. |
| Tissues or Sponges | For blotting excess water and lifting off paint. |
The Color Wheel and Color Theory
Understanding the color wheel and basic color theory principles is fundamental for mixing watercolors effectively. The color wheel consists of primary, secondary, and tertiary colors, which help you comprehend how colors interact with each other.
Primary Colors
The primary colors in watercolor painting are red, blue, and yellow. These colors cannot be made by mixing other colors together. They serve as the foundation for creating all other colors.
Secondary Colors
Secondary colors are created by mixing two primary colors:
- Green: Yellow + Blue
- Orange: Red + Yellow
- Purple: Blue + Red
Tertiary Colors
Tertiary colors are created by mixing a primary color with a secondary color next to it on the color wheel. Examples include red-orange, blue-green, and yellow-green.
Complementary Colors
Complementary colors are opposite each other on the color wheel, such as red and green or blue and orange. When mixed together, they neutralize each other, creating a brown or gray tone. These colors can also be used side by side to create vibrant contrasts.
Analogous Colors
Analogous colors are next to each other on the color wheel. These colors typically harmonize well and can be used together to create a cohesive color scheme.
Techniques for Mixing Watercolor Paints
Now that you have a foundational understanding of watercolors and color theory, it’s time to explore various techniques for mixing watercolor paints.
Mixing on the Palette
Mixing colors on your palette is a common technique, especially for creating consistent hues.
- Start with Clean Water: Ensure your brushes and palette are clean to avoid contaminating your colors.
- Add Water: Dip your brush in clean water and wet the area on your palette where you’ll mix the paint.
- Add Paint: Pick up a small amount of paint with your brush and add it to the wet area on your palette.
- Mix Thoroughly: Use your brush to mix the colors thoroughly until you achieve the desired hue.
Mixing on the Paper
Mixing colors directly on the paper can create beautiful, spontaneous effects. This technique is often used for creating gradients and washes.
- Apply the First Color: Wet the area of your paper where you want to mix colors and apply the first color.
- Apply the Second Color: While the first color is still wet, add the second color next to or overlapping the first color.
- Blend: Use a clean brush or additional water to blend the two colors together.
Glazing
Glazing involves applying thin, transparent layers of paint over dry layers to build up color and depth.
- Apply the Base Layer: Paint the first layer of color and allow it to dry completely.
- Apply Additional Layers: Apply additional thin layers of paint, allowing each layer to dry before adding the next. This technique creates a rich, luminous effect.
Wet-on-Wet
The wet-on-wet technique is ideal for creating soft, diffused edges and blending colors together seamlessly.
- Wet the Paper: Use a clean brush to wet the area where you want to apply paint.
- Apply Paint: Add your watercolor paint to the wet area. The paint will spread and blend naturally with the water.
- Experiment: Experiment with adding different colors to the wet area and observe how they interact and blend together.
Wet-on-Dry
The wet-on-dry technique involves applying wet paint to dry paper, resulting in more defined and controlled edges.
- Dry Paper: Ensure the paper is completely dry.
- Apply Paint: Use a wet brush to apply your paint. This technique is useful for detailed work and precise lines.
Creating Custom Colors
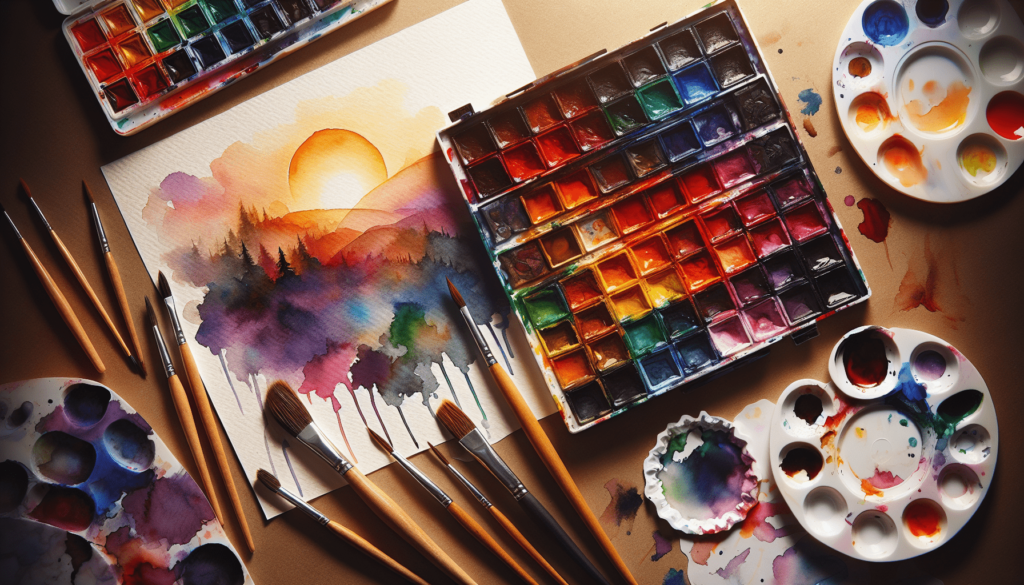
One of the joys of watercolor painting is the ability to create custom colors that suit your specific needs and artistic vision.
Neutralizing Colors
Neutralizing a color involves mixing it with its complementary color to tone it down or create a more muted shade.
- Example: To neutralize a bright red, mix in a small amount of green. This will create a more subdued, brownish-red.
Creating Shadows and Highlights
Mixing colors to create realistic shadows and highlights can add depth and dimension to your artwork.
- Shadows: Mix a small amount of blue or purple with your base color to create shadows.
- Highlights: Add water or mix with a light color like yellow to create highlights.
Tips for Successful Watercolor Mixing
Mastering the art of mixing watercolor paints takes practice and patience. Here are some tips to help you along the way:
Keep a Color Mixing Journal
Maintain a journal where you record your color mixtures and the ratios used. This will serve as a valuable reference for future paintings.
Test Your Mixtures
Before applying a color to your artwork, test your mixtures on a scrap piece of paper to ensure you have achieved the desired hue.
Start with Small Quantities
When mixing colors, start with small quantities of paint. It’s easier to add more paint if needed than to correct an overly saturated mixture.
Clean Your Brushes
Regularly clean your brushes between color mixes to avoid unintentional color contamination.
Experiment and Explore
Don’t be afraid to experiment with different color combinations and techniques. Exploring new methods leads to unique and unexpected results.
Common Mistakes and How to Avoid Them
Even experienced artists can encounter challenges when mixing watercolors. Here are some common mistakes and how to avoid them:
Overmixing
Overmixing can result in muddy, dull colors. To avoid this, allow some areas of your paint to remain unmixed, creating more dynamic and interesting effects.
Using Too Much Water
While water is essential for watercolor painting, using too much can dilute your colors and reduce their vibrancy. Control the amount of water on your brush to maintain intense colors.
Lack of Patience
Watercolor painting requires patience, especially when it comes to waiting for layers to dry. Rushing the drying process can lead to unintended blending and smudging.
Conclusion
Learning how to mix watercolor paints is an essential skill for any watercolor artist. By understanding the properties of watercolor paints, familiarizing yourself with color theory, and practicing various mixing techniques, you can create a wide range of colors and effects in your artwork. Remember, practice makes perfect, so don’t be afraid to experiment and develop your unique style. Whether you prefer the spontaneity of wet-on-wet blending or the precision of glazing, the possibilities with watercolor paints are endless. Happy painting!
