Ready to breathe new life into your living space or add a touch of color to your outdoor furniture? This article is your comprehensive guide to mastering the Tacklife Paint Sprayer, empowering you to take on DIY paint projects with confidence and create results that are nothing short of professional. Learn how to set up your equipment, handle potential mishaps, and employ tips for the smoothest finish you’ve ever achieved. Unleash your inner craftsperson and elevate your painting prowess to new heights with the Tacklife Paint Sprayer.

Unpacking and Preparing the Tacklife Paint Sprayer
Before you start your painting project with the Tacklife Paint Sprayer, there are a few preparatory steps to follow.
Taking the sprayer out of the box
When you receive your brand-new Tacklife Paint Sprayer, you must unpack it diligently. Remove all the packing materials carefully. Make sure to handle the unit gently since mishandling could cause damage to the equipment.
Checking all components
Now, you should check all the components. Refer to the user manual that comes with the sprayer to get a list of all parts it should include. Confirm that all the components are present to ensure the smooth operation of the sprayer.
Cleaning the sprayer before use
Before their first use, all new sprayers should be cleaned to eliminate any grease or packaging residue that may interfere with the device’s performance. You could use a mild detergent and a soft cloth for this.
Setting up the paint container
The paint container needs to be correctly connected to the sprayer unit. Ensure the container is clean and dry before you pour in the paint. Double-check that it’s firmly attached to prevent any spills during operation.
Understanding the Tacklife Paint Sprayer Features
It’s crucial you understand the features of the Tacklife Paint Sprayer to use it most effectively.
Overview of the control panel
Getting familiar with the control panel is the first step. It’s where you make all adjustments to customize the spraying experience. The on/off switch, pressure control, and volume control knobs are usually located here.
Adjusting the spray pattern
The spray pattern can be adjusted depending on the type of surface you’re painting. The Tacklife Paint Sprayer allows you to choose between horizontal, vertical, and circular spray patterns.
Understanding the air pressure adjustment
Air pressure adjustments allow you to control the strength of the spray. Higher pressure settings will release more paint, while lower settings are best for more intricate jobs or first-time users.
Utilizing the flow control knob
The flow control knob lets you regulate the volume of paint expelled from the sprayer. Turning up the flow will deliver a heavier coat of paint, while reducing flow will give lighter coverage.
Exploring the paint volume control
This allows you to control the volume of paint the sprayer uses during operation. Lower settings might be ideal for small and detailed projects, while you may need a higher volume for large walls.
Preparing the Surface for Painting
Before starting to paint, the surface you’re painting must be properly prepared.
Cleaning and sanding the surface
Remove dirt, dust, and debris from the surface you’ll be painting. Sanding might be necessary to smooth out any rough patches and ensure an even finish.
Masking off areas not to be painted
Cover the areas close to your painting zone that you don’t want to accidentally paint with masking tape and plastic. This will prevent any overspray from settling onto them.
Priming the surface if necessary
Depending on the surface and type of paint, a primer may need to be applied first to ensure the best finish.
Mixing and Diluting the Paint
Getting the correct paint consistency is vital for the Tacklife Paint Sprayer to work efficiently.
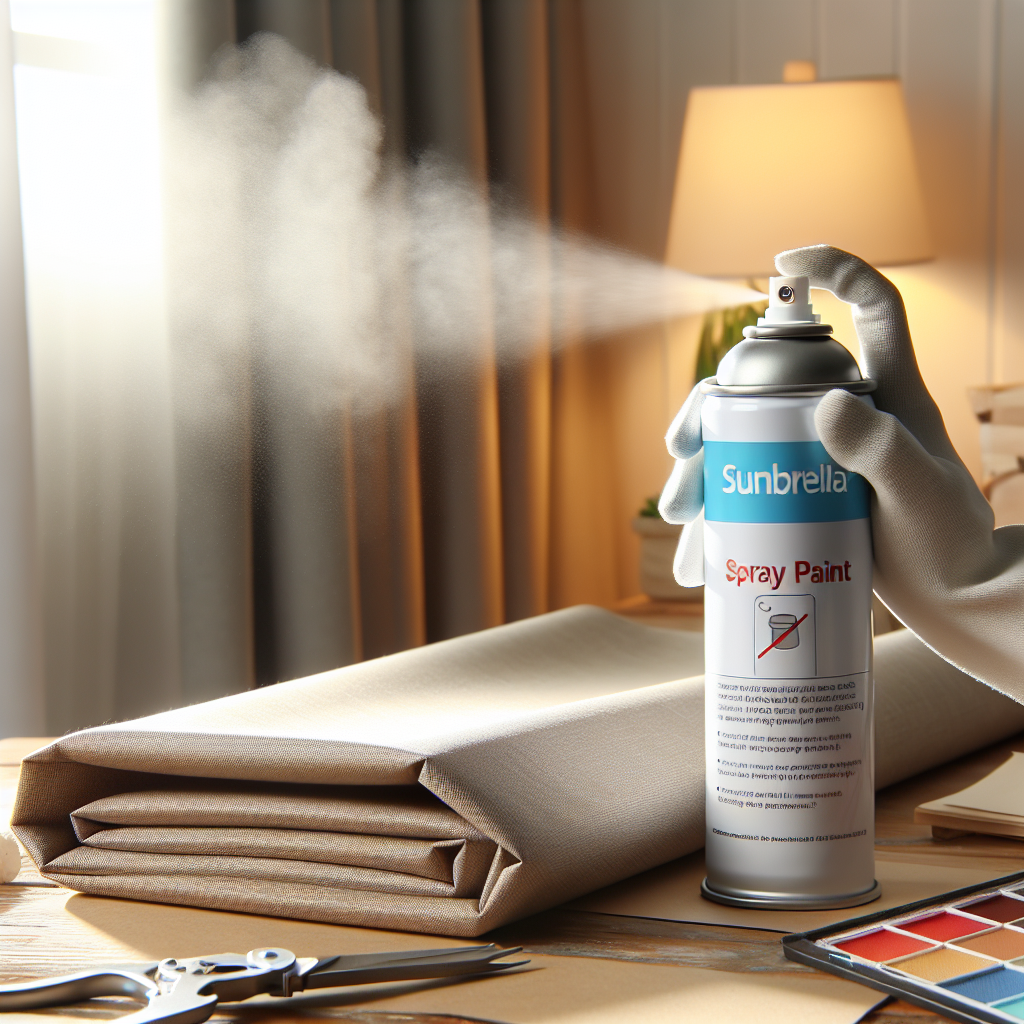
Choosing the right paint for the sprayer
Not all paints are compatible with paint sprayers. Thick paint may clog the device, while thin paint might not cover well. So make sure to choose a variety compatible with a sprayer.
Checking paint consistency
If your paint is too thick, it could cause clogging. So check its consistency first. It should be neither too thin nor too thick for a good, even finish.
Diluting the paint if required
If you find your paint too thick after consistency-check, thin it down using a paint thinner. Add thinner sparingly, stirring it in until the paint reaches a milky, easy-to-spray texture.
Using additives for specific finishes
If you’re seeking a specific finish or look, paint additives can be your best friend. They can improve the texture, drying speed, or even the gloss level of your paint.

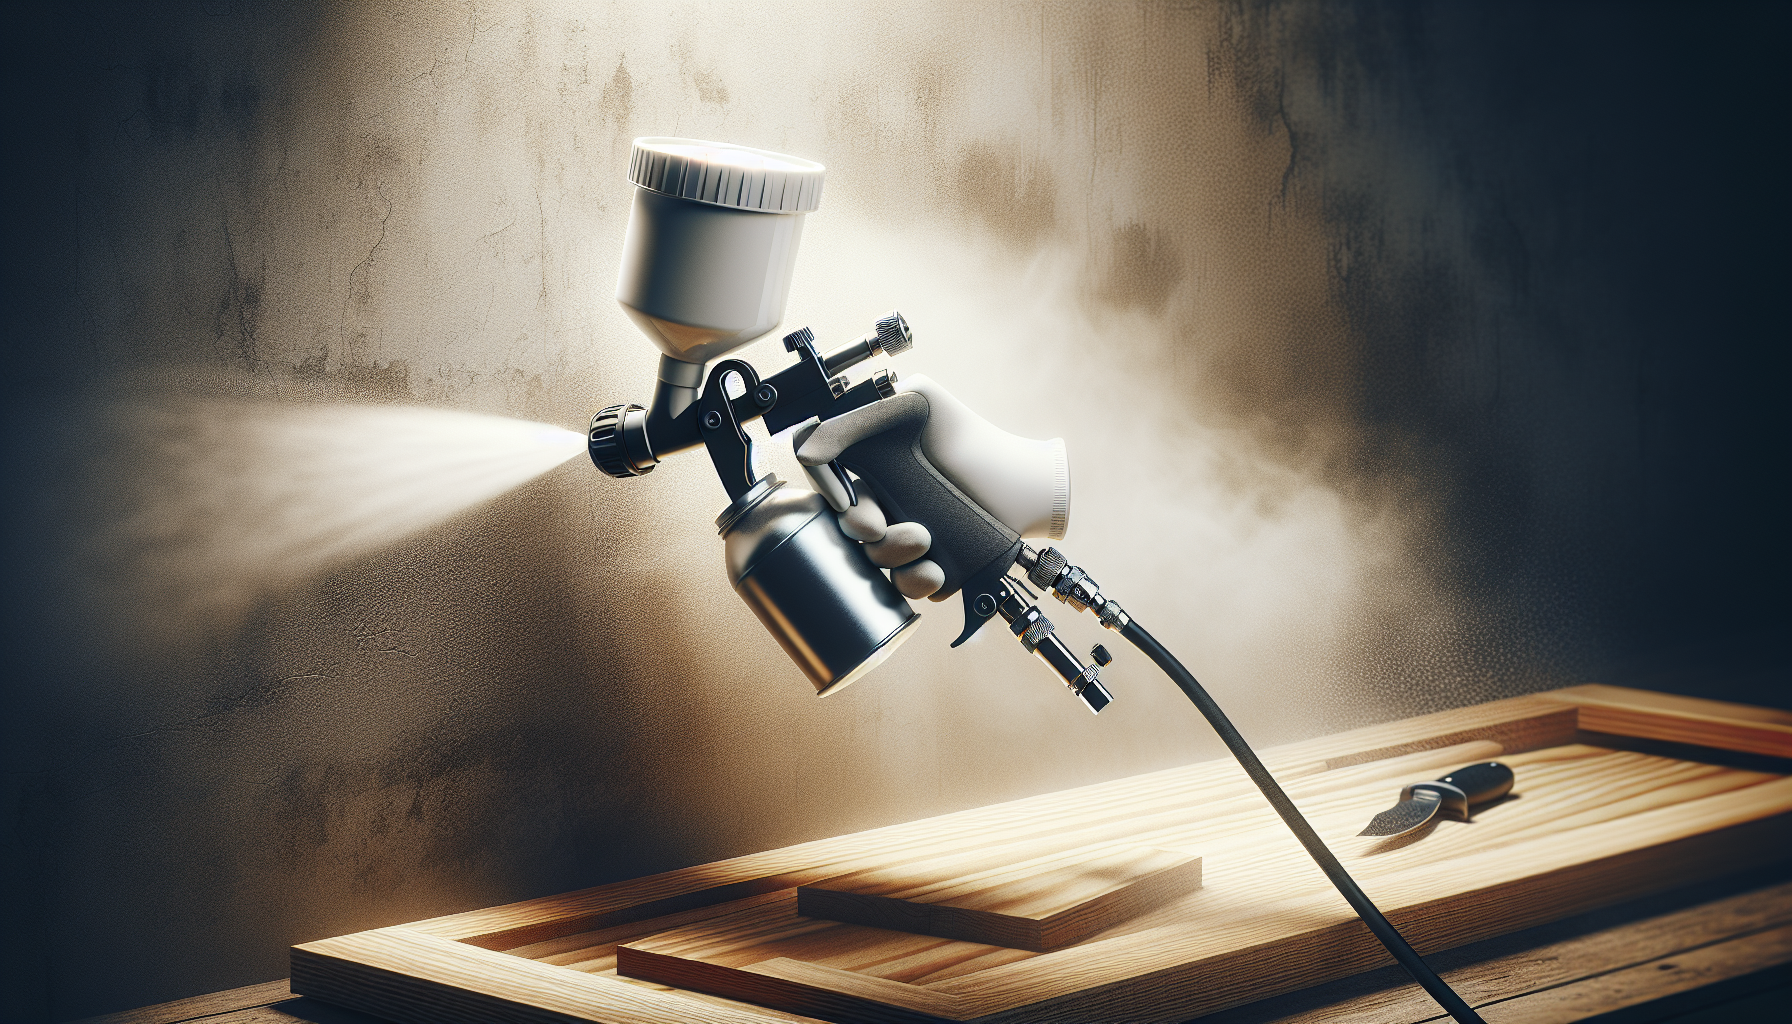
Setting Up and Adjusting the Tacklife Paint Sprayer
You need to set up your Tacklife Paint Sprayer correctly before use.
Attaching the paint container
Once your paint is ready, pour it into the paint container. Make sure the container is securely attached before moving on.
Connecting the hoses and power cord
Ensure that the hose from the paint container to the sprayer is securely connected. Then, plug the unit into a suitable electricity outlet.
Adjusting the spray angle
Depending on what you’re painting, choose the appropriate spray angle on your Tacklife Paint Sprayer.
Setting the air pressure
Setting the right air pressure is vital. Beginners might prefer a lower setting, while pros might choose a higher pressure for speed.
Testing the sprayer with water or paint
Now that everything is set, it’s time to test the sprayer. You can use water for testing; once you’re confident all adjustments are correct, switch to paint.
Using the Tacklife Paint Sprayer
Now that you’re all set up, it’s time to start painting.
Maintaining a consistent distance from the surface
Ensure you maintain a standard distance from the surface you’re painting. This prevents uneven paint distribution and overspray.
Applying paint in smooth and even strokes
To get the best finish, apply paint in smooth and even strokes. Ensure you move at a consistent speed and avoid wobbling.
Overlapping each pass for complete coverage
Overlap your strokes by about 50% to guarantee complete coverage and avoid missed spots.
Avoiding excessive build-up or dripping
Avoid painting too slowly or in the same area for too long. This may cause excessive build-up or dripping of paint.
Adjusting settings for different surface areas
Different surfaces require different settings. So adjusting between higher and lower settings as per surface specifications is crucial.
Dealing with Clogs and Blockages
Blocks or clogs may occasionally occur during painting.
Identifying common causes of clogs
Common causes for clogs can be thick paint, particles in the paint, or dried paint from previous use. Identify the cause to tackle it effectively.
Cleaning the nozzle and filters
If a clog occurs, unplug the device and clean the nozzle and filters. Sometimes, the smallest particle can cause a blockage.
Troubleshooting tips for unclogging
Refer to the user manual for specific instructions on unclogging the Tacklife Paint Sprayer. It usually involves disassembly and thorough cleaning.
Cleaning and Maintaining the Tacklife Paint Sprayer
To make your paint sprayer last longer, it’s important to clean and maintain it regularly.
Cleaning the sprayer after each use
To avoid future clogs, clean the sprayer thoroughly after each use. This includes purging any remaining paint from the unit, and cleaning all parts that had contact with the paint.
Disassembling and cleaning individual components
Taking apart the unit for thorough cleaning is highly recommended. Make sure to remove any dried paint from sprayer components.
Lubricating moving parts
After cleaning, lubricate moving parts as per the manufacturer’s instructions to ensure smooth operation.
Storing the sprayer properly
Store the sprayer in a cool, dry place. Avoid locations with excessive dust or moisture that could damage the unit.
Safety Tips and Precautions
Safety should always be your priority.
Wearing safety goggles and a respirator
Always protect your eyes and lungs when spraying paint. Wear safety goggles and a respirator to keep paint particles from being inhaled or getting in your eyes.
Protecting surrounding objects and surfaces
Cover all surrounding objects and surfaces to avoid paint stains from overspray.
Avoiding overspray and inhalation of fumes
Keep a safe distance while spraying to prevent overspray and inhalation of paint fumes.
Working in a well-ventilated area
Make sure to work in a well-ventilated area. It will help dispel fumes and also speed up the paint drying process.
Troubleshooting Common Issues
In case you experience common issues, here are some tips.
Spray pattern issues
If your spray isn’t consistent, it could be due to a clog or incorrect pressure setting. Clean the unit and adjust the pressure to correct this.
Uneven paint application
Uneven paint might be due to moving too fast or too slow. Try maintaining a consistent speed for an even finish.
Excessive overspray
This could be due to high pressure or standing too close to the surface. Adjust the pressure and your distance from the surface accordingly.
Inconsistent spray pressure
If the spray pressure varies during use, it could be a sign that the paint is too thick or the paint container is almost empty. Adjust your paint’s consistency or refill the paint to rectify this problem.
By understanding all of these tips, you can use your Tacklife Paint Sprayer efficiently and effectively. Happy painting!