In this article, you will learn the step-by-step process of spray painting balsa wood, a lightweight and versatile material often used in crafting and model-making projects. By following these guidelines, you will be able to achieve a professional and smooth finish on your balsa wood creations, enhancing their overall appearance and durability. From preparing the wood surface to selecting the appropriate spray paint and applying it properly, this article will provide you with valuable insights and techniques to ensure successful and impressive outcomes. Master the art of spray painting balsa wood and elevate your craftsmanship to new heights.

This image is property of images.unsplash.com.
Choosing the Right Spray Paint
When it comes to spray painting balsa wood, there are a few considerations to keep in mind. Balsa wood is a lightweight and porous material, so it is important to choose a spray paint that will adhere well to its surface. Look for spray paints specifically designed for wood or multi-surface use. These types of spray paints often have better adhesion and durability compared to general-purpose spray paints. Additionally, consider the finish you desire. Spray paints are available in various finishes, such as matte, glossy, or metallic, so choose one that complements your project.
Types of Spray Paint
There are two main types of spray paint suitable for balsa wood: acrylic and enamel. Acrylic spray paint is water-based and dries quickly. It is a versatile option that provides a wide range of colors and finishes. Enamel spray paint, on the other hand, is oil-based and typically provides a more durable and glossy finish. It takes longer to dry and may require additional curing time, but it offers a tougher coating that can withstand wear and tear. Consider the specific needs of your project and choose the type of spray paint accordingly.
Recommended Brands
Choosing the right brand of spray paint can significantly impact the outcome of your balsa wood project. Some popular and reliable brands known for their quality spray paints include Rust-Oleum, Krylon, Montana, and PlastiKote. These brands offer a variety of colors, finishes, and formulations specifically designed for different surfaces, including wood. It is advisable to read reviews, check customer ratings, and compare the available options before making a final decision. Opting for a reputable brand will increase the chances of achieving professional-looking results.
Preparing the Balsa Wood
Before applying spray paint to balsa wood, proper preparation is crucial to ensure a smooth and long-lasting finish. The following steps will guide you through the preparation process.
Sanding
Start by lightly sanding the surface of the balsa wood with fine-grit sandpaper. Sanding helps to create a rough texture, allowing the spray paint to adhere better. Be gentle during this process as balsa wood is delicate and can easily be damaged. Sand in the direction of the wood grain to avoid any visible scratches. Once the surface feels smooth and even, wipe away any dust with a clean cloth or compressed air.
Cleaning
Next, thoroughly clean the balsa wood to remove any dirt, grease, or oils that may interfere with the adhesion of the spray paint. Use a mild detergent or dish soap mixed with water to create a gentle cleaning solution. Dip a soft cloth or sponge into the solution and wipe the surface of the wood, ensuring all areas are covered. Rinse with clean water and let it dry completely before proceeding to the next step.
Priming
Applying a primer to balsa wood is highly recommended to further enhance adhesion and promote an even color application. Choose a primer specifically designed for wood surfaces. Spray a thin and even coat of primer onto the balsa wood, holding the can at least 6 to 8 inches away from the surface. Allow the primer to dry according to the manufacturer’s instructions before moving on to the spray painting process.

This image is property of images.unsplash.com.
Setting Up Your Workspace
Creating the perfect environment for spray painting balsa wood is crucial to ensure optimal results. Follow these guidelines to set up your workspace effectively.
Ventilation
Spray painting should always be done in a well-ventilated area to minimize the inhalation of fumes and promote drying. If possible, choose an outdoor area with minimal wind, as strong winds can cause the spray paint to disperse unevenly. If you need to paint indoors, ensure the area is well-ventilated by opening windows and using fans to circulate the air. Consider using a spray booth or professional ventilated hood for added safety and efficiency.
Protection
To protect yourself and the surrounding area, it is essential to wear appropriate protective gear. Always wear gloves to prevent the spray paint from coming into direct contact with your skin. Additionally, use safety goggles or a face shield to protect your eyes from any overspray or particles. If you are working indoors, cover nearby objects and surfaces with drop cloths or plastic sheets to prevent accidental paint splatters.
Work Surface
Choose a sturdy and stable work surface that is large enough to accommodate the size of your balsa wood project. It is advisable to elevate the wood on a workbench or sawhorses to allow for easy access to all sides and edges. Avoid painting directly on the ground or other unstable surfaces that may cause the wood to shift during the painting process. Creating a dedicated workspace for spray painting will help ensure precision and minimize accidents.
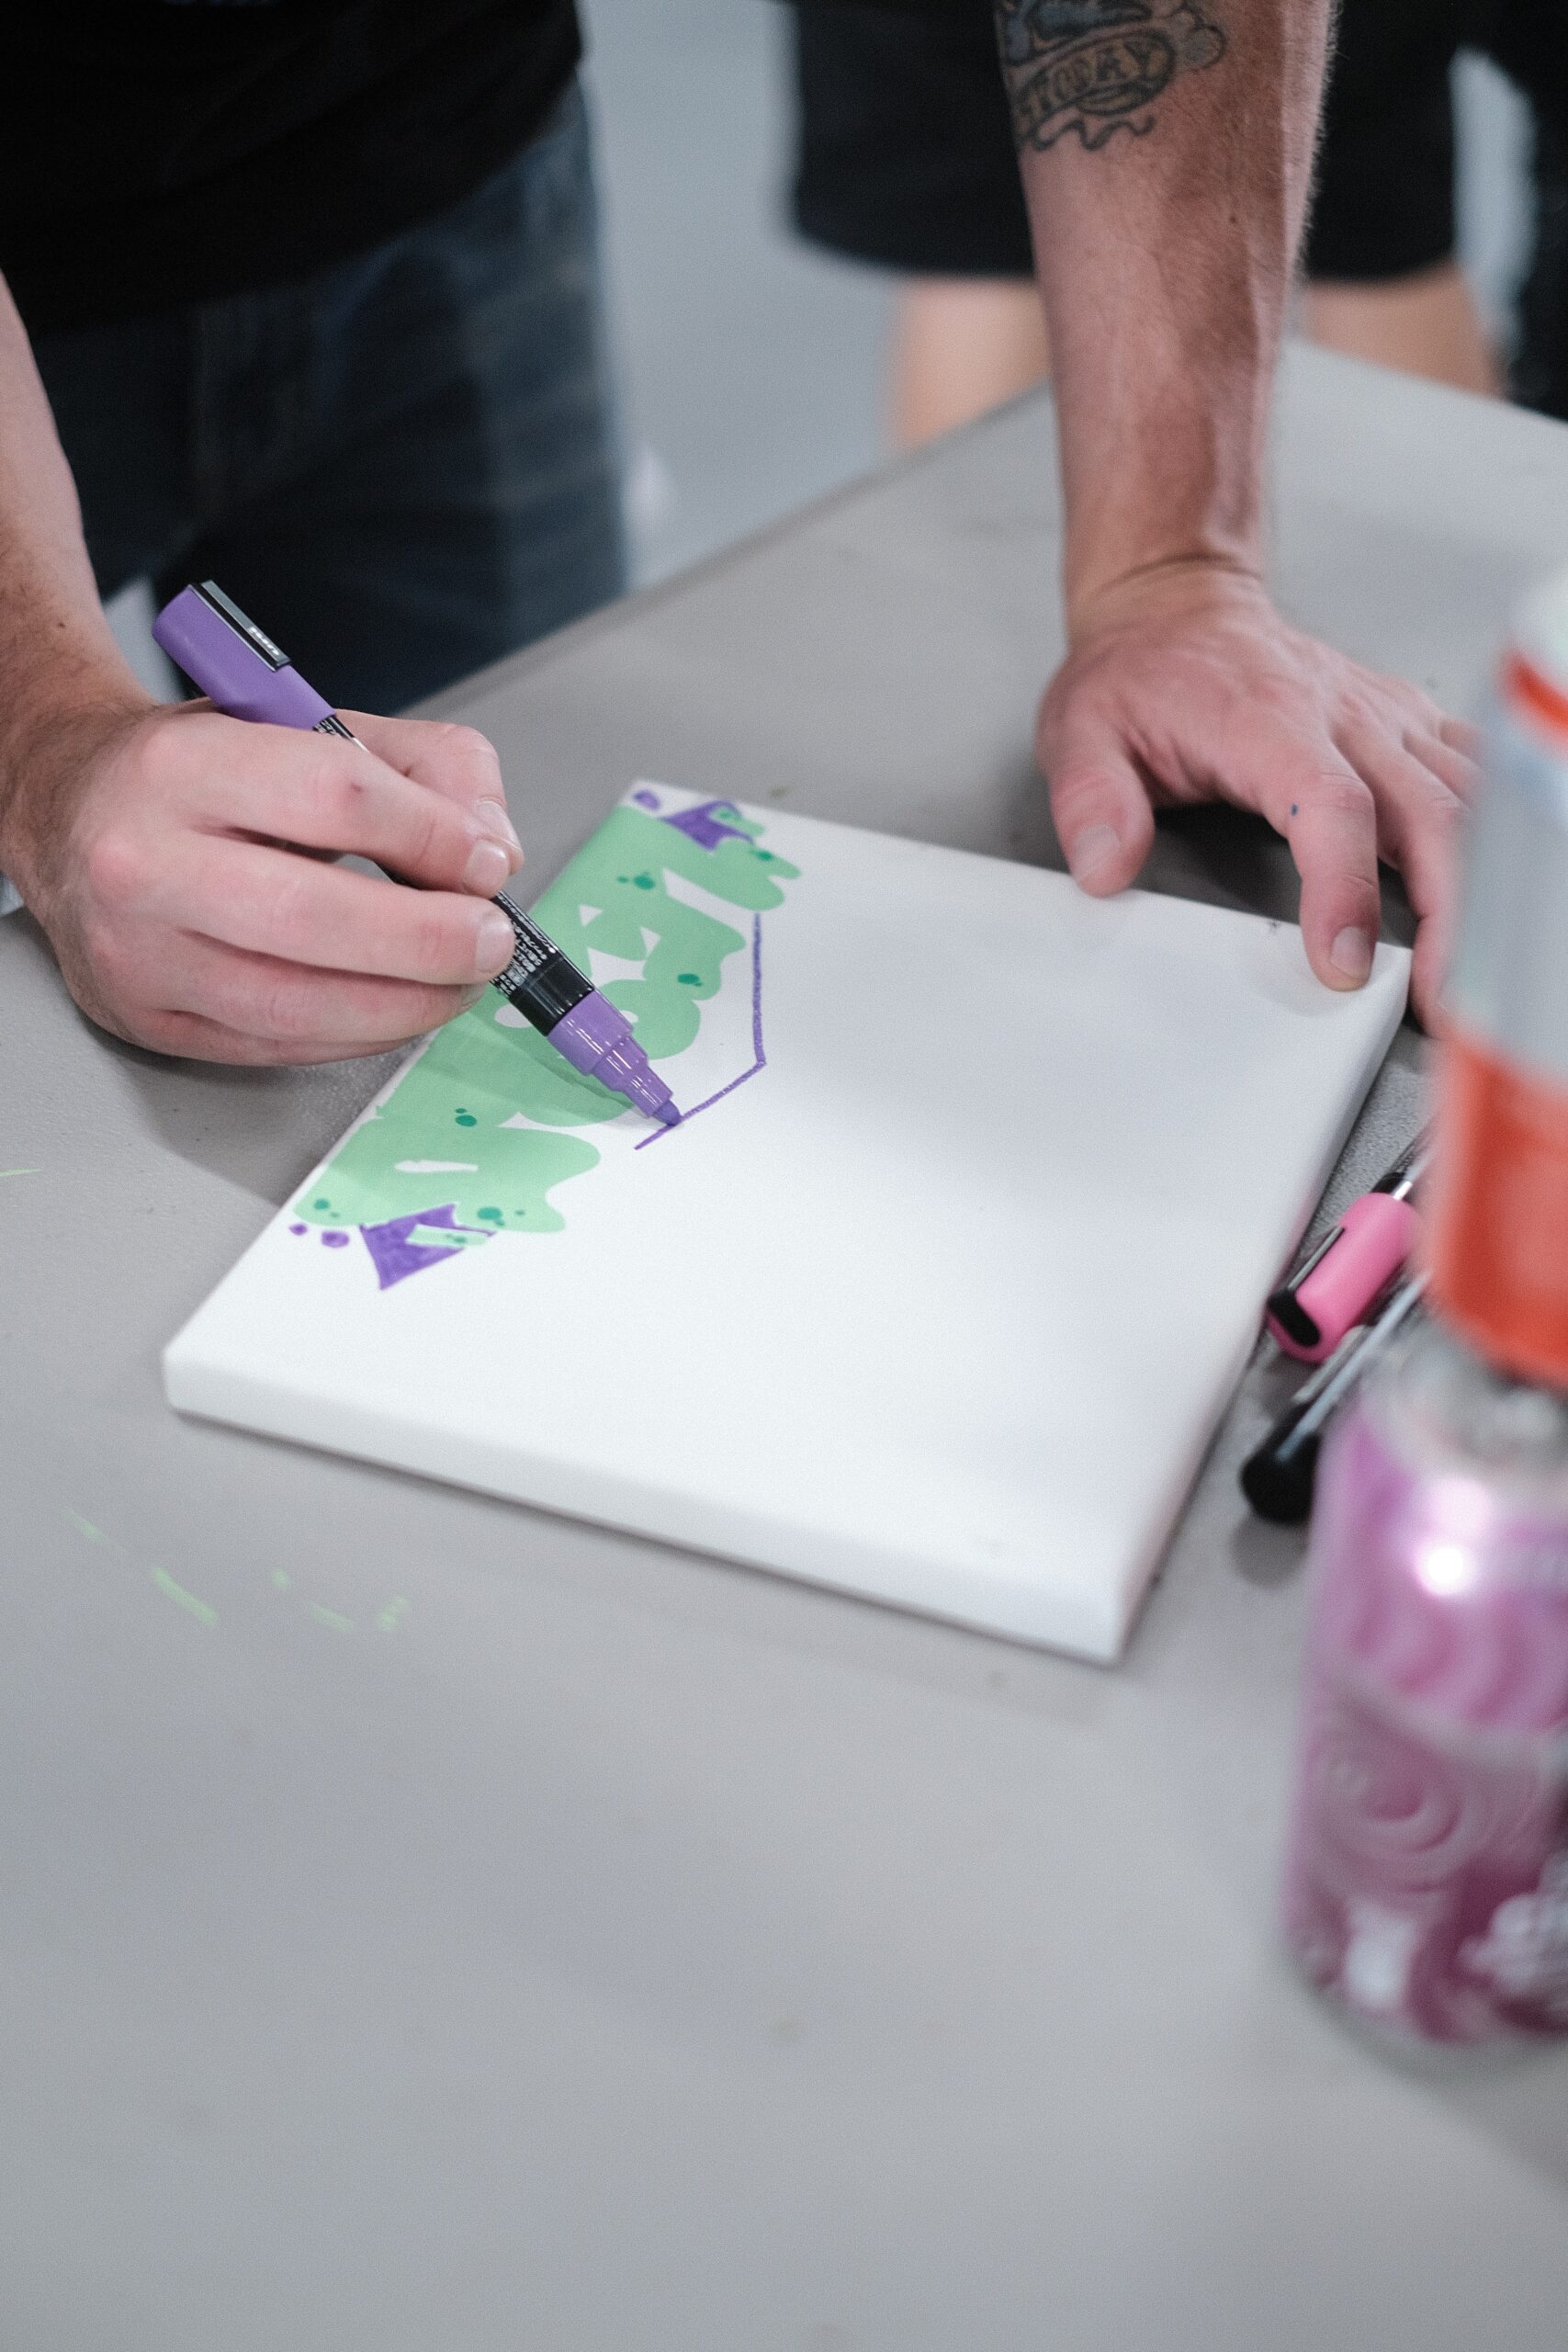
Applying the Spray Paint
Proper technique and application are vital to achieving a smooth and professional finish on your balsa wood project. Follow the steps below for optimal results.
Shaking the Can
Before starting, shake the spray paint can vigorously for a minute or two. This ensures that the paint and any pigments or ingredients are thoroughly mixed. Shaking the can helps prevent uneven color application and enhances the quality of the finish. Remember to periodically shake the can during the painting process to maintain consistency.
Holding the Can
When spray painting your balsa wood, hold the can approximately 6 to 8 inches away from the surface. Holding the can too close may result in excessive paint buildup, drips, or an uneven finish. On the other hand, holding it too far away may cause the paint to disperse before reaching the surface, resulting in a faded or patchy appearance. Experiment with different distances to achieve optimal coverage and control.
Spraying Technique
Maintain a smooth and continuous motion while spraying the paint onto the balsa wood. Begin spraying slightly before the wood’s surface, and continue past the edge to ensure consistent coverage. Avoid stopping or dwelling in one area as this can cause an uneven buildup of paint. Keep the can moving in a back-and-forth or side-to-side motion, overlapping each pass slightly for an even distribution.

This image is property of images.unsplash.com.
Achieving a Smooth Finish
To achieve a professional-quality finish on your spray-painted balsa wood project, follow these important tips.
Building Layers
To achieve a smooth and even color, it is advisable to apply multiple thin layers of spray paint instead of a single heavy coat. Apply each layer with a light touch, allowing it to dry before applying the next. Building up the layers gradually minimizes the risk of drips, runs, or uneven coverage. Be patient during this process, as it may take several coats to achieve the desired depth of color.
Avoiding Drips and Runs
Excessive paint buildup can lead to unsightly drips and runs on your balsa wood project. To avoid this, always spray paint with a light touch, applying thin and even coats. If you notice any excess paint pooling or starting to drip, immediately blot it gently with a clean cloth or paper towel. Acting quickly will help prevent drips from drying and ruining the overall finish.
Sanding Between Coats
Sanding between coats is an essential step to achieve a smooth and flawless finish on your balsa wood project. Use fine-grit sandpaper or sanding sponge to lightly sand the surface between each layer of paint. This helps to remove any imperfections, such as dust particles or unevenness, and promotes better adhesion for the subsequent coat. After sanding, remember to wipe away any dust before applying the next layer of paint.
Adding Details and Effects
Once the base coat is complete, you can add additional details and effects to enhance the visual appeal of your balsa wood project. Consider using stencils, creating a gradient, or applying masking tape for different effects and designs.
Using Stencils
Stencils can be a great tool for adding intricate patterns or designs to your balsa wood project. Place the stencil securely on the surface and use a contrasting color of spray paint to fill in the design. Ensure the paint is applied evenly and allow it to dry before carefully removing the stencil. Stencils provide a precise and professional-looking result, allowing you to create unique and customized designs on your balsa wood.
Creating a Gradient
To create a gradient effect, choose two or more spray paint colors that blend well together. Start by spraying the lighter color first, holding the can a few inches away from the surface. Gradually blend in the darker color by spraying it from a slightly farther distance. Ensure that you overlap the colors slightly to create a smooth transition. Experiment with different color combinations and techniques to achieve the desired gradient effect.
Applying Masking Tape
Masking tape can be used to create crisp and defined lines on your balsa wood project. Apply the tape to sections where you want to maintain the base color or separate different colors. Press the tape firmly to prevent any paint from bleeding underneath. Once the tape is in place, spray paint the desired sections, ensuring an even and consistent coverage. Allow the paint to dry before carefully removing the masking tape to reveal clean lines and sharp details.

Drying and Curing
After completing the spray painting process, proper drying and curing are essential for a long-lasting and durable finish on your balsa wood project.
Drying Time
The drying time for spray paint on balsa wood can vary depending on factors such as the type of paint, weather conditions, and the number of layers applied. In general, acrylic spray paint dries faster than enamel spray paint. It is recommended to wait at least 24 to 48 hours for the paint to dry completely before handling the project or proceeding to the next step.
Curing Time
While the paint may be dry to the touch, it is important to remember that it may still need additional time to fully cure. Curing refers to the process of the paint hardening and forming a strong bond with the surface. Depending on the paint type, curing can take anywhere from a few days to a few weeks. Consult the manufacturer’s instructions for specific guidance on the recommended curing time for the spray paint you are using.
Optimal Conditions
To ensure proper drying and curing, it is crucial to provide the ideal conditions for your balsa wood project. Generally, a clean, well-ventilated area with moderate temperature and low humidity is ideal. Avoid exposing the freshly painted surface to direct sunlight or extreme temperatures, as these conditions can affect the drying and curing process. Patience is key during this stage to allow the paint ample time to fully cure and harden, ensuring a durable and professional-looking finish.
Finishing Touches
To complete your spray-painted balsa wood project and protect the paint, consider applying a sealant and a clear coat. Additionally, polishing and buffing can add an extra level of shine and smoothness.
Sealing the Paint
Applying a sealant to your spray-painted balsa wood can provide added protection and durability. Choose a sealant specifically designed for use on painted surfaces, preferably a clear acrylic or polyurethane sealant. Apply the sealant in thin and even coats, following the manufacturer’s instructions. The sealant helps protect the paint from scratches, fading, and moisture, ensuring your project stays vibrant and intact for years to come.
Applying a Clear Coat
For an additional layer of protection and a glossy finish, consider applying a clear coat over your spray-painted balsa wood. Clear coats act as a barrier between the painted surface and the elements, enhancing the longevity and durability of the paint. Choose a clear coat specifically formulated for spray painting and follow the application instructions carefully. Allow the clear coat to dry fully before handling or displaying your finished project.
Polishing and Buffing
To achieve an even smoother and more professional finish, you can polish and buff the spray-painted surface of your balsa wood. Once the paint is fully dry and cured, use a polishing compound or automotive wax to gently polish the surface in circular motions. This process helps to remove any minor imperfections or swirl marks, leaving behind a smooth and lustrous finish. Use a soft cloth or buffing pad to buff the surface to a high shine.

Troubleshooting Common Issues
While spray painting balsa wood is a straightforward process, occasional issues may arise. Here are some common issues and their possible solutions.
Cracking or Peeling
If you notice cracking or peeling of the spray paint on your balsa wood project, it may be due to improper surface preparation or inadequate drying and curing time. Ensure that the wood is properly sanded, cleaned, and primed before painting. Additionally, allow each coat of paint to dry and cure fully according to the manufacturer’s instructions. Proper preparation and patience during the drying and curing stages will help minimize the risk of cracking or peeling.
Orange Peel Texture
An orange peel texture refers to a bumpy or textured surface of the spray-painted balsa wood that resembles the skin of an orange. This effect is usually caused by applying the paint too heavily or spraying from too far away. To prevent this issue, ensure that each layer of paint is applied with a light touch, allowing for even coverage. If the orange peel texture occurs, you can try sanding the affected area lightly between coats and applying subsequent layers with a lighter touch.
Uneven or Patchy Coverage
If you notice uneven or patchy coverage on your spray-painted balsa wood, it could be due to several factors. One possible cause is spraying from too far away, causing the paint to disperse unevenly. Another cause could be inadequate shaking of the can, resulting in inconsistent pigment distribution. To address these issues, ensure that you hold the can at the recommended distance and shake it thoroughly before and during the painting process. Applying multiple thin layers of paint can also help to achieve a more even and consistent coverage.
Safety Precautions
When spray painting balsa wood, it is essential to prioritize your safety and take necessary precautions. Follow these safety guidelines to minimize any potential risks.
Protective Gear
Always wear protective gear while spray painting, including gloves, safety goggles or a face shield, and a respiratory mask. Gloves protect your skin from direct contact with the paint, while safety goggles or a face shield keep your eyes safe from overspray or particles. A respiratory mask helps filter out potentially harmful fumes and particles in the air. Ensure the protective gear fits correctly and provides adequate coverage for maximum protection.
Ventilation
Spray painting should be conducted in a well-ventilated area to minimize the inhalation of fumes and promote proper drying. If working outdoors, choose a calm area with minimal wind to avoid dispersing the paint unevenly. When working indoors, open windows and doors to allow fresh air to circulate. Consider using a spray booth or a professionally ventilated hood, especially for larger projects, to further improve air quality and minimize the concentration of fumes.
Flammability
Spray paints are typically flammable, so it is crucial to handle them with care. Keep spray paint cans away from open flames, sparks, or sources of heat. Avoid smoking while spray painting or storing the cans near any ignition sources. Always read and follow the manufacturer’s safety instructions and warnings on the spray paint cans to prevent accidents and ensure a safe working environment.
In conclusion, spray painting balsa wood can be a rewarding and creative process when done correctly. By choosing the right spray paint, properly preparing the wood, setting up a suitable workspace, applying the paint with the proper technique, and taking necessary safety precautions, you can achieve a smooth and professional finish on your balsa wood projects. Remember to be patient, experiment with techniques, and enjoy the journey of transforming plain balsa wood into beautifully painted creations.