In this article, you will discover a step-by-step guide on how to effectively soften acrylic paint. Whether you are a professional artist or a passionate hobbyist, knowing the methods to soften acrylic paint can significantly enhance your painting experience. By understanding the various techniques involved and the necessary materials required, you will be able to achieve a smoother and more malleable consistency, allowing you to effortlessly blend colors and create stunning textures in your artwork. With these invaluable tips, you will be able to elevate your artistic skills and confidently explore the versatility of acrylic paint.
Why Soften Acrylic Paint?
Acrylic paint is a versatile and popular medium used by artists of all levels. However, the nature of acrylic paint can often result in a fast-drying and stiff texture, which may not always be desirable for certain painting techniques. Softening acrylic paint can offer a range of benefits, from improved blending and feathering of colors to creating a more smooth and translucent appearance. By understanding the need for softening and the different methods available, you can elevate your acrylic painting to a whole new level.
Understanding the Need for Softening
When working with acrylic paint, there are many instances where a softer texture is preferred. For example, if you want to achieve a smoother transition between colors or create more subtle gradients, softening the paint can help you achieve these effects. Softening the paint also makes it easier to work with, allowing for more controlled brushstrokes and effortless blending. By softening the acrylic paint, you can unlock new possibilities and enhance the overall quality of your artwork.

Benefits of Softening Acrylic Paint
Softening acrylic paint offers numerous benefits that can greatly enhance your painting experience. First and foremost, it allows for better blending and feathering of colors. Softened paint maintains a longer open time, meaning it stays wet for a longer duration, allowing you to seamlessly blend colors and create smooth transitions. Additionally, softening the paint can help achieve a more translucent effect, ideal for creating subtle layers and achieving a luminous quality in your artwork. Overall, softening acrylic paint provides greater control and versatility in your painting process.
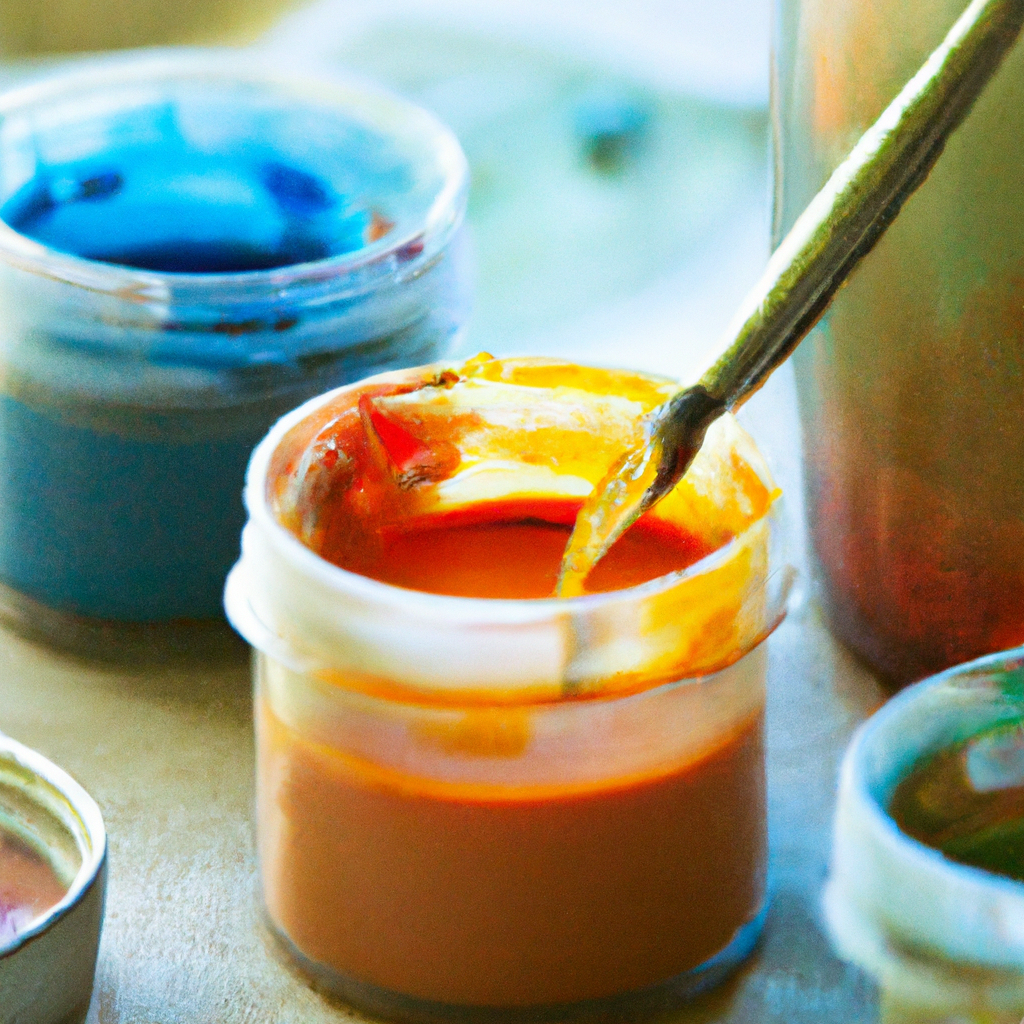
Choosing the Right Tools and Materials
To successfully soften acrylic paint, it is important to have the right tools and materials at your disposal. Here are some essential items to consider:
Quality Acrylic Paint
Using high-quality acrylic paint is crucial for achieving the best results when softening. Lower quality paints may not have the same properties or consistency, making it more difficult to soften them effectively. Invest in artist-grade acrylic paints, which will have a smoother consistency and be easier to work with.
Mixing Palette
A mixing palette is essential for combining different colors and mediums when softening acrylic paint. Choose a palette that is large enough to accommodate your paints and allows for easy mixing and blending. Make sure it is made of a non-porous material, such as glass or acrylic, to prevent absorption and facilitate easy clean-up.
Painting Knife or Spatula
A painting knife or spatula is a versatile tool that can help you manipulate and soften acrylic paint. It allows for precise application, texture creation, and blending. Opt for a palette knife with a flexible, thin, and rounded metal blade for maximum control and ease of use.
Paint Retarder or Medium
A paint retarder or medium is specifically designed to extend the drying time of acrylic paint, allowing you more time to work and soften the paint. Choose a paint retarder or medium that is suitable for acrylic paints. Follow the manufacturer’s instructions for the appropriate ratio of paint to retarder or medium.
Water Spray Bottle
A water spray bottle is handy for misting water onto the acrylic paint to keep it moist and workable. This technique can be particularly useful when employing the wet-on-wet technique or working with paint retarders. Opt for a fine mist spray bottle to control the amount of water applied to the paint.
Paintbrushes
Select a variety of paintbrushes in different sizes and shapes to suit your painting style and techniques. Soft brushes are ideal for creating soft transitions and gradients, while stiff brushes are useful for adding texture. Invest in quality brushes that are durable and hold their shape well.
Disposable Palette Sheets
Disposable palette sheets are a convenient and hygienic option for mixing and blending acrylic paint. These tear-off sheets are usually made of a wax-coated paper or plastic material, allowing you to mix and experiment freely without the worry of cleaning up afterward. Use a fresh sheet for each painting session to ensure clean colors and prevent unwanted color contamination.

Preparation
Proper preparation of your workspace and canvas is essential before you start softening acrylic paint. Here are a few steps to follow:
Setting up Your Workspace
Ensure you have a clean and well-lit workspace that provides sufficient room for your painting materials. Clear any unnecessary clutter that may hinder your creative process. Arrange your paints, brushes, palette, and other tools within easy reach. Consider using a drop cloth or plastic covering to protect your work surface from any accidental spills or splatters.
Cleaning and Priming Your Canvas
Before applying acrylic paint, it is essential to clean and prime your canvas or painting surface. Remove any dust or debris by gently brushing or wiping the surface with a lint-free cloth. Applying a layer of gesso or primer will provide a smooth and absorbent surface for the acrylic paint, ensuring better adhesion and color vibrancy.
Wet-On-Wet Technique
The wet-on-wet technique involves applying wet acrylic paint onto an already wet surface. This technique is valuable for creating blended and seamless colors. Here’s how to employ the wet-on-wet technique:
Applying the Wet-On-Wet Technique
Start by moistening your canvas with a spray bottle or a damp brush. Ensure the surface is evenly wet but not dripping. Add a layer of acrylic paint in your desired color onto the wet canvas. As the paint mixes with the moisture on the surface, it will become easier to blend and manipulate. Use a clean brush or a painting knife to smoothly blend and soften the colors together. Continue adding layers and blending until you achieve the desired effect.
Blending and Feathering Colors
When employing the wet-on-wet technique, blending and feathering colors is achieved by gently overlapping wet brushstrokes or using a painting knife to scrape and mix colors. Experiment with different brushes and techniques to create various soft blending effects. Remember to work quickly, as the wet acrylic paint will dry relatively fast.

Using a Paint Retarder
A paint retarder is an invaluable tool for extending the drying time of acrylic paint, allowing for easier softening and manipulation. Here’s how to use a paint retarder effectively:
Understanding Paint Retarders
Paint retarders are additives specifically formulated to slow down the drying process of acrylic paint. They are compatible with acrylic paints and do not affect the overall quality or permanence of the paint. Retarders work by inhibiting the evaporation of water from the paint, thus keeping it moist for a longer period.
Mixing Paint Retarder With Acrylic Paint
To soften acrylic paint with a retarder, squeeze a small amount of paint onto your palette and add a few drops of retarder. Use your palette knife to thoroughly mix the retarder with the paint until it is well incorporated. Adjust the amount of retarder based on your desired drying time and consistency of the paint. Remember to follow the manufacturer’s instructions for the specific retarder you are using.
Working With Paint Retarder on the Canvas
Once you have mixed the paint retarder with the acrylic paint, apply it to your canvas using your preferred technique. With the extended drying time, you will have more flexibility to blend, feather, or soften the paint. Take advantage of the increased workability to refine your brushstrokes and achieve the desired effect. Keep in mind that using too much retarder can cause the paint to become excessively fluid, so exercise caution and experiment to find the right balance.
Misting With Water
Misting water onto the acrylic paint is a simple yet effective technique for keeping the paint moist and workable for longer periods. Here’s how to incorporate water misting into your painting process:
Understanding the Water Misting Technique
Misting involves applying a fine mist of water onto the surface of the acrylic paint, allowing it to reactivate and become more workable. The moisture from the water prevents the paint from drying too quickly, facilitating blending and softening.
Spraying Water onto the Acrylic Paint
Fill a clean and fine mist spray bottle with water. Choose a bottle that provides a gentle and even mist without large droplets. Spray a light mist of water directly onto the acrylic paint on your canvas. Be careful not to oversaturate the paint to avoid diluting the colors excessively or causing pooling of water. The goal is to keep the paint moist and workable, not to create a wet or puddled surface.
Blending and Softening With a Dry Brush
After misting the paint with water, use a clean and dry brush to blend and soften the colors further. The moisture from the misted water will reactivate the paint, making it easier to manipulate. Use gentle brushstrokes or a painting knife to create smooth transitions and soften any harsh edges. Experiment with different brush techniques and pressures to achieve the desired level of softness in your painting.
Mixing Acrylic Mediums
Acrylic mediums offer a wide range of possibilities for softening acrylic paint. They can enhance the flow, transparency, and drying time of the paint, providing greater control and versatility in your painting process. Here’s how to explore various acrylic mediums and mix them to soften your paint:
Exploring Various Acrylic Mediums
Acrylic mediums are additives that can modify the properties of acrylic paint. They come in various forms, such as gels, pastes, and liquids, each with its unique characteristics. Some common acrylic mediums include gloss medium, matte medium, glazing medium, and texture mediums. Experiment with different mediums to determine which ones best suit your desired softening effects.
Mixing Mediums for Softening Acrylic Paint
To soften the acrylic paint using mediums, start by applying a small amount of medium onto your palette. Mix the desired acrylic paint color into the medium, using your palette knife to thoroughly combine them. Gradually increase or decrease the amount of medium to achieve your desired consistency and drying time. Test the mixture on a scrap surface to assess its softness and workability before applying it to your artwork. Remember to clean your tools promptly after using mediums, as some may dry more quickly.
Applying Multiple Thin Layers
Building up multiple thin layers of paint can create a softer effect with acrylic paint. Here’s how to apply multiple thin layers effectively:
Building up Layers for a Softer Effect
Start with a thin layer of acrylic paint on your canvas. Allow it to dry completely before applying the next layer. Repeat this process, gradually building up multiple thin layers of paint. This technique allows you to achieve a smoother and more translucent finish, as each new layer adds depth and softness to the overall painting. Experiment with different colors and brush techniques to create unique effects.
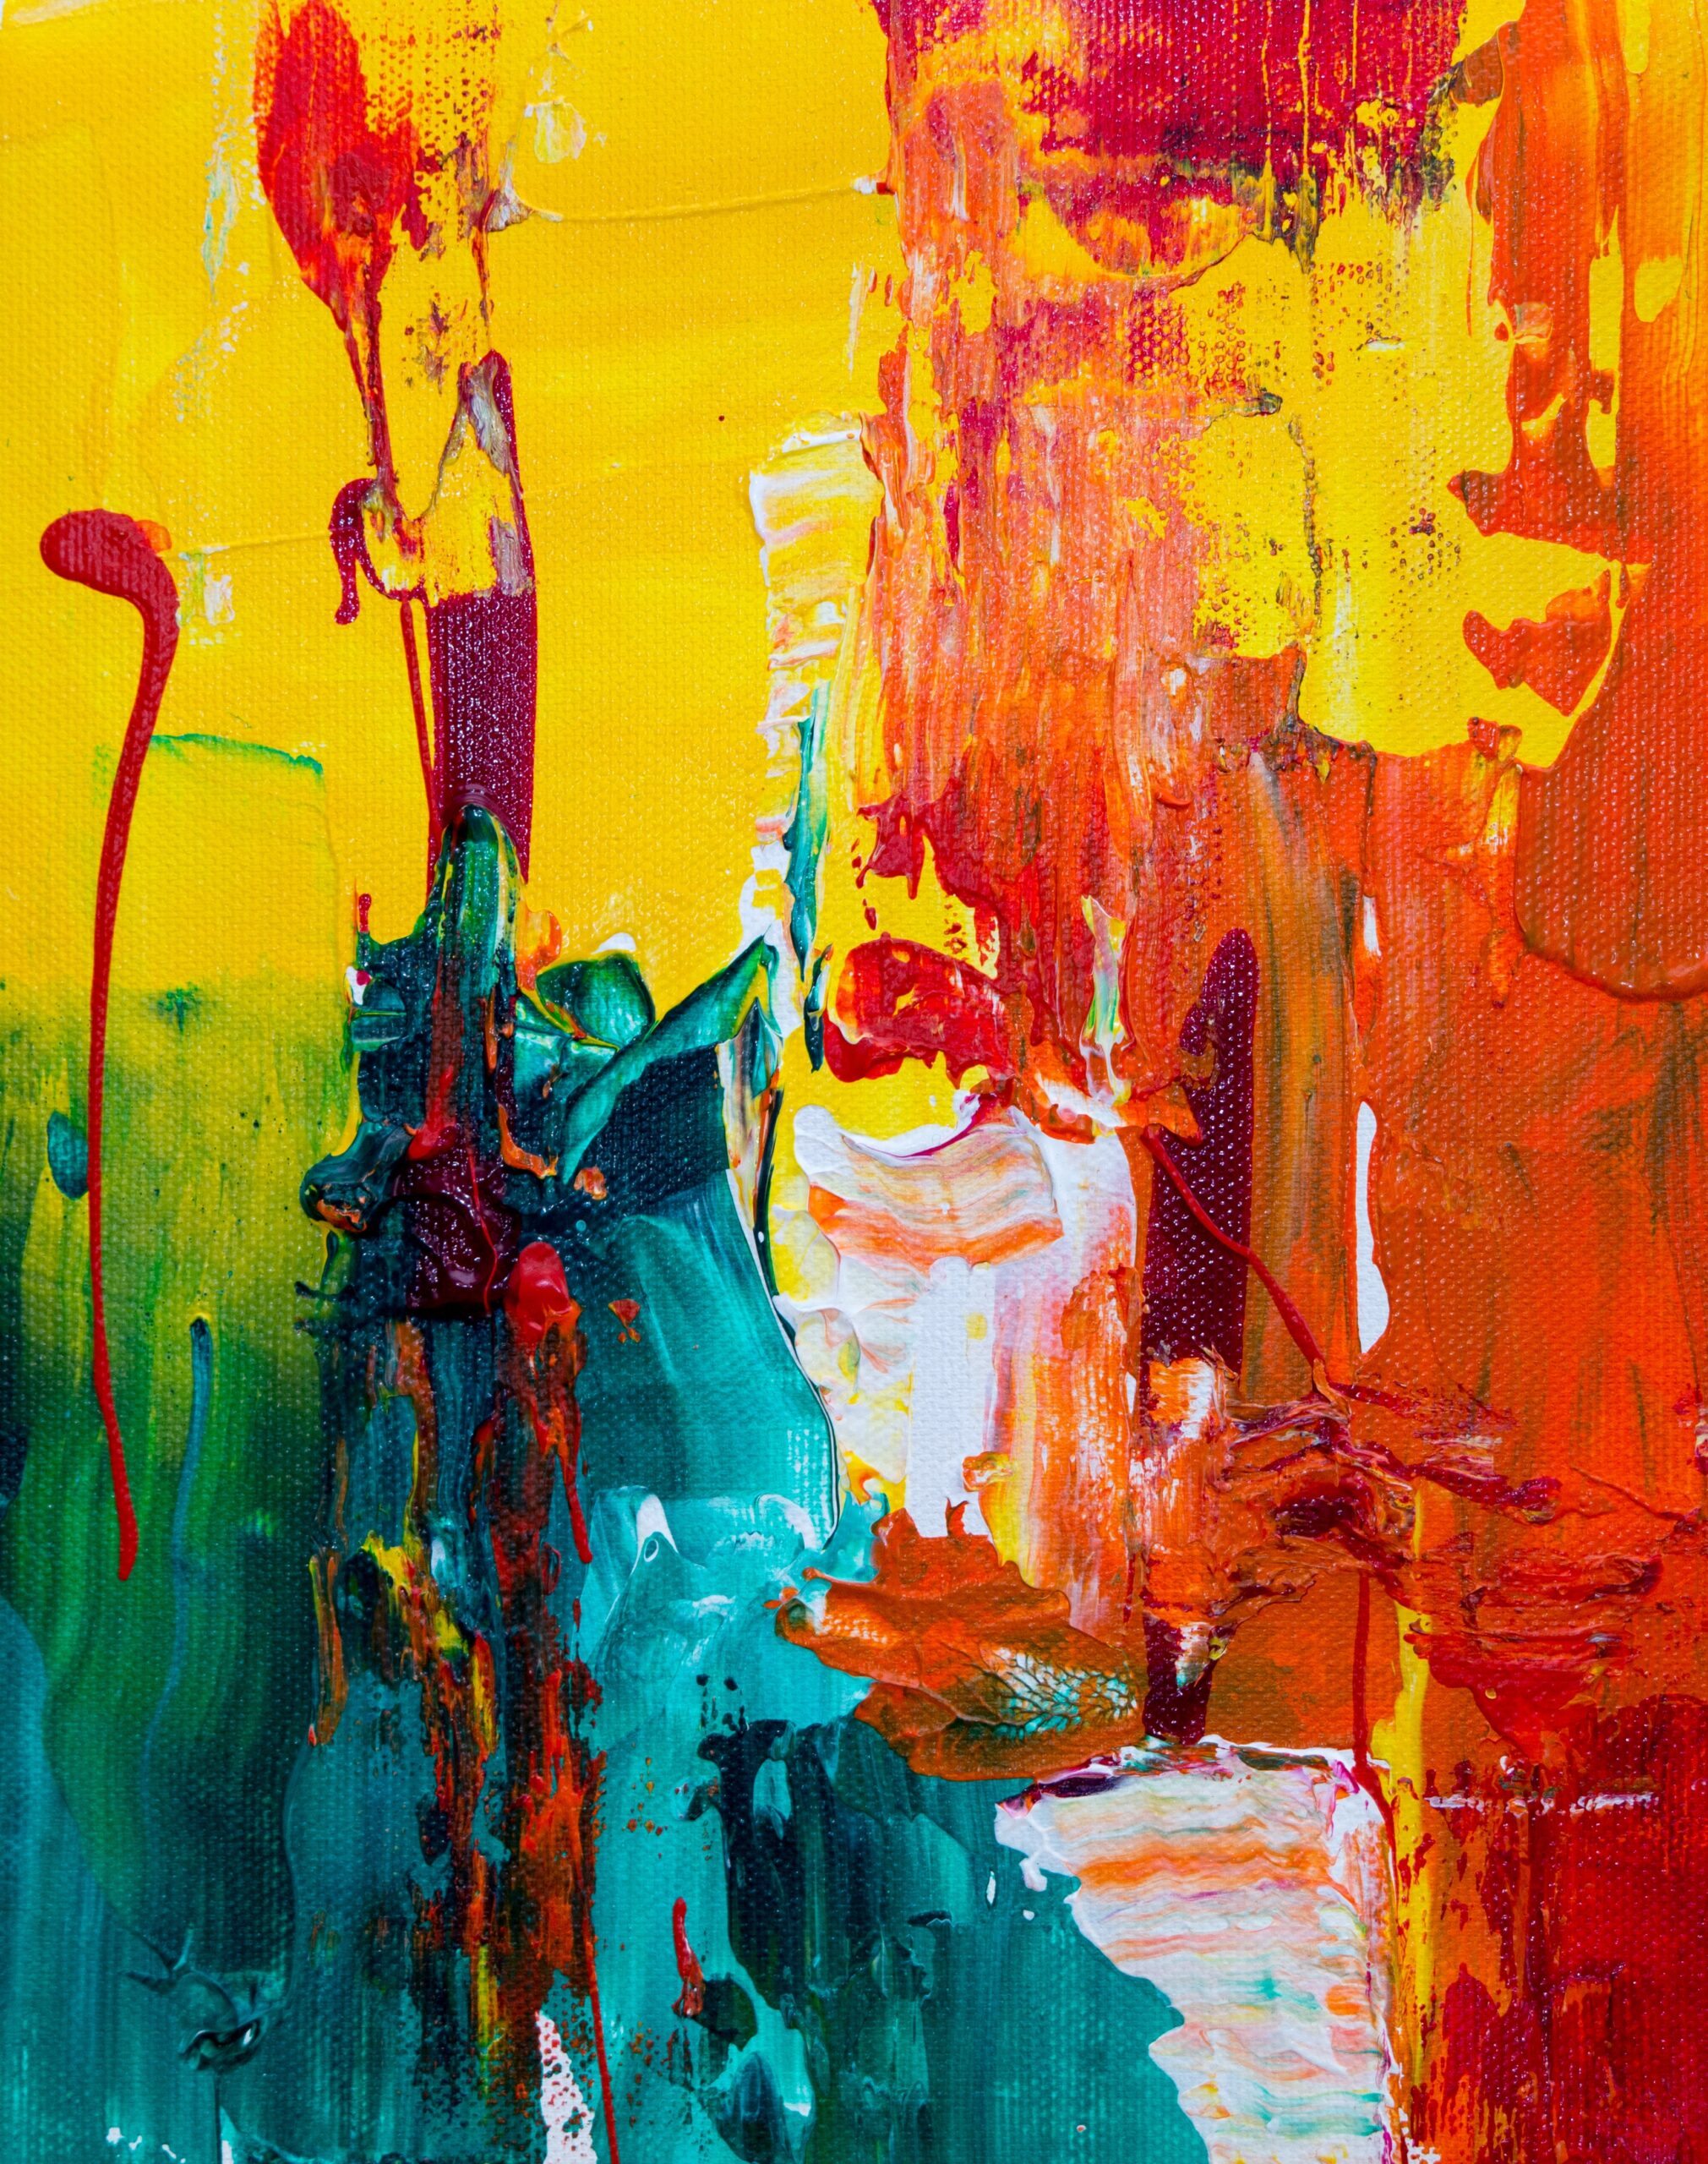
Scumbling and Glazing Techniques
Scumbling involves applying a thin layer of opaque or semi-opaque paint over a dry layer of paint, using a dry brush or a painting knife. This technique creates a soft and hazy effect, perfect for adding depth and dimension to your artwork. Glazing, on the other hand, involves applying a translucent layer of color over a dry layer, allowing the underlying colors to show through. Both techniques contribute to a softer and more nuanced appearance in acrylic paintings.
Using a Painting Knife or Spatula
A painting knife or spatula is a versatile tool that can be used to apply and manipulate acrylic paint, leading to unique textures and softness in your artwork. Here’s how to use a painting knife effectively:
Applying Acrylic Paint With a Painting Knife
Start by applying a small amount of acrylic paint onto your palette. Use the painting knife to pick up the paint from the palette and apply it directly to your canvas. Experiment with different pressures, angles, and techniques to create various textures and effects. The flexibility and shape of the painting knife allow for more precise and controlled application, contributing to a softer appearance.
Creating Texture and Softness
One of the advantages of using a painting knife is its ability to create texture and softness in acrylic paintings. By varying the pressure and direction of the knife, you can achieve different textures, from smooth and blended areas to pronounced peaks and ridges. Use the knife to blend and soften colors, or to add depth and dimension by layering different paint colors. The unique textures created by the painting knife can elevate the overall quality of your artwork.
Cleaning and Storing Brushes
Proper care and maintenance of your paintbrushes are crucial for maintaining their softness and durability. Here are some tips for cleaning and storing brushes effectively:
Proper Care and Cleaning of Paintbrushes
After each painting session or when transitioning between colors, thoroughly rinse your brushes under running water. Gently use your fingers to remove any excess paint from the bristles and reshape the brush. Use a mild soap or brush cleaner to remove any residual paint or mediums, working the bristles gently to avoid damage. Rinse the brushes until the water runs clear, and gently squeeze out any excess moisture. Lay the brushes flat or hang them upside down to dry.
Storing Brushes to Maintain Softness
To preserve the softness and shape of your brushes, store them properly when not in use. Ideally, keep them upright in a brush holder or roll them up in a brush case to protect the bristles. Ensure the brushes are completely dry before storing them to prevent the growth of mold or mildew. Avoid storing brushes in a cramped or humid environment, as this can cause the bristles to become misshapen or frayed.
Softening acrylic paint opens up a world of possibilities for artists, allowing for greater control, versatility, and ultimately enhancing the overall quality of their artwork. By understanding the need for softening, choosing the right tools and materials, and exploring various techniques, you can master the art of softening acrylic paint. Whether you prefer the wet-on-wet technique, using paint retarders, misting with water, or employing different mediums, each method offers its unique advantages and can be used alone or in combination to achieve your desired softness, blend, and texture. With practice and experimentation, softening acrylic paint will become an essential skill in your artistic repertoire.