Mastering the art of acrylic painting is no easy feat, but adding the final touch—that perfect signature—can feel even more daunting. Your signature is not only an assertion of the art’s authenticity but also has the power to affect the impression of the entire piece. In the article, “How To Sign A Painting In Acrylic,” detailed guidance is provided on various techniques and approaches for properly signing your work. It discusses considerations such as location, color, size, and the choice between using your full name or initials. Furthermore, the article sheds light on the significance and advantages that the judicious use of acrylic paints brings to this critical task.

Choosing the Right Tools
To create a successful signature on your acrylic painting, it’s crucial you take some time to choose the right tools for the job. The tools you select will have a significant impact on the final output and can assist in dictating your personal style.
Selecting the Right Paintbrush
There are various types of brushes available in the market. The paintbrush you select will depend on the style of your signature. A flat or angular brush usually works well for crisp, block letters, while a round or liner brush is better suited for cursive or flowing signatures. The key is to choose a brush that you feel comfortable with and one that allows you to create the desired effect of your signature on the canvas.
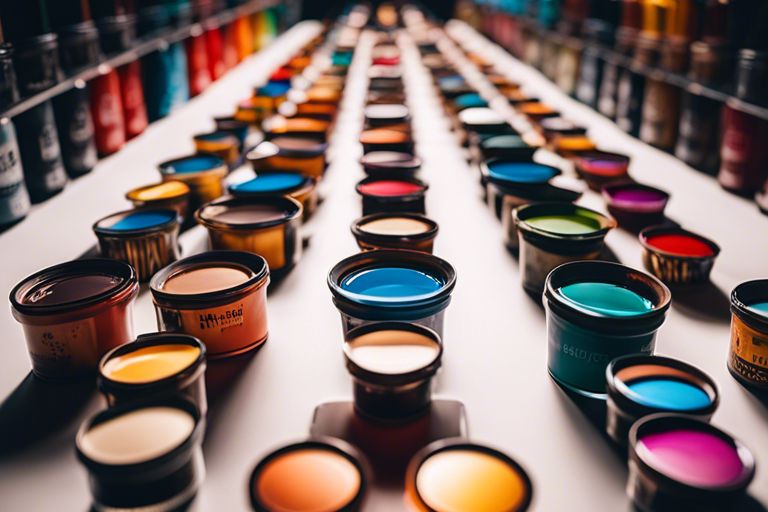
Choosing the Right Acrylic Paint
You likewise need to choose the right acrylic paint for your signature. Professional-grade acrylics are highly recommended as they have a higher pigment load, providing better color density and permanence. Consider using a vivid color that contrasts with your painting so that your signature stands out without detracting from the artwork itself.
Using a Palette Knife
There’s also the option of using a palette knife to sign your painting. A palette knife allows you to create a unique, textured signature that literally stands out from the canvas. This can add an extra dimension to your artwork, making your signature a part of the painting’s overall texture and design.
Preparing the Surface
The surface preparation is equally important in guaranteeing a neat and noticeable signature.
Cleaning the Surface
Before you sign your painting, ensure the area where you plan to place your signature is clean and free of any dust, grime or other contaminants. A dirty surface can impede the clarity and longevity of your signature.
Applying Gesso
Gesso is a white paint mixture that preparers your painting surface for acrylic or oil paint. Its use helps to create a smooth and uniform surface ideal for signing. You can apply gesso with a brush or a roller ensuring even spreading.
Sanding the Surface
After applying gesso and allowing it to dry, you may sand the surface to achieve a smooth finish. This can make the signature application easier and prevent the appearance of brush streaks or unwanted texture in your signature.
Deciding on the Signature
Your signature on a painting is more than just an identification, it’s an extension of your creativity and unique style.
Selecting Your Personal Style
Select a style that reflects you as an artist and complements your artwork. This may be a stylish textual signature, a unique symbol, or maybe even a monogram of your initials. The choice is yours.
Considering Placement and Size
Consider the placement and size of your signature carefully. It shouldn’t be too large to overpower your artwork, nor too small to be nearly invisible. Traditionally, painters place their signature on the bottom right corner, but you can choose another area if it suits your artwork better.
Testing on a Scrap Paper
Before you sign the actual painting, practice on a scrap piece of paper various times. This gives you a chance to practice your signature size, style, the brush you’re using and the paint flow.
Signing Techniques
Several signature techniques can be applied depending on your skill level, the equipment you have and your desired outcome.
Freehand Signature
This technique involves signing your painting directly using a paintbrush. While it may take some practice to achieve a steady hand, it gives you the most control and allows for a highly personalized style.
Creating a Stencil
If you’re not sure about your ability to create a freehand signature, you could consider creating a stencil of your signature. This can be traced onto the painting, giving you a guide while you paint your signature.
Transfer Method
Similar to stenciling, you can create your signature on a piece of tracing paper and then transfer that onto your painting. This gives a guide for you to follow when signing your work.
Digital Signature
If you’re tech-savvy, creating a digital signature could be right for you. You can create a signature on a digital device, print it and fix it on the painting. This allows you to achieve a professional and consistent signature across your works.

Using the Right Paint
The type of paint you use to sign your painting plays a vital role in the longevity and visibility of your signature.
Using Permanent Paints
Acrylic paint is ideal for signing your artwork because it’s permanent once it’s dry. This ensures that your signature won’t smudge or fade over time.
Avoiding Water-Soluble Paints
Avoid using water-soluble paints like watercolors for your signature as they can disappear with time or get (accidentally) washed off during varnishing.
Mixing Mediums with Paints
If you wish to add some transparency or change the texture of your paint, you can consider mixing mediums with your acrylic paint. However, remember that your signature should still be easily legible after adding the medium.
Color and Visibility
The color of your signature can make it pop or blend in. You must ensure it is visible without becoming a distracting element of your artwork.
Contrasting Colors
Choosing a contrasting color for your signature helps it stand out on the canvas. For example, if your artwork primarily comprises cool colors like blues and greens, you might consider using a warm color for your signature.
Choosing the Right Size Brush
The brush size will generally depend on the size of the painting and the signature. For a smaller canvas, you may need a finer brush for your signature. The goal is to select a brush that makes it easy for you to control and create your signature gracefully.
Framing Considerations
While placing your signature, remember to consider framing. Don’t place your signature too close to the edge where it could be covered by a frame.
Applying the Signature
The actual application of the signature requires some preparation and a steady hand.
Practice First
Practice is key to mastering your painting’s signature. Utilizing scrap paper allows you to practice without fear of making a mistake on your artwork.
Controlling the Brush
Be firm enough to control the brush, but don’t apply too much pressure as it could lead to an uneven application of paint. Keep a steady hand to ensure a smooth application of your signature.
Being Confident and Steady
Confidence is the key to creating a beautiful signature. And the more you practice your signature, the more confident you will be when it’s time to sign the final artwork.
Drying and Varnishing
After signing your painting, it’s crucial to let it dry thoroughly before you apply a varnish.
Letting the Painting Dry
Allow the paint from your signature to dry fully before proceeding to the next step. This prevents smudging and preserves your signature’s integrity.
Applying a Varnish
Once your painting, including your signature, is completely dry, apply a varnish to protect your artwork from dust, UV rays and other potential damages. This will also give your painting a professional finish.
Additional Tips and Considerations
Here are some additional tips and considerations while signing your painting.
Signing on a Dry Surface
Always sign your paintings on a dry surface. If you attempt to sign on a wet surface, it could lead to spreading or bleeding of the paint.
Experiment with Different Techniques
Don’t be afraid to experiment with different signature styles, colors, and techniques in order to find what works best for you.
Signing with Initials Only
In case the painting is small in scale or you prefer a less obtrusive signature, you could consider signing only with your initials.
Preserving the Signature
Much like preserving your painting, it’s also important to protect and conserve your signature.
Using Archival-Quality Materials
Always opt for archival-quality materials whether it’s paint, brush or even the varnish. This ensures that your signature does not fade away over time and your painting’s value is preserved.
Framing Your Painting Properly
Ensure your painting is framed with plenty of margin around the edge so that the frame does not cover any part of your signature.
By implementing these techniques and applying a conscious effort in creating your signature, you build upon an essential aspect of your artistic career. Your signature, notable and distinct, allows you to leave your personal stamp on each work of art, connecting you with each piece you create long past the moments in which it was created.