Your passion for painting has led you down a path of artistic exploration and ingenuity; one where the most essential tool is your brush. Maintaining the integrity and quality of this tool is paramount for your work. “How To Rinse Oil Paint Brushes” is your comprehensive guide on the art of preserving your brushes, particularly teaching you how to effectively clean oil paint off them. The quality of your art and the longevity of your tools are often intertwined, and this guide aims to promote the maintenance of both.
Materials Needed
Regaining the cleanliness of your oil paint brushes requires some basic materials. First on the list are Turpentine or Mineral spirits. These are solvents that effectively break down the oil paint on your brushes. Next, you would need a container or jar. This will serve as your cleaning vessel where you can swirl the brush around to remove the paint. Paper towels are also necessary for wiping off excess paint and drying the brushes after rinsing. Lastly, soap and water are needed for the final cleaning before storing the brushes.
Turpentine or mineral spirits
Turpentine or mineral spirits are essential for dissolving the oil-based paint particles in your brushes. These solvents break down the paint, making it easier to remove from the bristles.
Container or jar
A container or jar that is deep enough to fully submerge your paint brushes is necessary. You will be filling this with your chosen solvent, ensuring that your brushes can be extensively cleaned.
Paper towels
Paper towels are versatile materials for cleaning paint brushes. Not only do they cleanly absorb excess paint, but they also play a crucial role in drying the brushes after cleaning.
Soap
A mild soap is needed for a finishing touch in cleaning your brushes. This helps ensure that any leftover paint or solvent is thoroughly rinsed off from the brushes.
Water
Lastly, water is indispensable in the cleaning process. You will be using it in the final steps of cleaning to ensure your brushes are completely cleaned and are ready for the next use.
Step 1: Prepare the Workspace
Before delving into the actual cleaning process, it is important to set up the workspace properly. To ensure safety and convenience, your workspace must be in a well-ventilated area. This will help dissipate any fumes from the solvent, reducing the risk of irritation or other health concerns. A well-ventilated area also provides a conducive place where your brushes can dry after cleaning. On another note, you also need to protect your work surface. You can cover it with a protective layer, like a plastic cover or an old newspaper, which can prevent any accidental spills or stains from reaching and damaging it.
Choose a well-ventilated area
Selecting a well-ventilated area for your workspace plays a significant role in an efficient and safe cleaning process. This area allows good airflow that helps to quickly evaporate solvent fumes, keeping you safe from potential health risks.
Cover your work surface with a protective layer
Covering your work surface with a protective layer can save you from the hassle of removing stains later on. This will limit the spread of paint or solvent spills, keeping your working area clean throughout the whole process.

Step 2: Remove Excess Paint
Before you start with the solvent, it’s necessary to remove any excess paint that is still on the bristles of your brushes. A quick wipe with a paper towel can handle this task. Keep in mind that your goal is to remove the excess paint, not to spread it further into the bristles. Thus, you should avoid smearing or spreading the paint when you are removing it.
Wipe off any excess paint using a paper towel
Wiping off excess paint is the initial step in the actual cleaning process. Use a paper towel to gently squeeze the bristles, smoothly pulling away layers of paint.
Avoid smearing or spreading the paint further
Be careful not to smear or spread the paint further into the bristles. This will only make the cleaning process more difficult. Instead, aim to remove the higher layers of paint towards the direction of the bristle tips.
Step 3: Pour Turpentine or Mineral Spirits
The next step in the cleaning process involves a solvent. You can choose either turpentine or mineral spirits. Fill your container or jar with your chosen solvent and be sure to fill enough to fully submerge the bristles of your brushes. This enables the solvent to work its way into the bristles and dissolve the paint.
Fill a container or jar with turpentine or mineral spirits
Pour either turpentine or mineral spirits into your prepared container or jar. Remember to pour enough to fully submerge the bristles of the brush in it.
Make sure the container is deep enough to fully submerge the brush bristles
The importance of a deep container can’t be overstressed. This enables all the bristles of your brush to come into contact with the solvent, enhancing the capability to remove the paint.
Step 4: Submerge the Brushes
Submerging the brushes into the solvent is the next action in line. Slowly lower your paint brush into the container, ensuring the bristles are completely covered. Bearing in mind that only the bristles should be submerged, as immersing the entire brush can lead to damage.
Gently submerge the brush bristles into the container
The brushes should be dipped gently into the solvent to prevent the paint from spattering. Ensure to submerge all the bristles for effective cleaning.
Do not immerse the entire brush handle
Never immerse the entire brush, including the handle, into the solvent. The solvent can loosen the glue holding the bristles to the handle, potentially causing the bristles to fall off.
Step 5: Swirl and Rinse
Submerging the brushes in the solvent is just the first part. The next thing you need to do is to swirl the brushes inside the container. This will stir up the solvent and agitate the bristles, causing them to release the trapped paint. You may need to swirl continually until you start seeing the paint dissolving. Repeat this process until the paint is completely out, replacing the solvent with a new one if it becomes too dirty.
Swirl the brush in the turpentine or mineral spirits
Swirling the brush is a crucial step that helps separate the paint from the brush’s bristles. This should be done gently to prevent the bristles from being damaged.
Continue swirling until the paint starts to dissolve
Don’t stop swirling until you start seeing the paint dissolving in the solvent. This shows that the solvent is effectively breaking down the paint particles.
If necessary, change the solvent and repeat the process
In case your solvent is already too soiled with paint, replace it with a fresh one and repeat the swirling process. This helps to ensure that your brush gets completely cleaned.

Step 6: Wipe and Repeat
After swirling and rinsing, the next step would be to wipe and repeat. Obtain a clean paper towel and use it to gently squeeze the bristles. This will help remove the dislodged paint particles. If the paint is not entirely out, don’t fret. Simply submerge and swirl the brush in the solvent again and try wiping one more time.
Remove the brush from the container
After sufficient swirling and rinsing, gently lift the brush from the solvent. By doing so, you are limiting further dissipation of the paint in the solvent.
Gently squeeze the bristles with a paper towel
Using a clean paper towel, carefully squeeze the bristles. This will help to extract the dissolved paint from the bristles.
Repeat the submersion and swirling process if needed
On instances where the paint isn’t completely eliminated, just repeat the submersion and swirling process. This helps to break down any stubborn paint that still clings on the bristles.
Step 7: Clean with Soap and Water
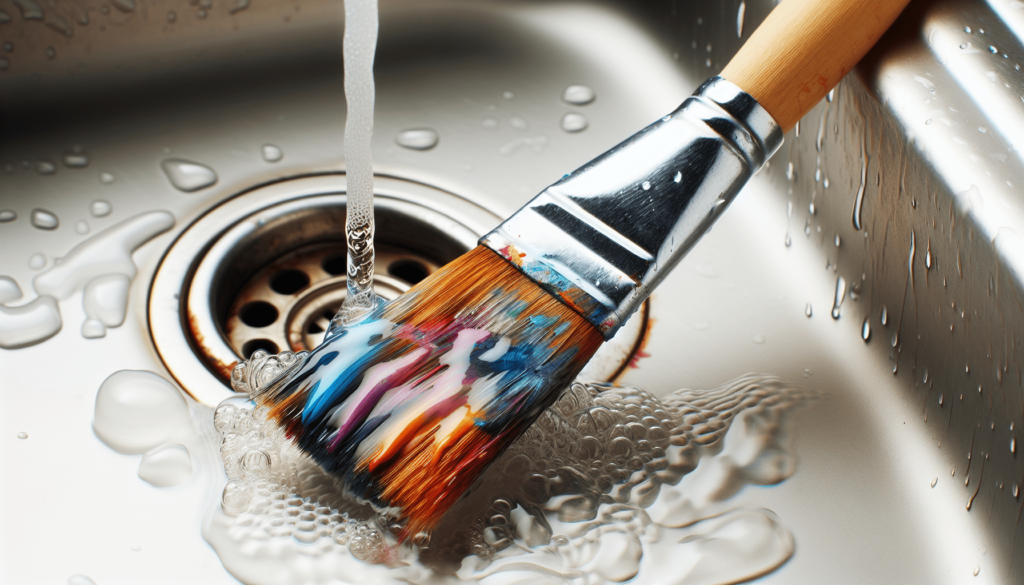
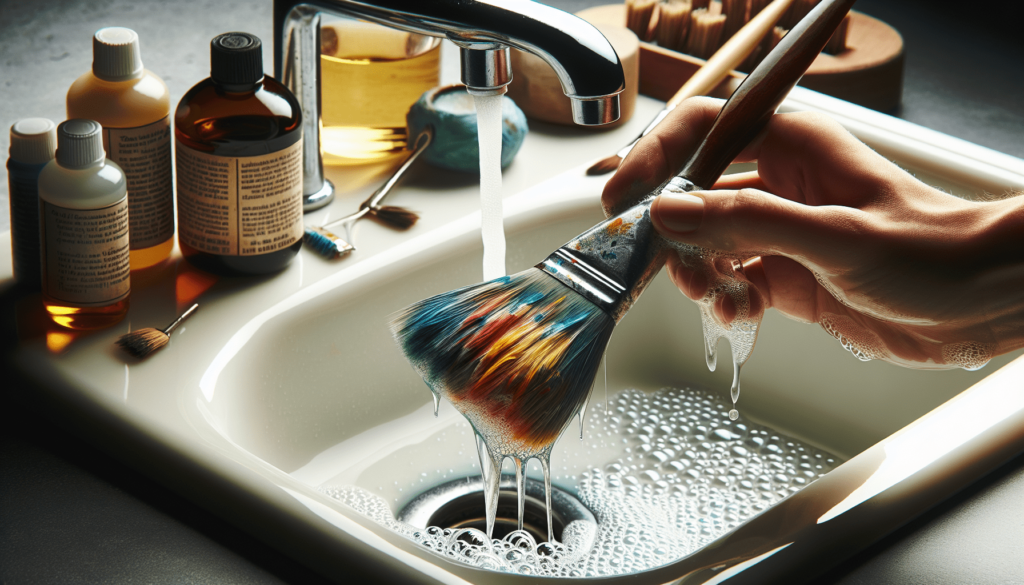
After getting most of the paint out with solvent, the cleaning is not done yet. An essential step is to wash the brushes with soap and water. This is done necessary to completely clean the brushes as it removes any remnants of the solvent and paint. Rub a mild soap on the bristles and massage them gently with your fingers. Afterwards, rinse in water to remove all the soap and any leftover paint particles. Make sure to rinse them thoroughly so that all the soap, paint and solvent are removed.
After removing most of the paint, wash the brushes with mild soap and water
Wash your brushes with a mild soap and warm water. This serves as the final cleaning process that ensures your brushes are free from any leftover paint and solvent.
Use your fingers to gently massage the bristles
Massage the bristles gently with your fingers. This helps in separating any remaining particles that might still be clinging onto the brushes bristles.
Rinse the brushes thoroughly to ensure all paint and solvents are removed
Finally, rinse your brushes in clean, running water. This removes all the soap and any traces of paint or solvent remaining, completing the cleaning process.
Step 8: Dry the Brushes
The drying process is essential to retain the lifespan and performance of your brushes. After thorough rinsing, gently squeeze out excess water from the bristles with a clean towel. If the bristles have lost their shape after the cleaning process, you can reshape them before you dry them. Lay the brushes flat or hang them to dry. Remember to avoid drying them upright as water might leak into the handle leading to damage.
Gently squeeze out excess water from the bristles
Gently pressing the bristles with a clean towel will help displace excess water. This cuts down the drying time ensuring your brushes are ready for use sooner.
Reshape the bristles if necessary
Reshaping the bristles when they are wet can help maintain the brush shape. It’s easier to get the bristles back to their original form when wet making the drying process more effective.
Lay the brushes flat or hang them to air dry completely
To ensure the longevity of your brushes, they should be laid flat or hung up to air dry completely. This procedure allows complete drying, preventing any possibility of water damaging the brush handle.
Step 9: Store Properly
The final step in caring for your oil paint brushes is storing them properly. After the brushes are fully dry, they should be stored either upright or horizontally to maintain their shape. Avoid storing them in an overcrowded space or packing them too tightly as this can lead to deformed bristles.
Store completely dry brushes upright or horizontally
Storing your brushes upright or horizontally will keep them in top condition for your next painting project. This ideal storage position helps maintain the bristles in their proper shape and form.
Avoid overcrowding or crushing the bristles
Lastly, always avoid overcrowding your brushes during storage. This puts unnecessary pressure on the bristles, causing them to lose their original shape. As much as possible always aim for enough space to prevent any potential damage to your brushes.
By following these steps accurately, your oil paint brushes will be well preserved and ready to create more beautiful art pieces in future. In all, the process might seem tedious, but it is worth it in the end as it significantly extends the life of your brushes.
