When working on a painting project, it is common for brushes to become encrusted with dried latex paint, hindering their effectiveness and lifespan. However, with the right techniques, you can easily restore your brushes to their original condition. This article will provide you with a step-by-step guide on how to remove dried latex paint from brushes, ensuring that you can continue your painting endeavors with confidence and a professional finish.
Preparing the materials
Gathering the necessary materials
Before you begin the process of removing dried latex paint from your brushes, it is important to gather all the necessary materials. This includes the brushes that need cleaning, a scraper for removing excess dried paint, a wire brush for stubborn areas, a suitable container for soaking, an appropriate solvent to soften the paint, warm soapy water for cleaning, a brush comb or wire brush for removing stubborn paint, a toothbrush for scrubbing, hair conditioner for conditioning the brushes, and protective covers for storing the brushes.
Setting up a workspace
When preparing to clean your brushes, it is essential to set up a suitable workspace. Choose a well-ventilated area with a flat surface where you can comfortably work. Lay down newspaper or a drop cloth to protect the surface from any stray paint or cleaning agents. This will help keep your workspace clean and organized throughout the process.
Protecting your hands and eyes
Paint removal can involve the use of chemicals and tools that can be harmful to your hands and eyes. It is crucial to take necessary precautions to protect yourself. Wear disposable gloves to shield your hands from any chemicals used during the cleaning process. Additionally, consider wearing safety goggles or protective eyewear to safeguard your eyes from any accidental splashes or debris that may occur while cleaning.
Removing excess paint
Scraping off dried paint
The first step in removing dried latex paint from your brushes is to scrape off any excess paint using a scraper. Hold the brush firmly and gently but firmly scrape the bristles against the edge of the scraper. This will help remove any large clumps of dried paint that may be stuck to the brush. Be careful not to apply excessive pressure or use sharp objects that could damage the bristles.
Brushing off loose paint
After scraping off the excess dried paint, use a brush to gently brush off any loose paint particles that may still be clinging to the bristles. Hold the brush over a trash can or a container to catch the loose paint as you brush. This step will help to further remove any loose debris before proceeding with the cleaning process.
Using a wire brush for stubborn areas
In some cases, stubborn areas of dried paint may still remain on the bristles even after scraping and brushing off the loose paint. To tackle these stubborn areas, use a wire brush with stiff bristles. Gently scrub the bristles of the brush with the wire brush, focusing on the areas where the dried paint is particularly resistant. This will help loosen and remove any remaining dried paint from the bristles effectively.

Soaking the brushes
Choosing a suitable container
To remove the remaining dried paint from the brushes, soaking them in a suitable container is an effective method. Choose a container that is large enough to comfortably hold the brushes and deep enough to fully submerge them in the solvent. Consider using an old jar, a plastic container, or any vessel that can hold the brushes without damaging their bristles.
Pouring an appropriate solvent
Select an appropriate solvent to soften the dried paint on the brushes. Depending on the type of paint and the manufacturer’s instructions, you can use paint thinner, mineral spirits, or a commercial brush cleaner. Pour a sufficient amount of the solvent into the container, ensuring that it covers the bristles completely. It is important to follow the manufacturer’s instructions and take proper safety precautions when handling the solvents.
Submerging the brushes in the solvent
Once you have poured the solvent into the container, carefully submerge the brushes in the solvent, ensuring that the bristles are completely immersed. Gently swirl the brushes in the solvent to ensure that all the bristles come into contact with the solvent. This will allow the solvent to penetrate the dried paint and soften it, making it easier to remove during the cleaning process.
Softening the paint
Leaving the brushes soaked
After submerging the brushes in the solvent, it is important to allow them to soak for a sufficient amount of time to soften the dried paint. The duration of soaking may vary depending on the type and thickness of the paint. It is recommended to refer to the manufacturer’s instructions or follow best practices. Leaving the brushes soaked overnight is a common approach, as it gives the solvent enough time to penetrate and soften the paint thoroughly.
Covering the container
While the brushes are soaking, it is advisable to cover the container with a lid or plastic wrap. This will prevent the solvent from evaporating too quickly and ensure that the brushes remain submerged in the solvent for the desired duration. It will also help contain any fumes that may be emitted from the solvent, further enhancing safety during the cleaning process.
Allowing sufficient time for the solvent to work
During the soaking process, it is essential to allow sufficient time for the solvent to work and soften the dried paint on the brushes fully. The length of time required may vary depending on the solvent used, the type of paint, and the extent of the dried paint on the brushes. Regardless, it is important to exercise patience and ensure that the brushes remain submerged in the solvent for the recommended duration.

Cleaning the brushes
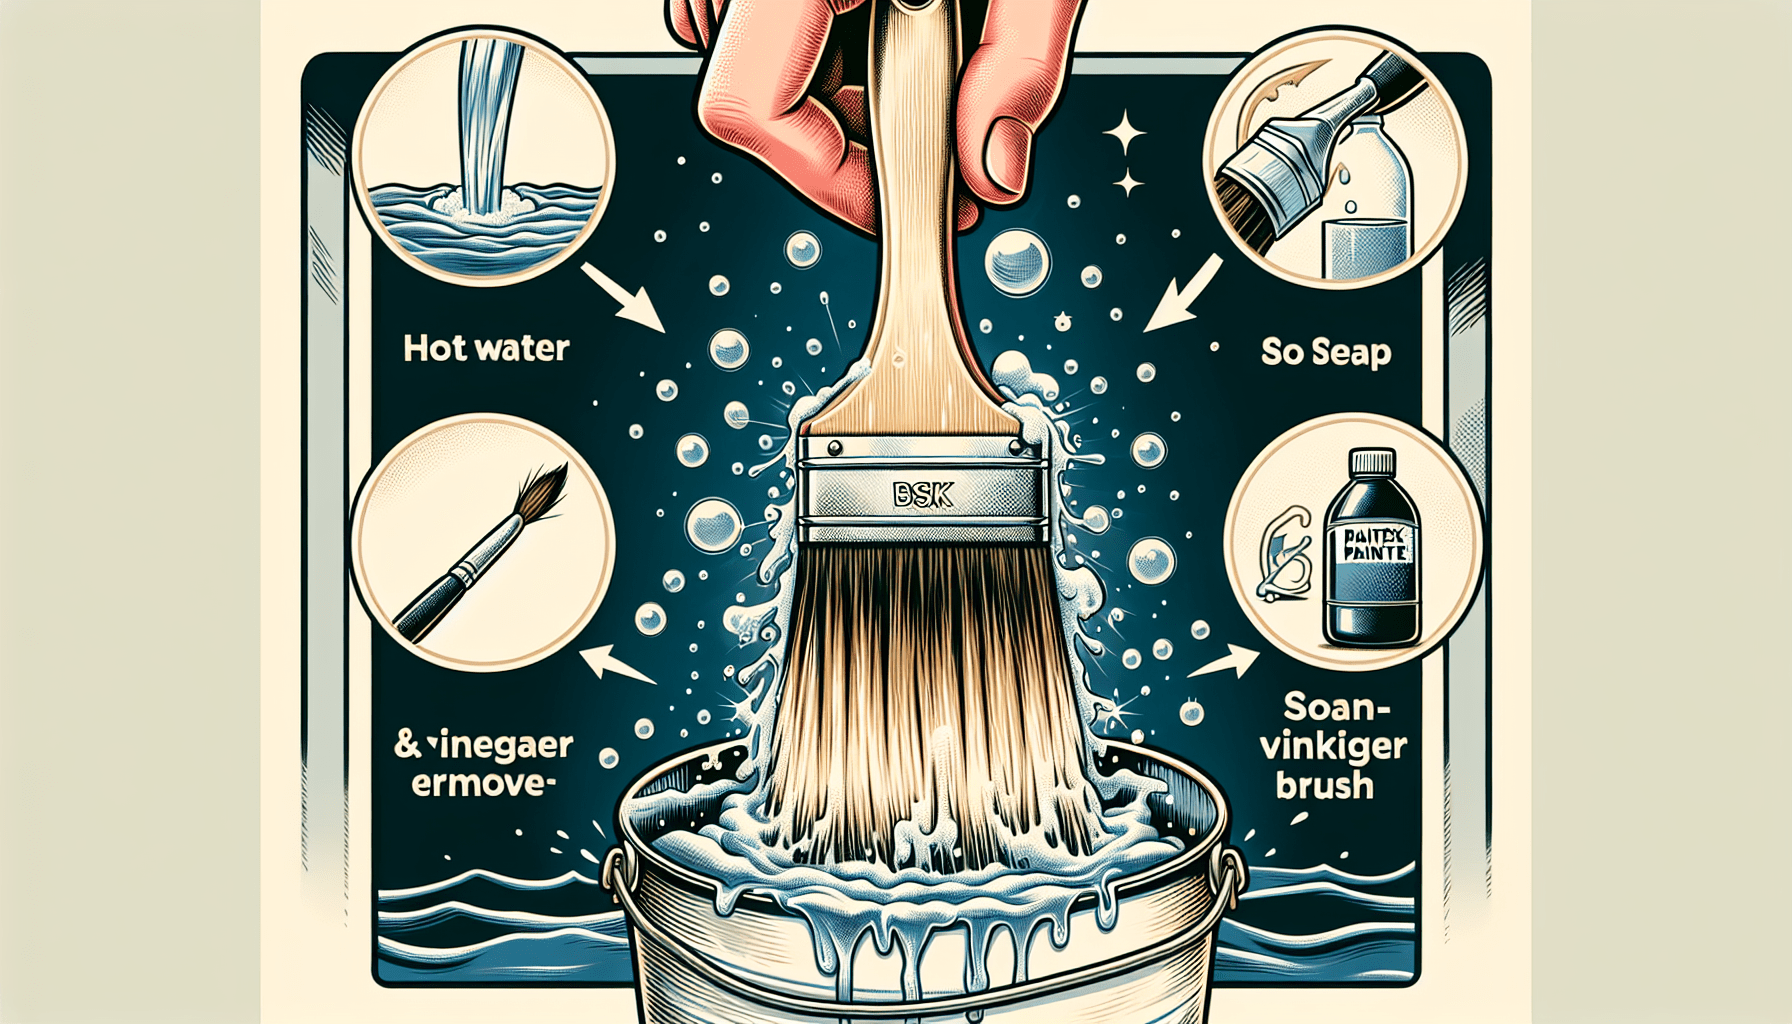
Using warm soapy water
After the brushes have soaked in the solvent for the recommended time, the next step is to clean them using warm soapy water. Fill a clean container or sink with warm water and add a few drops of mild dish soap. Swirl the water gently to create a soapy solution that will be used to clean the brushes. It is important to use warm water as it helps to dissolve any remaining dried paint and aids in the cleaning process.
Gently agitating the bristles
Once the warm soapy water is prepared, take each brush out of the solvent and gently agitate the bristles in the soapy solution. Use your fingers to rub the bristles gently and remove any residual dried paint. Be careful not to apply excessive force or twist the bristles, as this could lead to damage or deformity.
Rinsing thoroughly
After agitating the bristles in the warm soapy water, it is crucial to rinse the brushes thoroughly to remove any soap residue and remaining dried paint. Hold the brushes under warm running water and squeeze the bristles gently to ensure that any lingering paint or soap is washed away. Continue rinsing until the water runs clear and the brushes feel clean to the touch.
Removing stubborn paint
Using a brush comb or wire brush
If there are still stubborn remnants of dried paint on the brushes even after the initial cleaning, a brush comb or wire brush can be used to remove them. Run the brush comb or wire brush through the bristles, gently loosening and dislodging any remaining paint. Be cautious not to apply excessive pressure or use sharp objects that may damage the bristles.
Applying a commercial brush cleaner
In some cases, a commercial brush cleaner specifically designed to remove stubborn paint can be used. Follow the manufacturer’s instructions for the particular brush cleaner you are using. Apply the cleaner to the bristles of the brush and work it in using your fingers or a soft cloth. This will help break down the stubborn paint and facilitate its removal from the bristles.
Scrubbing with a toothbrush
For especially stubborn areas of dried paint, a toothbrush can be used as a scrubbing tool. Apply a small amount of warm soapy water or a mild detergent to the bristles of the toothbrush and scrub the affected areas gently. The bristles of the toothbrush are effective in reaching smaller crevices and ensuring that all traces of dry paint are removed.
Drying the brushes
Shaking off excess water
Once the brushes are clean and free from any dried paint, gently shake off any excess water from the bristles. Hold the brushes over a sink or a towel and flick your wrist to remove the excess water. Avoid using excessive force or hitting the brushes against hard surfaces, as this may cause damage to the bristles.
Reshaping the bristles
After shaking off the excess water, take a moment to reshape the bristles of the brushes. Use your fingers to smooth out any tangles or misshapen areas, ensuring that the bristles are aligned properly. This will help maintain the brush’s original shape and improve its overall performance during future use.
Air drying in a well-ventilated area
To complete the drying process, place the brushes in a well-ventilated area where they can air dry naturally. Lay the brushes flat or hang them with the bristles pointing downward to prevent any water from pooling in the ferrule. Avoid using heat sources such as hair dryers or heaters, as excessive heat can cause damage to the bristles.
Conditioning the brushes
Applying hair conditioner
Once the brushes are dry, it is advisable to condition the bristles to keep them soft and flexible. Apply a small amount of hair conditioner to your hands and rub it gently onto the bristles of the brush. Ensure that the conditioner covers the entire length of the bristles, including the base near the ferrule. Massage the conditioner into the bristles, allowing it to penetrate and nourish the fibers.
Working it through the bristles
To ensure thorough conditioning, work the hair conditioner through the bristles using your fingers. Gently squeeze and release the bristles to ensure even distribution of the conditioner. This process will help soften the bristles and keep them in optimal condition for future use.
Rinsing off the excess conditioner
After the hair conditioner has been worked through the bristles, rinse the brushes under warm running water to remove any excess conditioner. Squeeze the bristles gently to ensure that all the conditioner is washed out. It is important to rinse thoroughly to prevent any residue from affecting the performance of the brush during future painting sessions.
Storing the brushes
Keeping the brushes upright
Proper storage of your brushes is essential to maintain their shape and prevent any damage. When storing your brushes, it is best to keep them upright with the bristles facing upward. This will help preserve the shape of the bristles and prevent them from becoming deformed or bent. Consider using a brush holder or a dedicated container to keep the brushes upright and organized.
Using protective covers
To further protect your brushes while in storage, consider using protective covers or caps. These covers can be plastic or fabric and are designed to fit over the bristles of the brush, providing an additional layer of protection against dust, dirt, and damage. Avoid using covers that are too tight, as they may deform the bristles or affect their shape.
Storing in a dry place
The final step in storing your brushes is to find a suitable location that is dry and free from excessive moisture. Moisture can damage the bristles and lead to mold or mildew growth. Choose a location where the brushes will not be exposed to direct sunlight or extreme temperature fluctuations, as these factors can also affect their performance and overall lifespan.
Maintaining brush cleanliness
Cleaning after each use
To ensure the longevity and performance of your brushes, it is essential to clean them thoroughly after each use. A quick rinse with warm water is often sufficient to remove any residual paint and prevent it from drying on the bristles. Use your fingers or a brush comb to gently remove any leftover paint, and follow the cleaning steps outlined earlier to keep your brushes clean and in optimal condition.
Avoiding paint buildup
One of the best ways to maintain brush cleanliness is to prevent paint buildup in the first place. To achieve this, try not to overload your brush with paint. Use the proper technique to distribute the paint evenly along the bristles, allowing for smooth and controlled strokes. Regularly wipe excess paint from the brush on a rag or paper towel to prevent it from accumulating and drying on the bristles.
Regularly inspecting and replacing brushes
Inspect your brushes regularly for any signs of wear, damage, or fraying bristles. If you notice any bristles starting to split or become loose, it may be time to replace the brush. Using a damaged brush can result in uneven application and compromise the quality of your work. Investing in high-quality brushes and replacing them when necessary will ensure consistent results and prolong their lifespan.
In conclusion, proper care and maintenance of your brushes are vital for their longevity and optimal performance. By following these step-by-step instructions and taking the time to clean, condition, and store your brushes correctly, you can ensure that they remain in excellent condition and ready for your next painting project. Remember to gather all the necessary materials, protect your hands and eyes, remove excess paint, soak the brushes, clean thoroughly, dry properly, condition the bristles, store in the right environment, and maintain their cleanliness for prolonged use.