How To Paint Stones In Watercolor” is a comprehensive guide designed to enhance your watercolor painting skills by focusing on detailed stone rendering techniques. This article provides step-by-step instructions to help you achieve realistic textures and colors, enabling you to create lifelike stone formations in your artwork. With meticulous tips on brushwork, layering, and color blending, you will gain confidence in capturing the natural beauty and intricacy of stones. Whether you are a beginner or an experienced artist, this guide will elevate your understanding and execution of painting stones in watercolor, making your pieces more dynamic and authentic. Have you ever wondered how to capture the raw, natural beauty of stones using watercolor? Whether you’re a seasoned artist or a beginner looking to explore new techniques, painting stones can offer both a rewarding and challenging experience. Watercolor, with its fluid, unpredictable nature, can bring an element of realism and delicacy to your stone paintings that few other mediums can achieve.
In this comprehensive guide, you will learn the essential techniques and steps to create stunning, lifelike stone paintings in watercolor. From understanding the basics to mastering advanced techniques, this article covers everything you need to know to get started on your artistic journey.
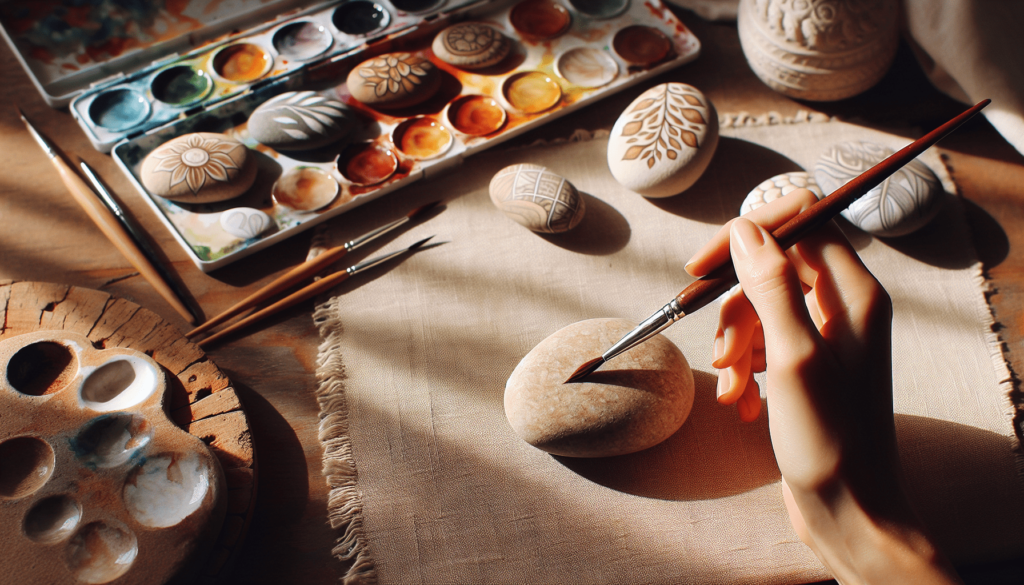
Understanding the Basics of Watercolor Paints
Before delving into the specifics of painting stones, it’s crucial to understand the medium you are working with. Watercolor paints are known for their transparency and luminosity, making them perfect for capturing the subtle hues and textures of stones.
Types of Watercolor Paints
Watercolor paints typically come in two forms: pans and tubes. Pans are solid blocks of watercolor that need to be activated with water, while tubes contain liquid watercolor paint that can be squeezed out onto a palette. Each has its own advantages.
| Type | Advantages | Disadvantages |
|---|---|---|
| Pans | Portable, convenient, easy to use | Limited color range in basic sets |
| Tubes | Rich color intensity, larger variety of colors, easier to mix large amounts | Less portable, can dry out |
Essential Tools and Materials
To achieve the best results, you will need high-quality tools and materials. Here are some essentials:
- Watercolor Paints: Invest in artist-grade paints for better pigment quality and lightfastness.
- Brushes: A variety of brushes will be useful, including round, flat, and detail brushes.
- Paper: Use watercolor paper that is at least 140 lb (300 gsm) to prevent warping.
- Palette: A mixing palette for blending your colors.
- Water: Two containers of water – one for rinsing your brushes and one for clean water.
- Pencil and Eraser: For sketching the stones before painting.
- Masking Fluid: Optional but useful for preserving white areas.
Preparing Your Workspace
A well-organized workspace can significantly impact the quality of your artwork. Ensure you have sufficient natural lighting and a clean, clutter-free area.
Organizing Your Tools
Arrange your materials in a way that allows you easy access while you work. Keep your brushes, paints, and water containers within arm’s reach.
Setting Up Your Paper
Secure your watercolor paper to a drawing board or a flat surface using masking tape. This will help prevent the paper from buckling when wet.
Stages of Painting Stones in Watercolor
Painting stones involves several stages. Each stage is crucial for creating a realistic and vibrant final piece.
Stage 1: Sketching the Stones
Begin by lightly sketching the outline of the stones on your watercolor paper using a pencil. Pay attention to the shapes and sizes, as stones are rarely uniform. Observing real stones or reference images can be helpful.
Stage 2: Applying the Initial Wash
Start with a light wash of color to establish the base tones. Use a large round or flat brush to apply the wash, and keep this layer light and translucent. This will serve as the foundation for more detailed work later.
Stage 3: Building Layers
Watercolor painting is all about building layers. Allow each layer to dry completely before applying the next. Gradually add more color and detail with each subsequent layer. Use smaller brushes for intricate details as you progress.
Stage 4: Adding Texture and Details
Texture is key to making your stones look realistic. Use techniques like dry brushing, stippling, and lifting to create texture. Dry brushing involves using a brush with very little paint to create rough, textured strokes. Stippling uses tiny dots of paint to simulate texture, while lifting involves removing paint with a damp brush or tissue to create highlights.
Stage 5: Final Touches
Once you’re satisfied with the texture and details, add the final touches. These might include accentuating highlights, deepening shadows, or adding splashes of color to give the stones a more natural appearance.
Techniques for Painting Stones
There are several techniques you can employ to enhance your stone paintings. These methods will help you achieve various textures, colors, and effects.
Wet-on-Wet Technique
The wet-on-wet technique involves applying wet paint onto a wet surface. This creates soft, blended colors and is useful for painting the initial layers of stones. It helps to establish a seamless color transition.
Wet-on-Dry Technique
In contrast, the wet-on-dry technique involves applying wet paint onto a dry surface. This method is ideal for fine details and intricate textures, as it offers more control over the paint.
Dry Brush Technique
The dry brush technique uses a brush with minimal paint to create rough, textured strokes. This is effective for adding grit and texture to the stones’ surface.
Lifting
Lifting is the process of removing paint from the paper to reveal lighter areas. Use a damp brush, tissue, or sponge to lift paint and create highlights or correct mistakes.
Glazing
Glazing involves applying a transparent layer of paint over a dry layer to build depth and richness in color. This technique is excellent for creating complex colors and adding dimension to your stones.
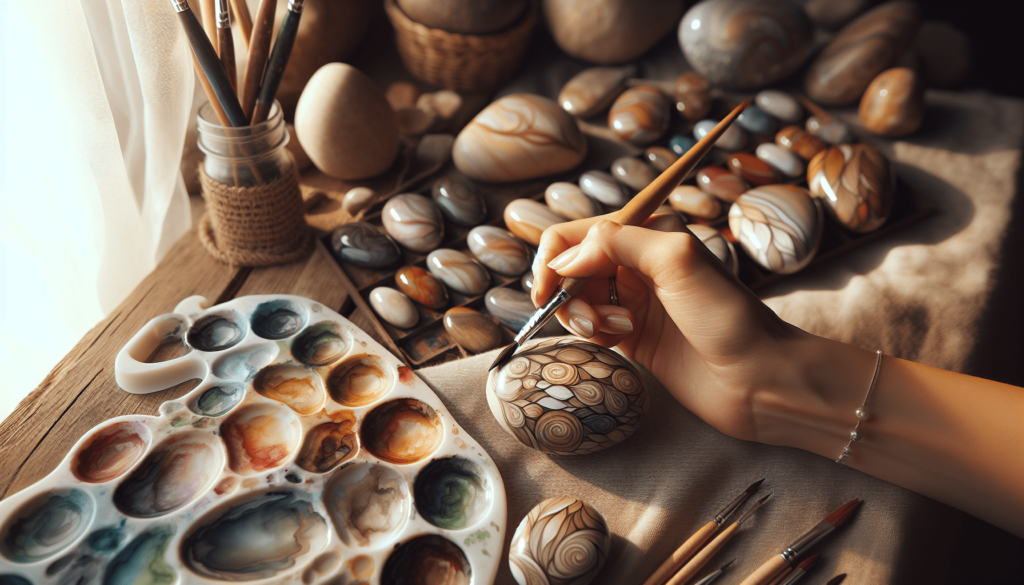
Understanding Light and Shadow
Mastering light and shadow is essential for creating realistic stones. Pay attention to the light source and how it affects the stones’ appearance.
Identifying the Light Source
Determine the direction from which the light is coming. This will influence where the highlights and shadows fall on the stones. Natural light can add a more authentic feel to your painting.
Creating Highlights and Shadows
Use lighter tones for highlights where the light directly hits the stones and darker tones for the shadows. Soft transitions between light and shadow will make your stones appear more three-dimensional.
Color Theory and Mixing
Understanding color theory can enhance your ability to mix realistic and vibrant colors for your stones.
Basic Color Theory
Familiarize yourself with the color wheel and the relationships between colors. Primary colors (red, blue, yellow) can be mixed to create secondary colors (orange, green, purple).
Mixing Realistic Stone Colors
Stones come in various colors and hues. Experiment with mixing colors to find the right shades for your stones. Earth tones like browns, grays, and greens are commonly used for stone paintings.
Practice Exercises
Practice makes perfect. Try these exercises to refine your skills in painting stones with watercolors:
Exercise 1: Simple Stone Forms
Start by painting basic stone shapes. Focus on getting the proportions and shading right before moving on to more complex forms.
Exercise 2: Texture Studies
Practice different texturing techniques on small sections of paper. Try dry brushing, stippling, and lifting to see how each technique affects the appearance of the stones.
Exercise 3: Color Mixing
Experiment with mixing different colors to create realistic stone hues. Test your mixes on scrap paper before applying them to your painting.
Troubleshooting Common Issues
Even experienced artists encounter challenges. Here are solutions to some common issues when painting stones in watercolor.
Issue: Paint Bleeding
If your paint is bleeding outside the desired areas, it might be too wet. Let your layers dry completely before adding more paint.
Issue: Overworking the Paper
Repeatedly going over the same area can damage the paper. Try to plan your strokes and avoid excessive reworking.
Issue: Colors Becoming Muddy
Mixing too many colors can result in muddy, dull tones. Stick to a limited palette and clean your brush between colors.
Tips for Success
Keep these tips in mind as you embark on your stone-painting journey:
- Patience is Key: Watercolor requires patience. Allow each layer to dry before adding more details.
- Quality Materials: Invest in good quality materials for better results.
- Observation: Study real stones or photographs to understand their texture and color variations.
- Experiment: Don’t be afraid to try new techniques and color mixes.
- Practice: Regular practice will improve your skills and confidence.
Conclusion
Painting stones in watercolor can be a deeply satisfying and creative pursuit. By understanding the basics of watercolors, practicing essential techniques, and paying attention to light, shadow, and texture, you can create lifelike and stunning stone paintings. Remember to be patient with yourself and enjoy the process. Your unique expression and interpretation are what will make your artwork truly extraordinary.
Now that you have the knowledge and techniques needed to paint stones in watercolor, all that’s left to do is practice and let your creativity flow. Happy painting!

