Have you ever wondered how to achieve that sleek, sophisticated look on your furniture, walls, or decorative pieces with metallic paint? If you’re looking to add a luxurious touch to your home or work projects, mastering the technique of painting with metallic finishes is essential. This guide will explain everything you need to know about working with metallic paint to achieve a professional-grade result.
Understanding Metallic Paint
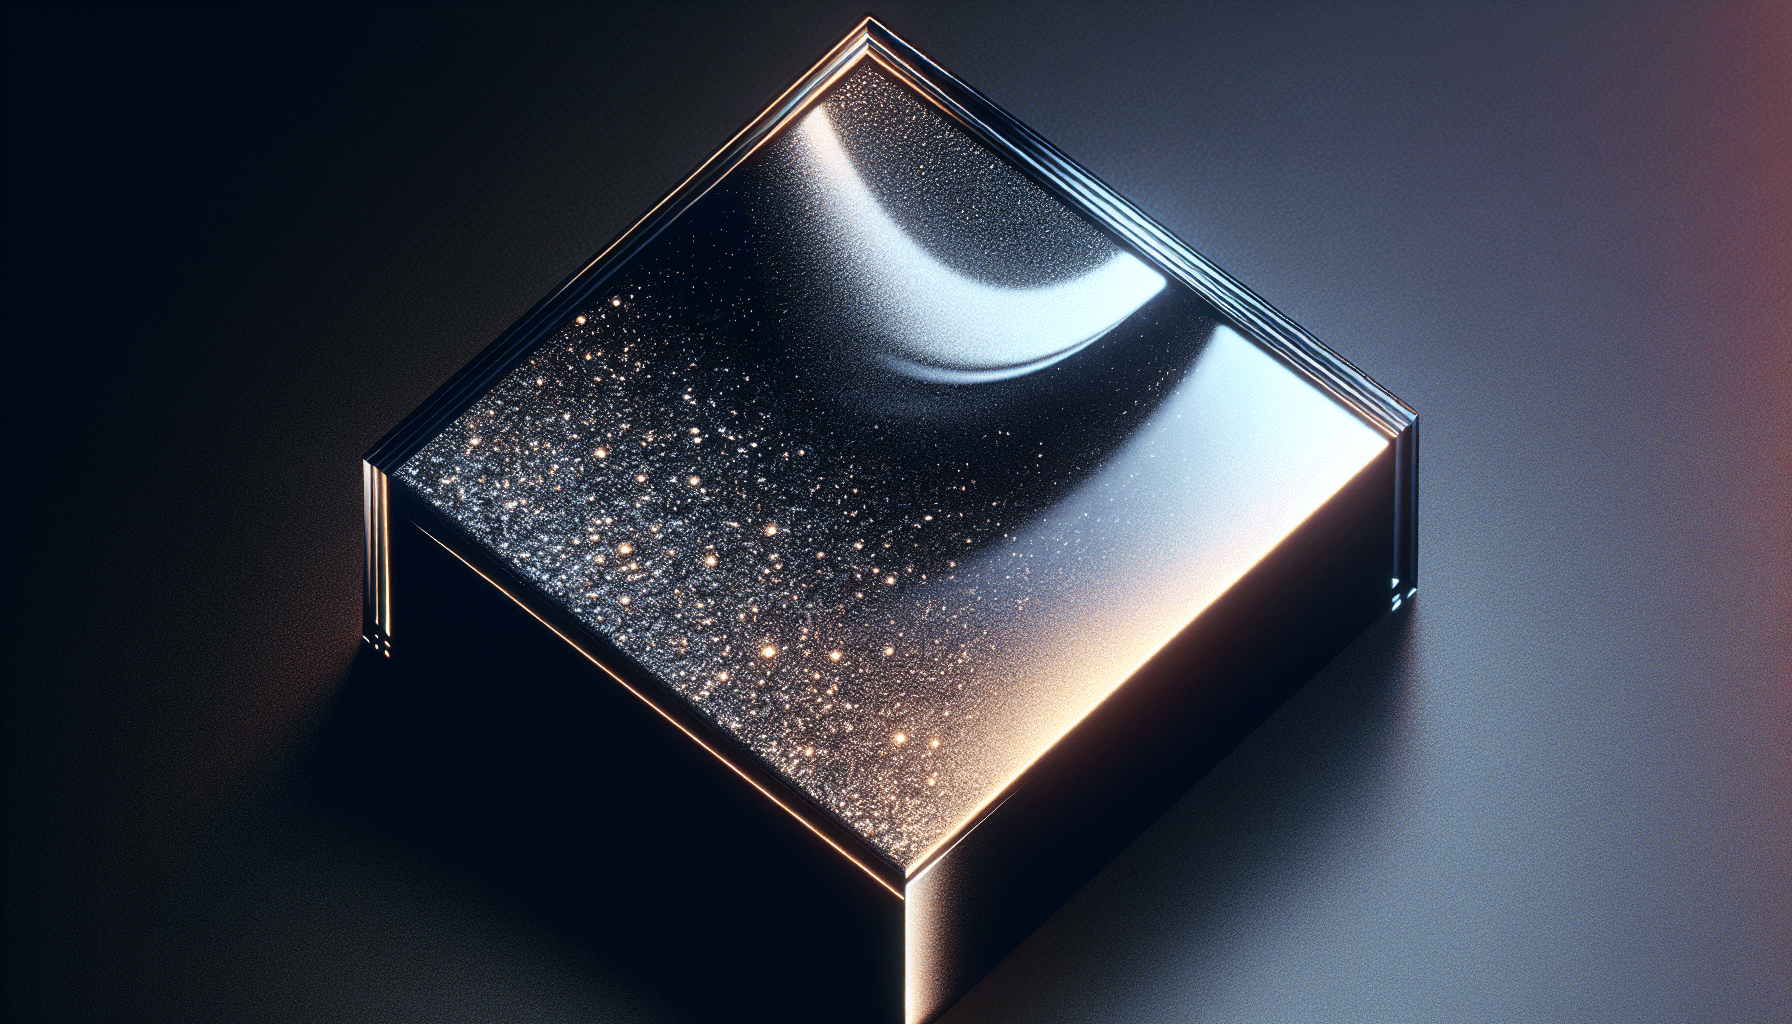
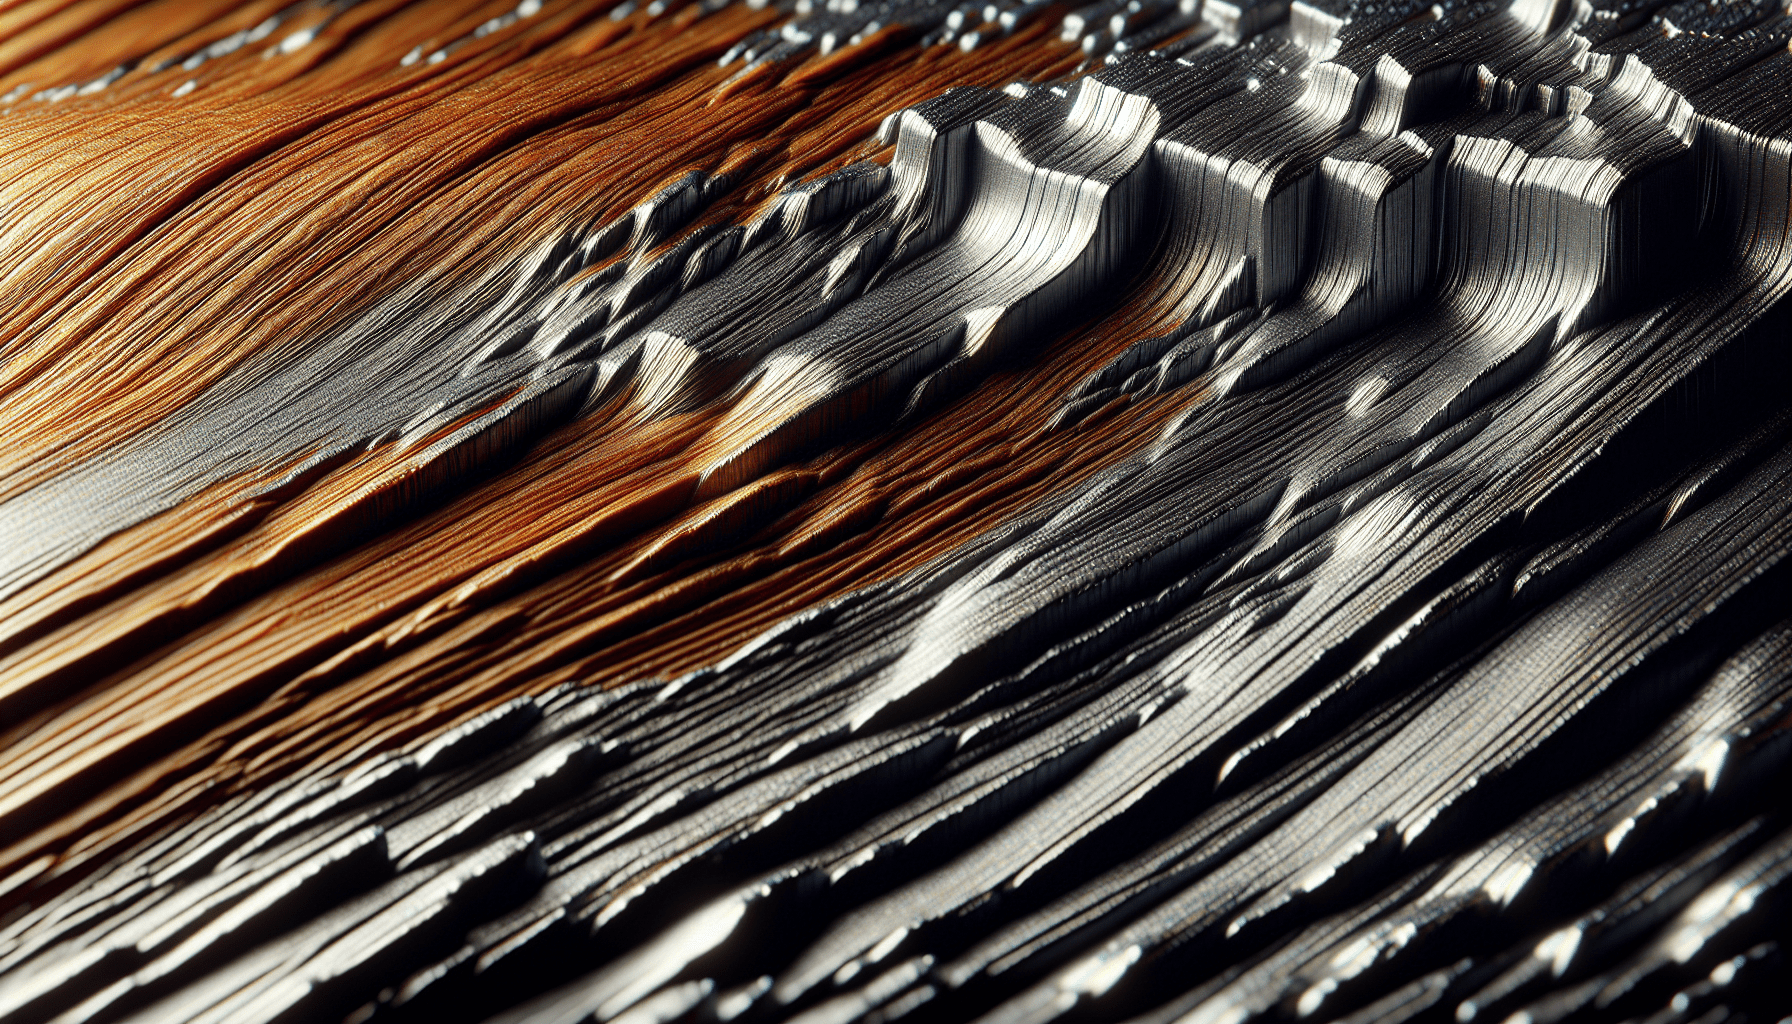
Metallic paint is a specialty finish that mimics the appearance of metals such as gold, silver, copper, and bronze. It contains minute metallic flakes that reflect light, giving your painted surfaces a shimmering effect.
Types of Metallic Paints
There are generally three types of metallic paints available:
| Type | Description | Best Suited For |
|---|---|---|
| Acrylic-Based Metallic Paint | Water-based and easy to clean, suitable for interior surfaces. | Walls, furniture, decorative items. |
| Oil-Based Metallic Paint | More durable and better for high-traffic areas. Requires solvents for cleanup. | Cabinets, high-traffic areas, exterior surfaces. |
| Spray Metallic Paint | Comes in a can and offers a smooth, even finish. Convenient for small or intricate projects. | Small items, intricate details, touch-ups. |
Preparing to Paint with Metallic Paint
Proper preparation is key to achieving a flawless metallic finish. Here’s how to set the stage for a successful painting project.
Gather Necessary Materials
Before you begin, make sure you have all the materials required for the job.
| Item | Purpose | Notes |
|---|---|---|
| Primer | Prepares the surface | Ensures better adhesion. |
| Sandpaper | Smoothens surface | Use fine-grit sandpaper (220-320 grit). |
| Painter’s Tape | Protects areas from paint | Easy to remove without damaging surfaces. |
| Paint Brushes/Rollers | Applies paint | Quality brushes for a smooth finish. |
| Metallic Paint | Main paint | Choose the type that best fits your project. |
| Clear Top Coat | Protects finish | Optional but recommended for additional durability. |
| Drop Cloths | Protects floors | Minimizes clean-up efforts. |
| Respirator/Mask | Safety gear | Essential if working with oil-based or spray paints. |
Surface Preparation
- Clean the Surface: Thoroughly clean the area you plan to paint to remove dust, dirt, and grease. Use a mild soap solution for walls and a degreaser for furniture.
- Sand the Surface: Sanding the surface is crucial for achieving an even finish. Use fine-grit sandpaper to make the surface smooth.
- Apply Primer: Use a primer to cover any imperfections and to enhance the adhesion of the metallic paint. Allow it to dry as per the manufacturer’s instructions.

Painting Technique
Applying metallic paint requires a bit more finesse compared to regular paint. Follow these steps to ensure a professional-looking result.
Mixing the Paint
Metallic paints have pigments that can settle at the bottom of the can. Stir the paint thoroughly before application to ensure an even distribution of metallic flakes. An electric paint mixer can be particularly effective for this.
Applying the Paint
- First Coat: Start with a light, even coat. Use horizontal or vertical strokes depending on the surface. It’s advisable to use a foam roller for larger surfaces and a high-quality brush for smaller areas. Allow the first coat to dry completely.
- Second Coat: Apply a second coat to enhance the depth of the metallic effect. This coat should be slightly thicker but still even. For best results, lightly sand the surface between coats with fine-grit sandpaper to achieve an ultra-smooth finish.
- Final Touches: Inspect the painted area for any missed spots or uneven sections. A thin third coat might be necessary to rectify any imperfections.
Special Techniques
Creating Texture
Metallic paints offer a unique opportunity to play with texture. By using different tools, you can create a variety of effects.
| Tool | Effect | Application Technique |
|---|---|---|
| Sponge | Subtle Texture | Dabble a sponge in metallic paint and apply it in a random, dabbing motion. |
| Glaze Brush | Brushed Metal Look | Drag a dry brush through wet metallic paint to create fine lines. |
| Old Cloth | Aged Metal Finish | Apply paint and then blot with a cloth to lift some of the paint, creating an aged effect. |
Using Stencils
Stencils can be utilized to add intricate designs to your metallic painted surfaces.
- Position Stencil: Secure the stencil to the surface with painter’s tape.
- Apply Paint: Use a small, dense roller or a stencil brush to apply the metallic paint in light coats.
- Remove Stencil: Carefully lift the stencil while the paint is still wet to avoid pulling off any dry paint.

Drying and Curing
Metallic paint takes longer to dry compared to regular paint due to its unique composition. Ensure adequate ventilation in your workspace to expedite the drying process. Follow the manufacturer’s guidelines on drying times before applying a clear coat or moving items that have been painted.
Applying a Top Coat
A clear top coat is optional but highly recommended for surfaces that will experience wear and tear.
Types of Top Coats
| Type | Description | Best For |
|---|---|---|
| Polyurethane | Highly durable and available in water-based and oil-based forms. | Furniture, high-traffic areas. |
| Polycrylic | Water-based and less odorous. | Decorative pieces, low-traffic areas. |
| Varnish | Traditional option, usually oil-based. | Exterior surfaces. |
Application Process
- First Coat: Apply a thin, even coat of the clear finish using a clean brush or roller. Allow it to dry completely.
- Sanding: Lightly sand between coats to ensure smoothness.
- Subsequent Coats: Apply at least two more coats, especially for high-traffic areas, allowing each coat to dry thoroughly before the next application.
Tips for Specific Surfaces
Walls
Painting walls with metallic paint can transform a room. The technique involves applying a base coat, usually a color that complements the metallic paint, followed by the metallic paint itself.
Furniture
Furniture requires extra attention to detail due to its smaller size and frequent use. Disassemble any removable parts for easier painting and aim for multiple light coats to avoid drips.
Small Decorative Items
For small items, spray metallic paint can be highly effective. It offers an even finish and quick application, but make sure to work in a well-ventilated area or outdoors.
Outdoor Surfaces
Outdoor surfaces demand durability. Utilize an oil-based metallic paint and ensure multiple protective top coats to stand up to the elements.
Troubleshooting Common Issues
Despite best efforts, issues can still arise. Here’s how to address some common problems:
| Issue | Cause | Solution |
|---|---|---|
| Streaks | Uneven application | Use a high-quality brush or roller and apply multiple thin layers. |
| Bubbles | Trapped air | Apply paint slowly and ensure the surface is clean and smooth. |
| Peeling | Poor adhesion | Ensure thorough surface preparation and use a high-quality primer. |
| Color Variations | Incomplete mixing of paint | Stir paint thoroughly and consistently. |
Clean-Up and Maintenance
Cleaning up after painting can make or break the final result. Proper maintenance ensures the longevity of your metallic finish.
Clean-Up
- Wash Brushes and Rollers: Use soap and water for acrylic-based paints; solvents for oil-based.
- Store Leftover Paint: Seal cans tightly and store in a cool, dry place.
- Dispose of Materials: Properly dispose of or recycle used materials according to local regulations.
Maintenance
- Regular Cleaning: Dust and clean the painted surfaces regularly with a soft cloth.
- Avoid Harsh Chemicals: Use mild soap for any necessary cleaning to avoid damaging the metallic finish.
- Touch-Ups: Keep some leftover paint in a small container for any future touch-ups.
Conclusion
Painting with metallic paint can elevate the aesthetic appeal of any project, giving your surfaces a unique, luxurious finish. By understanding the different types of metallic paints, preparing your surface properly, employing the right techniques, and following best practices, you can achieve a flawless, professional-grade result. Whether you’re transforming walls, sprucing up furniture, or adding flair to decorative pieces, this guide has got you covered.