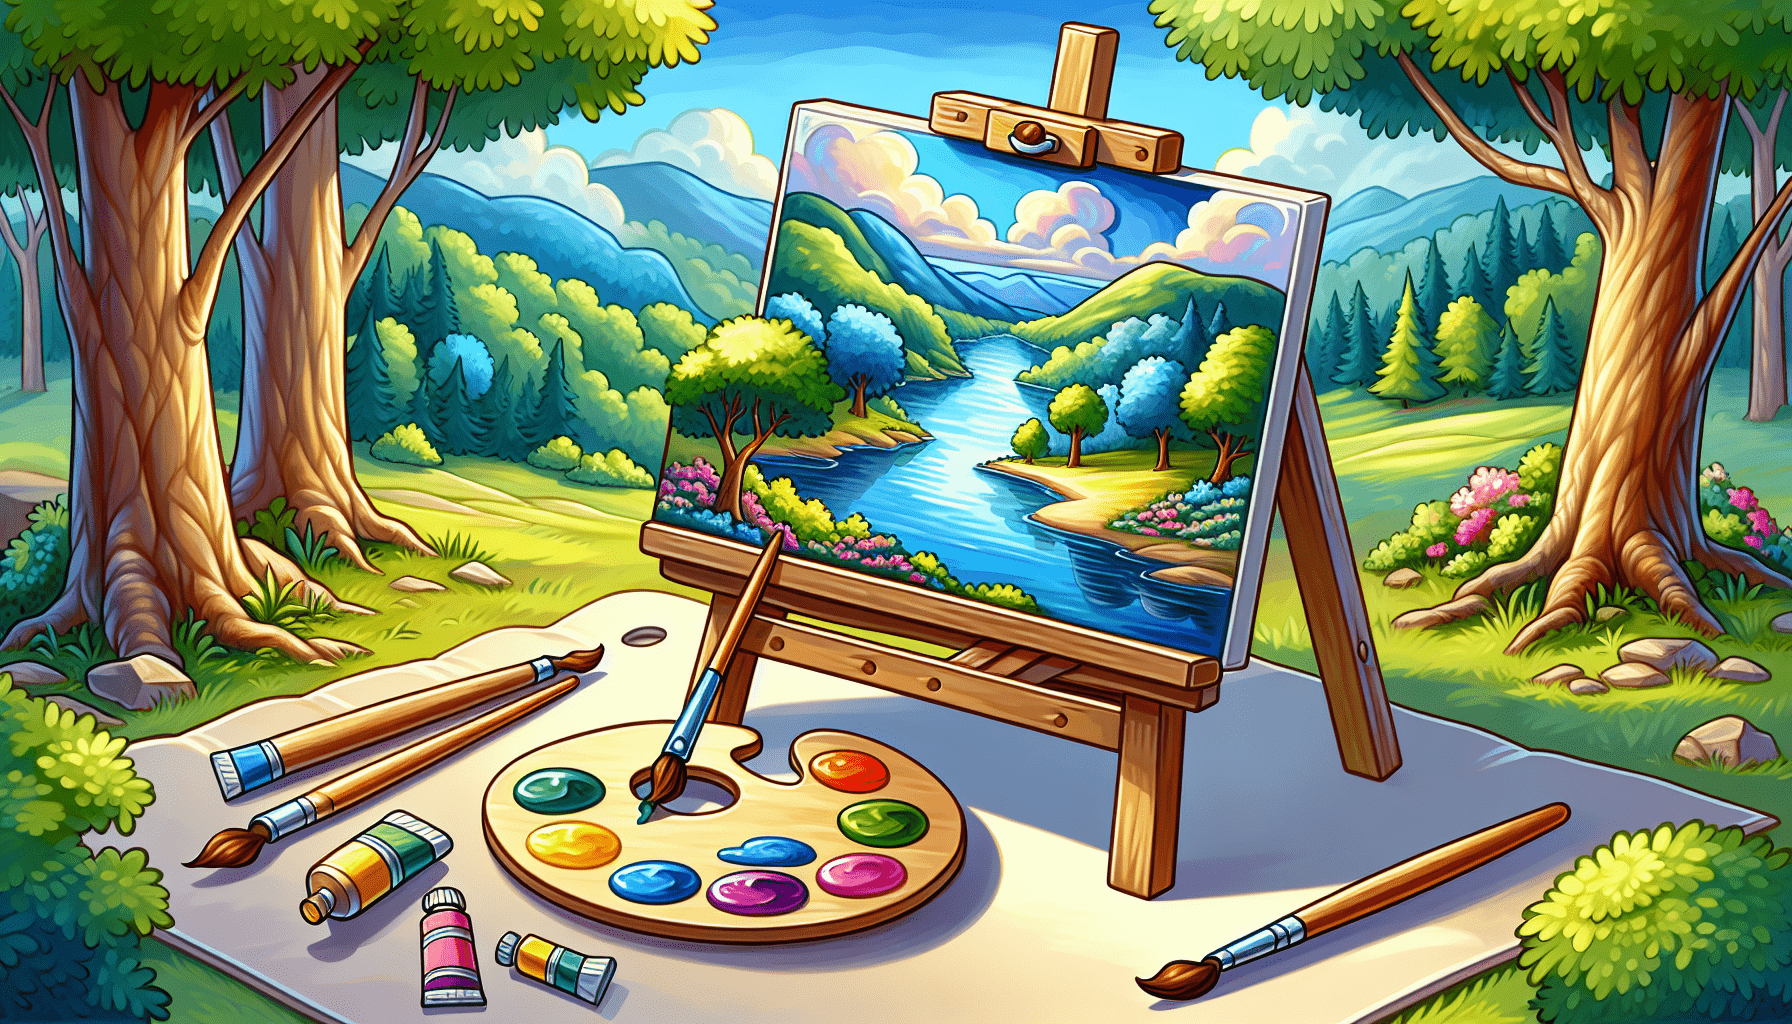
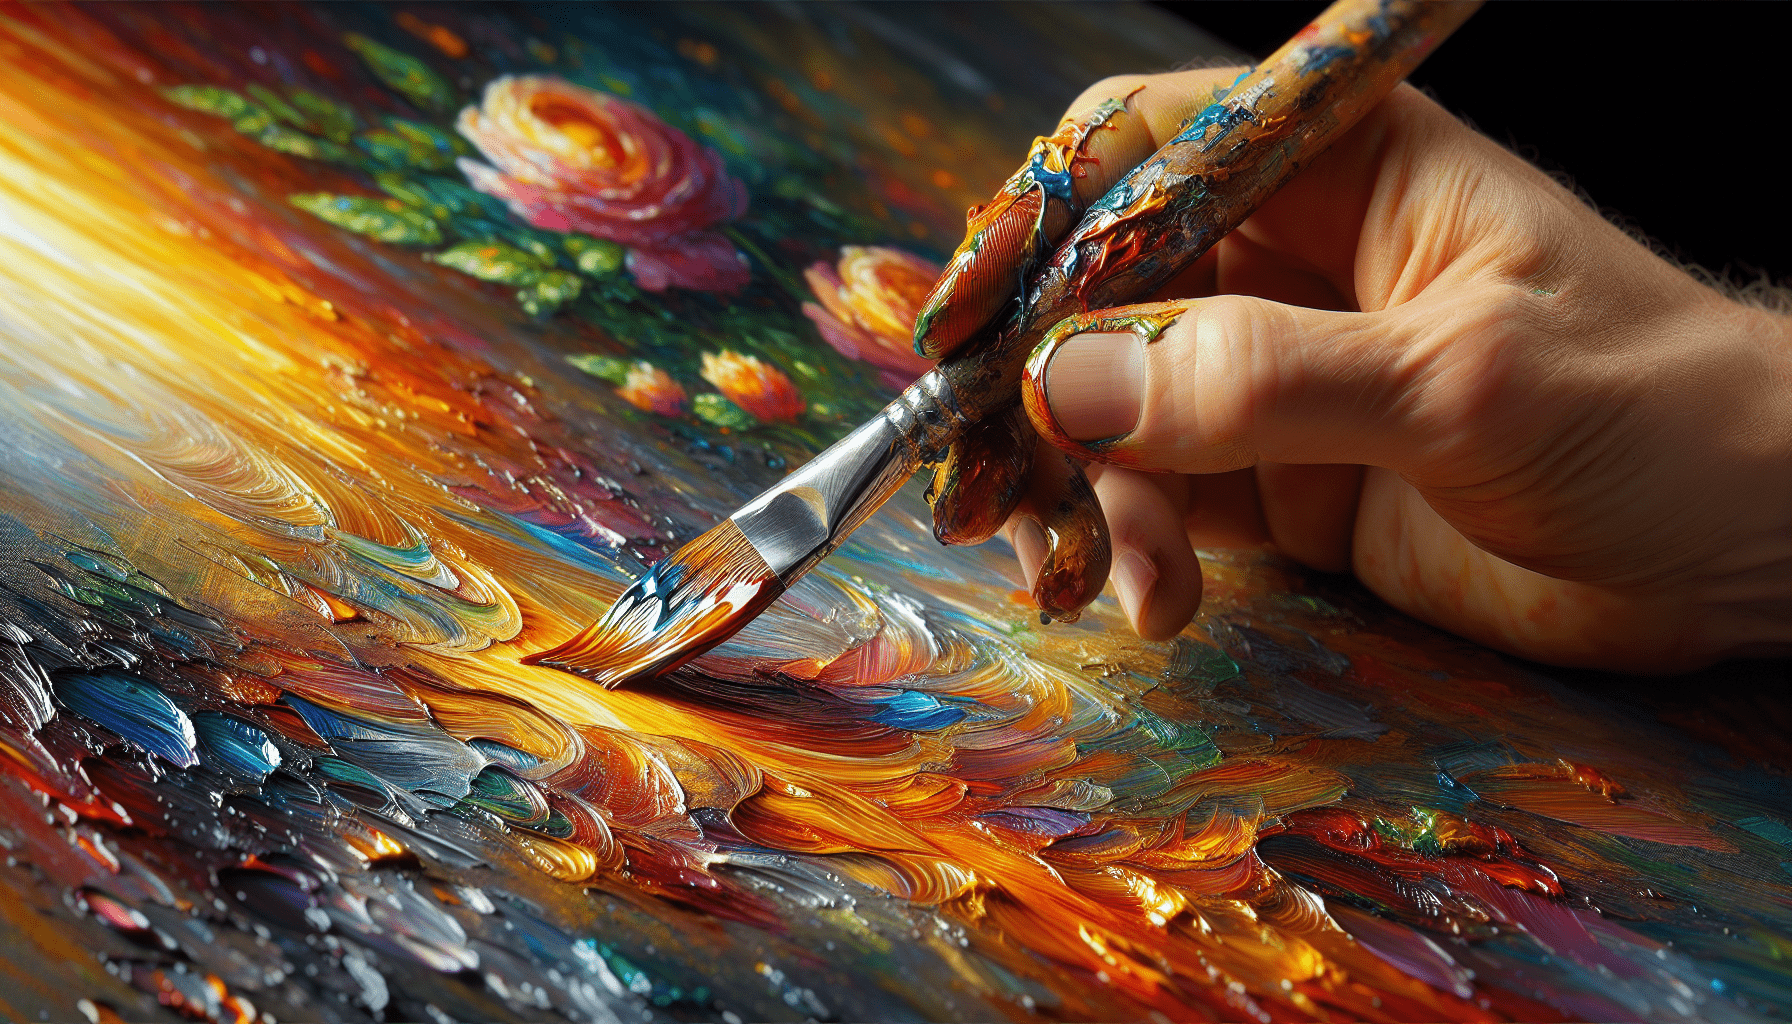
Unlock the art of painting stunning landscapes with oils through this comprehensive guide. “How To Paint Landscapes With Oils” provides step-by-step instructions and professional techniques to elevate your artistry. You will learn how to select the right materials, prepare your canvas, and master the application of oils to create breathtaking scenery. Whether you are a beginner or an experienced artist, this guide equips you with essential skills and insights to enhance your craft. Dive into the world of oil painting and transform your abilities, making each stroke a testament to your growing expertise. Have you ever looked at a picturesque landscape and wished you could capture its beauty on canvas using oil paints? If so, you’re not alone. Many artists find themselves drawn to the intricate, varied joys of painting landscapes with oils. This article will guide you through the process, providing step-by-step instructions and tips on how to enhance your skills. Whether you’re a novice or an experienced artist, there’s something here for everyone.
Understanding Oil Paints
Oil paints have been a staple in the art world for centuries, known for their versatility, rich textures, and vibrant colors. To fully appreciate and master oil painting, you must first understand its core components.
The Basics of Oil Paints
Oil paints consist of pigments suspended in oils, typically linseed oil. They allow for a range of techniques from thin glazes to thick impastos. Unlike water-based paints, oil paints dry slowly, giving you ample time to manipulate and perfect your work.
Components:
- Pigment: Provides color.
- Binder: Often linseed oil, helps the pigment adhere to the surface.
- Solvent: Used for thinning the paint and cleaning brushes.
Types of Oil Paints
There are different grades and types of oil paints. It’s essential to know which is best for your needs.
| Type | Characteristics | Best For |
|---|---|---|
| Student-Grade | Less pigment, more fillers | Beginners, Practice |
| Artist-Grade | High pigmentation, purity, and quality | Professional work, commissions |
| Water-Mixable | Can be thinned and cleaned with water | People with sensitivity to solvents |
Tools Of The Trade
Equipping yourself with the right tools can significantly enhance your painting experience. Here’s what you need.
Essential Materials
Investing in quality materials is crucial for producing work that will last and look professional.
Brushes:
- Rounds: For details and lines.
- Flats: For broad strokes and blending.
- Filberts: For both detailed work and broader strokes.
Palette:
- Wooden or acrylic palettes are the most common.
- Disposable palettes for easy cleanup.
Support:
- Canvas: The most popular choice, available in various textures and sizes.
- Canvas Board: A cheaper alternative with similar qualities.
- Paper: Specially primed for oil painting.
Mediums and Solvents
Understanding the function and use of mediums and solvents can transform the texture and finish of your painting.
- Linseed Oil: Enhances gloss and flow.
- Turpentine: Traditional solvent, useful for thinning paint and cleaning brushes.
- Odorless Mineral Spirits: A safer alternative to turpentine.
Preparing Your Workspace
A well-organized workspace is essential for creativity and efficiency. Here’s how you can set up your environment for optimal results.
Setting Up Your Studio
Your painting area should be well-lit, ventilated, and free from distractions.
- Lighting: Natural light is best, but a combination of natural and artificial light works too.
- Ventilation: Important for dispersing fumes from solvents and mediums.
- Cleanliness: Keep your area organized to reduce the risk of contaminating your work.
Preparing Your Canvas
Before you begin painting, your canvas needs some preparation.
- Priming: Even pre-primed canvases can benefit from an additional coat of gesso.
- Toning: Applying a toned ground (a dilute layer of paint) can help unify your composition and block out the white of the canvas.
Fundamentals Of Landscape Painting
Understanding the basics of landscape painting is crucial for executing a successful piece.
Composition and Layout
The organization of elements within your painting is essential. The composition determines how the viewer’s eye travels through your artwork.
- Rule of Thirds: Divide your canvas into nine equal parts and place key elements along these lines or intersections.
- Focal Point: Determine a center of interest to guide the viewer’s eye.
- Balance: Ensure that elements are balanced to avoid a lopsided composition.
Perspective and Depth
Creating a sense of depth in your landscape makes it more realistic and engaging.
- Linear Perspective: Use horizon lines and vanishing points.
- Aerial Perspective: Employ variations in color and clarity to depict distance.
- Overlap: Overlapping objects to indicate which is closer or further away.
Technique and Application
Mastering the techniques specific to oil painting will bring your landscape to life.
Color Mixing
Color mixing can make or break your painting. Understanding basic color theory is invaluable.
- Primary Colors: Red, yellow, and blue can be mixed to create a wide range of hues.
- Secondary Colors: Mixing primary colors yields secondary colors like green, orange, and purple.
- Tertiary Colors: Combining primary and secondary colors yields tertiary colors.
Brushwork
Your brushwork can convey texture, light, and form.
- Scumbling: Light, textured application for softness.
- Glazing: Applying a transparent paint layer over a dry layer.
- Impasto: Thick application for texture and volume.
Step-By-Step Guide To Painting Landscapes
Now that you’re familiar with the fundamentals, let’s walk through the actual process of painting a landscape with oils.
Step 1: Selecting a Reference Image
Choose a photograph or make a sketch of a landscape you wish to paint. A high-resolution image will allow you to see details more clearly.
Step 2: Sketching the Composition
Begin with a light sketch to lay out your composition. Use a hard pencil or a thin mixture of paint for minimal lines.
Step 3: Blocking In
Blocking in involves laying down the general colors and shapes.
- Underpainting: Apply a monochromatic base layer to establish values.
- Basic Colors: Apply mid-tones to establish the major areas of your composition.
Step 4: Building Up Layers
As oil paints dry slowly, you can work in layers to add depth and detail.
- First Layers: Focus on covering the canvas and establishing basic forms.
- Intermediate Layers: Refine shapes, add mid-tones, and begin adding some details.
- Final Layers: Add fine details, highlights, and finishing touches.
Step 5: Fine-Tuning Details
Concentrate on elements that will bring the painting to life—light effects, texture, and tiny details.
- Highlights: Use sparingly for dramatic effect.
- Texture: Experiment with different mediums and techniques to create appealing textures.
Step 6: Finishing Touches
Before you consider your painting complete, step back and evaluate.
- Balance and Harmony: Ensure the composition is cohesive and balanced.
- Corrections: Make any necessary adjustments.
- Varnishing: Protect your work with a suitable varnish after it has completely dried.
Troubleshooting Common Issues
It’s natural to encounter some challenges when painting landscapes with oils. Here are some solutions to common problems.
Problem: Muddy Colors
If your colors appear muddy, you’re likely over-mixing or using the wrong colors together.
Solution:
- Use a clean brush or mixing palette.
- Stick to fewer colors and practice color theory.
Problem: Flatness
Lack of depth can make your painting appear flat and uninteresting.
Solution:
- Incorporate strong contrasts and varied brushwork.
- Use both warm and cool colors to create depth.
Problem: Cracking
Cracking can occur due to improper layering techniques.
Solution:
- Follow the “fat over lean” rule, ensuring each layer has an increasing oil content.
Continuing Improvement
Artistic growth is a continual process. Here are some ways to keep improving your landscape painting skills.
Practice Regularly
Consistency in practice is key to improving your skills. Set aside time each week to paint.
Seek Feedback
Constructive criticism can provide new perspectives and areas for improvement. Join an art community or seek out a mentor.
Study The Masters
Learn from the works of renowned landscape painters. Studying their techniques can provide inspiration and insights into your work.
Conclusion
Painting landscapes with oils is a rewarding endeavor that offers endless possibilities for creativity and expression. By understanding the fundamentals, equipping yourself with the right tools, and practicing regularly, you can create stunning landscapes that capture the beauty of the world around you. Keep experimenting with different techniques, and remember that each brushstroke is a step toward mastering this timeless art form. Happy painting!
