In this informative article, you will learn the essential techniques and tips on how to paint hair with gouache. Gouache, a versatile and opaque watercolor medium, presents unique challenges when it comes to capturing the delicate and intricate details of hair. Through a step-by-step process and expert guidance, you will gain valuable insights into achieving realistic textures, shading, and highlights, resulting in lifelike and stunning hair paintings that showcase your artistic skill.
Choosing the Right Tools
Selecting the Right Gouache Paints
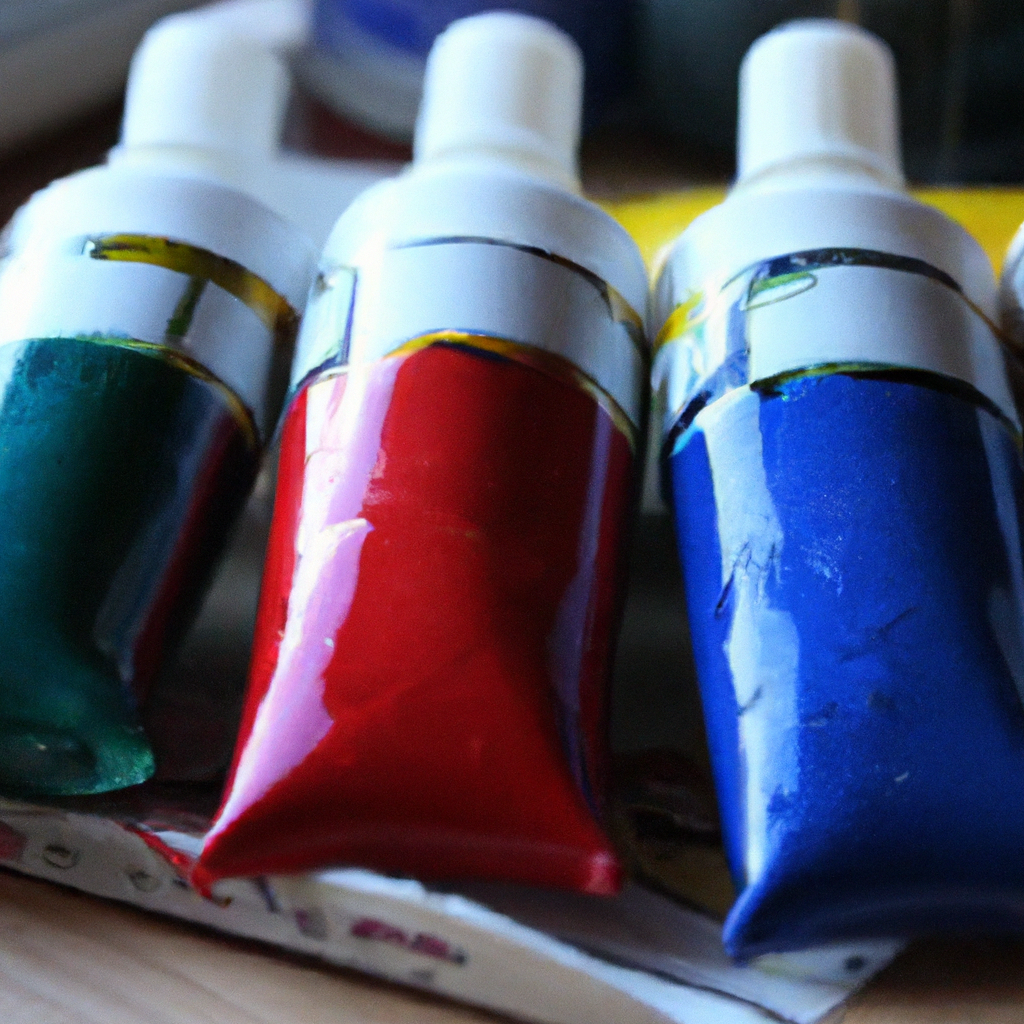
When it comes to painting hair with gouache, one of the first steps is to select the right paints. Gouache paints are known for their vibrant colors and creamy texture, making them ideal for capturing the fine details and textures of hair. When choosing gouache paints for hair painting, it is important to consider the quality and pigmentation of the paints. Look for paints that have a high concentration of pigment, as this will allow for better color saturation and intensity in your hair painting. Additionally, consider the opacity of the paints, as opaque gouache paints are better suited for creating solid areas of color and adding highlights and shadows to the hair.
Choosing Brushes for Hair Painting
Selecting the right brushes for hair painting can greatly affect the outcome of your artwork. When painting hair with gouache, it is recommended to use brushes with soft bristles, such as synthetic brushes or natural hair brushes like sable or squirrel. These brushes provide better control and allow for smoother brushstrokes, enabling you to create the fine textures and details that are characteristic of hair. Different brush shapes and sizes can also be used for different techniques and effects. For example, flat brushes can be used for broader strokes and filling in larger areas, while finer brush tips like rounds or liners can be used for adding intricate details or creating individual strands of hair.
Preparing Your Palette
Before you start painting hair with gouache, it is essential to prepare your palette. Gouache paints can dry quickly, so it is important to have a clean and well-organized palette to work with. Use a palette that has individual wells or sections for each color, as this will help prevent color mixing and contamination. When preparing your palette, consider the colors you will need for your hair painting and arrange them in a logical order. Start with your base colors, which will form the foundation of the hair, and then include a range of shades and tones for highlights and shadows. Having a well-prepared palette will make it easier to mix colors and achieve the desired result when painting hair.
Preparing the Work Surface
Setting up Your Easel or Workstation
To ensure a comfortable and productive painting session, it is important to properly set up your easel or workstation. Choose a location with good lighting and adequate ventilation to create an environment conducive to painting. Adjust the height and angle of your easel or work surface to a position that is comfortable for you to work on. Consider the size of your painting and the space needed to accommodate it, ensuring that you have enough room to move freely and access your materials easily. A properly set-up easel or workstation will enable you to paint hair with ease and precision.
Choosing the Right Lighting
Lighting plays a crucial role in accurately capturing the colors and details of hair in your painting. Ideally, choose a natural daylight source for your lighting to minimize color distortion. Position your easel or work surface near a window or use artificial daylight bulbs to create a well-lit environment. Avoid using fluorescent or incandescent lighting, as these types of lighting can cast a yellow or blue hue on your artwork, which may affect the way you perceive the hair colors. By choosing the right lighting, you can ensure that your hair painting accurately reflects the subtle nuances and tones of the hair.
Preparing Your Canvas or Paper
Before you start painting hair, it is important to prepare your canvas or paper surface. If you are working on canvas, make sure it is properly primed with gesso to create a smooth and suitable surface for gouache. If you are working on paper, choose a heavyweight paper that can handle the moisture of the gouache paint without warping or tearing. Consider the size and orientation of your painting and ensure that your canvas or paper is appropriately sized to accommodate your desired composition. Preparing your surface ensures that the paint adheres properly and allows for easier application and manipulation of the gouache as you paint the hair.

This image is property of images.unsplash.com.
Understanding Hair Anatomy
Observing Different Hair Textures
To effectively capture the essence of hair in your painting, it is important to observe and understand different hair textures. Hair can range from straight and smooth to curly and frizzy, and each texture requires different painting techniques to accurately depict. Study various reference materials, such as photographs or real-life subjects, to observe how different textures appear in different lighting conditions. Pay attention to the way light interacts with the hair strands, creating highlights and shadows. By understanding the nuances of hair textures, you can better replicate them in your gouache painting.
Analyzing Hair Colors and Shades
Hair comes in a variety of colors and shades, ranging from blonde and brown to black and red. When painting hair with gouache, it is important to analyze and replicate the color variations present in the hair. Observe how light affects the hair color, making it appear lighter in areas where it is hit directly by light and darker in the shadowed areas. Consider mixing various base colors to create a color palette that closely matches the desired hair color. By carefully analyzing the colors and shades present in the hair, you can achieve a more realistic and lifelike depiction in your painting.
Identifying Hair Highlights and Shadows
Highlights and shadows are essential elements in hair painting, as they contribute to the depth and dimension of the hair. When observing the hair, identify the areas where light hits the hair directly, creating highlights, and the areas where light is blocked or obscured, creating shadows. Highlights are typically lighter and warmer in tone, while shadows are darker and cooler. Pay attention to the transitions between the light and shadow areas, as they can create interesting gradations and variations in color. By accurately identifying and replicating the highlights and shadows, you can add realism and depth to your gouache hair painting.
Color Mixing Techniques
Creating Base Colors
Creating the right base colors is crucial in achieving a realistic and accurate representation of the hair. Start by analyzing the dominant color of the hair and mix the corresponding base color using gouache paints. Consider the color temperature, value, and intensity of the hair, and adjust your base color accordingly. Mix the colors in separate wells on your palette and gradually add small amounts of paint until you achieve the desired hue. Remember to mix more paint than you think you’ll need, as it can be difficult to recreate the exact color once it has been used up. By creating the right base colors, you can establish a solid foundation for your hair painting.
Mixing Different Hair Shades
Hair is rarely a single, uniform color, but rather a combination of various shades and tones. To accurately represent these variations in your gouache hair painting, it is important to master the art of mixing different hair shades. Refer to your reference materials and identify the secondary or tertiary colors present in the hair. Mix these shades with your base color, gradually adding small amounts of the secondary colors to create nuanced and realistic hair tones. Experiment with different combinations and ratios of colors to achieve the desired effect. By skillfully mixing different hair shades, you can add depth and complexity to your gouache hair painting.
Blending and Gradient Techniques
Blending and creating smooth gradients are important techniques in achieving a realistic depiction of hair. In gouache painting, there are different methods you can use to achieve these effects. One technique is to blend colors directly on the palette before applying them to the canvas or paper. Gradually mix and combine adjacent colors on your palette, using a clean brush to create a smooth transition between the colors. Another technique involves layering and blending colors directly on the hair itself, using a wet brush to blend and merge the colors together. Experiment with different techniques to find the one that best suits your desired hair texture and effect.

This image is property of images.unsplash.com.
Blocking in the Hair
Sketching the Hairlines and Shapes
Before applying the base color to the hair, it is important to sketch the hairlines and shapes to establish the overall structure and direction of the hair. Use a light pencil to lightly sketch the main outlines and flow of the hair, capturing the general shape and movement. Pay attention to the natural parting and the way the hair falls and drapes over the head or shoulders. Adjust and refine the sketch until you are satisfied with the composition and proportions. The sketch serves as a roadmap for the rest of the painting process, guiding you as you apply the base color and add details to the hair.
Applying the Base Color
Once you have sketched the hairlines and shapes, it is time to apply the base color to the hair. Use a flat or filbert brush to paint the base color onto the areas of the hair, following the direction and flow established by the sketch. Apply the paint with smooth and even brushstrokes, ensuring solid coverage and avoiding streaks or gaps. Work systematically, from the roots to the ends of the hair, building up the base color gradually. Use thin layers of paint, allowing each layer to dry before adding subsequent layers, to achieve a smooth and even application of the base color.
Building Up Volume and Texture
To give the hair volume and texture, it is important to build up layers and add depth to the painting. Once the base color has dried, use a smaller brush or a round brush to add darker shades and tones to create shadows and areas of depth. Apply these darker colors strategically to the areas where the hair would naturally cast shadows, such as under bangs or between individual strands of hair. Use light brushstrokes or stippling techniques to create texture and mimic the appearance of individual hair strands. Gradually build up the layers and add details until you achieve the desired volume and texture in your gouache hair painting.
Adding Highlights and Shadows
Identifying the Light Source
Before adding highlights and shadows to the hair, it is crucial to identify the light source in your painting. The light source determines where the highlights and shadows will appear on the hair and greatly influences the overall appearance and realism of the painting. Study your reference materials or imagine a consistent light source in your composition. Note the areas where the light hits the hair directly and the areas that are shadowed or blocked from the light. Understanding the direction and intensity of the light source will help you accurately position and apply highlights and shadows to the hair.
Layering Highlights with Gouache
Highlights are essential in giving the hair a luminous and natural-looking sheen. To create highlights with gouache, start by selecting a lighter shade or tone of the hair color you are using. Mix the highlight color on your palette and apply it sparingly and strategically to the areas of the hair that are directly hit by light. Use a smaller brush or a liner brush to create thin and controlled brushstrokes, mimicking the appearance of individual strands catching the light. Layer the highlights gradually, allowing each layer to dry before adding subsequent layers. This layering technique helps build depth and realism in your gouache hair painting.
Creating Soft Shadows and Gradations
Shadows play an important role in adding depth and dimension to the hair. When adding shadows to your gouache hair painting, aim for soft and graduated transitions between the light and shadow areas. Start by selecting a darker shade or tone of the hair color and mix it on your palette. Apply these shadow colors strategically to the areas that are blocked or obscured from the light, such as under bangs or behind the head. Use a lighter touch and less paint in the shadow areas, gradually building up the layers to create a soft and natural transition from light to shadow. This technique adds depth and realism to your gouache hair painting.
This image is property of images.unsplash.com.
Creating Hair Texture
Using Dry Brushing Techniques
Dry brushing is a technique that can add texture and dimension to the hair in your gouache painting. To dry brush, load your brush with a small amount of paint and then remove most of it by lightly brushing the bristles on a paper towel or palette. The brush should only have a small amount of paint on it. With quick and light strokes, lightly graze the surface of the hair to create the textured appearance of individual strands. Dry brushing works especially well for creating wispy or frizzy hair textures. Experiment with different brush sizes and pressures to achieve the desired effect.
Stippling and Streaking Effects
Stippling and streaking are techniques that can be used to create unique and intricate hair textures with gouache. Stippling involves using a brush to create a pattern of dots or small marks on the hair surface, mimicking the appearance of texture or individual strands. Streaking, on the other hand, involves using a longer, thin brush to create fine lines or streaks in the hair, adding movement and dimension. Both techniques require a controlled hand and attention to detail. Practice these techniques on a separate piece of paper before applying them to your gouache hair painting to ensure precise and intentional brushstrokes.
Fine Details and Strands
To add the final touches and bring your gouache hair painting to life, it is important to focus on the fine details and individual strands of hair. Use a smaller brush or a liner brush to create delicate and intricate brushstrokes, replicating the appearance of individual strands or wisps of hair. Pay attention to the flow and direction of the hair, ensuring that the details align with the overall composition and hairlines. Use lighter or darker shades of color to create highlights and shadows within the fine details, adding depth and realism to the hair. By carefully adding these fine details and strands, you can elevate the quality and intricacy of your gouache hair painting.
Blending Techniques
Wet-on-Wet Blending
Wet-on-wet blending is a technique that involves applying wet paint onto a wet surface to achieve smooth and seamless transitions between colors. To blend colors with this technique in gouache hair painting, start by applying a base color or a layer of paint onto the hair. While the paint is still wet, add another color directly adjacent to it on the wet surface. Use a clean brush or a blending brush to gently merge the colors together, working in small circular or sweeping motions. The wet surface allows the colors to mix and blend naturally, creating soft and gradual transitions. Experiment with different color combinations and wetness levels to achieve the desired blending effect.
Feathering and Smudging
Feathering and smudging are techniques that can be used to soften harsh edges and create subtle transitions in your gouache hair painting. Feathering involves using a dry brush with minimal paint to gently soften and blend the edges of the colors. Lightly brush over the areas where two different colors meet, creating a feather-like effect that blurs the distinction between the colors. Smudging, on the other hand, involves using a soft cloth or a blending tool to gently smudge and soften the colors together. This technique works well for creating airiness or softness in the hair, especially in areas where light is diffused. Practice these techniques on a separate piece of paper to achieve precise and intentional feathering and smudging effects.
Softening Harsh Edges
Harsh edges can appear in your gouache hair painting when colors are applied without blending or when brushstrokes are too distinct. To soften these harsh edges and create a more natural and flowing appearance, there are several techniques you can employ. One technique is to use a clean, damp brush to gently blend and fade the edges of the colors together. Another technique is to use a dry brush to lightly brush over the edges, lifting some of the paint and softening the transitions. Additionally, you can use stippling or feathering techniques to break up the edges and create a more textured and organic look. By softening the harsh edges, you can achieve a smoother and more polished finish in your gouache hair painting.

Finishing Touches
Refining the Hair Details
Before considering your gouache hair painting complete, take the time to refine and add the final touches to the hair details. Use a smaller brush or a liner brush to add individual strands or wisps of hair where necessary. Pay attention to the hairlines, the partings, and the areas where the hair overlaps or interacts with other elements in the painting. Fine-tune the highlights and shadows, ensuring that they align with the overall lighting and placement of the hair. Take a step back from your painting and assess the details from a distance to ensure that they contribute to the overall realism and aesthetics of the hair.
Contrasting and Adjusting Colors
Contrasting and adjusting colors can greatly enhance the impact and visual interest of your gouache hair painting. Look for areas where you can create stronger contrasts between lighter and darker sections of the hair. Use a lighter or darker color to add accents and create areas of focus within the hair. Consider adjusting the colors of the highlights, shadows, or subtle strands to enhance the overall composition and balance of the painting. Experiment with different color combinations and techniques to determine the most effective way to enhance the colors and contrast in your gouache hair painting.
Adding Highlights and Final Tweaks
The final stage of completing your gouache hair painting involves adding highlights and making any necessary final tweaks to the hair. Use a lighter shade or tone of the hair color to add highlights in areas where the light hits the hair directly. Be mindful of the light source and the placement of the highlights to maintain realism and consistency with the rest of the painting. Assess your overall composition and make any final adjustments or refinements to ensure that the hair integrates seamlessly with the rest of the artwork. Take a step back and review the painting as a whole before considering it finished.
Troubleshooting Common Issues
Dealing with Muddy Colors
One common issue that may arise when painting hair with gouache is the appearance of muddy colors. Muddy colors occur when the paints mix together too much, resulting in a dull and lifeless appearance. To avoid muddy colors, keep your colors separate and consider using a clean brush or palette knife when applying different colors. Clean your brushes regularly to prevent the buildup of excess paint that might contaminate the colors. Additionally, allow each layer of paint to dry completely before adding subsequent layers to avoid unintentional mixing. When mixing colors on your palette, mix only the amount you need to avoid mixing too many colors together and running the risk of creating muddy hues.
Fixing Overworked Areas
Overworked areas can occur when too many layers of paint are applied or when excessive blending and manipulation have occurred. These areas can appear muddy or lose their vibrancy and clarity. To fix overworked areas, allow the paint to fully dry, and then carefully remove the excess paint with a soft cloth or a damp brush. Once the excess paint is removed, you can reapply fresh layers of paint to rebuild the colors and details. Be mindful of the amount of paint and the blending techniques used to avoid repeating the same mistakes. Pay close attention to the overall balance and composition of the hair as you correct the overworked areas.
Recovering Lost Highlights or Shadows
Sometimes, while painting hair with gouache, highlights or shadows may get unintentionally covered or lost during the painting process. To recover lost highlights or shadows, start by carefully removing the excess paint or layers that have covered them. Use a damp brush or a soft cloth to gently lift and remove the paint. Once the area is clean, you can reapply the highlights or shadows using the appropriate color and blending techniques. Take care to blend the re-applied colors seamlessly with the surrounding areas to ensure a cohesive and realistic representation of the hair.
In conclusion, painting hair with gouache requires careful observation, skillful color mixing, and various techniques to create texture, depth, and realism. By selecting the right tools, preparing the work surface, understanding hair anatomy, mastering color mixing techniques, blocking in the hair, adding highlights and shadows, creating hair texture, employing blending techniques, applying final touches, and troubleshooting common issues, you can achieve stunning and lifelike results in your gouache hair paintings. Remember to practice, experiment, and develop your own style as you embark on your journey to painting hair with gouache.
