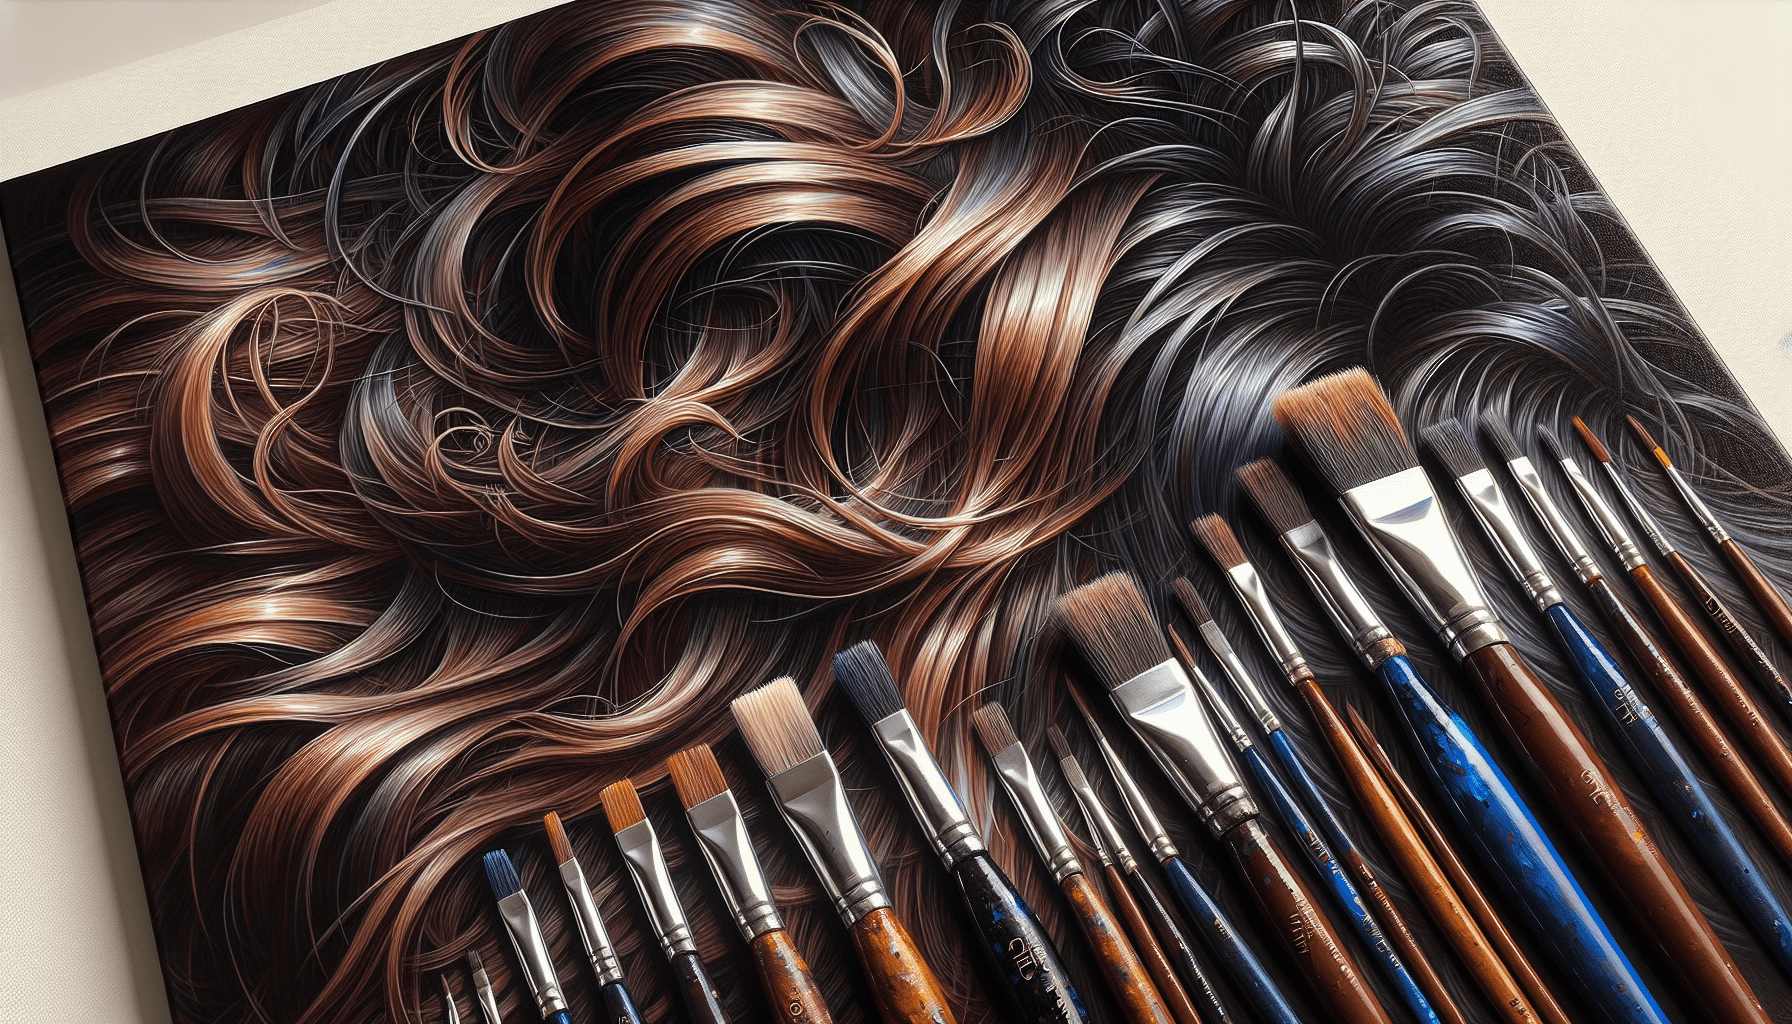
Undeniably, painting hair can pose some unique challenges even to experienced artists. Meeting these challenges, however, can be made less daunting through the adoption of the correct methods. This article is designed to give you key insights on how to paint hair using acrylic paint. As you progress through this article, you will acquire practical painting tips and techniques, ensuring you have all the skills you need to accurately depict hair in your artwork, making it as realistic or abstract as your imagination allows.
Choosing the Right Brushes
Choosing the right brushes depends on several factors such as the thickness and the texture of the paint, the size of the painting, and the specific details you are looking to achieve in your painting.
Selecting the Appropriate Brush Size
The size of the brush significantly impacts the overall outcome of the painting. Large brushes are perfect for filling in large spaces and making broad strokes, while smaller brushes are ideal for detailing and precision. When painting hair, you may need to interchange between different brush sizes to achieve varying thickness and texture of the hair.
Considering Different Brush Shapes
Brushes come in a range of shapes, including flat, round, filbert, fan, and angle. Each shape serves a specific purpose and can affect the lines and strokes in your painting. For instance, round brushes are best for detailing and creating thin lines, while flat brushes are great for broad strokes.
Using Synthetic Brushes for Acrylic Paint
Synthetic brushes usually have either nylon or polyester filaments. They are durable and perfect for acrylic paint since they can withstand its rough nature. These brushes are also less prone to damage from the acrylic paint and help in creating smooth strokes.
Exploring Different Brush Bristle Types
Apart from the size and shape, the type of bristle also matters. For instance, softer brushes tend to spread color more smoothly, suitable for blending colors together. On the other hand, stiffer bristles will give your strokes more texture, which can be beneficial in painting hair.
Preparing the Surface
Creating a masterpiece entails not just the actual painting process but also the preparation.
Cleaning and Priming the Canvas
Before starting, ensure that the canvas is clean from dust or grease. Apply a primer such as gesso. This will smoothen the canvas and prevent the paint from soaking into the canvas which can potentially weaken the fabric.
Creating a Rough Sketch as a Guide
To give you a blueprint to follow, sketch the hair using a pencil. It does not have to be perfect. Just ensure that it sketches out the general direction and flow of the hair.
Applying a Base Coat for the Hair Color
Next, apply a base coat of the hair color. This step can set the overall tone of the hair and provide a guideline when you start blocking in colors.

Mixing Hair Colors
Understanding how to mix paint colors can drastically improve the quality of your painting.
Understanding Color Theory for Realistic Hair
The basis of color theory consists of primary colors – red, blue, and yellow, which you can mix to create secondary and tertiary colors. For painting realistic hair, remember that hair isn’t uniform in color. Understanding how colors work together can help you create a sense of depth and dimension in the hair strands.
Mixing Primary Colors to Achieve Desired Shades
Creating a specific shade requires a sound understanding of which primary color combinations produce particular secondary and tertiary colors. The color of the hair you’re painting will determine the primary colors you need to mix.
Creating Highlights and Lowlights for Dimension
To achieve a more realistic look, hair needs to have highlights and lowlights. Highlights represent the portions of the hair that the light hits directly, while lowlights reflect the areas in shadow or are hidden from the light source.
Experimenting with Color Combinations
Feel free to explore various color combinations. Each color mix can result in a unique shade adding depth and uniqueness to your painting.
Applying the Base Layer
The base layer serves as the foundation of the painting.
Blocking in the Basic Shape of the Hair
Use the base color to block in the general shape of the hair. This is essentially filling in the sketched hair outline with the base color.
Using Thin Layers for Smooth Application
Acrylic paint can be heavy; applying it in thin layers can help achieve a smoother application and avoids clumps.
Blending Colors Seamlessly
Blending is an essential technique when applying the base layer. This involves merging two different colors to create a smooth transition.
Adding Initial Texture and Volume
At this stage, render initial texture and volume to the hair by painting darker and lighter areas. Use a variety of brush strokes to mimic the natural variation found in hair.

Adding Details and Textures
This is where you transform your painting from a visual representation to a realistic art piece.
Using Dry Brushing Technique for Strands
Dry brushing is a technique wherein you use a brush with a small amount of paint to create textured strokes that are perfect for painting strands of hair.
Creating Depth with Different Brush Strokes
The key to achieving depth in your painting is by using various brush strokes. Varying widths and lengths of brush strokes can simulate the different strands of hair.
Adding Fine Lines and Wisps of Hair
Add fine lines and wisps to give your hair life and movement. Use a fine detail brush to create thin strands that go slightly outside of the blocked area.
Working with Different Hair Textures and Styles
Different hairstyles and textures require different techniques. Long, sleek hair will need smoother strokes, while curly hair demands more texture.
Working on Highlights and Shadows
Highlights and shadows make your painting come to life by giving it a three-dimensional look.
Identifying Light Source for Realistic Lighting
The light source determines where your highlights and shadows will fall on the hair. It is essential to decide this before you start painting to ensure consistency in your strokes.
Applying Highlights to Catch the Light
Highlights should be applied to sections of the hair that are supposed to be receiving light. Usually, these are the upper parts of the hair and the protruding strands.
Creating Shadows for Contrast and Depth
In contrast, shadows should be applied in areas hidden from the light source. Shadows provide contrast and depth, making the hair appear fuller.
Blending Edges for a Natural Transition
Smooth transitions between the highlights and shadows create a natural and realistic appearance. Blend your colors well to prevent a stark contrast between the light and dark areas.
Layering for Realism
Layering is the process of applying multiple layers of paint.
Building Up Layers for Realistic Color Variations
Building successive layers gives hair more realistic color variations. Each new layer will add to the depth of color and help to enhance the appearance of the hair strands.
Working from Light to Dark Tones
When layering, it’s beneficial to work from light to dark. Lighter tones generally act as a base, and darker tones provide depth and define the form of the hair.
Adding Translucent Glazes for Depth
Adding a translucent glaze can enhance the depth of your painting. A glaze is a thin, transparent layer of paint that can deepen or change the color of the layers underneath it.
Creating Intricate Details and Highlights
The uppermost layer is where you add the intricate details. Use a fine brush to add strands of hair, highlights, and other intricate details.
Refining the Hair Texture
To make the hair appear realistic, refining its texture is key.
Using a Fine Brush for Hair Strands
Use a fine brush to add individual strands of hair. This technique will give the illusion of detail and refine the texture of the hair.
Adding Individual Hair Details
Apart from adding strands, adding specific details like the hint of a curl, stand-alone strands, or varying shades within the strands can enhance its realistic texture.
Enhancing the Sense of Movement and Flow
The flow of hair gives the impression of movement, making it appear more life-like. Creating hair flow involves painting the strands to seem as though they’re naturally falling or moving.
Creating Realistic Shine and Reflections
The shine in hair reveals its health and condition. Create a realistic shine by adding highlights at the right places.
Evaluating and Adjusting
Stepping back and analyzing your work can highlight areas that may need adjustment.
Stepping Back to Assess the Overall Look
By stepping back, you can evaluate the hair’s overall look from a distance, seeing how it interacts with the rest of the painting, and make sure it blends harmoniously with the surrounding elements.
Making Necessary Adjustments to Colors or Shapes
Adjustments could involve adding more highlights, defining the shadows, or even changing the hair color or shape completely. This step is likely to be repeated several times until you achieve the desired result.
Refining Details for a Polished Finish
The final adjustment stage is refinement. Review every detail of the hair, fine-tune every line, color, and texture until happy with the result.
Sealing and Finishing
Like any artwork, it’s important to seal and finish your painting properly.
Allowing the Painting to Thoroughly Dry
Before moving to seal your work, allow the painting to dry completely. Acrylic paint dries quite quickly. However, more layers or thicker paint can increase drying time.
Applying a Varnish for Protection
Varnish seals the painting from dust and other potential damages. It also enhances the overall look and can add a nice gloss to the painting, particularly enriching dark colors.
Signing and Framing the Artwork
Finally, sign and frame your artwork. The signature authenticates your work, and the frame adds an extra layer of protection and sets your work for display.


