In this article, you will be guided through the process of effectively painting fur using the medium of gouache. Gouache, known for its opaque and vibrant qualities, offers a unique approach to capturing the textures and nuances of fur.
With a few essential techniques and careful attention to detail, you will discover how to create realistic and visually appealing renditions of various fur textures, whether it be the sleek and shiny coat of a domestic cat or the untamed mane of a majestic lion.
By following the step-by-step instructions outlined in this article, you will acquire the necessary skills to master the art of rendering fur with gouache, allowing you to elevate your artistic abilities to new heights.
Materials
Gouache paint
Gouache paint is a versatile and popular medium for painting fur. Unlike watercolors, gouache has a more opaque quality, allowing you to easily build up layers and create texture. It comes in various colors, and it is essential to have a range of shades to achieve the desired fur effect.
Watercolor paper
Watercolor paper is the ideal surface for painting with gouache. It is absorbent and can handle the wet-on-wet technique required for creating fur. Choose a heavyweight paper to prevent buckling and ensure durability throughout the painting process.
Paint brushes
Invest in a variety of brushes for painting fur. The ideal brushes are those with soft bristles, such as round brushes and liner brushes, which are excellent for creating both fine details and broad strokes.
Palette
A palette is necessary for mixing your gouache colors. Choose a palette with ample space to mix and blend colors effectively. Additionally, a palette with wells can help you keep your colors organized and prevent them from mixing unintentionally.
Water container
Having a water container nearby is essential for cleaning your brushes between color changes. It is crucial to use clean water to prevent unwanted color contamination and ensure the integrity of the colors you are working with.
Preparation
Choose a reference image
Before starting, it is essential to have a reference image of the fur you intend to paint. This could be a photograph or a high-quality image that clearly shows the texture and colors of the fur you want to recreate. Having a reference will help you understand the direction of the fur and guide your painting process.
Sketch the basic shape
Once you have selected your reference image, begin by sketching the basic shape of the subject on your watercolor paper. This sketch will provide a guideline for your painting and help you accurately place the fur details later on. Use a light hand with a pencil, creating thin and loose lines to allow for adjustments as you go.
Set up your workspace
Before diving into the painting process, ensure you have a clean and organized workspace. Clear any unnecessary clutter and gather all your materials within reach. Having a well-lit area with good natural or artificial light will help you see the details of your painting clearly.
Color Mixing
Start with basic colors
Begin by selecting a few basic colors that closely resemble the predominant colors in the fur of your reference image. These colors will serve as your foundation and can be adjusted and mixed later on to create variations and depth. Start with a color palette that includes warm and cool shades of browns, grays, and blacks.
Mix in variations
To achieve a realistic fur texture, mix in variations of your basic colors. Use small amounts of different shades to create subtle color shifts within the fur. Experiment with adding hints of warmer or cooler tones, depending on the lighting and overall color scheme of your reference image.
Create lighter shades
Light plays a significant role in the appearance of fur. To create lighter shades for areas where light hits the fur, mix small amounts of your base colors with white gouache. Gradually add white until you achieve the desired level of lightness.
Prepare darker shades
Just as light is essential, shadows add depth and dimension to fur. Create darker shades by mixing your base colors with a touch of black gouache. Be cautious not to overdo it, as a little black can go a long way. Gradually build up the darkness by layering the darker shades where shadows naturally appear in your reference image.
Base Layer
Wet your brush
Before applying the base color, wet your brush slightly. This will help the paint go on smoothly and allow for better blending. Gently dip your brush into clean water and then dab it on a paper towel to remove excess moisture.
Mix paint to desired consistency
Squeeze a small amount of your chosen base color onto your palette. Use your brush to mix the paint with a small amount of water. Aim for a consistency similar to heavy cream, allowing the paint to glide smoothly without being too watery.
Apply base color
Start by applying the base color to the fur using broad strokes. Follow the direction of the fur as indicated in your reference image. Apply the paint with a light touch, gradually building up layers for a more textured appearance. Remember to leave some areas lighter and others darker to create a realistic look.
Adding Texture
Study the direction of fur
Before adding texture, carefully study the direction in which the fur grows in your reference image. Notice the flow and movement of the fur strands. Understanding this will help you create realistic texture in your painting.
Use dry brush technique
To create texture, employ the dry brush technique. Load your brush lightly with paint and remove excess paint on a paper towel. With a gentle touch, drag the brush lightly across the paper, mimicking the texture of fur. This technique leaves a dry brushstroke pattern that adds depth and realism to your painting.
Create flicking strokes
For more defined fur texture, create flicking strokes using the tip of a round brush. Dip the tip of the brush into the paint, remove excess paint, and flick it onto the paper in short, controlled movements. Vary the length and intensity of the flicks to capture the irregularity of fur strands.
Highlighting
Identify areas of light reflection
Observe your reference image and identify areas where light hits the fur, creating highlights. These areas typically appear on the highest points of the fur or where light is directly reflected. Take note of these areas as they will be the focus of your highlighting technique.
Mix a lighter color
Once you have identified the highlight areas, mix a lighter shade of the base color. Use white gouache to lighten the color gradually until you achieve the desired highlight hue. Adjust the mixture until it closely matches the brightness and tone of the highlighted fur in your reference image.
Apply highlights sparingly
Using a fine brush, apply the lighter color to the areas you identified earlier as the highlight points. Apply the highlights sparingly, following the direction and length of the fur strands. Be mindful not to overdo it, as highlights should be subtle and natural, enhancing the three-dimensional appearance of the fur.

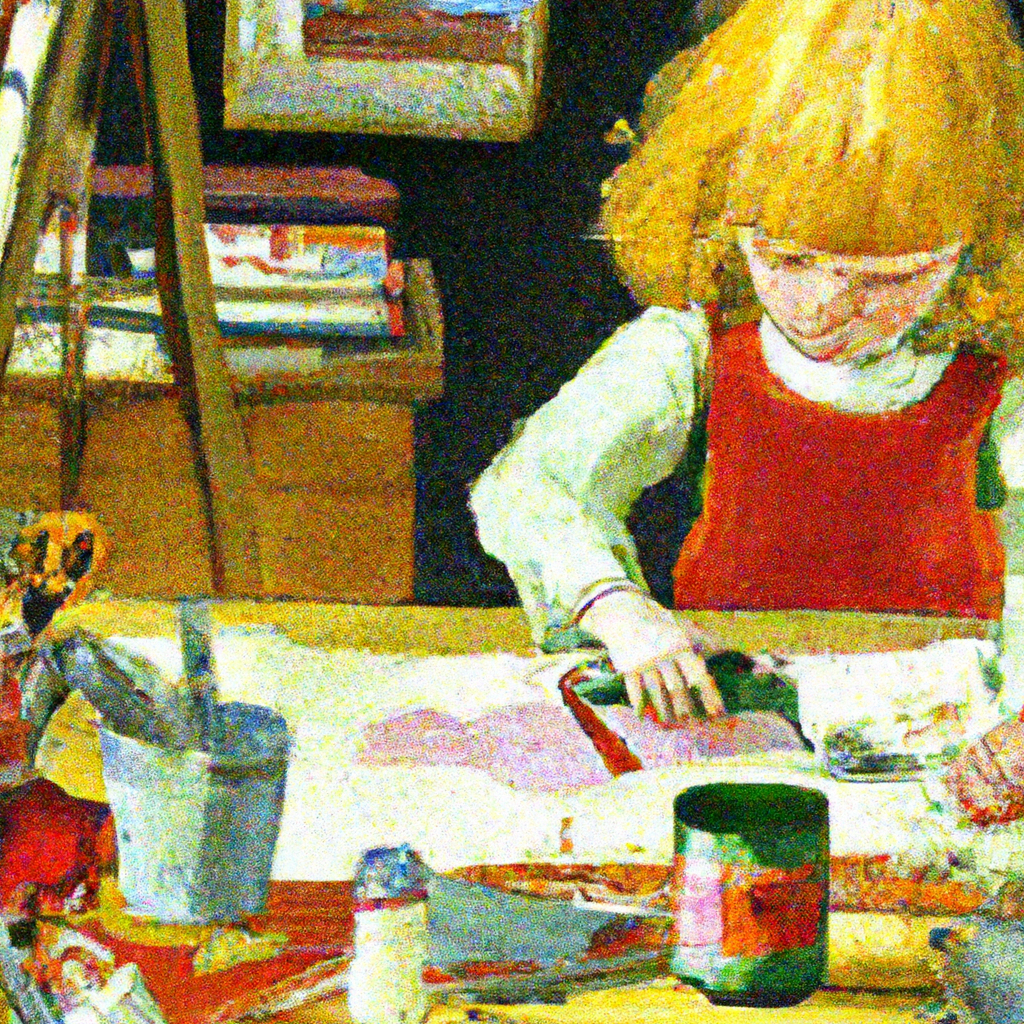
This image is property of images.unsplash.com.
Shadowing
Analyze shadows in the reference image
Study the reference image carefully to identify areas where shadows are cast on the fur. Shadows are essential for creating depth and adding a realistic quality to your painting. Observe how the shadows behave and the range of darkness they exhibit.
Mix darker shades
Using your base colors as a starting point, mix darker shades to create the shadows in the fur. Experiment with adding small amounts of black or dark browns to deepen the base colors. Gradually build up the darkness, paying attention to the varying degrees of shadow present in the reference image.
Apply shadows in appropriate areas
Using a fine brush, apply the darker shades of paint to the areas of the fur that correspond to the shadows in your reference image. Follow the direction and length of the fur strands, ensuring your brushstrokes align with the natural flow of the fur. Gradually layer the shadows, building up depth and dimension.
Adding Detail
Use fine brushes for smaller details
To add intricate details to your fur painting, switch to finer brushes. Liner brushes or small round brushes are excellent tools for adding individual strands of fur or tiny textures. These brushes allow for better control and precision when applying paint to capture the fine details of fur.
Add individual strands of fur
Using the fine brushes, add individual strands and tufts of fur in areas that require more texture and detail. Observe your reference image closely and replicate the irregular patterns and directions of the fur strands. Vary the length, thickness, and color of the strands to create a natural and realistic effect.
Enhance texture and depth
To enhance the overall texture and depth of your fur painting, consider using additional techniques such as stippling or dabbing with a dry brush. These techniques can help create the illusion of fur texture in areas that require extra attention or detailing.

Blending and Smoothing
Use a clean, damp brush
To blend colors seamlessly and smooth out any harsh edges, use a clean, damp brush. Dip your brush in clean water and then remove excess moisture on a paper towel. A damp brush will help you blend colors and soften transitions between different areas of fur.
Blend colors together
Once you have painted the fur with various shades, use the damp brush to blend the colors together. Use gentle strokes in the direction of the fur to create a seamless transition between color shifts. Continue blending until the colors flow harmoniously, ensuring that the fur appears soft and natural.
Smooth out any harsh edges
While blending, pay particular attention to any harsh edges or transitions between different shades of fur. Use the damp brush to soften these areas, ensuring a smooth and realistic appearance. Be patient and work slowly, making subtle adjustments until the fur looks cohesive and well-blended.
Final Touches
Check overall appearance
Before considering your painting complete, take a step back and assess the overall appearance of your work. Compare it to your reference image and identify any areas that may need further adjustments or refinements. Pay attention to color accuracy, shading, texture, and overall composition.
Make necessary adjustments
If you notice any areas that require adjustment, take the time to make the necessary changes. This may involve adding more details, adjusting color tones, or refining the texture. Don’t be afraid to experiment and explore different techniques to achieve your desired outcome.
Let the painting dry completely
Finally, allow your painting to dry completely before making any final touches or framing it. Gouache dries relatively quickly, but it is essential to ensure that all the layers are fully dry to avoid any smudging or smearing. Once dry, you can appreciate the full effect of your fur painting.
In conclusion, painting fur with gouache requires careful observation, color mixing, and techniques to create texture and dimension. By following the steps outlined in this comprehensive guide, you can develop the skills and techniques necessary to paint realistic and visually captivating fur. Remember to practice, embrace experimentation, and enjoy the process of bringing fur to life on your canvas.