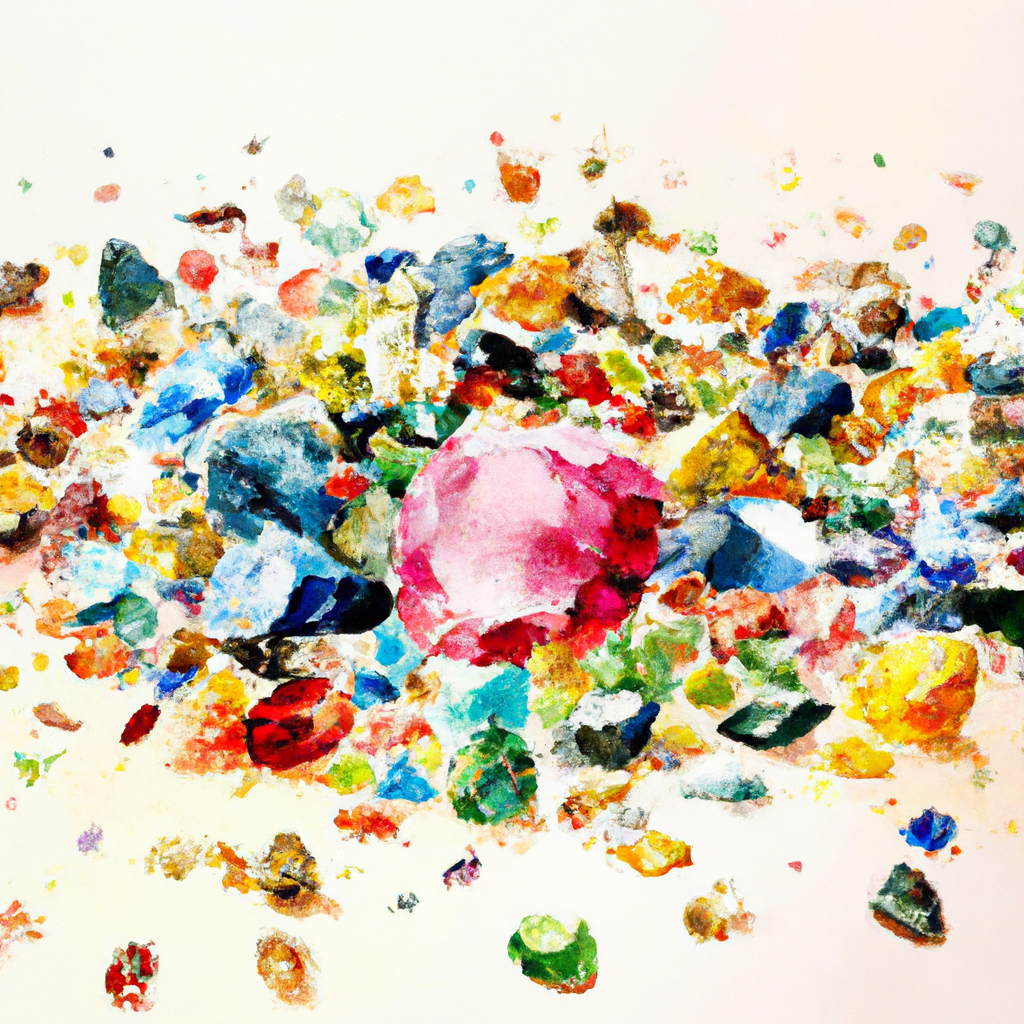
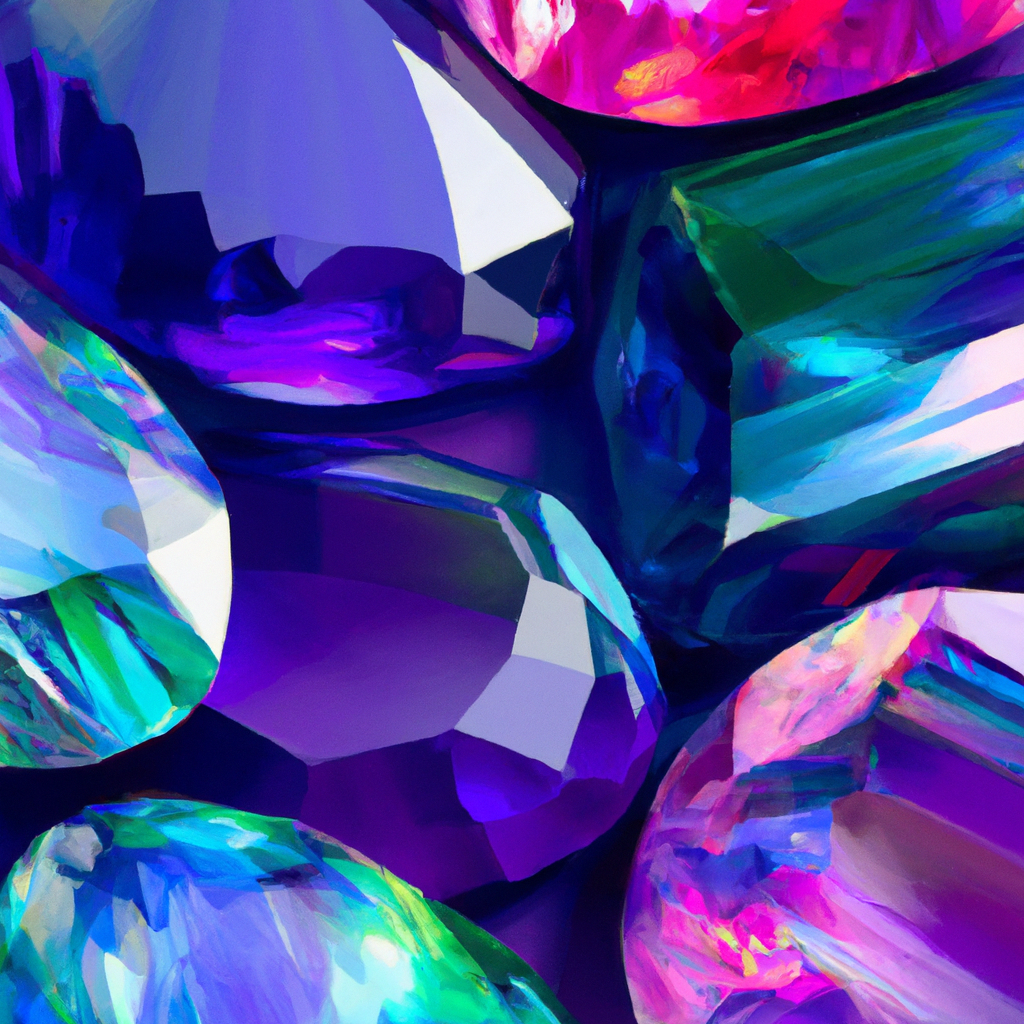
In this article, you will learn the art of painting gemstones with gouache. Gouache is a versatile medium that allows for vibrant colors and detailed textures, making it the perfect choice for capturing the shimmering beauty of gemstones. Through step-by-step instructions and helpful tips, you will discover the techniques needed to create stunning and lifelike gemstone paintings. Whether you are a beginner or an experienced artist looking to expand your skills, this article will provide you with the knowledge and guidance necessary to bring the brilliance of gemstones to life on canvas.
Materials Needed
To paint gemstones with gouache, you will need the following materials:
Gouache paints
Gouache paints are opaque watercolors that have a creamy consistency. They are perfect for creating vibrant and bold colors on your gemstone paintings.
Paintbrushes
Choose a variety of paintbrushes in different sizes. Depending on the size of your gemstone, you will need smaller brushes for fine details and larger brushes for larger areas.
Water
Water is essential for diluting your gouache paints and cleaning your brushes. Make sure you have a container with clean water readily available.
Palette
A palette is necessary for mixing and diluting your gouache paints. Use a palette with wells or compartments to keep your paints organized.
Gemstone reference images
Having reference images of gemstones is crucial for understanding their shapes, colors, and details. These images will guide you in creating realistic gemstone paintings.
Mixing tray
A mixing tray is useful for blending and mixing your gouache paints. It will prevent your colors from getting contaminated and will allow you to create a wide range of shades and tones.
Pencil
A pencil will be used for sketching the basic shape of your gemstone onto your painting surface.
Eraser
An eraser is handy to have when refining your sketch and removing any visible pencil lines.
Masking tape
Masking tape is used to secure your watercolor paper or sketchbook onto your workspace. This will prevent it from moving or warping.
Watercolor paper or sketchbook
Choose a sturdy watercolor paper or sketchbook that can handle the moisture from your gouache paints. Make sure it is the appropriate size for your gemstone painting.
Preparation
Choose gemstone reference
Before you begin painting, select a gemstone reference image that inspires you. Look for a variety of gemstones with different shapes, colors, and textures. This will give you a wide range of options to explore in your paintings.
Prepare your workspace
Ensure that your workspace is clean and well-lit. Remove any distractions or clutter that may hinder your painting process. Set up a comfortable chair and make sure you have enough space to spread out your materials.
Set up your materials
Arrange your gouache paints, brushes, water container, palette, mixing tray, pencil, eraser, masking tape, and gemstone reference images within easy reach. This will allow you to work efficiently and seamlessly.
Prepare your painting surface
If you are using watercolor paper, secure it onto your workspace using masking tape. This will prevent it from shifting while you are painting. Make sure the paper is stretched or taped down tightly to avoid warping.

This image is property of images.unsplash.com.
Sketching the Gemstone
Select a gemstone shape
Look at your chosen reference image and decide on the shape of the gemstone you want to paint. It could be round, oval, pear-shaped, or any other shape that appeals to you.
Draw basic gemstone shape
Using a light pencil, lightly sketch the basic shape of the gemstone onto your painting surface. Pay attention to its proportions and symmetry. Remember, this is just a rough outline that will be refined later.
Add facets and details
Gemstones have facets and unique characteristics that give them their sparkle and shine. Use your reference image as a guide to add these facets and details to your sketch. Take your time and focus on accuracy.
Color Mixing
Understand the gemstone colors
Gemstones come in a wide range of colors, from vibrant blues and greens to rich reds and purples. Study your reference image to understand the colors and hues present in the gemstone you are painting.
Create a color chart
Before you start painting, create a color chart by mixing different combinations of your gouache paints. This will help you familiarize yourself with the colors you have and their potential mixtures.
Mix colors for your gemstone
With your color chart as a guide, mix the appropriate colors for your gemstone. Start with the base color and then gradually introduce variations to capture the unique color variations and textures of the gemstone.

This image is property of images.unsplash.com.
Painting Techniques
Wet-on-dry technique
The wet-on-dry technique involves applying wet gouache paint onto a dry surface. This technique is ideal for creating fine details and crisp edges in your gemstone paintings. Use a small brush and work with precision.
Wet-on-wet technique
The wet-on-wet technique involves applying wet gouache paint onto a wet surface. This technique allows colors to blend and bleed together, creating smooth transitions and gradients. It is great for adding depth and dimension to your gemstone.
Layering technique
Layering involves building up multiple layers of paint to create depth and richness in your gemstone. Start with light washes of color and gradually add more intense hues. Allow each layer to dry before adding the next one.
Dry brush technique
The dry brush technique involves using minimal water in your brush to create textured and grainy effects. This technique is useful for adding rough surfaces or enhancing the shine and sparkle of your gemstone.
Creating highlights and shadows
To create realistic gemstone paintings, it is important to emphasize the play of light and shadow on the gemstone’s surface. Use lighter shades for areas that catch the light, and darker shades for areas in shadow. This will add depth and dimension to your painting.
Painting the Gemstone
Start with the background
To make your gemstone stand out, start by painting the background first. Choose a complementary color that will enhance the gemstone’s colors and contrast. Apply the background color evenly and allow it to dry completely.
Block in the base color
With a large brush, block in the base color of your gemstone. Apply a thin wash of paint, ensuring that the color is even and covers the entire gemstone shape. Remember to work from light to dark.
Add layers of color
Using the layering technique, gradually build up the colors of your gemstone. Start with the lightest colors and work towards the darkest. Allow each layer to dry before adding the next one to prevent muddying the colors.
Refine and add details
Once the base colors are in place, refine the details of your gemstone. Add smaller facets, highlights, and shadows to create a realistic effect. Take your time and work patiently, focusing on the intricate details that make gemstones unique.
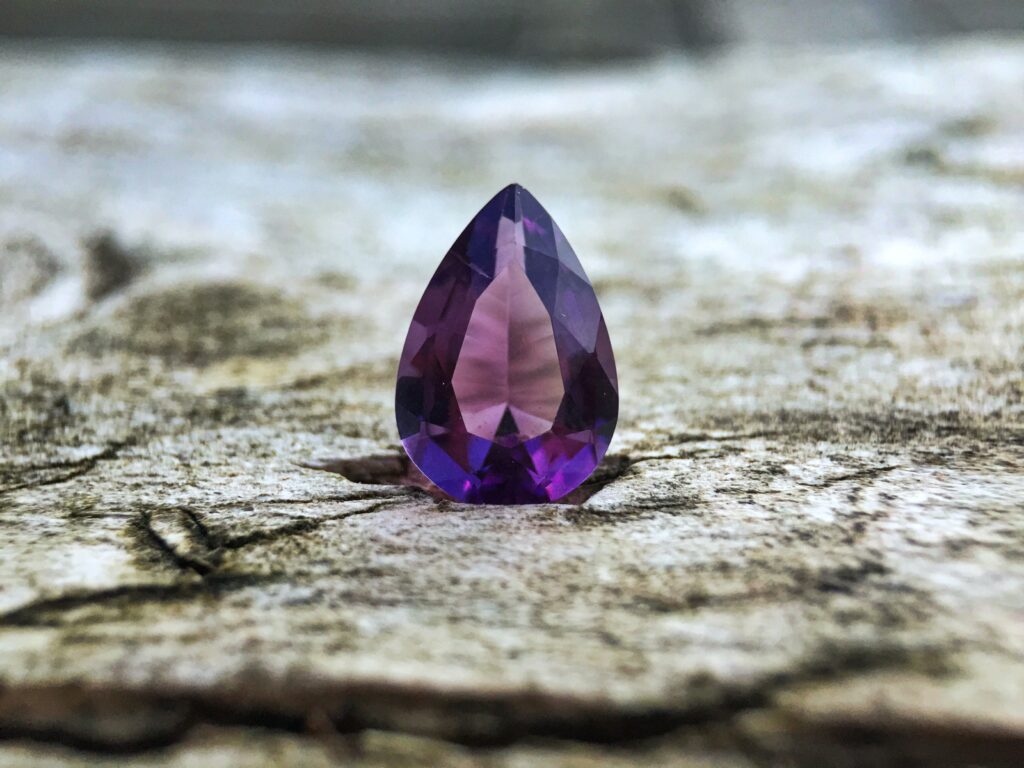
This image is property of images.unsplash.com.
Creating Reflections
Identify light source
To create reflections on your gemstone, you must first identify the direction of the light source. This will determine where the highlights and reflections should be placed. Consistency in lighting is crucial for a realistic portrayal.
Use a lighter shade of the base color
To create reflections, mix a lighter shade of the base color of your gemstone. Apply this color to the facets that face the light source. Use a small brush and work with precision to capture the reflective quality of the gemstone.
Add reflections on facets
Carefully add reflections on the facets of your gemstone. These reflections should be placed strategically to mimic the way light interacts with the gemstone’s surface. Follow your reference image for guidance on where to place the reflections.
Adding Highlights
Identify lightest areas
To add highlights, identify the areas on your gemstone that catch the most light. These areas will be the brightest and have the most intense reflections. Look for sharp, sparkly points and edges that attract attention.
Mix a lighter color
Mix a color that is lighter than the base color of your gemstone. This will represent the highlights. Use a small brush and work with precision, applying the highlights sparingly to create a realistic effect.
Apply highlights with precision
Using your lighter color, carefully apply the highlights to the designated areas of your gemstone. Use short, precise strokes to capture the bright points and edges. Remember to keep the highlights subtle and balanced with the overall painting.
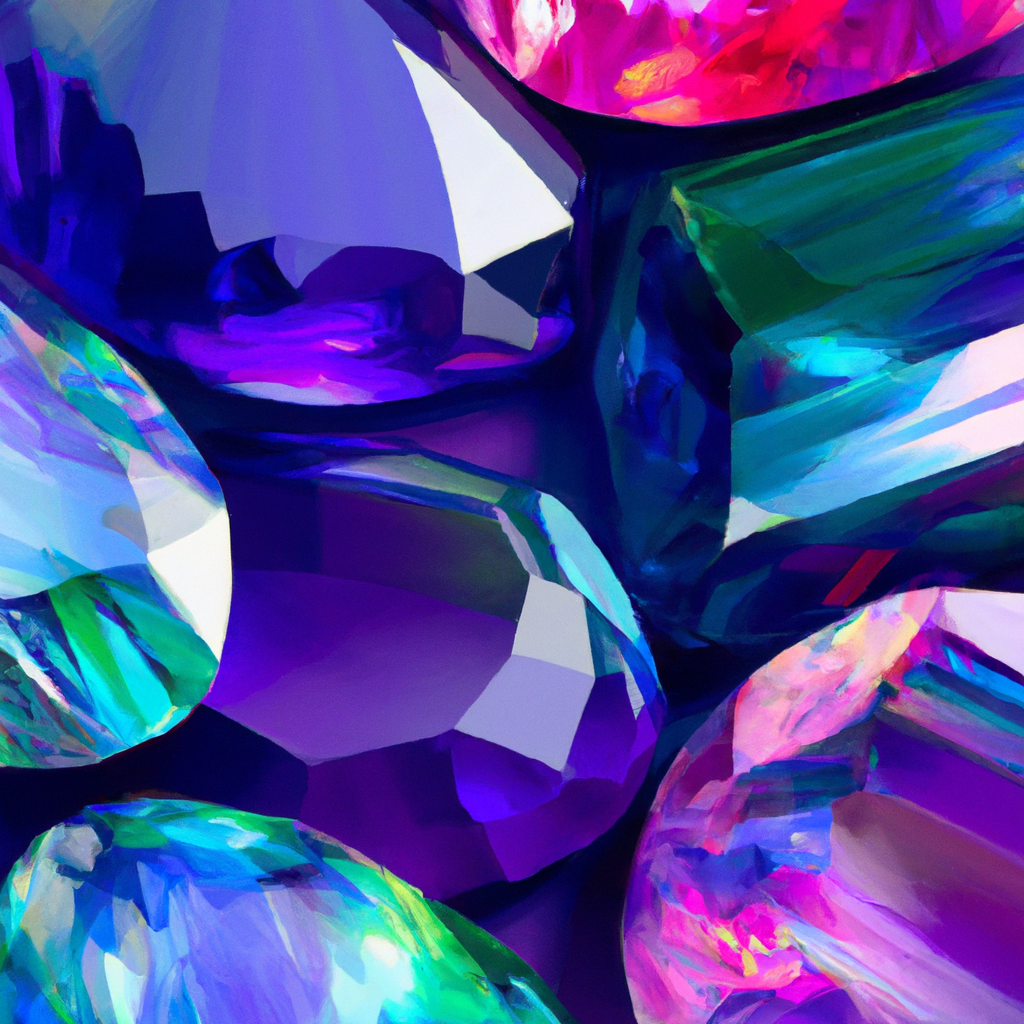
Enhancing Depth and Shadow
Identify darkest areas
To enhance the depth and shadow of your gemstone, identify the areas that are furthest from the light source. These areas will appear darker and less reflective. Look for crevices, corners, and folds in the gemstone’s surface.
Mix a darker color
Mix a color that is darker than the base color of your gemstone. This will represent the shadows and areas of less light. Use a small brush and work with precision, applying the darker color sparingly to create depth and contrast.
Add shadows and depth
Using your darker color, carefully add shadows and depth to the designated areas of your gemstone. Pay attention to the way the light interacts with the gemstone’s surface and create realistic shadows and depth. Remember to blend the darker color seamlessly with the surrounding areas to avoid harsh lines.
Final Touches
Adjust colors and details
Step back and evaluate your gemstone painting. Make any necessary adjustments to the colors, values, and details. It is important to have a critical eye and ensure that your gemstone appears realistic and visually appealing.
Remove masking tape
Once your painting is completely dry, remove the masking tape from your watercolor paper. Carefully peel it off to prevent any tears or damage to your artwork. Admire the clean edges and crisp finish of your gemstone painting.
Sign your artwork
As a final step, sign your artwork to claim it as your own. Use a small brush and your initials or signature to sign the painting discreetly but visibly. This will add a professional touch and indicate your artistic ownership.
Let it fully dry
Allow your gemstone painting to dry completely before handling or framing it. This may take several hours or even days, depending on the thickness of your paint layers. Patience is key to preserving the integrity of your artwork.
In conclusion, painting gemstones with gouache can be a rewarding and visually stunning artistic endeavor. By following these outlined steps and techniques, you can create gemstone paintings that capture their beauty, brilliance, and unique characteristics. Remember to practice, experiment, and embrace the creative process as you embark on this artistic journey. Happy painting!
