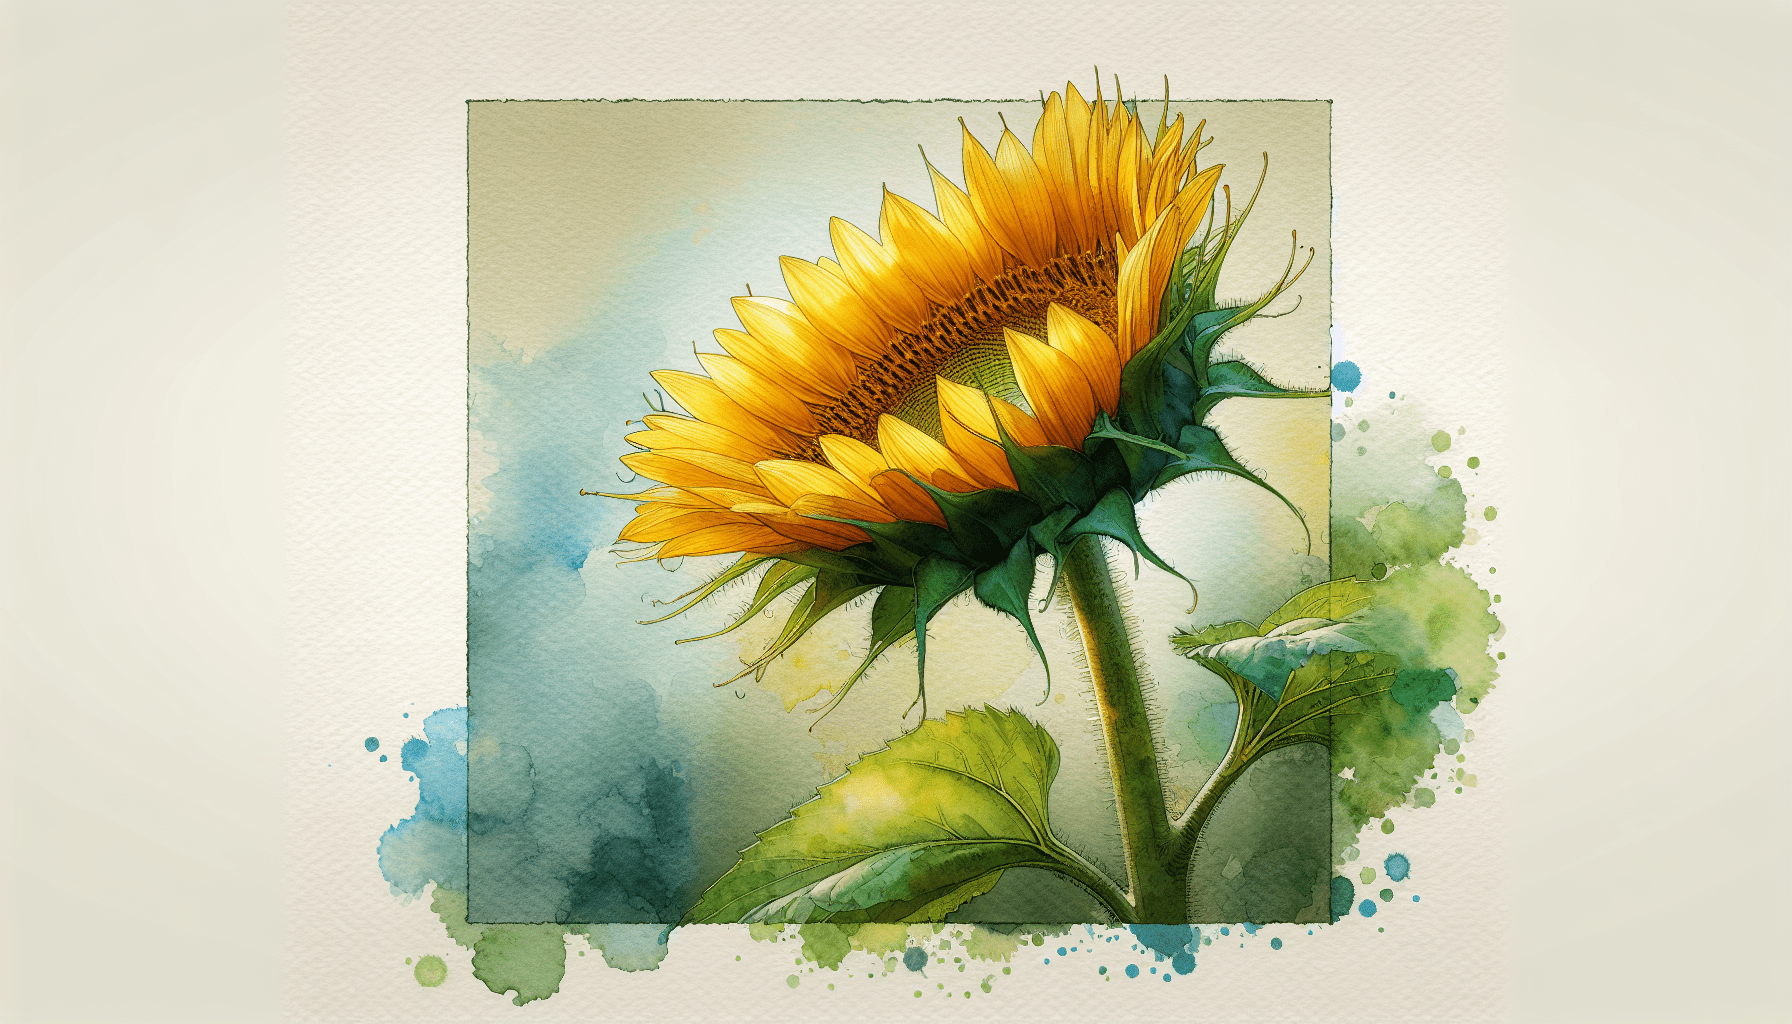
In “How To Paint A Background In Watercolor,” you will find a comprehensive guide designed to enhance your watercolor painting skills. This article delves into practical techniques and essential tips, enabling you to create captivating and harmonious backgrounds for your artwork. By following these steps, you will learn to control water and pigment, effectively manage layering, and apply washes seamlessly. Whether you are a novice or an experienced artist, this guide will equip you with the knowledge needed to elevate your painting practice and achieve professional results. Have you ever stood in front of a blank piece of watercolor paper, brush in hand, and wondered how to create a stunning background that complements the main focus of your painting? Learning how to paint a background in watercolor effectively is an essential skill for any artist. A well-executed background can add depth, mood, and context to your artwork, making the primary subject stand out more vividly.
Understanding the Basics of Watercolor Backgrounds
Before diving into techniques and tips, it’s crucial to understand the foundational elements that contribute to a successful watercolor background. Watercolor painting involves using water-soluble pigments diluted with water, creating a translucent, layered effect that can be both vibrant and subtle, depending on your approach.
Types of Backgrounds in Watercolor
When planning your watercolor background, consider the type that best suits your artwork. Typically, backgrounds can be classified into three main categories:
-
Gradient Backgrounds: These backgrounds transition smoothly from one color to another. They create a gradual shift in color, providing a soft, harmonious backdrop.
-
Textured Backgrounds: Utilized to add interest and dimension, textured backgrounds often incorporate techniques like sponging, salt application, or scraping to produce varied visual effects.
-
Patterned Backgrounds: Patterns can range from simple, repetitive designs to intricate, detailed ones. They serve to enhance the composition and can tie together different elements within the artwork.
Choosing the Right Paper
The type of paper you use plays a significant role in the outcome of your watercolor background. Watercolor paper comes in various textures and weights, with each affecting your painting differently.
| Type of Paper | Texture | Weight | Description |
|---|---|---|---|
| Hot Pressed | Smooth | 140-300 lb | Produces a fine, even wash. Ideal for detailed work. |
| Cold Pressed | Medium | 140-300 lb | Versatile and commonly used. Textured enough for varied techniques. |
| Rough | Coarse | 140-300 lb | Highly textured, adding significant character to washes. |
The weight of the paper will influence its ability to handle water without buckling. Heavier papers are generally more durable and can withstand multiple layers and washes without warping.
Preparation is Key: Setting the Stage
Preparing your workspace and materials is a fundamental step before you begin the painting process. This preparation supports a fluid painting experience and helps prevent common pitfalls.
Organizing Your Materials
Ensure you have all necessary materials within arm’s reach. This includes:
- Watercolor paints
- A palette for mixing colors
- Brushes of various sizes
- A container of water and a spray bottle
- A pencil and eraser for preliminary sketches
- Paper towels or a cloth for blotting
- Masking tape or fluid for preserving white spaces
Stretching Your Paper
Stretching your watercolor paper can prevent it from warping during the painting process. Here’s a simple method:
- Soak the paper in water for about 5-10 minutes.
- Place the wet paper on a flat board.
- Use masking tape to adhere the edges of the paper to the board, ensuring it is taut.
- Allow it to dry completely; the paper will slightly shrink, creating a flat painting surface.
Planning Your Background
Before you begin the actual painting, sketch a rough outline of your composition. Decide on the style and color scheme of the background and how it will interact with the main subject of your painting. If necessary, use masking fluid or tape to preserve areas that should remain unpainted.

Techniques for Painting a Watercolor Background
Understanding different techniques will help you achieve the desired effect for your background. Here are some popular methods:
Wet-on-Wet Technique
The wet-on-wet technique involves applying wet paint onto a wet surface. This approach creates soft, diffused edges and allows colors to blend seamlessly.
Steps to Create a Wet-on-Wet Background:
- Pre-Wet the Paper: Use a clean brush or spray bottle to evenly wet the paper surface without making puddles.
- Apply the Paint: Load your brush with diluted watercolor and apply it to the damp paper. Observe how the colors spread and blend naturally.
- Manipulate Edges: While the surface is still wet, you can adjust the edges and introduce other colors to create depth and interest.
Wet-on-Dry Technique
The wet-on-dry technique involves applying wet paint onto a dry surface. This method produces more defined edges and is useful for creating sharp contrasts and details.
Steps to Create a Wet-on-Dry Background:
- Paint Preparation: Prepare the paint mixture in your palette, ensuring it’s neither too watery nor too thick.
- Initial Layer: Using a slightly diluted color, apply a base layer over the dry paper. Allow it to dry completely.
- Subsequent Layers: Add additional layers to build up the background, waiting for each layer to dry before applying the next. This technique can create a textured, detailed background.
Creating a Gradient Background
To paint a gradient background, you’ll utilize a smooth transition between two or more colors. The key is to ensure a seamless blend.
Steps to Create a Gradient Background:
- Choose Your Colors: Select the colors you wish to blend. Typically, gradients transition from light to dark or from one color to another.
- Moisten the Paper: Lightly wet the area where you plan to paint to facilitate smoother blending.
- Start with the Lightest Color: Apply the lightest color at the top or the area you want to remain lightest.
- Blend Colors: Gradually introduce the second color while the first is still wet, blending where the colors meet. Use a clean brush to smooth the transition.
Adding Texture to Your Background
Textured backgrounds add visual interest and can enhance the thematic elements of your painting. Techniques such as sponging, salting, and scraping are popular for creating texture.
Steps for Different Texturing Techniques:
- Sponging: Dip a natural sponge into diluted paint and dab it onto the paper. The irregular texture of the sponge will create varied patterns.
- Salting: While the paint is still wet, sprinkle salt (table salt or coarse salt) over the painted area. The salt will absorb the paint, creating starburst patterns. Brush off the salt once the paint is dry.
- Scraping: Use the edge of a palette knife or an old credit card to scrape through the wet paint, revealing the paper beneath and creating texture.
Managing Water and Pigment
Control over water and pigment is fundamental to mastering watercolor painting. Understanding how different factors influence the behavior of watercolors will improve your ability to create effective backgrounds.
Dilution Levels
The dilution of your paint affects the transparency and intensity of the color. More water results in a lighter, more transparent color, while less water produces a darker, more opaque color.
Table of Dilution Levels:
| Dilution Ratio | Resulting Effect |
|---|---|
| Highly Diluted | Light, transparent washes |
| Moderately Diluted | Medium intensity, translucent layers |
| Minimally Diluted | Dark, opaque colors |
Load and Flow Control
The amount of paint and water on your brush will influence the flow and application. A heavily loaded brush produces bold, fluid strokes, while a drier brush allows for precise control and detailing.
Controlling Backruns and Blooms
Backruns and blooms occur when excess water on the brush creates unpredictable spreading of paint. While sometimes desirable for artistic effects, they can also disrupt a carefully planned background.
Preventing Backruns and Blooms:
- Monitor the water content in your brush.
- Avoid adding too much water at once.
- Keep a consistent moisture level across the painted surface.

Color Theory and Background Selection
Color theory plays a significant role in creating harmonious backgrounds that complement the main subject of your painting. Understanding the basics of color relationships and their emotional impacts can help you make informed choices.
Complementary Colors
Using complementary colors (colors opposite each other on the color wheel) can produce vibrant contrast. For instance, a blue background can make an orange subject pop.
Analogous Colors
Analogous colors (colors next to each other on the color wheel) create a harmonious and soothing effect. For example, a background blending shades of blue, green, and teal can evoke a serene atmosphere.
Emotional Effects of Color
Colors can evoke different emotions and set the tone of your painting:
- Warm Colors (reds, oranges, yellows): Evoke warmth, energy, and excitement.
- Cool Colors (blues, greens, purples): Evoke calm, tranquility, and somberness.
- Neutral Colors (grays, browns): Provide balance and can support other colors without overpowering them.
Practical Steps and Exercises
To strengthen your background painting skills, practice with structured exercises that focus on specific techniques and concepts.
Exercise 1: Gradient Wash
- Select two colors (e.g., blue and green).
- Pre-wet the painting area to facilitate smooth blending.
- Start with the first color at the top and gradually transition to the second color, creating a seamless gradient.
Exercise 2: Texturing with Salt
- Paint a wash using a single color.
- While the paint is still wet, sprinkle salt over the surface.
- Observe the texturing effect and, once dry, brush off the salt to reveal the patterns.
Exercise 3: Complementary Color Background
- Choose a subject and a complementary color pair (e.g., a red flower with a green background).
- Paint the background using various shades of the complementary color, ensuring it enhances the main subject.
Troubleshooting Common Issues
Even with careful preparation and technique, you may encounter challenges while painting watercolor backgrounds. Here are solutions to common problems:
Uneven Washes
Uneven washes can disrupt the smoothness of a background. To achieve a uniform wash:
- Ensure the paper is evenly wet before applying paint.
- Use consistent brush strokes and maintain a steady hand.
- Work quickly to prevent areas from drying prematurely.
Muddy Colors
Muddy colors result from overmixing or using incompatible colors. Prevent this by:
- Limiting the number of colors in a single wash.
- Cleaning your brush thoroughly between colors.
- Using fresh water and palette for new mixes.
Harsh Edges
Harsh edges can detract from the subtlety of a background. To smooth these edges:
- Blend edges while the paint is still wet.
- Use a damp brush to soften dry edges.
- Plan transitions carefully to ensure gradual blending.
Backruns and Blooms
Unwanted backruns and blooms can be minimized by controlling the amount of water in your brush and the paper.
- Avoid over-saturating the brush.
- Allow one layer to dry thoroughly before applying another.
- Keep a consistent moisture level on the paper.
Advanced Techniques for Experienced Artists
As you become more comfortable with basic techniques, explore advanced methods to create sophisticated backgrounds.
Glazing
Glazing involves applying multiple thin, transparent layers of color over one another. This technique builds depth and richness.
Steps for Glazing:
- Apply the first wash and allow it to dry completely.
- Add successive layers of color, allowing each to dry before applying the next.
- Use transparent colors to ensure the underlying layers are visible.
Negative Painting
Negative painting focuses on painting around the subject to define it, rather than painting the subject itself. This can create dynamic and striking backgrounds.
Steps for Negative Painting:
- Identify the shapes and areas of your subject.
- Apply darker layers around these shapes, gradually building depth.
- Use lighter washes to finesse transitions and enhance contrast.
Conclusion
Mastering the art of painting a background in watercolor involves understanding foundational techniques, managing water and pigment, exploring color theory, and practicing diligently. Whether you are creating a soft gradient, adding texture, or employing advanced techniques like glazing and negative painting, the key is consistent practice and experimentation. With time, you will develop the skill to create captivating backgrounds that elevate your watercolor artworks, providing context and enhancing the focus of your painting.
As you continue your watercolor journey, remember to enjoy the process and let your creativity guide you. Happy painting!


