Have you ever wondered how to elevate your home décor with a sophisticated craft that blends creativity with beauty? Marbling glass with acrylic paint is a technique that offers the allure of intricate designs combined with the vibrancy of colors, transforming ordinary glassware into exquisite art pieces. This process requires attention to detail and the right materials, yet the unique results make it incredibly rewarding.

Understanding Marbling and Its Appeal
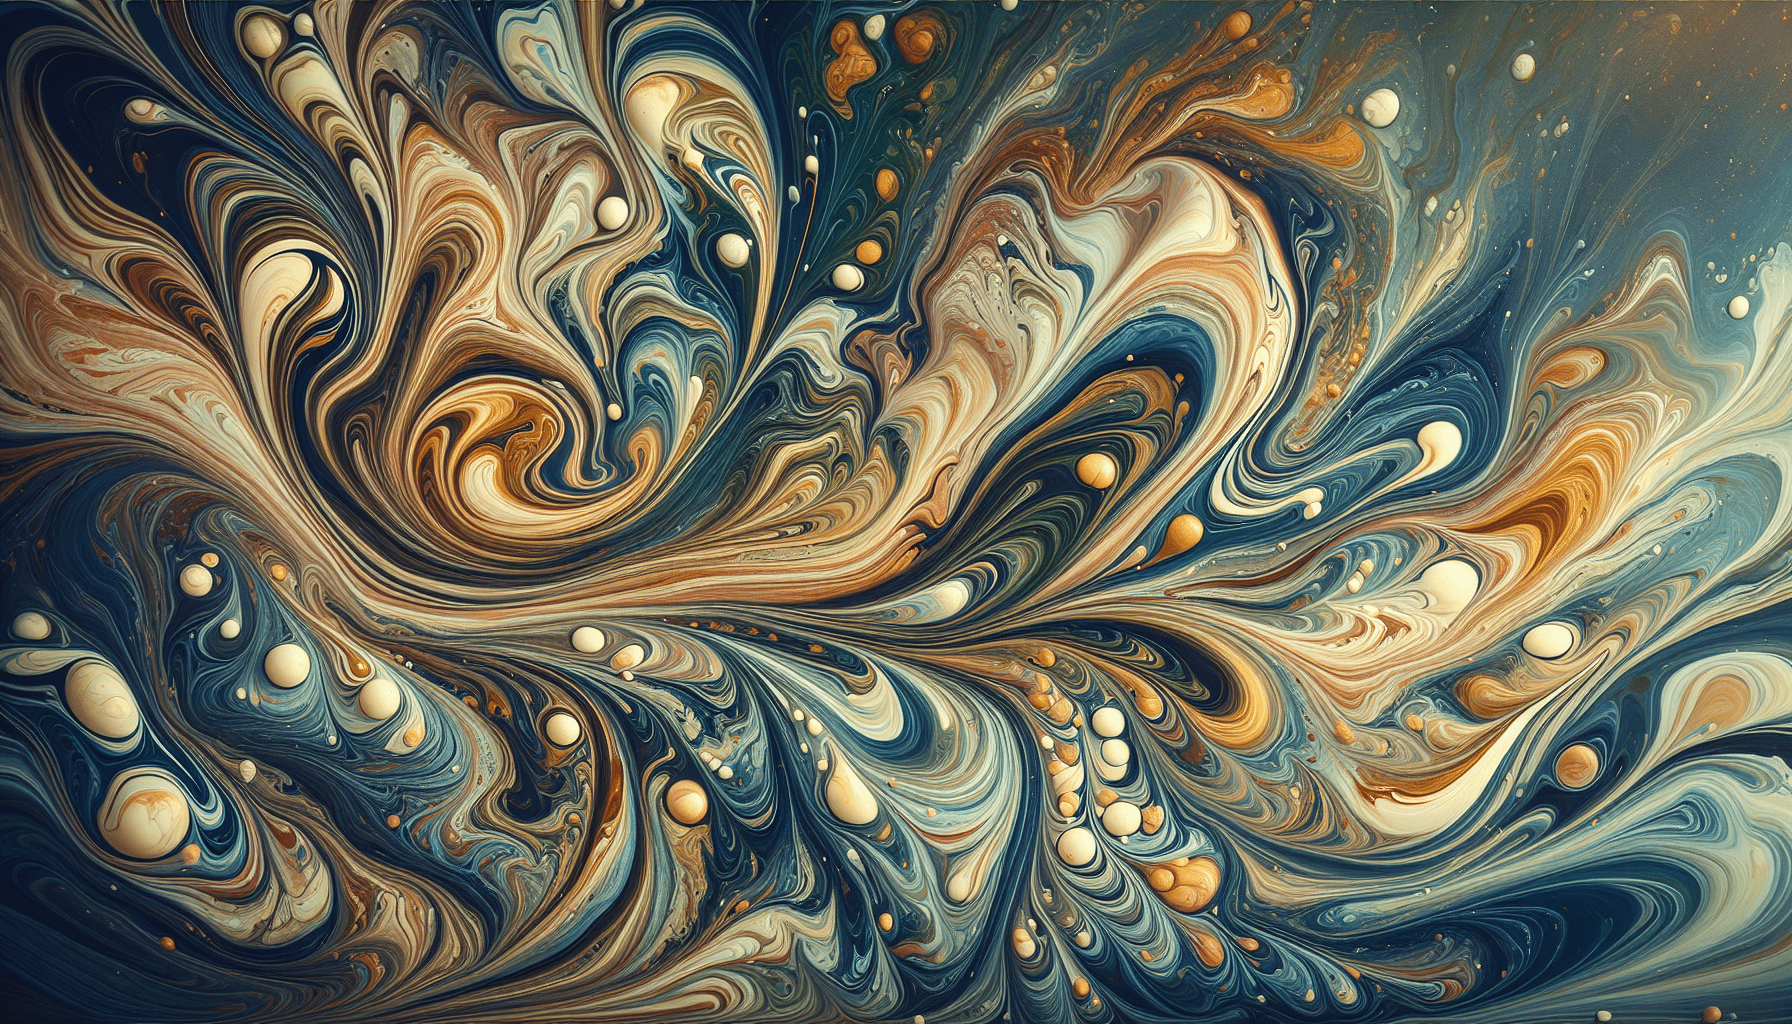
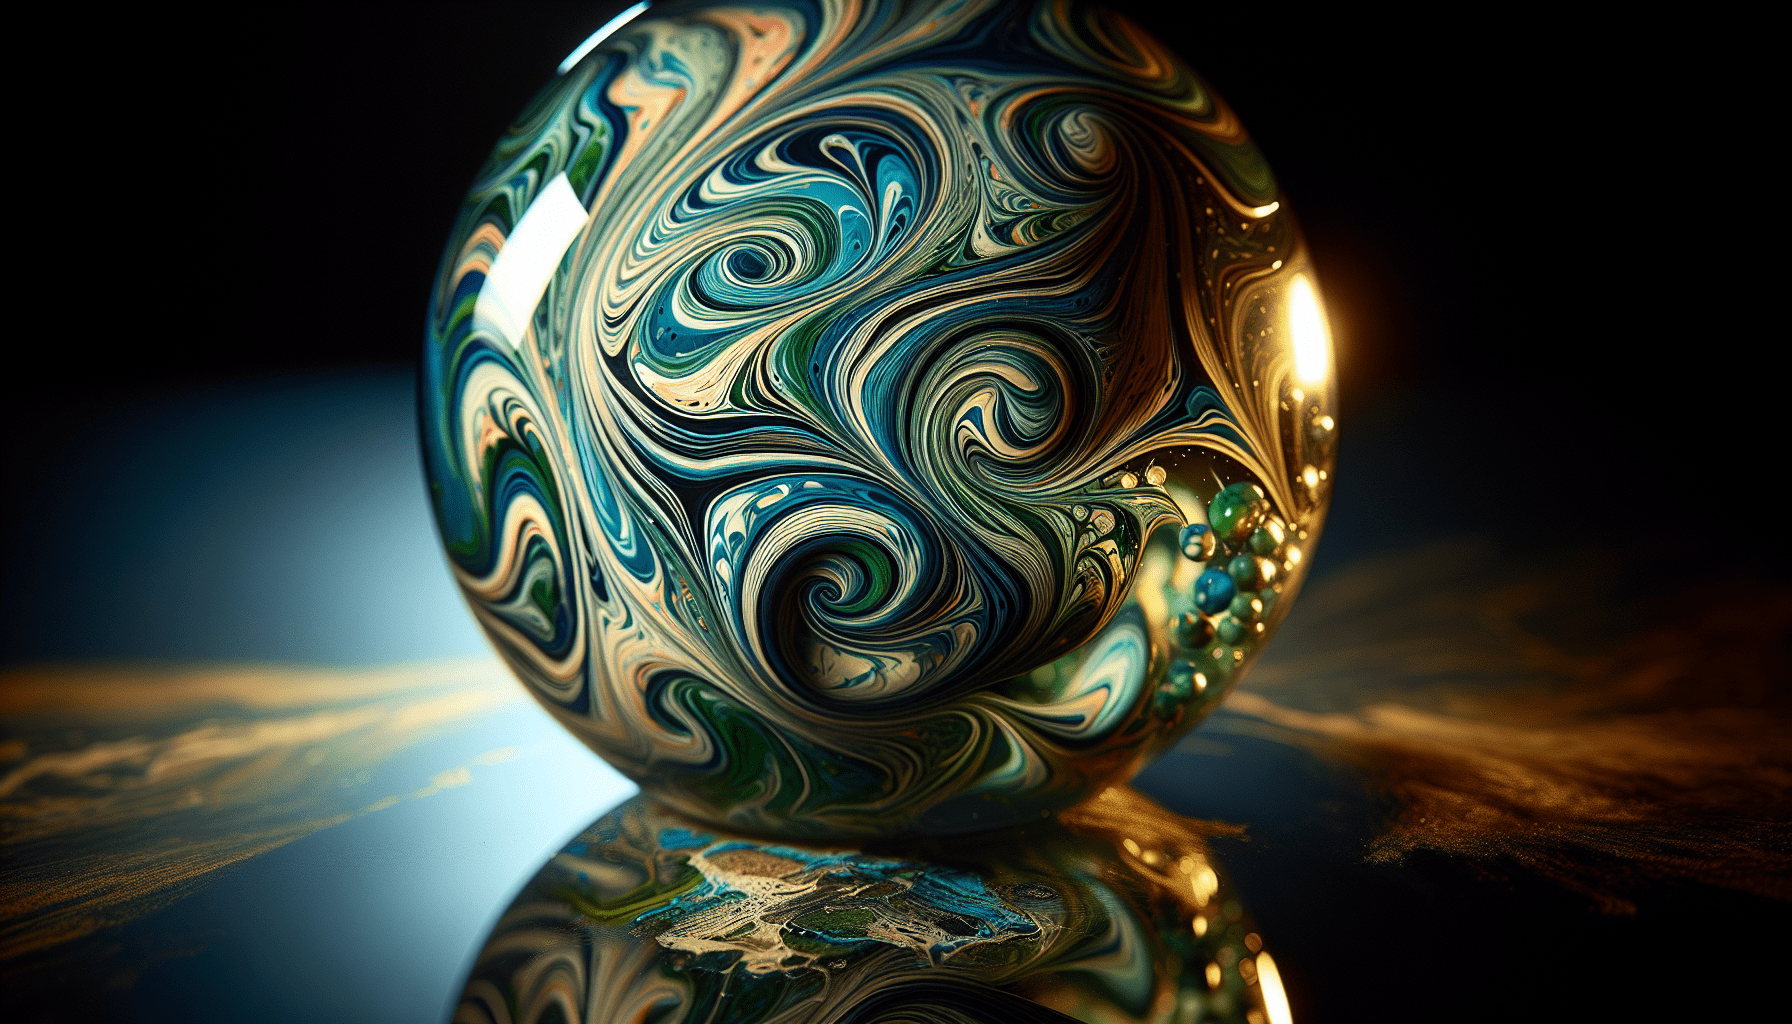
Marbling is a technique that has been used for centuries to create flowing, intricate patterns reminiscent of natural marble stone. Traditionally employed on paper, this artistic method has found its way to various mediums, including glass. The appeal of marbling lies in its unpredictability and uniqueness; no two pieces can ever be identical, offering a one-of-a-kind aesthetic that adds character to your crafted pieces.
The Benefits of Using Acrylic Paint
Acrylic paint is an especially suitable choice for marbling because of its versatility, vibrant color range, and relatively easy application. Unlike other paint types, acrylic dries quickly and adheres well to glass surfaces with the proper preparation. It is also water-based, making it safer to handle and work with, especially in indoor environments.
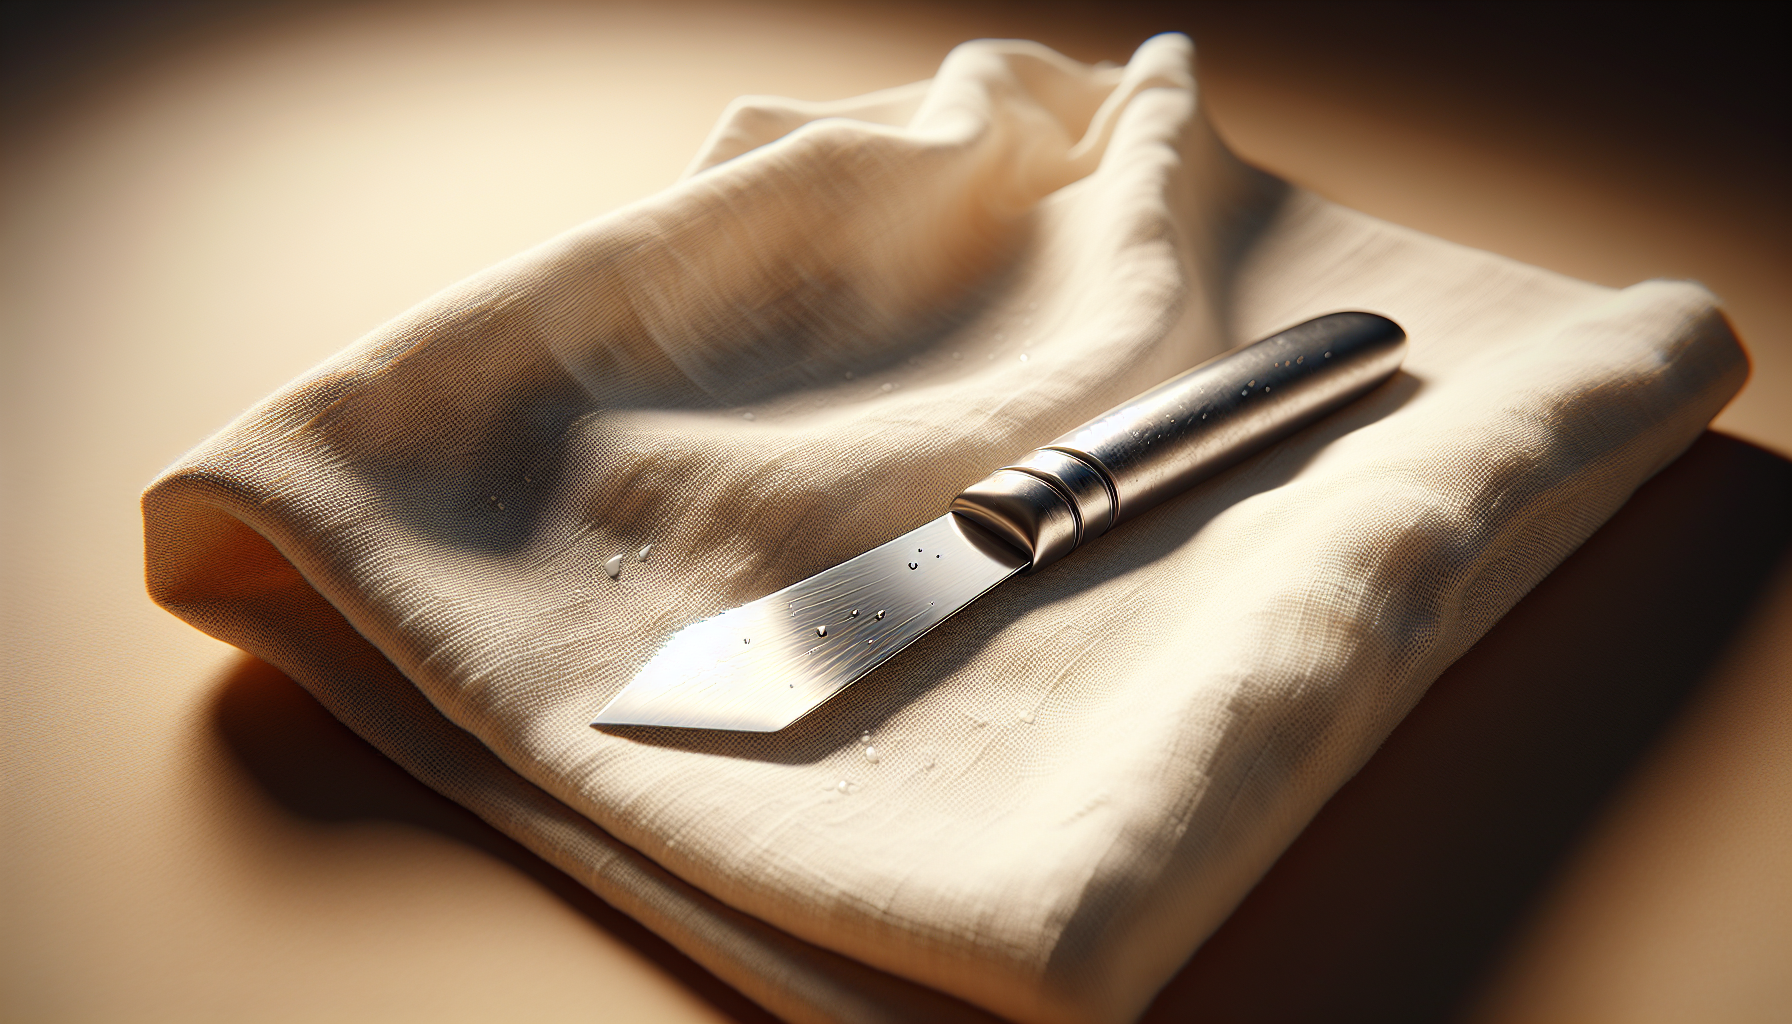
Preparing Your Materials
Before diving into the marbling process, assembling the right materials is essential. A successful marbling project begins with an organized workspace and the proper tools at your disposal.
Tools and Supplies You Will Need
Creating beautifully marbled glass requires a careful selection of supplies to ensure smooth application and stunning results. Here’s a table summarizing the necessary items:
| Tool/Supply | Description |
|---|---|
| Glassware | Choose clean and smooth surfaces like vases, bottles, or jars. |
| Acrylic Paint | Select a palette of colors that complement each other. |
| Paint Brushes or Droppers | Useful for applying paint with precision. |
| Tray or Container | Suitable for holding water where the marbling happens. |
| Marbling Medium | A solution that helps acrylic paint float on water. |
| Toothpicks or Skewers | For swirling and creating unique patterns in the paint. |
| Water | Required to create the marbling base. |
| Paper Towels | Essential for cleanup and drying off excess paint. |
| Craft Sealant | Used to preserve and protect the marbled finish. |
Choosing and Preparing Your Glass Surface
The choice of glass is critical; opt for pieces with smooth surfaces for the best results. Begin by cleaning the glass thoroughly with soap and water to remove any dust, dirt, or oils. Rinse well and let it dry completely. This step ensures that the paint will adhere properly to the surface, resulting in a longer-lasting finished product.
The Marbling Process Explained
Marbling glass with acrylic paint involves creating a floating paint pattern in water and then transferring it onto the glass surface. While the concept may sound simple, achieving beautiful results requires practice and a methodical approach.
Step 1: Set Up Your Workspace
Ensure your workspace is well-ventilated and covered with paper or a drop cloth to catch any spills or drips. Organize your tools and materials within easy reach to maintain a smooth workflow. Fill your tray or container with enough water to submerge the glass surface partially or completely, depending on your design preference.
Step 2: Prepare the Paint
To ensure that the acrylic paint spreads and floats effectively, mix each color with a marbling medium according to the manufacturer’s instructions. The medium thins the paint to the ideal consistency, promoting better color flow on the water’s surface.
Step 3: Create Your Swirled Patterns
Carefully drop the paint onto the water’s surface using a brush or dropper. The first few drops may dissipate quickly, so it may take a few attempts to master this technique. Once you have sufficient layers of paint floating, use a toothpick or skewer to gently swirl the colors into interesting patterns. Avoid over-mixing to retain distinct color bands and designs.
Step 4: Transfer the Design to the Glass
With the patterns ready, slowly dip your glass object into the paint-laden water. Rotate or tilt the glass to capture the desired portions of the pattern onto its surface. Remove the glass cautiously and allow the excess water and paint to drip off. Place the glass on a flat surface to dry completely, ensuring it remains undisturbed and retains the marbled effect.
Step 5: Sealing and Finishing
Once the paint has dried fully, apply a craft sealant to protect the marbled finish. Follow the product instructions for the best outcome. The sealant will preserve the colors and patterns, adding a glossy or matte finish per your preference.
Troubleshooting Common Issues
Even with careful preparation and execution, marbling can present challenges. Understanding and troubleshooting these common issues will enhance your crafting skills and help achieve better results.
Paint Not Floating
If you find that paint sinks rather than floating, review the paint consistency by adding more marbling medium. Alternatively, ensure that you have not overfilled the tray with water, which can dilute and separate the paint layers.
Colors Mixing Too Much
To prevent excessive color blending, vary the viscosity of each paint color slightly. Additionally, limit the swirling motion when combining colors, preserving sharp contrasts and distinct patterns.
Uneven Coverage on Glass
For uneven paint deposition on glass, increase the dipping time while maneuvering the glass gently through the paint layer. This technique helps to capture a more comprehensive area of the pattern.

Innovative Variations on Traditional Marbling
The marbling method offers room for creative exploration beyond the foundational technique. Experiment with novel ideas to develop unique outcomes that reflect your artistic flair.
Adding Metallic or Glitter Accents
By incorporating metallic or glitter acrylic paints into the marbling process, you can introduce shimmer and sparkle to your glass pieces. These accents catch and reflect light in captivating ways, adding layers of visual complexity.
Layering Different Patterns
Consider combining patterns from multiple marbling sessions. You can achieve a layered effect by marbling the glass in stages, allowing each layer to dry before applying subsequent designs. This approach opens opportunities for exploring depth and intricate design.
Caring for Your Marbled Glassware
Proper care extends the life and brilliance of your marbled creations. While they’ve been sealed for durability, marbled glassware still requires gentle handling.
Cleaning and Maintenance
Avoid abrasive cleaners or scrubbing pads that may damage the surface. Instead, hand wash items with mild soap and warm water, drying them with a soft cloth to prevent spotting. When stored, wrap marbles or use separators to prevent scratches from contact.
Displaying Your Art
Marbled glass pieces make striking decorative additions when thoughtfully displayed. Position them in well-lit areas where they can shine, such as on windowsills or shelves hit by natural light. Group complementary items together to create harmonious displays that showcase your crafting talent.
Conclusion: The Art and Joy of Marbling Glass
Marbling glass with acrylic paint transforms ordinary objects into works of art, infusing your environment with color, creativity, and personal flair. While the process involves careful planning and practice, the satisfaction derived from crafting and displaying your creations is unparalleled. By embracing each step and experimenting with variations, you can harness this timeless technique to achieve stunning results, enriching your space with personalized elegance. Whether you are a seasoned artist or a beginner seeking a gratifying art form, marbling offers endless possibilities for expressing your artistic vision.