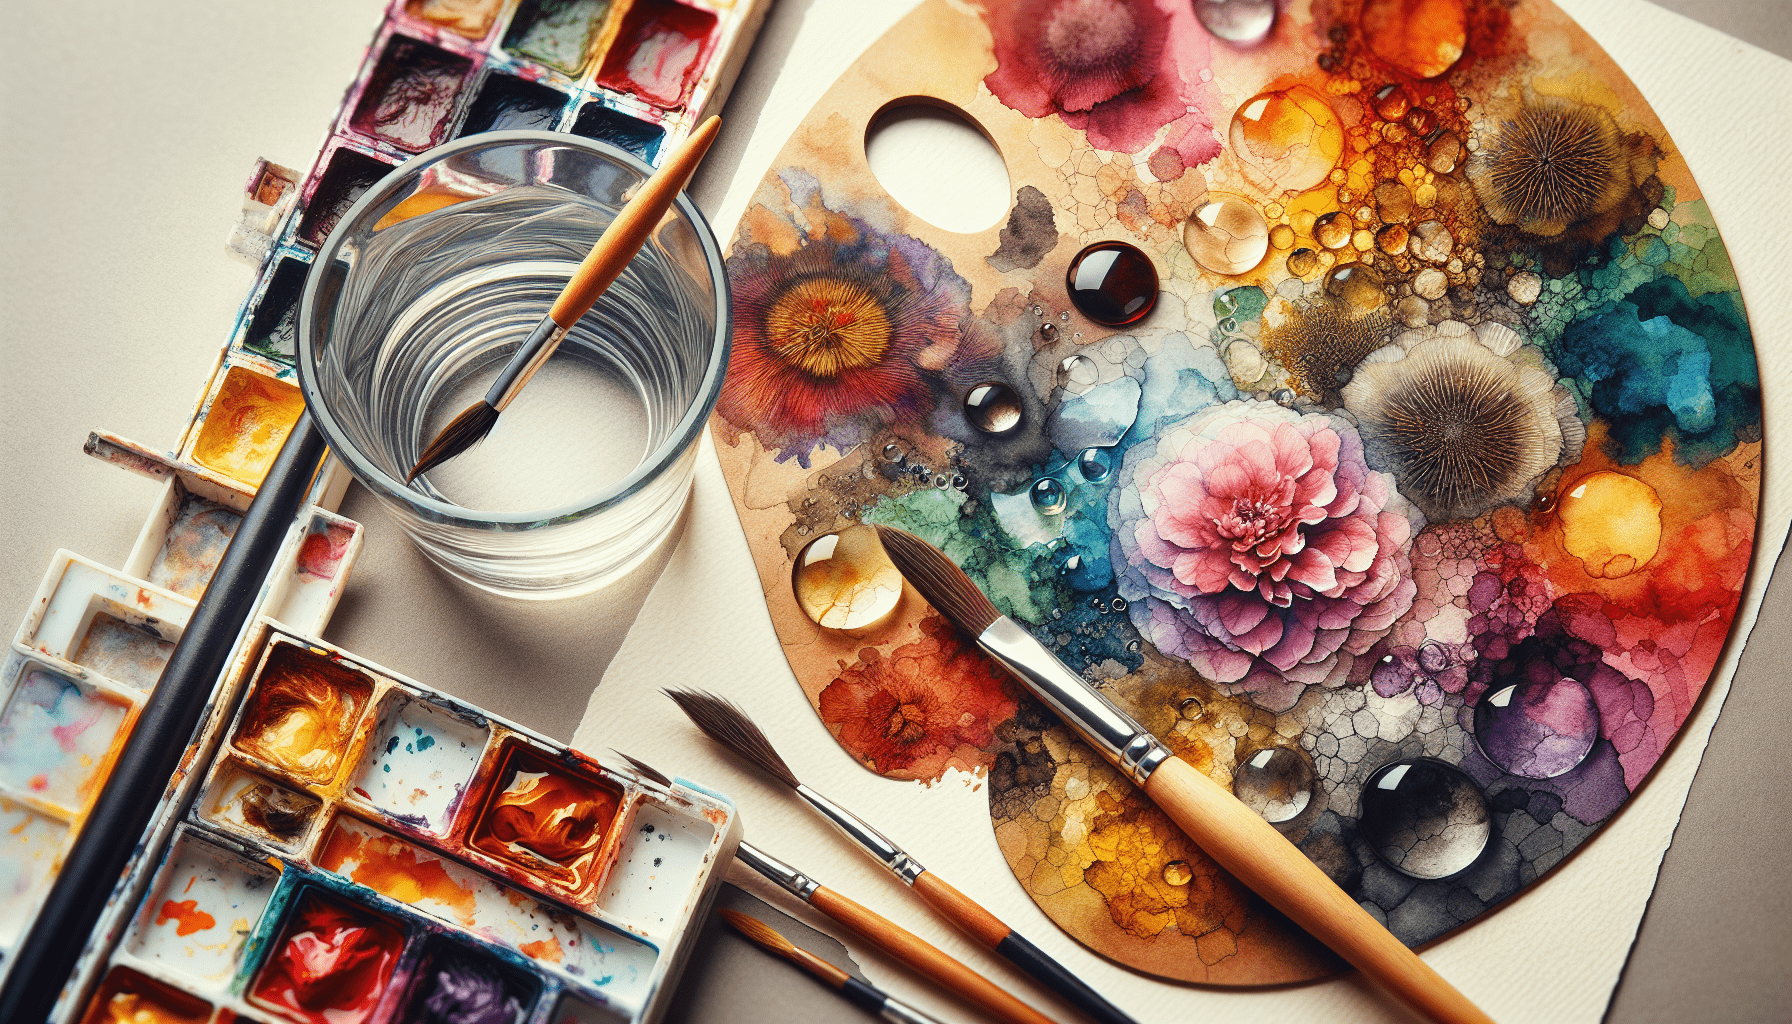
In the article “How To Make Watercolor Paint From Pigment,” you will delve into the intricate process of transforming raw pigments into exquisite watercolor paints. This comprehensive guide provides step-by-step instructions, ensuring that you master the art of selecting the right pigments, mixing them with binding agents, and achieving the perfect consistency for your artwork. By adhering to these meticulously outlined steps, you will be equipped with the knowledge and skills necessary to create your own high-quality watercolor paints, tailored to your artistic preferences. Have you ever wondered how quality watercolor paints are made, or considered crafting your own from pure pigment? Creating your own watercolor paints from pigment can be a fascinating and rewarding process, allowing you to customize your palette and understand the materials you use more intimately.
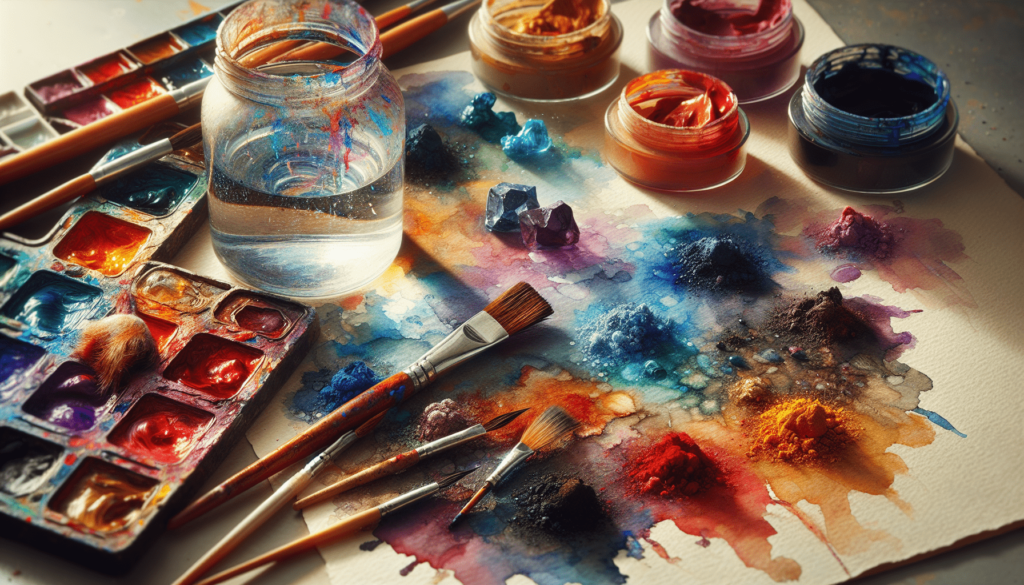
Understanding the Basics of Watercolor Paint
Before diving into the specific steps of making watercolor paint, it’s helpful to understand the essential components that comprise watercolor paints and how they function together to create art.
Core Components
Watercolor paint generally consists of the following primary components: pigment, binder, additives, and solvent.
- Pigment: Provides the color. Pigments can be natural or synthetic and come in powdered form.
- Binder: Gum arabic is commonly used to bind the pigment particles and help them adhere to the painting surface.
- Additives: May include various substances to modify the paint’s properties, such as glycerin for moisture retention.
- Solvent: Water acts as the main solvent, allowing the paint to be applied and manipulated on the substrate.
Why Make Your Own Watercolor Paint?
Creating your own watercolor paints can offer several benefits:
- Customization: Tailor the colors and their properties to your specific artistic needs.
- Quality Control: Ensure the use of high-quality pigments and binders.
- Cost Efficiency: Making paints yourself can often be more cost-effective in the long run.
- Sustainability: Reduce waste by reusing containers and avoiding commercial packaging.
Gathering Your Materials
To make watercolor paint from pigment, you will need the following tools and materials:
| Tool/Material | Description |
|---|---|
| Pigment Powders | Natural or synthetic, ground finely to a powder |
| Gum Arabic Solution | Acts as the binder for the pigment |
| Distilled Water | Used to mix with gum arabic and adjust paint consistency |
| Glycerin | Helps to retain moisture and improve flow |
| Honey | Adds a slight sheen and acts as a preservative |
| Palette Knife | For mixing the ingredients |
| Mixing Surface | Glass or ceramic palette |
| Mullers | Used for grinding pigment and binder together |
| Containers | Small jars or pans to store the paint |
| Mask and Gloves | For safety when handling pigment powders |
Safety Considerations
When handling pigments, ensure you’re working in a well-ventilated area. Many pigments can be hazardous if inhaled or come into prolonged contact with skin. Therefore, always wear a mask and gloves while working with these materials.
Preparing the Binder
The binder is a crucial part of your watercolor paint, as it holds the pigment together and helps it adhere to the painting surface. The most common binder for watercolor paints is gum arabic.
Making Gum Arabic Solution
To create a gum arabic solution, you will need to dissolve gum arabic crystals in distilled water.
-
Measure and Dissolve:
- Use a 1:2 ratio of gum arabic crystals to distilled water (e.g., 100 grams of gum arabic crystals to 200 milliliters of distilled water).
- Place the gum arabic crystals into a heatproof container.
- Add the distilled water and let it sit overnight to start dissolving.
-
Gently Heat and Stir:
- Heat the mixture gently over a double boiler, stirring slowly until the crystals are completely dissolved. Avoid boiling, as this can break down the gum arabic.
-
Strain and Store:
- Strain the solution through a fine mesh or cheesecloth to remove any impurities or undissolved crystals.
- Store the solution in an airtight container. It will keep for several weeks at room temperature or even longer in the refrigerator.
Enhancing the Binder
To improve the performance of your gum arabic solution, you can add small amounts of additional substances:
- Glycerin: A few drops can help your paint remain moist longer and improve its flexibility.
- Honey: Adding honey can enhance the paint’s flow and add a slight gloss. Use about 1 teaspoon per 100 ml of gum arabic solution.
Mixing Pigment and Binder
With your binder prepared, it’s time to move on to mixing the pigment. This process is essential to combine the pigment and binder evenly, ensuring a smooth and consistent paint.
Measuring Pigment and Binder
To begin, measure your pigment and binder. The ideal ratio varies depending on the type and quality of the pigment but generally starts around 1:2 (one part pigment to two parts binder). Adjust as necessary based on the desired consistency and opacity of your paint.
Mixing Process
-
Initial Mixing:
- Place your measured pigment onto your mixing surface.
- Create a well in the center of the pigment mound and slowly add the gum arabic solution.
-
Grinding and Mulling:
- Use your palette knife or spatula to combine the pigment and binder.
- Once partially mixed, use a muller to grind the mixture in a circular motion. This helps break down any pigment clumps and thoroughly coats the pigment particles with the binder.
-
Adjusting Consistency:
- Observe the consistency of your paint. If it feels too thick, add a small amount of distilled water to thin it out. Conversely, if it feels too thin, add more pigment.
-
Final Mixing:
- Continue mulling until the paint is smooth and free of any grainy texture. This can take several minutes depending on the type of pigment and your desired consistency.
Storing Your Paint
Once your pigment and binder are thoroughly mixed, it’s time to store your watercolor paint. Proper storage will ensure the longevity and usability of your paint.
Choosing Containers
Select small jars, tubes, or pans to store your paint. Popular options include:
- Half Pans and Full Pans: Commonly used in watercolor sets, these can hold small amounts of paint and easily fit into portable palettes.
- Jars: Great for larger quantities, allowing for easy access when mixing with water.
Filling Containers
Carefully transfer your mixed paint into the chosen containers using a palette knife or small spatula. Smooth the surface to remove any air bubbles and ensure even distribution.
Drying Time
Allow the paint to dry completely before sealing or covering the containers. This can take anywhere from a few days to a couple of weeks, depending on the paint thickness and environmental conditions.
Troubleshooting and Tips
As you embark on making your own watercolor paints, you may encounter various issues. Here are some common problems and tips to help you achieve the best results.
Common Issues
- Grainy Texture: If your paint has a grainy texture, try grinding the pigment and binder more thoroughly using the muller.
- Cracking: If the paint cracks as it dries, it may be due to insufficient binder. Add more gum arabic solution and remix.
- Mold Growth: To prevent mold, ensure your tools and containers are clean and dry before use. You can also add a few drops of essential oils (like clove or thymol) with antibacterial properties.
Best Practices
- Consistency is Key: Keep track of your ratios and make adjustments based on your experiences. This will help you replicate successful batches in the future.
- Experiment with Pigments: Different pigments have unique properties. Experimenting with various pigments can give you insight into their behaviors and how they interact with the binder.
- Label Your Paints: Always label your containers with the pigment name, binder ratio, and any additives used. This will help you keep track of your custom colors and their properties.
Crafting Custom Colors
One of the major advantages of making your own watercolor paint is the ability to create custom colors tailored to your artistic style. Understanding how to blend pigments can open up endless possibilities.
Basics of Color Mixing
- Primary Colors: These are the foundation of color mixing. The primary colors in watercolor are red, blue, and yellow.
- Secondary Colors: Created by mixing two primary colors (e.g., red and yellow make orange).
- Tertiary Colors: Formed by mixing a primary color with a secondary color (e.g., yellow-orange).
Experimenting with Color Blends
Start by making small batches of color blends to understand their interactions. Use a clean mixing surface and palette knife, and keep notes on the mixture ratios for future reference.
Creating a Color Chart
A color chart can be an invaluable tool in your painting process. It helps you visualize the colors you have created and understand their nuances.
- Prepare Swatches:
- Paint small swatches of each color onto watercolor paper.
- Label Clearly:
- Label each swatch with the color name and its specific mixture ratio.
- Organize Systematically:
- Arrange the swatches in a logical order, such as by hue or value, to make your chart an efficient reference tool.
Conclusion
Crafting your own watercolor paints from pigment provides a deeper appreciation for the materials you use and allows for unparalleled customization. The process, while intricate, is rewarding both in its creative potential and the quality of the paints produced. With the right materials, careful preparation, and a willingness to experiment, you can create watercolor paints that enhance your artistic expression and bring your visions to life. Whether you are a seasoned artist or a beginner, taking a hands-on approach to making your materials can transform your understanding and enjoyment of watercolor painting.
