Have you ever wondered how to transform your simple poster paints into the more versatile and durable acrylic paints? This process offers a budget-friendly alternative for artists looking to expand their mediums without breaking the bank. By altering the chemical composition of poster paints, you can achieve the durability and rich texture of acrylics. This guide will walk you through the steps, materials, and techniques required to make this transformation.
Understanding The Basics
Before delving into the transformation process, it’s essential to understand what distinguishes poster paints from acrylic paints. Poster paint, also known as tempera paint, is primarily made from water, pigment, and a binder such as gum arabic or egg yolk. It provides a matte finish and is generally used for school projects or temporary art displays.
On the other hand, acrylic paint consists of pigment suspended in an acrylic polymer emulsion. This type of paint dries quickly, forms a waterproof layer, and adheres well to various surfaces, making it a favorite for professional artists. The primary objective is to add certain additives to poster paint to mimic the properties of acrylic paint.
Key Differences Between Poster Paint and Acrylic Paint
| Property | Poster Paint | Acrylic Paint |
|---|---|---|
| Binder | Gum arabic or egg yolk | Acrylic polymer emulsion |
| Finish | Matte | Glossy or Matte |
| Durability | Low | High |
| Water Resistance | Low | High |
| Drying Time | Moderate | Quick |
| Adhesion | Less adhesive | Highly adhesive |
Necessary Materials
To begin the transformation, you will need several key materials. These items are readily available in art supply stores and online.
Materials Required
- Poster Paint: The base material you will alter.
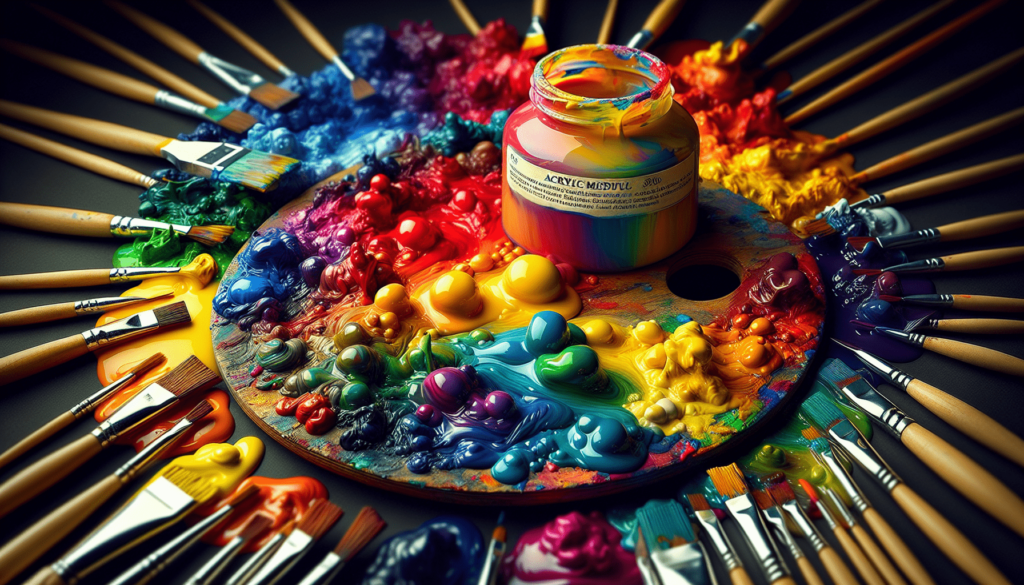
- Acrylic Medium: This includes a variety of additives like gloss medium, matte medium, and gel medium to give poster paints acrylic properties.
- Acrylic Retarder: Slows down drying time, allowing more working time.
- Water: Used for diluting the mixture.
- Mixing Containers and Tools: Different containers for mixing the ingredients and tools such as palette knives and brushes for stirring.
- Protective Gear: Gloves and aprons to prevent staining clothes and hands.
Step-By-Step Process
Now that you have gathered all necessary materials, it’s time to start the transformation process. Here, we break down each step to make it simple and efficient.
Step 1: Prepare Your Workspace
Having a clean, organized workspace is crucial for avoiding contamination and ensuring accurate measurements. Choose a well-ventilated area with a flat, sturdy surface. Lay down plastic sheets or newspapers to safeguard your workspace from paint spillage.
Step 2: Measure Poster Paint
Scoop out the required amount of poster paint into a clean mixing container. The quantity can vary depending on your project needs, but starting with a small batch for trial purposes is advisable.
Step 3: Add Acrylic Medium
The type of acrylic medium you add to the poster paint will significantly influence the final result. Typically, a gloss or matte medium is recommended based on the finish you desire. Start by adding equal parts of acrylic medium to the poster paint. Use a measuring spoon for precision.
Step 4: Blend Thoroughly
Use a palette knife or stirring stick to blend the poster paint and acrylic medium. Stirring should be done slowly and steadily to ensure an even mixture and to avoid creating air bubbles.
Step 5: Adding Acrylic Retarder
Introduce a few drops of acrylic retarder if you need extended working time. This step is particularly useful for intricate projects requiring more time. Mix thoroughly after adding the retarder.
Step 6: Test the Mixture
Apply a small amount of the mixture on a test surface. Allow it to dry and observe the changes. Check for the texture, drying time, and finish. If the mixture looks satisfactory, proceed with larger batches.
If not, adjust the proportions of acrylic medium and retarder as needed and test again until you achieve the desired results.
Step 7: Storage
Store any leftover paint in airtight containers to prevent drying out. Label the containers to differentiate between various batches and mediums used.
Troubleshooting Common Issues
Even with diligent preparation and precise measurements, you may encounter some challenges. Here, we address common issues and provide solutions.
Issue: Mixture Too Thick
If your mixture is too thick and difficult to work with, add small amounts of water. Stir continuously while adding water until you reach the desired consistency. Be cautious not to over-dilute, as this can weaken the paint’s adhesive properties.
Issue: Mixture Too Thin
On the contrary, if the mixture is too thin, add more poster paint and medium in equal parts to thicken it. Blend thoroughly to ensure uniformity.
Issue: Paint Not Adhering Well
Insufficient binding agents can result in poor adhesion. Adding a small amount of acrylic binder can solve this issue. Ensure that you mix it well into the existing mixture.
Issue: Color Fading
Color fading can occur if the pigments are not adequately protected by the medium. Increasing the proportion of acrylic medium can help preserve the color’s vibrancy.
Practical Applications
Using these modified poster paints opens up new possibilities for various art forms. Below are a few practical applications of your newly created acrylic paints.
Canvas Painting
Your modified paints can now adhere well to canvas, offering the durability and flexibility required for canvas painting. Enjoy creating detailed and lasting works of art.
Craft Projects
Transform your school or home craft projects with the robustness of acrylic paint. They are perfect for painting on wood, ceramics, and even fabric.
Mixed Media Art
The added durability of these modified paints makes them ideal for mixed media projects, where different materials and textures come together harmoniously.
Cost-Benefit Analysis
Transforming poster paint into acrylic paint offers both financial and qualitative benefits. Here’s a comprehensive analysis to help you understand the value of this process.
Financial Savings
Acrylic paints often come at a higher cost than poster paints. By transforming poster paint, you cut down on expenses, especially for large projects or frequent use.
Diversified Use
The versatility of the modified paint increases, allowing you to use it on various surfaces and in different styles of art. This adds value to your purchase and extends the range of your artistic expressions.
Longevity and Durability
Acrylic paints’ durability ensures your artwork remains vibrant and intact over time. This is particularly valuable for pieces intended for sale or long-term display.
Expert Tips
Professional artists often have a few tricks up their sleeves. Here are some expert tips to make the most of your transformation process.
Tip 1: Use Distilled Water
Using distilled water can prevent impurities and contaminants from affecting the quality of your mixture. This is especially useful if you’re working on high-value projects.
Tip 2: Gradual Addition
Gradually adding mediums and retarders while continuously mixing can help you achieve a more consistent mixture. Sudden additions can make the mixture uneven and more challenging to stir.
Tip 3: Armed with Patience
Allowing each test batch to dry thoroughly before making adjustments will give a more accurate representation of the final product. Patience will save you time and resources in the long run.
Tip 4: Compatibility Check
Ensure that the acrylic mediums and retarders you choose are compatible with your brand of poster paint. Some brands may react differently, affecting the final outcome.
Conclusion
By following the steps and tips outlined in this guide, you can successfully turn poster paint into acrylic paint. This transformation process not only provides a cost-effective solution but also expands the versatility and application of your painting materials. While it might take a little practice to get the proportions and mixture just right, the end result is a durable, high-quality paint suitable for various artistic endeavors. Whether you’re a seasoned artist or a beginner looking to experiment, this method offers a practical approach to enhancing your creative toolkit.
