In the world of art, mixing and matching colors to achieve the perfect shade is a fundamental skill, and coupling this craftsmanship with creativity often leads to inspiring masterpieces. “How To Make Olive Green Acrylic Paint” is a comprehensive guide that simplifies the color mixing technique, tailored specifically for those who enjoy working with acrylic paints. This article will provide you with a step-by-step tutorial on how to accurately mix colors to obtain a beautiful olive green hue, taking your painting skills to the next level. So then, let’s walk through the intricate process of creating your very own olive green acrylic paint.

Materials and Equipment
In order to successfully create olive green acrylic paint, it’s essential that you prepare the correct materials and equipment. This will provide a smooth process without unnecessary interruptions once you get started.
Acrylic paint in primary colors
Having excellent quality acrylic paint in primary colors is the cornerstone of this activity. You need yellow, blue, and black acrylic paints to craft the perfect olive green shade. The purity and vibrancy of color in your original paints can greatly affect the clarity and the depth of the final shade.
Palette
A clean palette is crucial because it is the place where the magic happens. Avoid using a dirty or stained palette as it may influence the purity of your color mixtures. Palettes come in various materials; plastic, glass, or wood, so choose one that suits your style, but remember to ensure it’s completely clean before each use.
Paintbrushes
You will need different sizes of paintbrushes for the mixing and testing of your color. Make sure your brushes are clean and dry to avoid getting unwanted colors or water into your mixture.
Palette knife
A palette knife is a very useful tool when it comes to mixing acrylic paints. It aids in blending the colors thoroughly and achieving that perfect shade of olive green.
Water
Fresh clean water is an indispensable asset in this process. It is not only necessary for diluting paint and cleaning your brushes but also helpful in adjusting the consistency of your paint.
Paper towels
Have some paper towels on hand. They are always useful for cleaning up mishaps, blotting brushes, or quickly wiping off excess paint.
Empty containers
Lastly, you need empty containers for mixing. These are especially useful if you are intending to prepare large quantities, or if you are planning to store leftover paint for future use.
Step 1: Gather Your Materials
At the outset, ensure all your required materials are at hand. This comprises of acrylic paint in yellow, blue, and black; a clean palette; various sizes of paintbrushes; a palette knife, and containers with fresh water. Also, have empty containers available for the purpose of mixing, as well as paper towels handy for possible spillages or necessary cleanups.
Step 2: Prep Your Workspace
Preparing a proper workspace sets the stage for your activity. Thus it is important to meticulously organize your workspace with all essential tools readily accessible. Initially, you should cover your workspace with a protective material. This protects the surface and allows for easy cleanup. Next, prepare your palette by squeezing out the primary colors and black in small sections. Lastly, fill up your containers with fresh water for cleaning your brushes.
Step 3: Mix Yellow and Blue
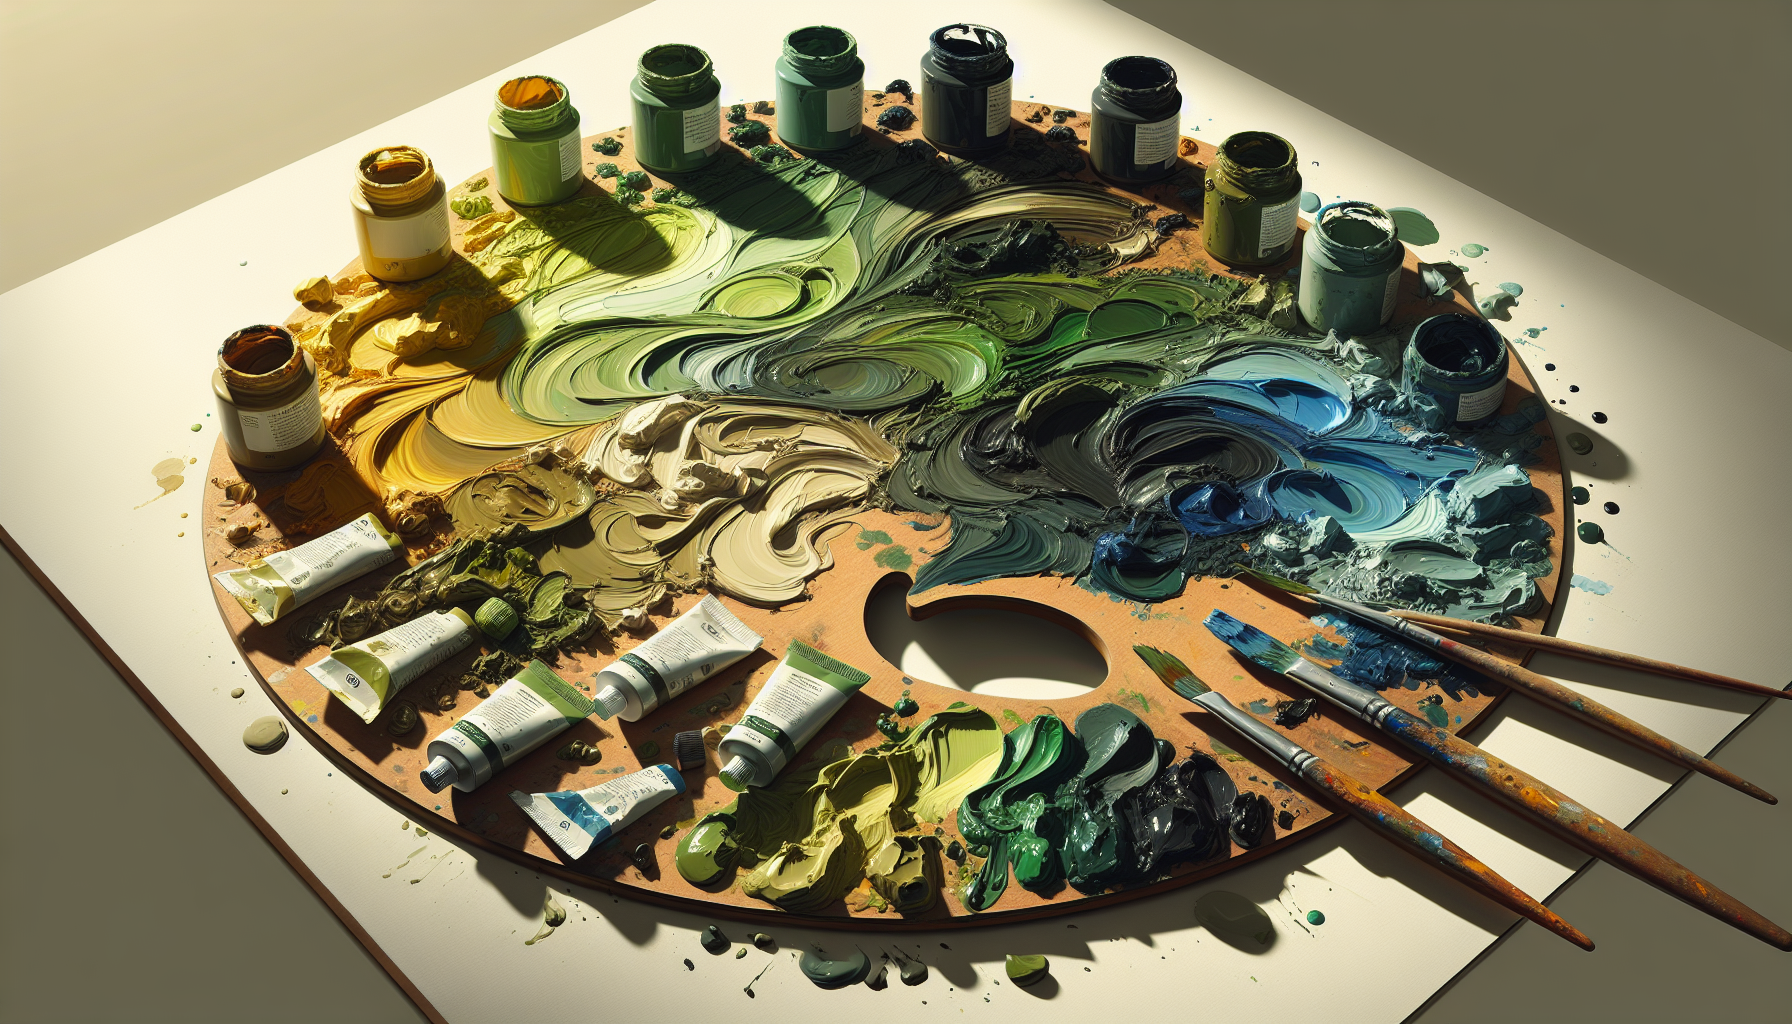
Begin the process of making olive green by squeezing a small amount of yellow paint onto the palette. Next to it, squeeze a small amount of blue paint. Now, gently pick up your palette knife and meticulously mix the two colors together. Watch as the colors blend together and gradually create a vibrant green shade.

Step 4: Adjusting the Shade
After creating the basic green, it’s time to adjust it to the perfect olive tint. Look at the original green mixture and decide whether it needs to be lighter or darker. For a lighter shade, gradually add more yellow paint. If a darker shade seems more appealing, gently mix in more blue paint. To ensure proper blending, remember to add small amounts of paint at a time until the desired shade is achieved.
Step 5: Adding Black
The next step involves adding a bit of black paint. Squeeze only a tiny amount on the palette, add an even smaller amount into your existing green mixture. Cautiously mix it in. Black paint has the potential to dramatically intensify the color so be careful not to overdo it. This process is what brings you that beautiful olive green shade.
Step 6: Testing the Color
The most exciting part begins now; testing your newly crafted color! Using a clean brush, paint a small swatch of the paint onto a testing surface. Allowing it to dry, assess how the color looks. If it’s not quite perfect yet, now is the time to revisit the previous steps for any necessary adjustments.
Step 7: Storing the Paint
If you are satisfied with your olive green shade and have some left over, it can be stored for future use. Transfer the leftover paint into an airtight container to prevent it from drying out. Also, remember to clearly label the container with “olive green” and the date it was mixed for easy reference.
Tips and Considerations
Creating your own olive green acrylic paint can be a fun and fulfilling process. Remember to add small portions of paint when mixing colors to maintain better control of the shade. Blend the colors thoroughly to avoid streaks and discrepancies in color. Experimenting with different shades and adjusting the ratios of color achieve significantly varied results. Keep track of the measurements in case you want to recreate the exact shade in the future. Cleanliness is essential, so clean your palette and brushes amidst color transitions. Always cover your leftover paint to preserve it for longer. Lastly, make sure to enjoy the process of creating your gorgeous olive green acrylic paint. After all, art is about expressing and enjoying oneself!