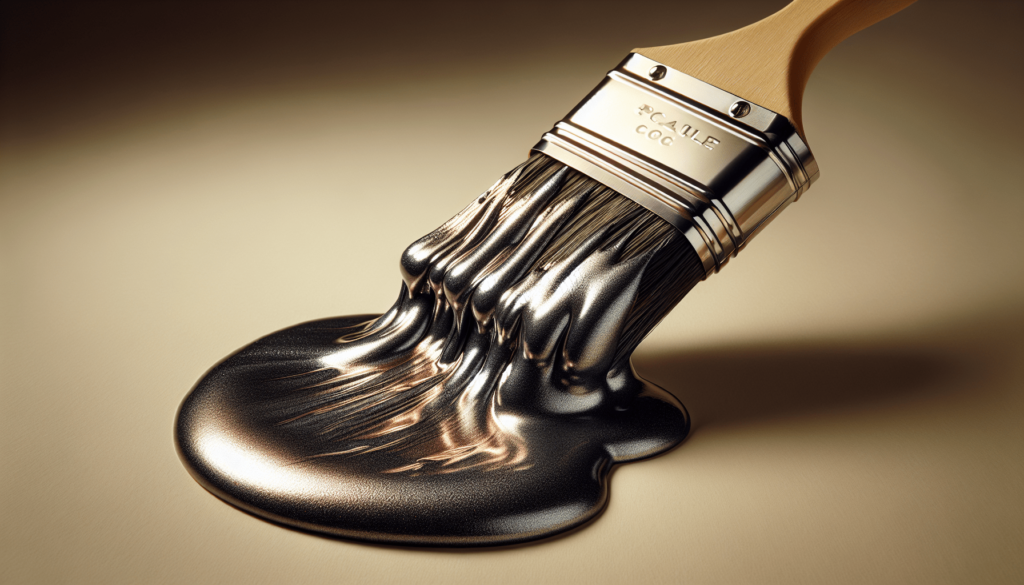
Have you ever wondered how to create your own metallic paint for your home or craft projects? Metallic paint adds a unique luster and shine that can’t be achieved with regular paints, making any surface more appealing. Whether you’re looking to refurbish old furniture, enhance your artwork, or give an industrial chic look to a room, making your own metallic paint can offer a stunning effect tailored to your needs. This guide will walk you through the comprehensive process of making your own metallic paint.
Understanding Metallic Paint
What is Metallic Paint?
Metallic paint refers to a paint that incorporates metallic particles, usually aluminum, to generate a reflective finish. The sheen that results can mimic the appearance of metal surfaces such as gold, silver, copper, and bronze. This type of paint is often used in automobile finishing, home decor, and by artists who wish to add a metallic touch to their masterpieces.
Why Create Your Own Metallic Paint?
Creating your own metallic paint allows for custom color choices, finish levels, and a DIY satisfaction that commercially available options might not provide. Additionally, crafting your own metallic paint can be a cost-effective solution, particularly if you have specific needs that aren’t easily met by mass-produced products.
Materials Needed
Before you start, gather the following materials to ensure a smooth process:
- Base Paint: This is the main component of your metallic paint. Choose a high-quality acrylic or latex paint in your desired color.
- Metallic Pigments: Available in powder form, these are essential for giving your paint its metallic sheen.
- Mixing Medium: A clear acrylic medium or glaze that will help in mixing the pigments evenly.
- Measuring Spoons: Useful for accurately measuring the ratios.
- Mixing Containers: Preferably clear, for visual monitoring.
- Stirrers: For thorough mixing.
- Sealant: Optional but recommended for additional durability of the metal finish.

Steps to Make Metallic Paint
Step 1: Choosing Your Pigments
Select metallic pigments based on the metal type you desire. Popular choices include:
| Pigment Color | Corresponding Metal |
|---|---|
| Silver | Aluminum |
| Gold | Gold |
| Copper | Copper |
| Pearl | Pearl |
| Bronze | Bronze |
It’s important to use high-quality metallic pigments to achieve a long-lasting finish. These can be purchased from art supply stores or specialized online retailers.
Step 2: Preparing the Base Paint
Start with a good-quality acrylic or latex base paint. The color of your base paint can affect the final result, so choose accordingly. For instance, a dark base can deepen the metallic effect while a lighter base can brighten it. Pour the desired amount of base paint into a mixing container.
Step 3: Measuring and Adding Pigments
Use your measuring spoons to add metallic pigments to the base paint. A common ratio is 1 part pigment to 4 parts paint, but you can adjust depending on the intensity you desire. For a more subdued metallic effect, use less pigment. Conversely, for a more striking finish, increase the amount of pigment.
Step 4: Mixing the Paint
Gradually add the metallic pigment to your base paint, stirring continuously. Use a stirrer to mix thoroughly until the pigment is evenly dispersed. To ensure no clumps remain, you might need to stir for several minutes.
Step 5: Adding the Mixing Medium
Once the pigments are fully integrated, add your mixing medium. This will help in achieving a smoother application and a glossy finish. The mixing medium also ensures the durability of the paint. The ratio here can vary, but generally, a 1:1 ratio with the paint works well.
Step 6: Testing and Adjusting
Before moving on to your main project, test your metallic paint on a small surface. This will give you an idea of the texture, coverage, and metallic sheen. If the paint is too thick, consider adding more mixing medium. If the metallic effect is insufficient, add more pigment a little at a time.
Step 7: Application
When applying your new metallic paint, use the appropriate tools such as brushes, rollers, or spray guns. Apply the paint in even coats, allowing each layer to dry completely before adding another. This layering helps achieve a deep, luxurious metallic finish.
Step 8: Sealing the Paint
Once you’ve achieved the desired look, consider applying a sealant. This step is particularly important for high-traffic areas or surfaces exposed to the elements. Using a clear acrylic or polyurethane sealant can provide added protection and enhance the longevity of the metallic finish.
Tips and Tricks
Ensuring Even Coverage
Metallic particles are heavier than regular paint pigments and can settle quickly. To maintain an even sheen, stir the paint frequently during application.
Custom Color Creations
Feel free to mix different metallic pigments for custom colors. For instance, combining gold and bronze pigments can yield a unique antique gold tone.
Surface Preparation
Proper surface preparation is crucial for the paint to adhere well. Clean the surface thoroughly and sand if necessary to ensure a smooth base.

Troubleshooting Common Issues
Uneven Metallic Finish
This often occurs due to inadequate mixing or settling of pigments. Ensure thorough and frequent stirring to prevent this issue.
Paint Thinning
If your paint is too thick, it might not apply smoothly. Gradually add more mixing medium until you achieve the desired consistency.
Durability
Metallic paints can sometimes be less durable than standard paints. Apply a sealant to enhance protection.
Advanced Techniques
Faux Metal Finishes
Once you’re comfortable with the basics, you can experiment with faux metal finishes. Techniques such as sponging, stippling, and dry-brushing can add texture and dimension, giving surfaces a more realistic metal look.
Layering Different Metallic Paints
For a more complex metallic finish, layer different colors of metallic paint. Each layer adds depth and richness, making the final product more striking.
Safety Precautions
Ventilation
Ensure that you work in a well-ventilated area, especially if you are using solvent-based paints or sealants.
Protective Gear
Wear gloves, eye protection, and a mask to protect yourself from fumes and particles.
Storage
Store metallic pigments and mixed paint properly to avoid contamination and degradation. Keep them in airtight containers in a cool, dry place.
Conclusion
Creating your own metallic paint can be a satisfying and cost-effective way to achieve custom finishes for various projects. By understanding the materials, following the step-by-step process, and applying advanced techniques, you can produce professional-quality metallic paint tailored to your specific needs. Proper preparation, mixing, and application will ensure a stunning and durable metallic finish that elevates the aesthetic of any surface. Happy painting!


