In this article, you will learn valuable techniques on how to achieve opacity in gouache paint. Gouache, renowned for its vibrant colors and versatility, can sometimes require additional steps to create a desired opaque effect. By following a few simple guidelines and employing specific methods, you can confidently enhance the opacity of your gouache paintings, adding depth and richness to your artwork. Discover the secrets to making your gouache paint opaque and elevate the impact of your creations.
Choosing the Right Gouache Paint
Understanding the Different Types of Gouache
When it comes to choosing the right gouache paint, it is important to understand the different types available. Gouache paints consist of a pigment mixed with a binder, usually gum arabic, which gives the paint its unique properties. There are two main types of gouache: traditional and acrylic.
Traditional gouache is the classic form of gouache paint and is made with the same pigments used in watercolor paints. It is known for its vibrant and opaque qualities, as well as its ability to be reactivated with water even after it has dried. Acrylic gouache, on the other hand, is a newer form of gouache paint that is formulated with an acrylic polymer binder. It dries to a matte finish and is more water-resistant than traditional gouache.
Selecting Professional or Student Grade Gouache
When choosing gouache paint, you also need to consider whether to go for professional or student-grade paint. Professional-grade gouache contains a higher concentration of pigments and offers better lightfastness, meaning the colors will not fade over time. It also tends to be more expensive than student-grade gouache.
On the other hand, student-grade gouache is a more affordable option and is often recommended for beginners or those on a budget. While it may not have the same level of pigment concentration as professional-grade gouache, it still provides good color coverage and can produce excellent results for most applications.
Opting for Highly Pigmented Gouache Paints
If you are looking for opaque and vibrant colors in your gouache paintings, it is essential to choose highly pigmented gouache paints. The level of pigmentation in the paint will directly affect the intensity and opacity of the colors you can achieve. Look for gouache paints that have a high pigment-to-binder ratio and are labeled as “opaque” or “extra opaque.”
Highly pigmented gouache paints are particularly important when working with thin layers or trying to achieve rich, solid areas of color. They allow for better coverage and make it easier to achieve the desired opacity in your artwork. Be sure to test different brands and colors to find the ones that meet your specific needs and preferences.
Preparing Your Workspace
Cleaning and Organizing Your Workspace
Before starting any painting project, it is essential to clean and organize your workspace. This includes removing any clutter, dust, or debris that may interfere with your painting process. A clean and organized workspace not only allows for a more focused and efficient painting experience but also helps to prevent any unwanted contamination of your paints or materials.
Take the time to tidy up your work area, wipe down surfaces, and gather any necessary cleaning supplies. This will ensure that you have a clean and well-prepared workspace to begin your gouache painting.
Protecting Your Work Surface
Gouache paints can be messy to work with, so it is important to protect your work surface from any potential staining or damage. Place a plastic tablecloth or a sheet of plastic or glass on your table to create a barrier between your paints and your work surface. This will make it easier to clean up any spills or accidental drips and help to preserve the integrity of your workspace.
Alternatively, you can use a dedicated painting palette or a piece of palette paper to mix your gouache paints. These options provide a portable and easy-to-clean surface that can be disposed of or wiped down after each use.
Gathering Essential Materials and Tools
Before diving into your gouache painting, gather all the essential materials and tools you will need. This includes a variety of brushes in different shapes and sizes, a palette knife or mixing tray for mixing colors, a palette for holding and blending the paint, and a water container for rinsing your brushes.
Additionally, have a selection of paper or surfaces to paint on, such as gouache paper, watercolor paper, or wood panels. Make sure you have a good quality eraser, a pencil for sketching, and a ruler if you need to create straight lines in your artwork.
Having all your materials and tools prepared and within reach will save you time and help you maintain focus while working on your gouache painting.

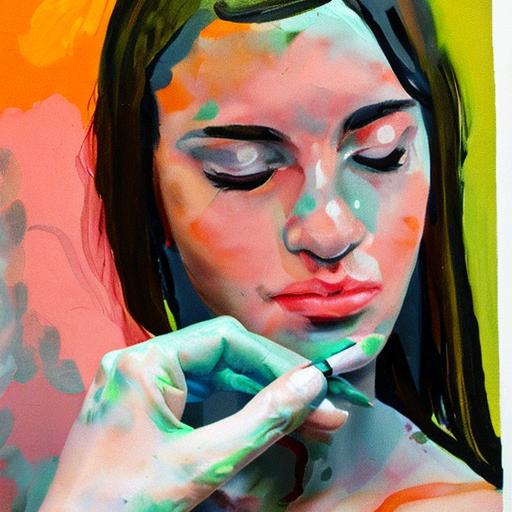
This image is property of images.unsplash.com.
Mixing Techniques
Understanding the Importance of Proper Mixing
Mixing gouache paints is a fundamental aspect of achieving the desired colors and tones in your artwork. It is crucial to understand the importance of proper mixing to ensure that your colors are well-balanced and consistent throughout your painting. Whether you are trying to create a specific shade or working on color blending, mastering the art of mixing will greatly enhance your gouache paintings.
To mix gouache paints effectively, start by adding small amounts of the desired colors to your palette. Use a palette knife or a mixing tray to gradually combine the paints, ensuring that the pigments are thoroughly mixed together. Take your time and experiment with different color combinations to achieve the desired results.
Using a Palette Knife or Mixing Tray
A palette knife or a mixing tray is an essential tool for mixing gouache paints. These tools allow for precise control over the amount of paint you are using and facilitate the blending of colors. When using a palette knife, scoop up small amounts of the desired colors and mix them on your palette. The flat surface of the knife helps to evenly distribute the paint and creates smooth color transitions.
A mixing tray, on the other hand, consists of multiple wells or compartments where you can place different colors. This allows you to keep your paints separate while providing easy access for mixing. Consider using a combination of a palette knife and a mixing tray to find the method that works best for you.
Blending Colors Gradually
Achieving smooth color transitions and blending in gouache paintings requires a gradual and controlled approach. Instead of mixing large amounts of colors at once, start by adding small increments of the desired colors to your palette. This allows you to gauge the intensity of the color and make adjustments as needed.
To blend colors, use a clean brush to pick up a small amount of one color and gently apply it to the desired area on your painting. Then, clean the brush and pick up a small amount of the second color. Use the clean brush to blend the two colors together on the surface, creating a gradual transition. Repeat this process as needed until the desired blending effect is achieved.
Remember to clean your brushes between color mixtures to avoid unwanted contamination and to maintain the integrity of your paint colors.
Layering Techniques
Working with Thin Layers
Gouache paints lend themselves well to layering techniques, allowing you to build depth and dimension in your artwork. Working with thin layers of gouache is particularly useful when creating subtle transitions, adding details, or refining specific areas of your painting.
To work with thin layers, dilute your gouache paint with water to create a translucent consistency. Begin by applying a thin wash of color onto the surface, allowing it to dry before adding subsequent layers. This method allows the underlying layers to show through, producing a sense of depth and richness in your artwork.
Allowing Sufficient Drying Time
When layering gouache paints, it is crucial to allow sufficient drying time between each layer. Unlike acrylic or oil paints, gouache dries relatively quickly, but it is still important to give each layer time to fully dry before applying the next one. Failure to do so may result in blending or smudging of the colors, resulting in a muddy or unclear appearance.
To ensure proper drying, allow your gouache paintings to sit undisturbed for at least 10 to 15 minutes before applying the next layer. You can test the dryness by gently touching the surface with your finger. If the paint feels cool or wet, allow more drying time.
Building Up Thick and Opaque Layers
In contrast to working with thin layers, building up thick and opaque layers of gouache paint can create bold and vivid effects in your artwork. This technique is particularly useful for creating solid areas of color, adding texture, or emphasizing certain elements.
To build up thick and opaque layers, use undiluted gouache right out of the tube or apply several layers of the paint without watering it down. The higher concentration of pigments in the undiluted paint will result in a more opaque and intense color. Be mindful of allowing sufficient drying time between each layer to avoid smudging or muddying of the colors.

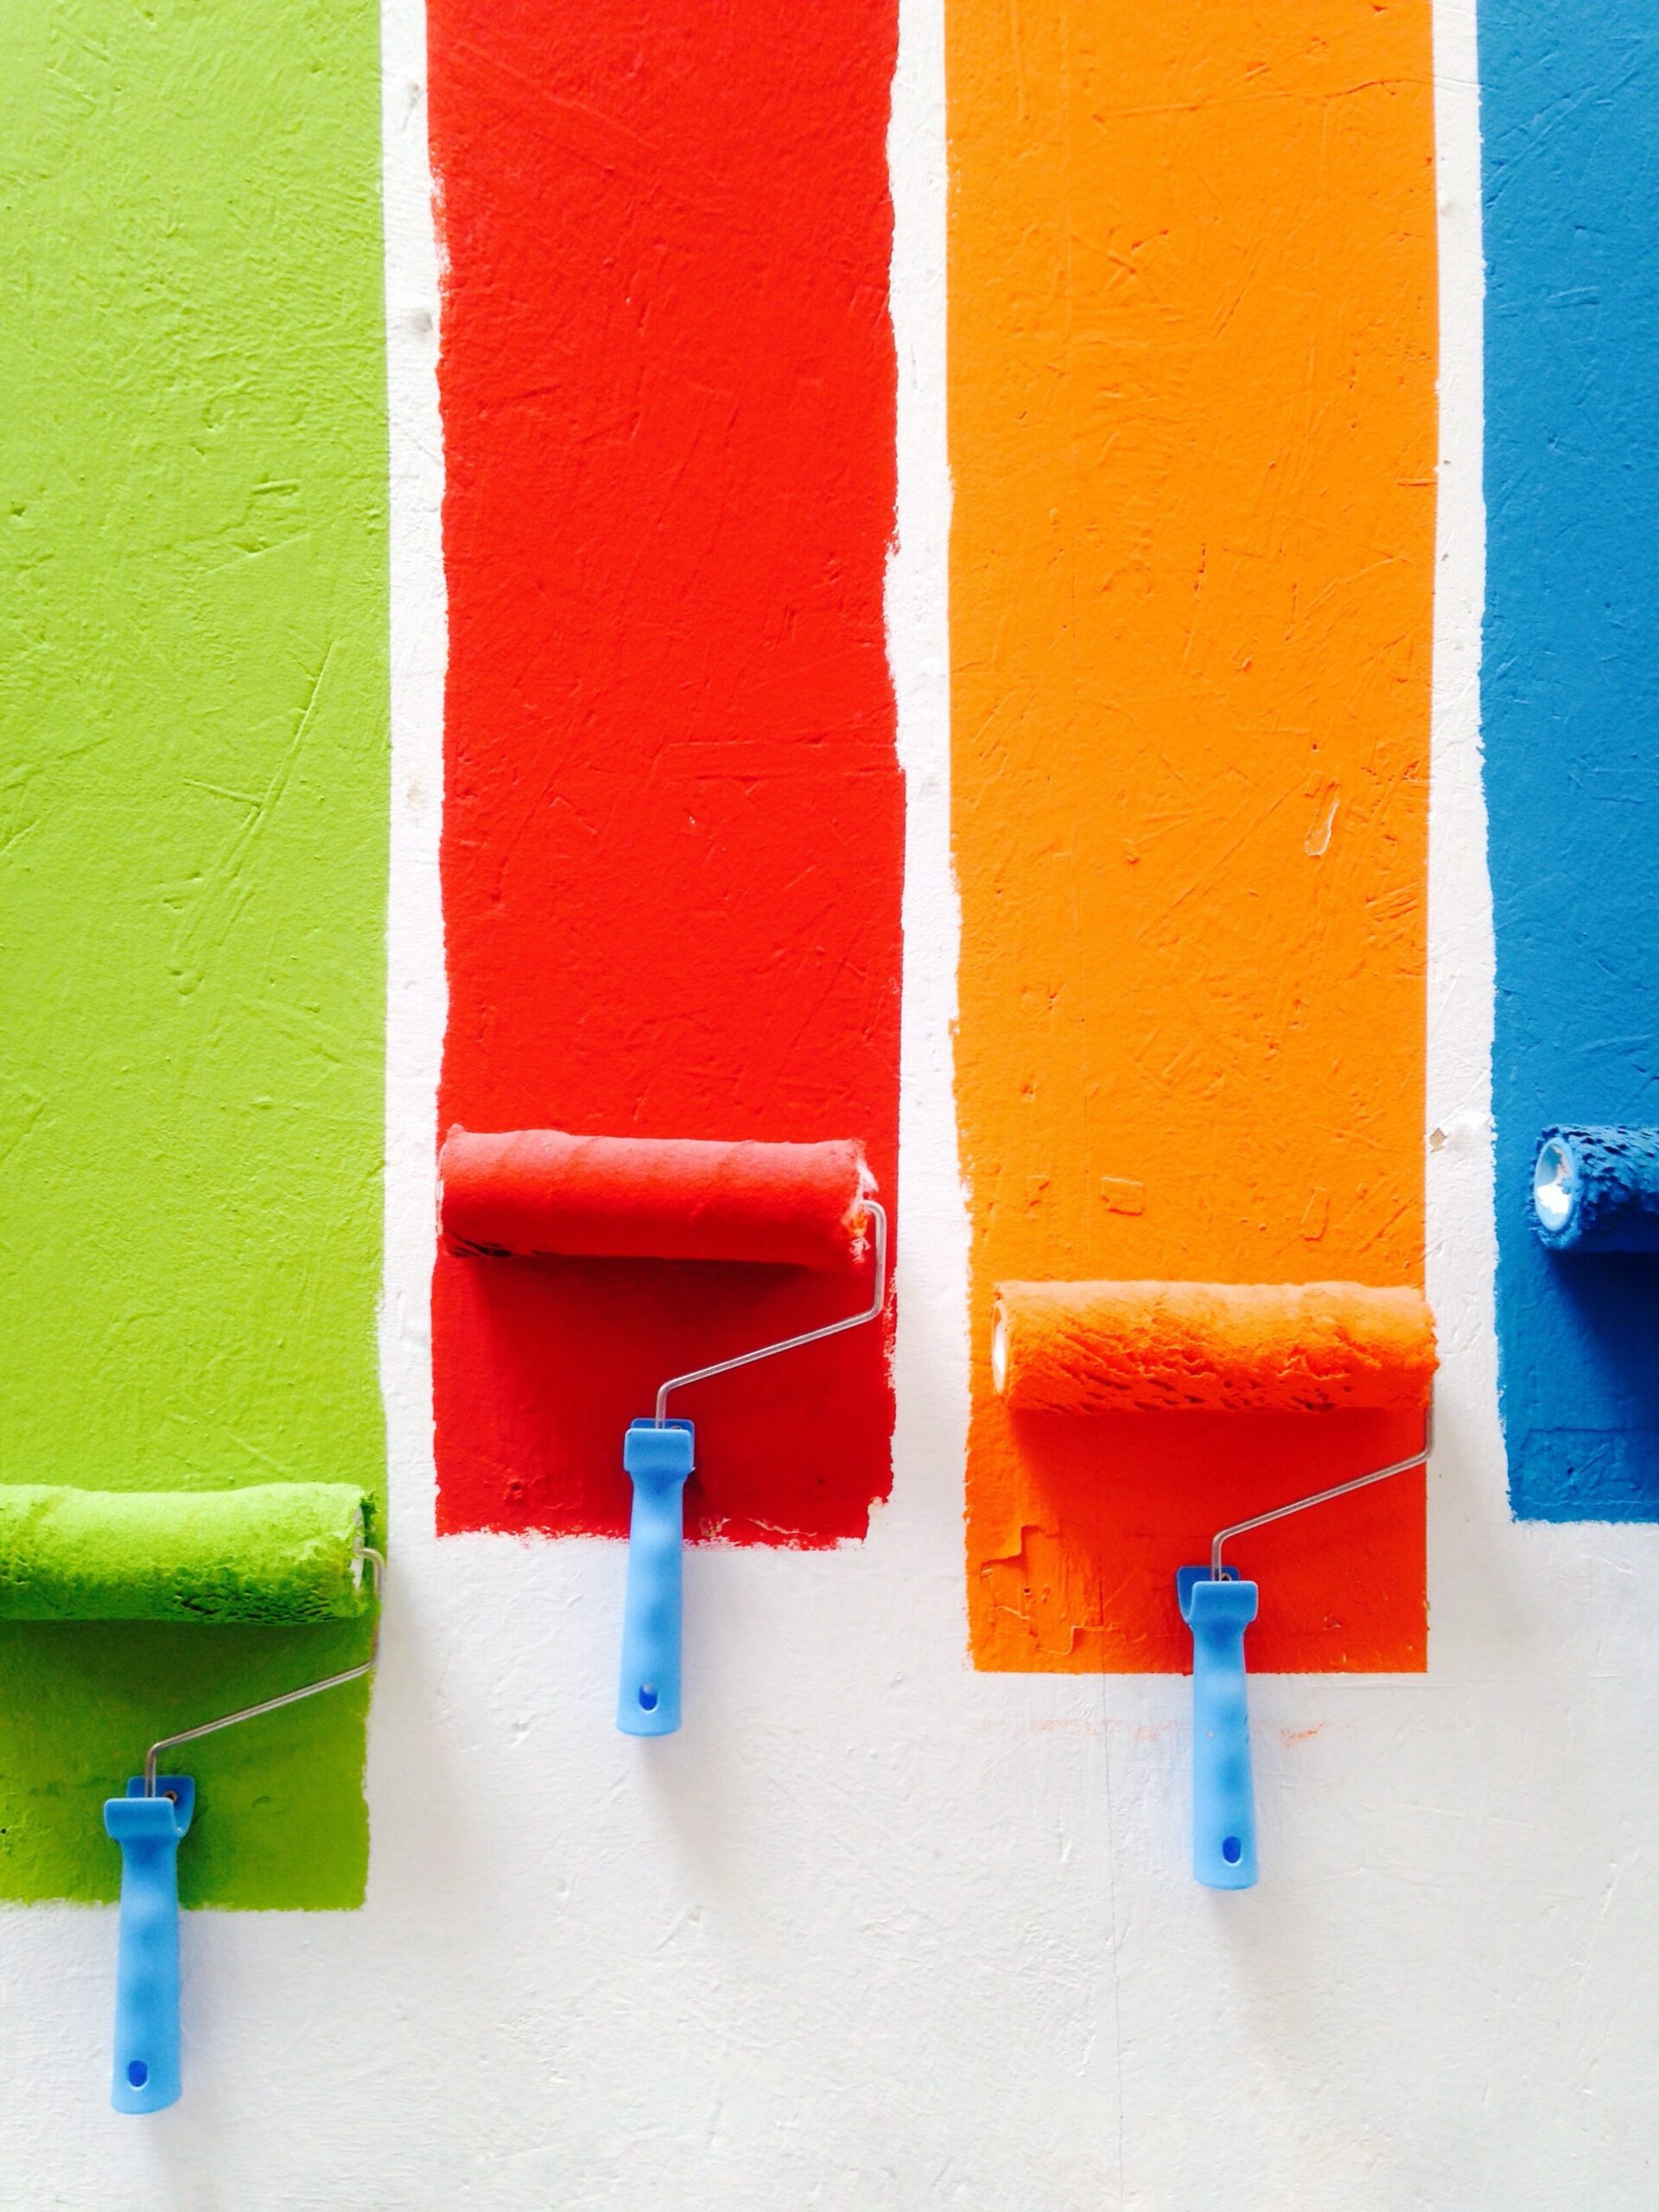
This image is property of images.unsplash.com.
Utilizing White Gouache
Understanding the Role of White Gouache
White gouache serves as an essential tool in the gouache artist’s repertoire. It plays a crucial role in creating highlights, enhancing contrasts, and adding depth to your artwork. By utilizing white gouache effectively, you can achieve a wide range of effects and bring your paintings to life.
Using White Gouache as a Base Layer
One way to utilize white gouache is by using it as a base layer. By applying a thin, even coat of white gouache to your painting surface before adding colors, you create a brighter and more vibrant foundation for the subsequent layers. This can result in increased color intensity and improved opacity, especially when working with transparent or less pigmented gouache paints.
Apply the white gouache evenly across the entire area or specific sections of your painting surface using a clean brush or palette knife. Allow the white base layer to dry completely before proceeding with your desired colors.
Adding Highlights and Details
White gouache is perfect for adding highlights and details to your gouache paintings. Whether you want to create small highlights on a textured surface or add intricate details to a specific area, white gouache can provide the necessary contrast and emphasis.
Use a small, fine-tipped brush to carefully apply the white gouache to the desired areas. Be strategic in your application, focusing on areas that would naturally catch light or areas that need extra definition. Remember to consider the light source and the direction of light when adding highlights and details.
Using Dry Brushing Techniques
Preparing a Dry Brush
Dry brushing is a technique that involves using a brush with very little moisture or paint. This technique is particularly useful for creating texture, emphasizing details, or adding delicate strokes to your gouache paintings. To prepare a dry brush, start by lightly dipping your brush into water and then gently squeezing out any excess moisture. The goal is to have a brush that is slightly damp but not wet.
To further remove excess moisture, dab the brush on a paper towel or palette. This helps to ensure that the brush is as dry as possible before applying it to the painting surface.
Removing Excess Water or Gouache
To achieve the desired dry brushing effect, it is crucial to remove any excess water or gouache from the brush. Excess moisture can dilute the paint and result in a less defined and less textured appearance. Carefully wipe the brush on a paper towel or palette to remove any excess water or gouache, ensuring that the bristles are as dry as possible.
Applying Light and Quick Brush Strokes
When using the dry brushing technique, apply light and quick brush strokes to the painting surface. The goal is to create subtle and delicate textures or highlights without saturating the surface with paint. Apply the brush to the desired area with a gentle touch, using short strokes or stippling motions to achieve the desired effect.
Dry brushing can be particularly effective when adding texture to objects such as foliage, fur, or fabric. Experiment with different brush sizes and pressures to create a variety of textures and effects in your gouache paintings.

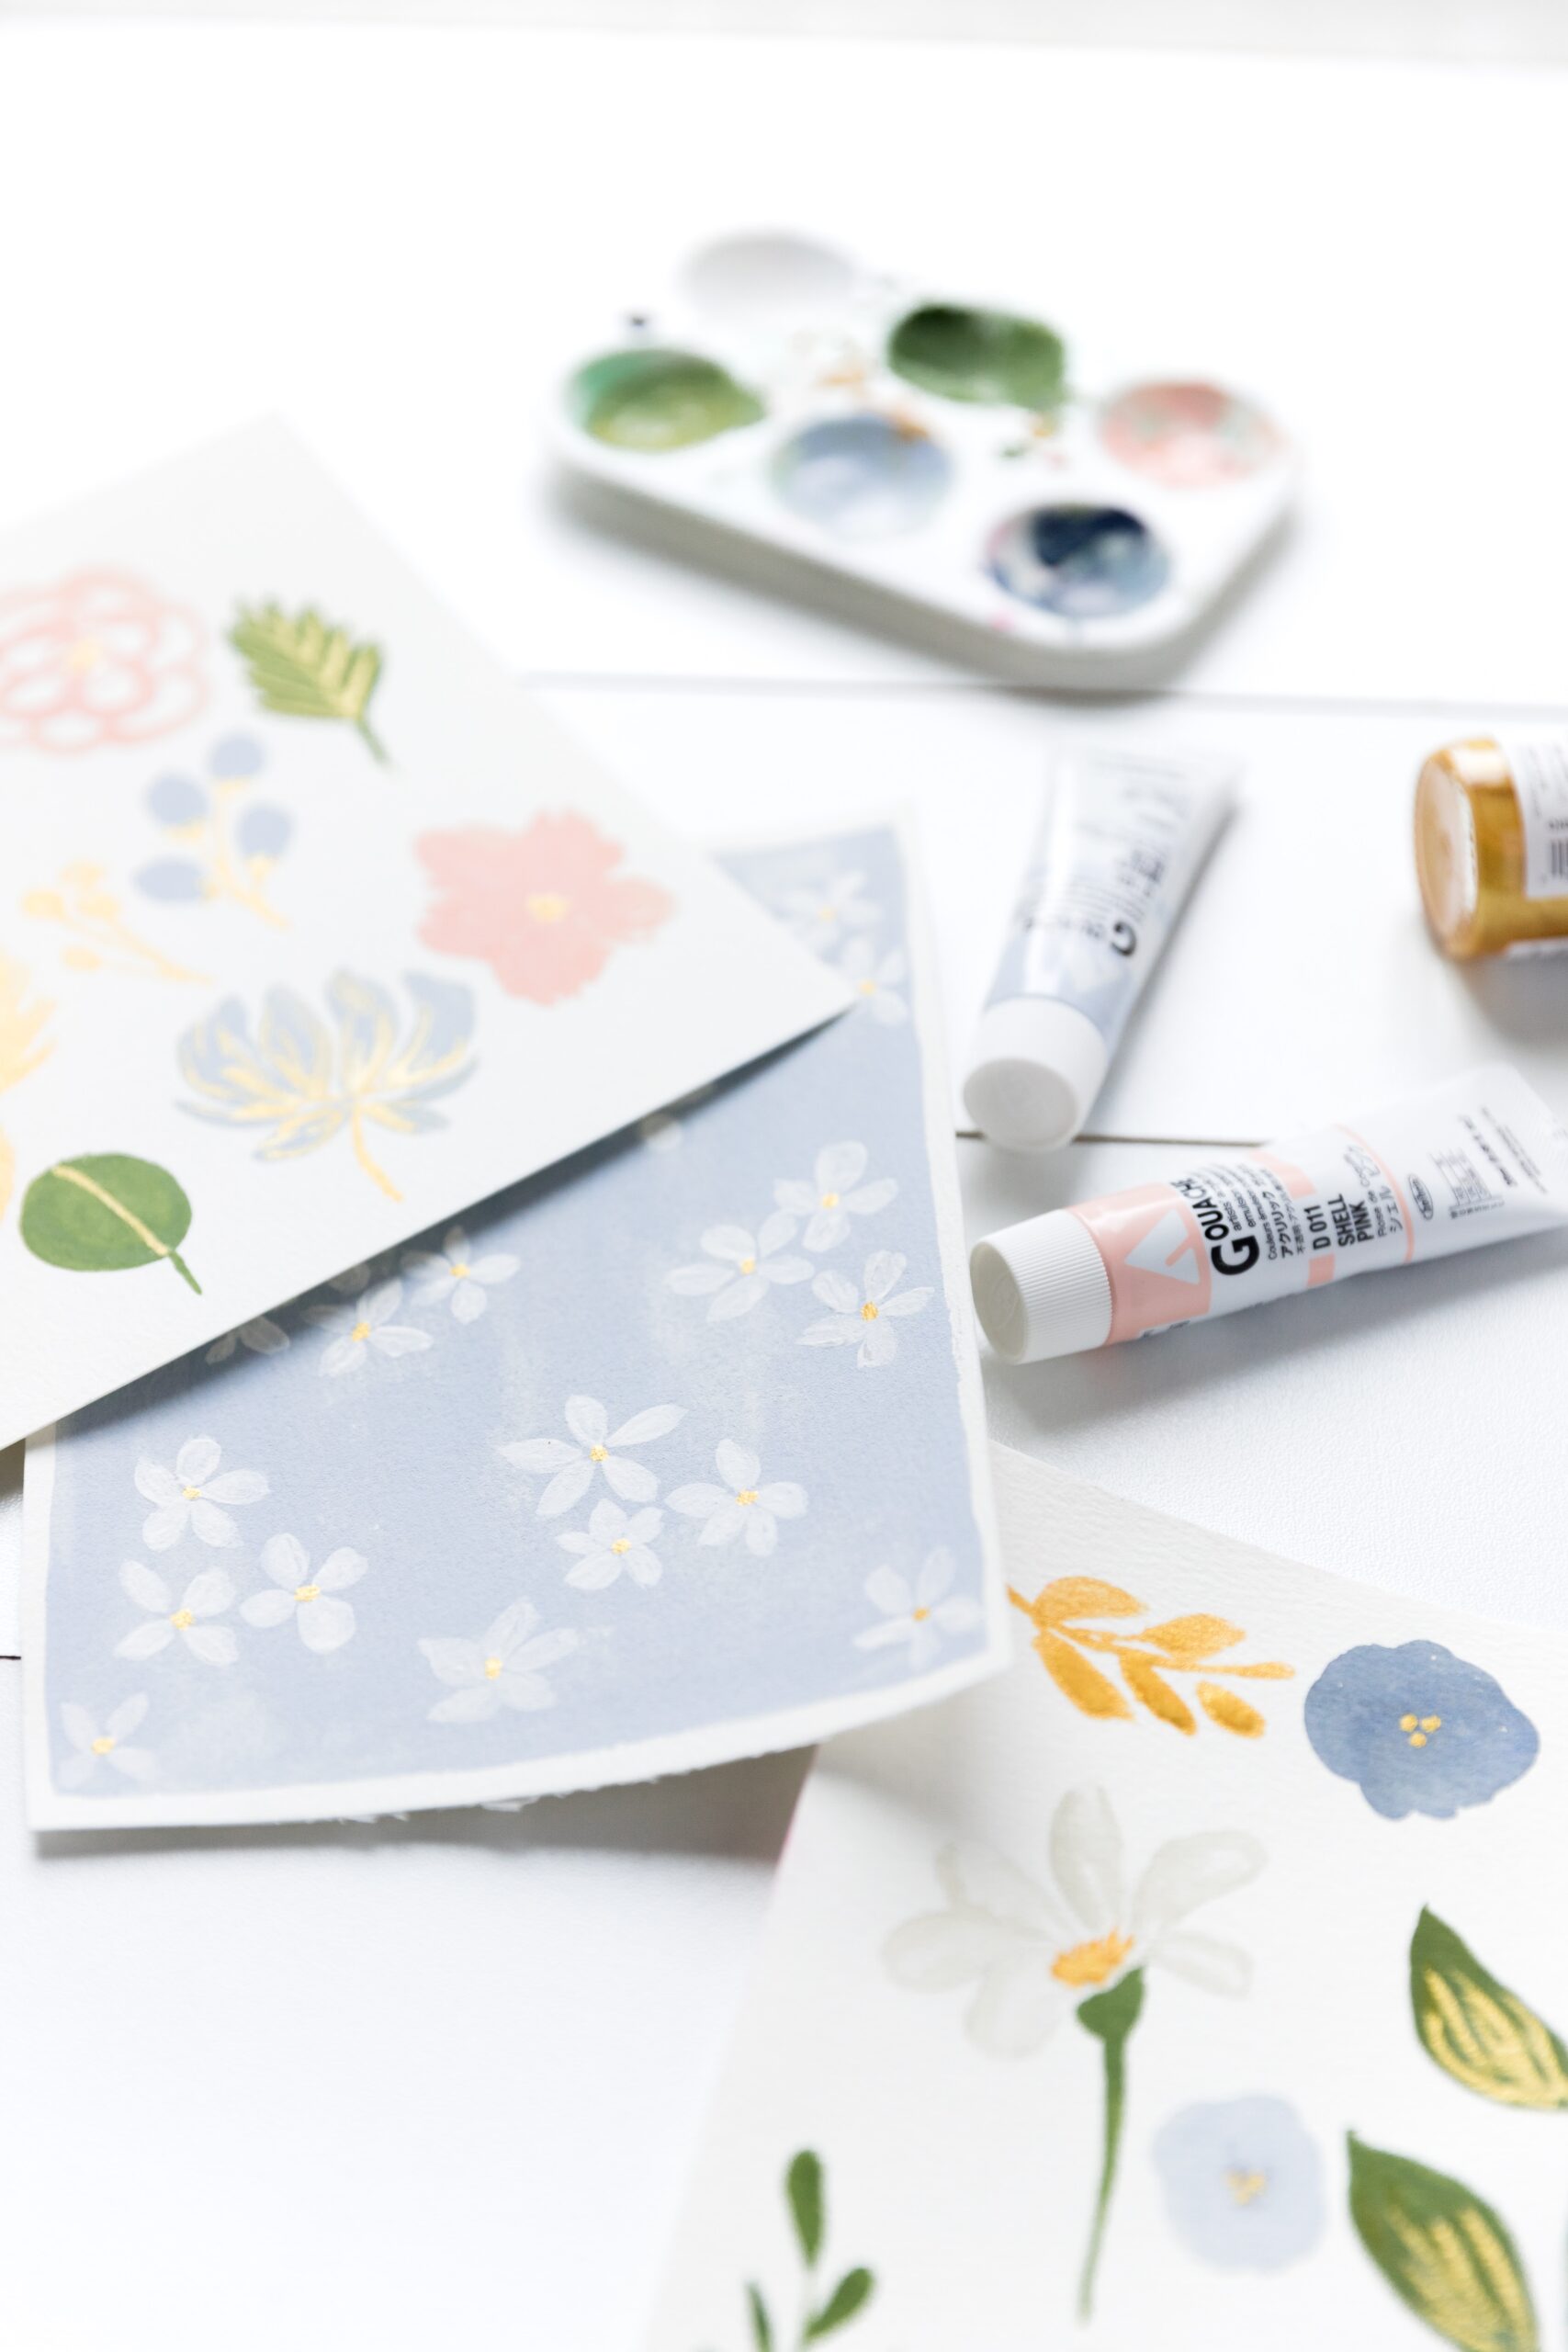
This image is property of images.unsplash.com.
Reducing Dilution
Using Less Water for Thicker Consistency
To achieve a thicker consistency and reduce dilution in your gouache paint, use less water when mixing your paints. While gouache paints can be reactivated with water, adding too much water can lead to a more transparent and less opaque appearance. By using less water, you can maintain the integrity and vibrancy of the pigments, resulting in a thicker and more solid color application.
Start with a small amount of water when mixing your paints, and gradually add more if necessary. Remember to mix the paint thoroughly to ensure the pigments are evenly distributed and to achieve the desired consistency.
Allowing Gouache Paint to Dry Completely
Another way to reduce dilution and achieve a thicker consistency is to allow the gouache paint to dry completely between layers. This method is particularly effective when working with overlapping colors or when applying a second layer on top of a dry layer.
By allowing the first layer of gouache paint to dry completely, you create a more solid foundation for subsequent layers. This reduces the chances of the colors blending together or becoming muddy, resulting in a more opaque and vibrant appearance.
Adding Layers Without Water
If you are looking to add additional layers to your gouache painting without diluting the colors, consider adding layers without water. This technique involves applying undiluted gouache directly onto the surface, either by using a palette knife or by using dry brush techniques.
Adding layers without water allows you to maintain the intensity and opacity of the colors, creating a more solid and pronounced effect. Experiment with the thickness of the paint and the application techniques to achieve the desired results.
Applying Multiple Layers and Glazes
Understanding the Concept of Glazing
Glazing is a technique commonly used in painting that involves applying multiple transparent or semi-transparent layers of paint over a dried base layer. In gouache painting, glazing can be used to create luminosity, depth, and subtle color shifts. By utilizing glazes, you can achieve rich and complex effects in your artwork.
When glazing with gouache, it is important to use transparent or semi-transparent colors to maintain the transparency of the layers. This allows the underlying colors to show through while adding depth and complexity to the painting.
Building up Colors through Multiple Layers
One of the benefits of working with gouache paints is the ability to build up color through multiple layers. By applying thin and transparent layers of paint, you can gradually intensify the colors and create rich, vibrant effects in your artwork.
To use multiple layers effectively, start with a base layer of color that is allowed to dry completely. Once the base layer is dry, apply subsequent layers of transparent or semi-transparent gouache using either a brush or a palette knife. Gradually build up the colors, allowing each layer to dry before applying the next one. This method creates depth and dimension in your painting and allows for precise control over the intensity of the colors.
Using Transparent Gouache for Glazes
When working with glazes, it is essential to use transparent gouache paints to achieve the desired effect. Transparent gouache allows the underlying layers to show through while adding subtle shifts in color and value.
To utilize transparent gouache for glazes, dilute the paint with water to create a transparent consistency. Apply a thin layer of the transparent gouache over a dried base layer, allowing the colors to interact and subtly alter the appearance of the underlying layer. Repeat this process as needed to achieve the desired glazing effect.
Experiment with different combinations of transparent gouache colors to create unique and captivating glazes in your artwork.

Experimenting with Different Surfaces
Exploring Traditional Gouache Paper
Traditional gouache paper is specifically designed for use with gouache paints, providing a smooth and absorbent surface that allows for optimal performance and color vibrancy. Gouache paper is usually heavier and has a higher tooth compared to regular watercolor paper, allowing for better pigment adhesion and color saturation.
When using traditional gouache paper, the paint sits on the surface rather than being absorbed, allowing for more vibrant colors and crisper edges. This type of paper also minimizes the risk of paint bleeding or feathering, which can occur when working on less absorbent surfaces.
Using Watercolor Paper for a Textured Look
If you are looking to create a more textured and expressive look in your gouache paintings, consider using watercolor paper. Watercolor paper has a distinct texture that can add depth and interest to your artwork. The rough or cold-pressed varieties tend to have more texture, while the hot-pressed varieties have a smoother surface.
When using watercolor paper with gouache, keep in mind that the paint may be more prone to bleeding and feathering compared to using traditional gouache paper. However, this can also create interesting and organic effects, particularly when working with transparent or diluted gouache.
Experiment with different types of watercolor paper and consider combining the properties of the paper with your gouache techniques to create unique and compelling textures in your artwork.
Trying Gesso-Primed Wood Panels
For a different painting experience and a unique aesthetic, try painting with gouache on gesso-primed wood panels. Gesso is a primer that provides a smooth and rigid surface that can enhance the richness and density of gouache colors. Wood panels offer a solid support that allows for a variety of techniques and effects, including layering, blending, and glazing.
When using wood panels, apply several coats of gesso primer, allowing each layer to dry before applying the next one. This ensures a smooth and stable surface for your gouache painting. Once the surface is prepared, you can apply gouache paints directly onto the wood panel, similar to how you would on traditional paper.
Keep in mind that painting on wood panels may require adjustments in your technique due to the different absorbency and texture of the surface. Experiment with the combination of wood and gouache to discover new possibilities and a unique visual appeal.
Knowing When to Stop
Avoiding Overworking the Painting
One of the challenges in gouache painting is knowing when to stop and avoid overworking the painting. Overworking can lead to muddiness, loss of detail, and a generally less polished appearance. It is essential to trust your instincts and recognize when the painting has reached its desired level of completion.
To avoid overworking the painting, take breaks and step back from your artwork regularly to assess your progress. This allows you to gain perspective and evaluate whether any further adjustments or refinements are necessary. Sometimes, the most effective choice is to leave the painting as it is and embrace its unique character.
Assessing the Desired Level of Opacity
Opacity is a defining characteristic of gouache painting, and it is important to assess the desired level of opacity in your artwork. Depending on your artistic style and intention, you may prefer a more transparent and ethereal look or a solid and opaque appearance.
Consider the desired mood and atmosphere of your painting. This will help you determine whether to build up multiple opaques layers, incorporate glazes for transparency, or use a combination of both techniques. Remember that your choice of colors, layering techniques, and the use of white gouache can all contribute to the opacity of your artwork.
Making Final Adjustments
Once you feel satisfied with your gouache painting, it is time to make final adjustments and refine any areas that may need attention. Take the time to carefully examine your artwork, paying attention to details, color balance, and overall composition.
Make any necessary touch-ups or modifications using additional paint, a fine-tipped brush, or a palette knife. Consider adding any final highlights or darkening certain areas to enhance contrast or refine shapes.
When making final adjustments, be mindful not to overdo it or introduce changes that may disrupt the overall harmony of your artwork. Trust your artistic judgment and make subtle enhancements that contribute to the overall aesthetic.
In conclusion, choosing the right gouache paint, preparing your workspace, mastering mixing and layering techniques, utilizing white gouache, exploring different surfaces, and knowing when to stop are all important aspects of creating successful gouache paintings. By following these guidelines and experimenting with different techniques, you can create vibrant, opaque, and visually captivating artwork with gouache paints. Remember to practice, be open to exploration, and develop your own unique style and approach to gouache painting.