As an artist, you’re in constant pursuit of knowledge and techniques that can bring a fresh perspective to your work. The article “How To Make Acrylic Paint Matte” caters precisely to your artistic curiosities. It comprehensively instructs on techniques to transform glossy acrylic paint to matte finish, thereby adding another dimension to your artistry arsenal. This resourceful guide discusses suitable additives, correct proportions, and step-by-step procedures to achieve an appealing matte finish effectively. You’re on the brink of learning tactics that can reinvent the way you approach your mixed media projects or even simple acrylic paintings.

Choosing the Right Acrylic Paint
Choosing the right acrylic paint for your project is a critical first step. This paint is a versatile medium that offers a wide color spectrum and quick drying time. Knowing the different types, understanding their properties and choosing the appropriate one can make all the difference in your final result.
Understanding the Different Types of Acrylic Paint
Acrylic paint comes in various types including heavy body, fluid, and craft or student grade. The heavy body acrylic has a thick consistency, much like oil paints and is great for retaining brush strokes for a textured effect. Fluid acrylics are thinner and work well for detailed or watercolor-like artwork. Craft or student grade acrylics are generally less expensive and are ideal for simple crafts or practice work.
Opting for Matte Acrylic Paint Brands
When it comes to achieving a matte finish, your acrylic paint choice matters. Some brands offer matte acrylic paints that inherently have a dull and flat appearance when dry. They lack the glossy sheen that some acrylics may have, making them an excellent choice for a matte-finish project.
Preparing the Surface
Before applying any paint, it’s crucial to prepare the surface properly. This step should not be rushed as it helps ensure a smooth application and a longer-lasting finish.
Cleaning and Sanding the Surface
Initially, you must clean the surface thoroughly, removing dirt and oils that may interfere with the paint’s adhesion. After cleaning, sand the surface lightly using fine-grit sandpaper to create a slight texture that the paint can grip onto.
Applying a Primer
This stage involves the application of a primer or gesso to create a paint-friendly surface. The primer seals the surface, preventing the paint from soaking in. It also provides an even base for the application of acrylic paint thereby enhancing its vibrancy.
Mixing Matte Medium with Acrylic Paint
Incorporating a matte medium is an excellent way to produce a non-glossy finish with standard acrylic paints.
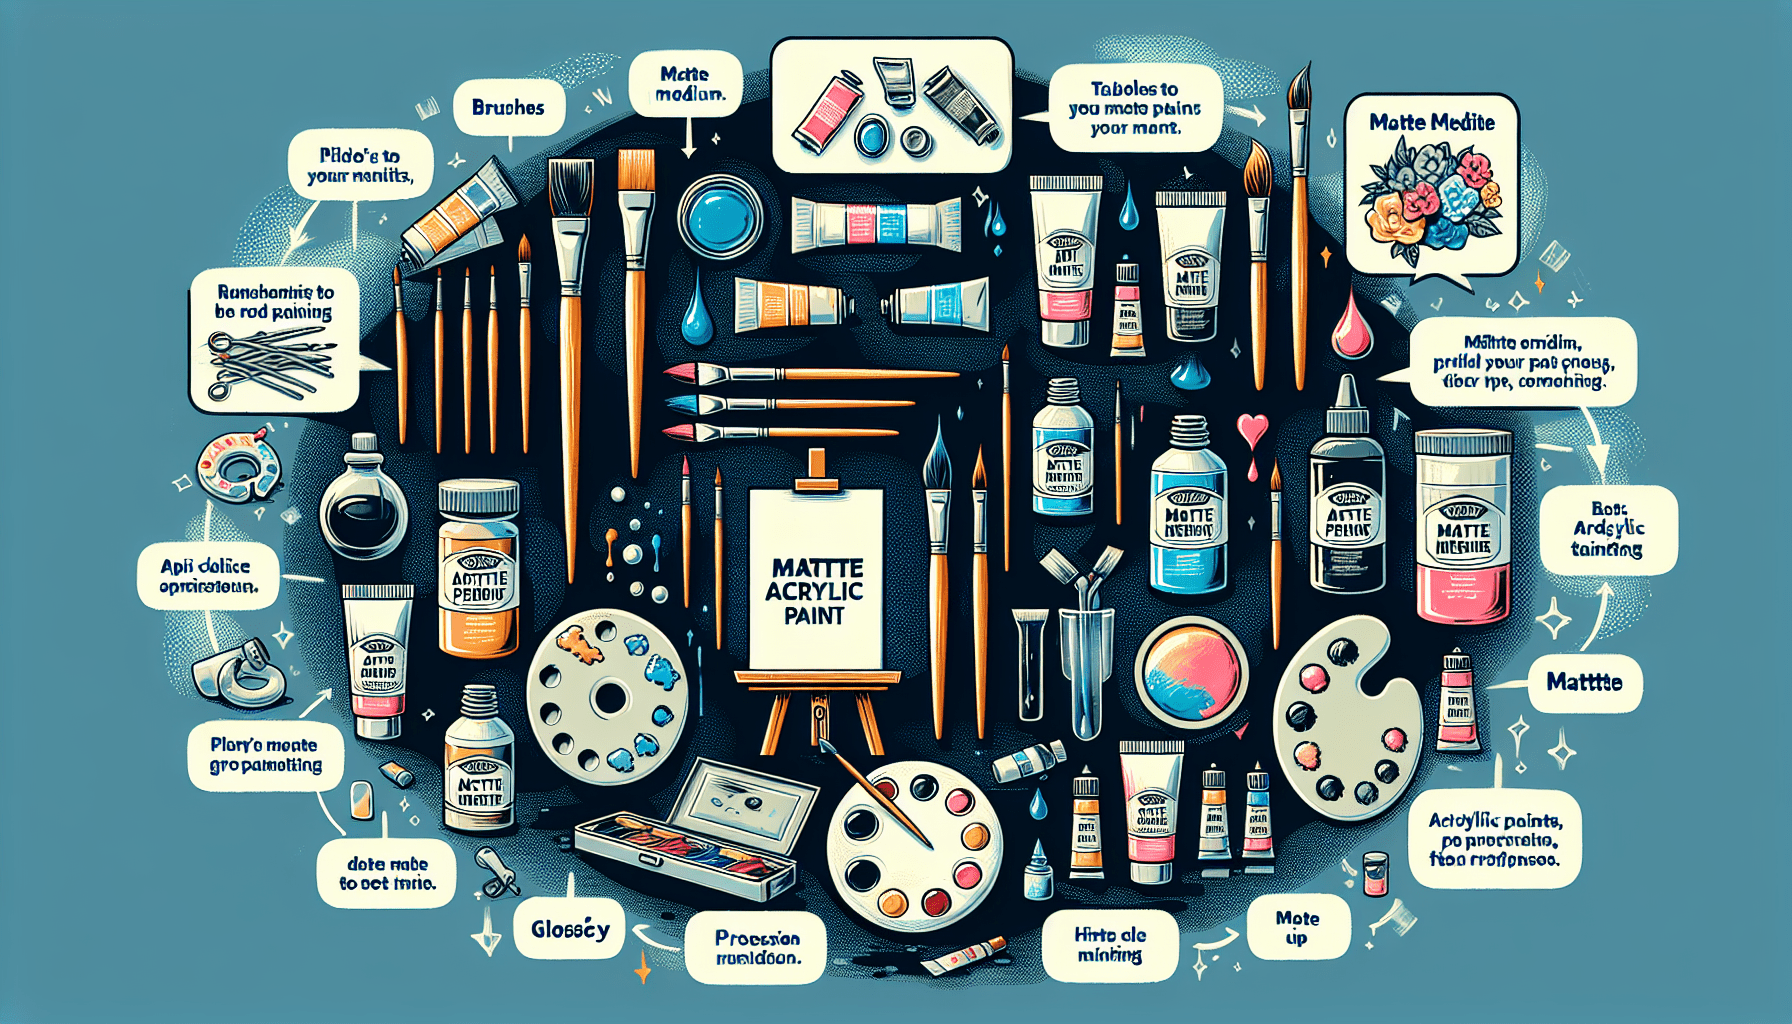
Gathering Supplies
Before starting, gather all the essential materials you will need. This usually includes acrylic paint, a matte medium, a palette or mixing tray, and a paintbrush or mixing tool.
Measuring the Matte Medium and Acrylic Paint
You will need to measure the matte medium and acrylic paint. Typically, equal parts of medium and paint are mixed, though the ratio can be altered based on your desired opacity and thickness.
Mixing the Matte Medium and Acrylic Paint
Carefully combine the matte medium and acrylic paint, ensuring they blend thoroughly. The medium makes the paint smoother and more fluid, making it easier to apply and leaving a matte finish once dried.
Applying Matte Varnish
Another method to achieve a matte look is to apply a matte varnish over the acrylic paint.
Selecting the Right Varnish
Choose a matte varnish suitable for acrylic paint. This product is designed to provide protection as well as a flat, non-reflective finish.
Preparing the Painting for Varnishing
Ensure your painting is fully dry and free of dirt or dust before applying varnish. Any particles on the surface can get embedded in the varnish and spoil the finish.
Applying the Matte Varnish
Apply the varnish evenly using a wide, smooth brush. Follow the manufacturer’s instructions for drying time. The varnish dries clear and adds a protective layer that also achieves the sought-after matte finish.

Using Matte Spray
A matte spray can also be used to give your acrylic paint a matte finish. This is a quick and easy solution, especially for larger works or those with intricate details.
Choosing a Quality Matte Spray
Select a spray designed for acrylic paints. It should offer protection and a matte finish, ensuring no loss of color vibrancy.
Preparing the Painting for Spraying
Just like varnishing, ensure your painting is clean and completely dry before applying the spray.
Applying the Matte Spray
Hold the can at the recommended distance from the painting and apply a light, even coat of spray. Allow it to dry thoroughly.
Adding Additives to Acrylic Paint
Certain additives can help achieve a more matte finish when mixed with acrylic paint.
Using Silica or Talcum Powder
Fine substances like silica or talcum powder can be mixed with the paint to reduce glossiness. Just be careful not to add too much as this can dilute the color or alter the texture of your paint.
Using an Acrylic Gel Medium
Acrylic gel medium, usually translucent when dry, can be mixed with the paint to reduce gloss without affecting consistency. Experiment with ratios to find your desired level of matte effect.
Baking Acrylic Paint
While a less common technique, bake-setting acrylic paint can also help achieve a matte finish in certain situations.
Understanding the Technique
Bake-setting involves applying paint to a bakeable surface, like clay or ceramics and placing it in an oven to set the paint and achieve a matte finish.
Preparation and Material Requirements
Ensure you have all the necessary materials—bake-able surface, oven, and heat-resistant gloves. Prior to baking, ensure the paint is completely dry.
Baking the Acrylic Paint
Follow the paint manufacturer’s instructions for temperature and time. Allow the piece to cool completely in the oven before removing it to avoid sudden temperature changes causing cracks.
Using a Matte Medium to Thin Acrylic Paint
Thinning your acrylic paint with a matte medium can also yield a matte finish.
Gathering the Necessary Materials
Collect your materials — acrylic paint, matte medium, palette/mixing tray, and mixing tool.
Mixing the Matte Medium with the Acrylic Paint
Combine the paint and matte medium, starting with a 50:50 ratio. You can alter the ratio to achieve your desired consistency.
Applying the Thinned Matte Paint
Apply the thinned paint to your prepared surface, using smooth strokes for an even finish. Allow it to dry completely.
Creating a Matte Finish with Sandpaper
Sandpaper can help achieve a matte finish by creating thousands of micro-surface scratches that diffuse reflected light.
Selecting the Appropriate Grit of Sandpaper
Choose a high-grit (fine) sandpaper that won’t overly scratch the surface.
Preparing the Painting for Sanding
Ensure your painting is completely dry before sanding. Avoid sanding areas with thick paint or where the canvas is exposed.
Sanding the Surface to Create a Matte Finish
Lightly sand the surface, following the contours of your painting. Wipe off the dust with a clean cloth.
Removing the Gloss with Rubbing Alcohol
Rubbing alcohol can also be used to reduce glossiness in acrylic paint.
Gathering Supplies
Before you start, you will need to gather rubbing alcohol, a clean cloth, and gloves.
Preparing the Painting for Application
Make sure your painting is completely dry before applying rubbing alcohol.
Applying Rubbing Alcohol to Remove Gloss
Put on gloves to protect your skin and dampen a clean cloth with rubbing alcohol. Gently rub the surface of the painting. However, caution must be exercised as it can also remove paint if not done correctly. Always do a spot test first to be safe.