In this article, you will discover a step-by-step guide on how to effectively dye tulle using acrylic paint. With the versatility and wide range of colors available in acrylic paint, this technique offers a creative solution to customize and enhance your tulle fabric for various fashion and craft projects. By following these simple instructions, you will be equipped with the knowledge to transform your tulle into vibrant, personalized creations that are sure to make a lasting impression.

Choosing the Right Type of Acrylic Paint
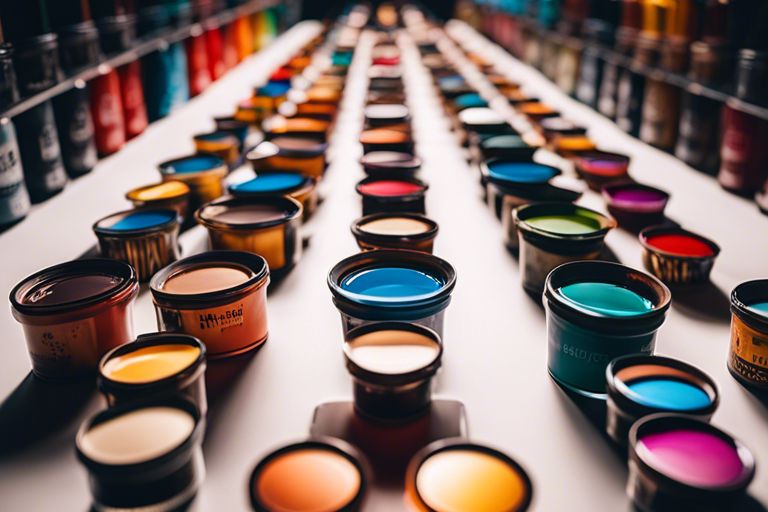
When it comes to choosing the right type of acrylic paint for dyeing tulle, there are a few factors to consider. One of the most important factors is the consistency of the paint. Acrylic paint comes in various consistencies, ranging from thin and watery to thick and creamy. For dyeing tulle, it is best to opt for a paint with a thin consistency. This will allow the paint to soak into the fabric more easily, resulting in a more even and vibrant color.
Another factor to consider when choosing acrylic paint for dyeing tulle is the color itself. It is essential to choose a paint color that complements the tulle fabric. Consider the overall look and feel you want to achieve, and select a color that will enhance the tulle’s beauty. Whether you opt for soft pastels, bold and vibrant shades, or even a combination of colors, make sure the paint color complements the tulle fabric and the intended purpose of the final product.
To ensure better adhesion and longevity of the paint on the tulle, it is advisable to use a fabric medium. fabric medium is an acrylic medium specifically designed to mix with acrylic paint and enhance its performance on fabrics. It helps the paint to adhere better to the tulle and reduces the chance of cracking or flaking. Mix the fabric medium with the acrylic paint at a ratio of 1:1 to achieve the desired consistency and adhesion.
Preparing the Tulle
Before dyeing the tulle with acrylic paint, it is crucial to properly prepare the fabric. Start by washing the tulle to remove any dirt or chemicals that may be present. Simply fill a basin or sink with lukewarm water and a mild detergent. Gently swish the tulle in the soapy water, taking care not to agitate it too much to avoid damaging the delicate fabric. Rinse the tulle thoroughly with clean water until all the detergent is removed.
After washing, spread out the tulle on a clean surface to dry. It is essential to choose a clean and flat surface so that the tulle can dry without any wrinkles or creases. Smooth out any wrinkles or creases in the fabric by gently pulling and smoothing it with your hands. Ensure that the tulle is spread out evenly and in a single layer to allow for even application of the paint later on.
Mixing Acrylic Paint and Fabric Medium
For dyeing tulle with acrylic paint, it is necessary to mix the paint with fabric medium to achieve the desired color and adhesion. Start by squeezing a small amount of acrylic paint onto a mixing palette. The amount of paint will depend on the size of the project and the intensity of the color you wish to achieve. It is always better to start with a smaller amount of paint and add more as needed.
Next, add fabric medium to the paint at a ratio of 1:1. This means that for every part of paint, add an equal amount of fabric medium. Using a palette knife or a clean brush, stir the mixture well to ensure thorough blending. The fabric medium helps to thin out the paint and improve its adherence to the tulle fabric. Make sure that the paint and fabric medium are well-mixed before proceeding to the next step.
Testing the Paint on a Scrap Piece of Tulle
Before applying the paint mixture to the entire piece of tulle, it is advisable to test it on a small scrap piece of fabric first. This will allow you to see how the color turns out and make any adjustments if needed. Cut a small piece of tulle from the edge or any unused section of fabric to use as a test swatch.
Apply a thin layer of the paint mixture onto the scrap piece of tulle using a soft brush or a sponge. Make sure to spread the paint evenly and avoid applying too much pressure, as this may cause the paint to bleed or saturate the fabric unevenly. allow the paint to dry completely and check the color intensity. If necessary, make adjustments to the paint mixture by adding more paint or fabric medium until you achieve the desired color.

Applying the Paint to the Tulle
Once you have tested the paint mixture and are satisfied with the color, it is time to apply the paint to the tulle. Lay the tulle on a protected surface, such as a plastic tablecloth or wax paper, to avoid staining the work area. This will ensure that the paint doesn’t seep through and damage the underlying surface.
Dip a soft brush into the paint mixture and remove any excess paint by gently dabbing it on a paper towel or palette. Apply the paint to the tulle using gentle strokes, working in one direction. It is better to start with a thin layer of paint and gradually build up the color as desired. Add more paint to the brush as needed and continue applying the paint until the entire tulle is covered. Take your time and pay attention to ensure even coverage and avoid any missed spots.
Creating Different Effects with Acrylic Paint
Acrylic paint offers various possibilities to create different effects on the tulle. Experiment with different painting techniques to achieve the desired look and feel. One technique is to use a sponge or sponge brush to create a textured look. Dip the sponge into the paint mixture and gently dab it onto the tulle in a stippling motion. This technique adds dimension and depth to the painted tulle.
Another technique to consider is blending different shades of paint for an ombre effect. Start by applying the lightest shade of paint at one end of the tulle and gradually blend it with a slightly darker shade as you move towards the opposite end. This creates a gradient effect and adds visual interest to the tulle. Mix the paint colors thoroughly to achieve smooth transitions between the shades.

Allowing the Paint to Dry
After applying the paint to the tulle, it is crucial to let it dry completely before handling or moving it. Leaving the painted tulle flat on a clean surface will help ensure even drying. Avoid folding or scrunching the fabric, as this may cause the paint to crack or peel.
Proper air circulation is essential for faster drying. Place the painted tulle in a well-ventilated area where air can circulate freely. Avoid placing it near heat sources or direct sunlight, as this may cause the paint to fade or alter the color.
Patience is key when waiting for the paint to dry. Depending on the thickness of the paint layer and environmental conditions, it may take several hours or overnight for the paint to dry completely. Avoid touching or moving the tulle until it is fully dry to prevent smudging or damaging the design.
Heat Setting the Paint (Optional)
Heat setting the paint is an optional step but can help improve the durability of the painted tulle. Heat setting ensures that the paint bonds firmly with the fabric, making it more resistant to washing and fading. This step is particularly recommended if the dyed tulle will be subjected to frequent washing or heavy use.
To heat set the paint, cover the painted tulle with a clean cloth or parchment paper. Set your iron to a low heat setting and gently iron the fabric for a few minutes. The heat will help activate the paint and set it in place. Be careful not to apply too much heat or pressure, as this may cause the tulle to melt or deform. Once heat set, remove the cloth and let the tulle cool down completely before handling.

Cleaning Up and Storing the Painted Tulle
After completing the painting process, it is important to clean up the tools used and properly store the painted tulle. Wash the brushes and palette with soap and water to remove any residual paint. It is advisable to clean them immediately after use to prevent the paint from drying and clogging the bristles.
Allow the painted tulle to cure for 24 hours before washing or using it. This will give the paint enough time to fully adhere to the fabric and achieve maximum durability. When washing the dyed tulle, follow the recommended care instructions for the specific fabric type. Some tulle fabrics may require hand washing or gentle machine washing on a delicate cycle.
To preserve the color and prevent fading, store the painted tulle in a cool and dry place. Avoid exposing it to direct sunlight, as prolonged exposure to UV rays can cause the colors to fade over time. It is also advisable to keep the painted tulle away from any moisture or humidity, as this can lead to mold or mildew growth.
Adding Embellishments (Optional)
If you wish to enhance the tulle further, you can add embellishments such as sequins, beads, or rhinestones. These additions can add sparkle and elegance to your painted tulle creation. To attach the embellishments securely, use fabric glue specifically designed for use on fabrics.
Before applying the fabric glue, ensure that the painted tulle is completely dry. Simply dab a small amount of fabric glue onto the desired location and carefully place the embellishments on top. Press gently to secure them in place. Allow the glue to dry completely before using or wearing the tulle to prevent the embellishments from falling off.
In conclusion, dyeing tulle with acrylic paint can be a fun and creative way to add color and personalization to your projects. By choosing the right type of acrylic paint, preparing the tulle properly, and following the necessary steps, you can achieve beautiful and long-lasting results. Whether you’re embellishing a costume, creating decorative pieces, or adding unique touches to clothing or accessories, acrylic paint offers endless possibilities for transforming tulle into works of art.


