Have you ever marveled at the mesmerizing swirls and patterns of marbled designs and wondered how to create such captivating art with acrylic paint? The art of marbling is an enchanting technique that allows you to craft intricate designs on various surfaces, turning ordinary items into masterpieces. In this comprehensive guide, you will delve into the process of marbling with acrylic paint, exploring its intricacies and equipping yourself with the skills necessary to execute this beautiful art form professionally. Here, you will discover the materials needed, the step-by-step processes, and some valuable tips and techniques to help you achieve stunning marbled effects.

Understanding Acrylic Marbling
What is Acrylic Marbling?
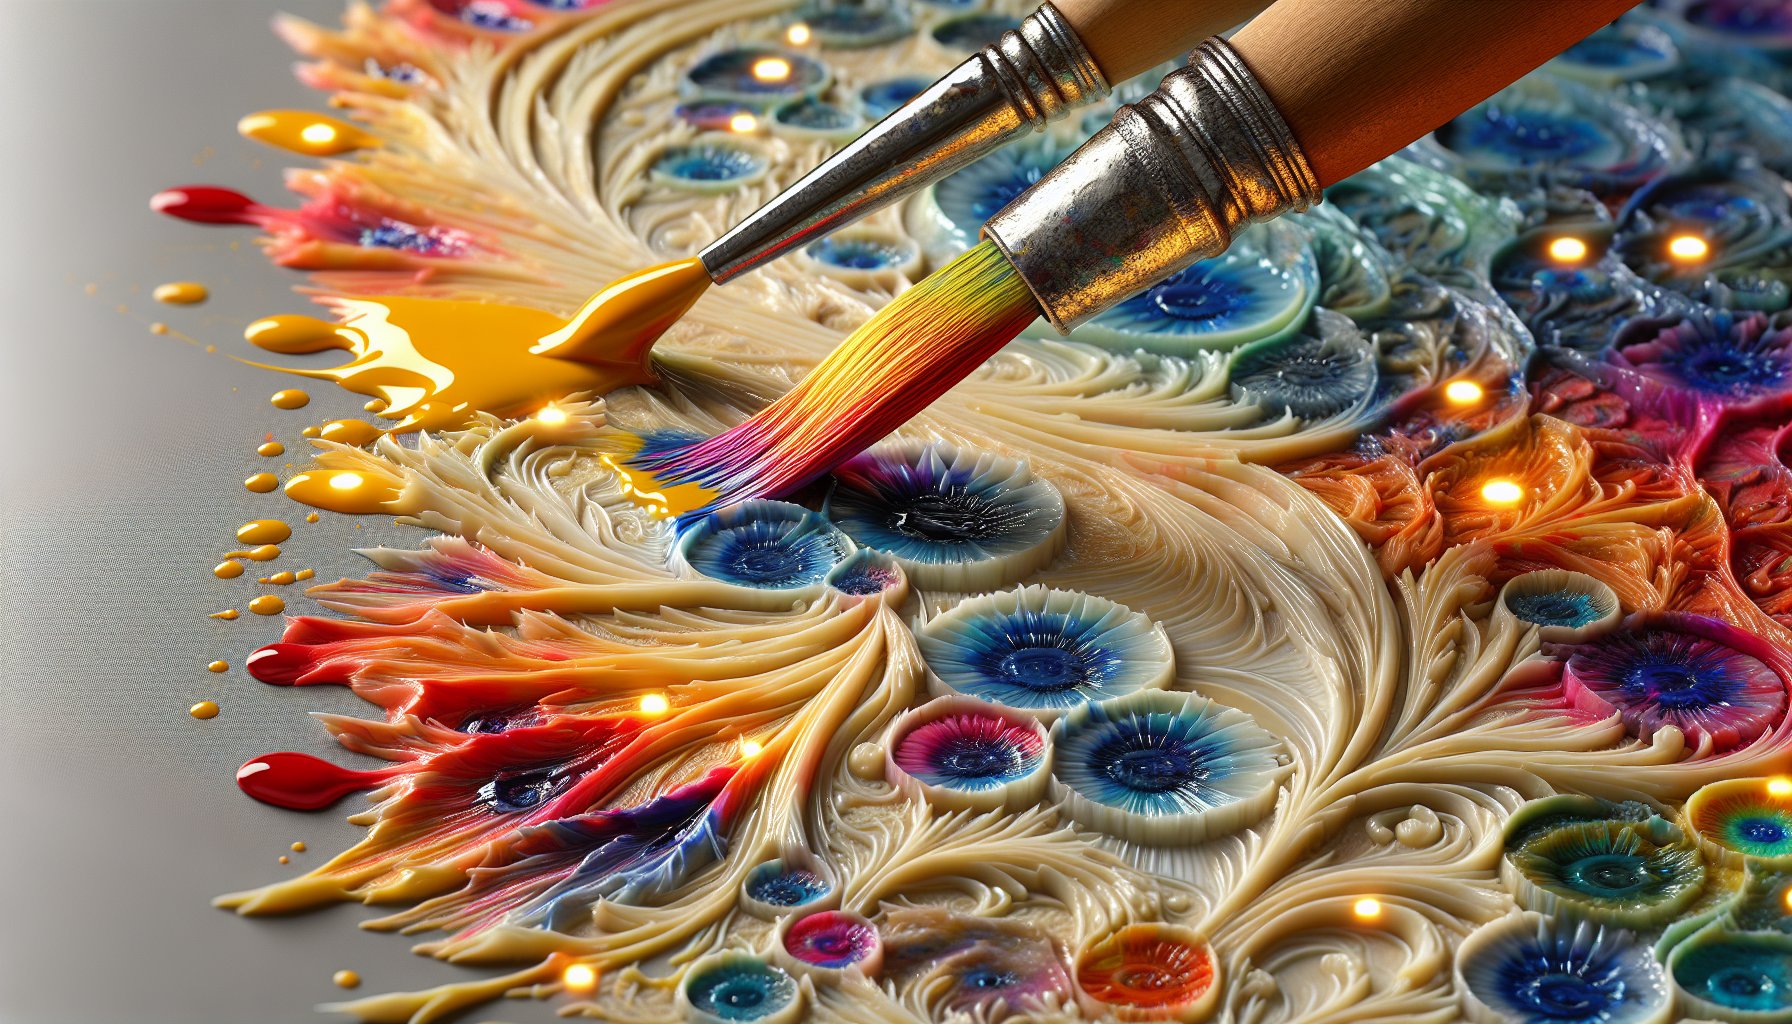
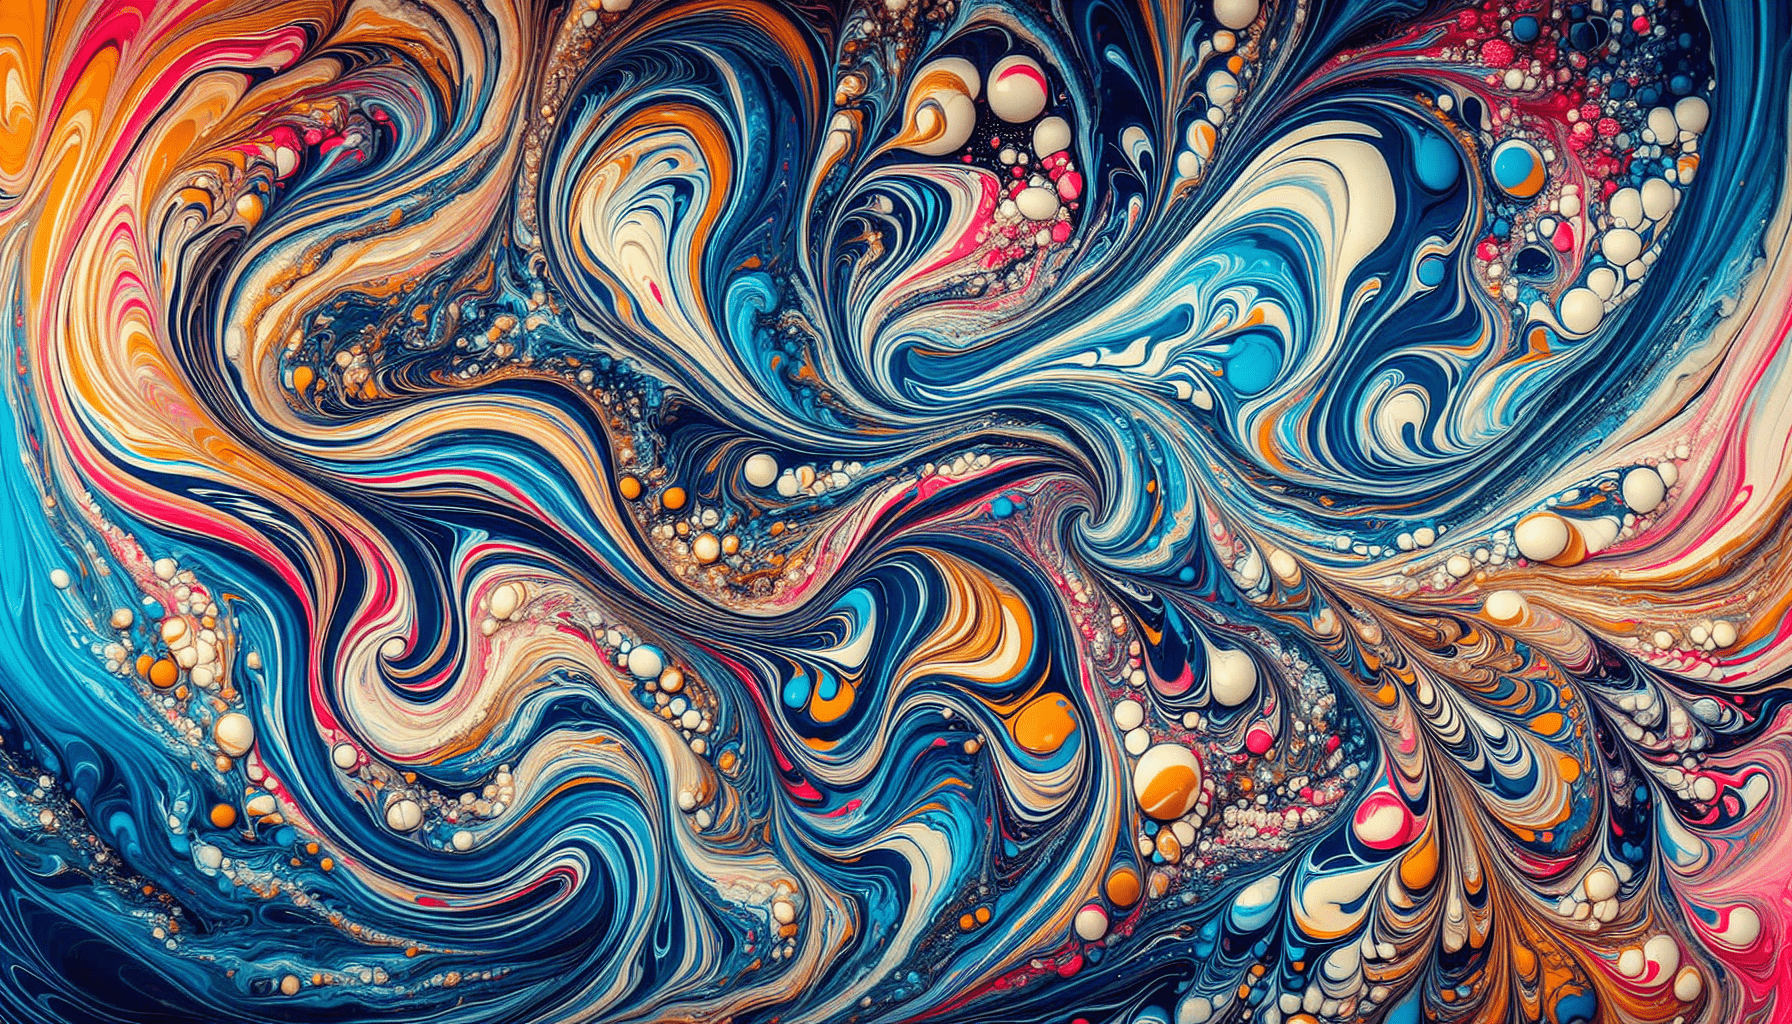
Acrylic marbling is a technique that involves floating acrylic paint on a liquid surface to create vibrant, flowing patterns. The process captures the fluid dynamics of paints, allowing you to manipulate colors before transferring them onto paper, canvas, or other materials. While traditional marbling dates back centuries, this modern variation leverages the properties of acrylics to offer a more accessible and versatile approach for contemporary artists and enthusiasts.
Historical Background
Though acrylic marbling is a relatively modern technique, marbling itself has a rich history. Originating in East Asia, specifically Japan and Turkey, traditional marbling often used inks and specialized water solutions. Initially used for book covers and decorative papers, the art gradually evolved, growing in popularity across Europe during the Renaissance. Today, acrylic marbling continues this legacy, merging ancient techniques with modern materials to achieve unique artistic expressions.
Essential Materials for Acrylic Marbling
Acrylic Paint
High-quality acrylic paints are crucial for marbling. They come in a vast spectrum of colors and have favorable properties, such as quick-drying and water-solubility, making them perfect for this technique. Consider using fluid acrylics for a smoother marbling effect due to their consistency.
Water Medium
To successfully float acrylics, the water medium must be prepared correctly. Generally, a thickening agent like carboxymethyl cellulose (CMC) or methylcellulose is mixed with water to create a marbling bath. This mixture ensures the paint remains buoyant and manageable on the liquid’s surface.
Containers and Trays
Select shallow trays or containers to hold the marbling bath. Ensure they are large enough to accommodate the items you will marble, such as paper or small canvases.
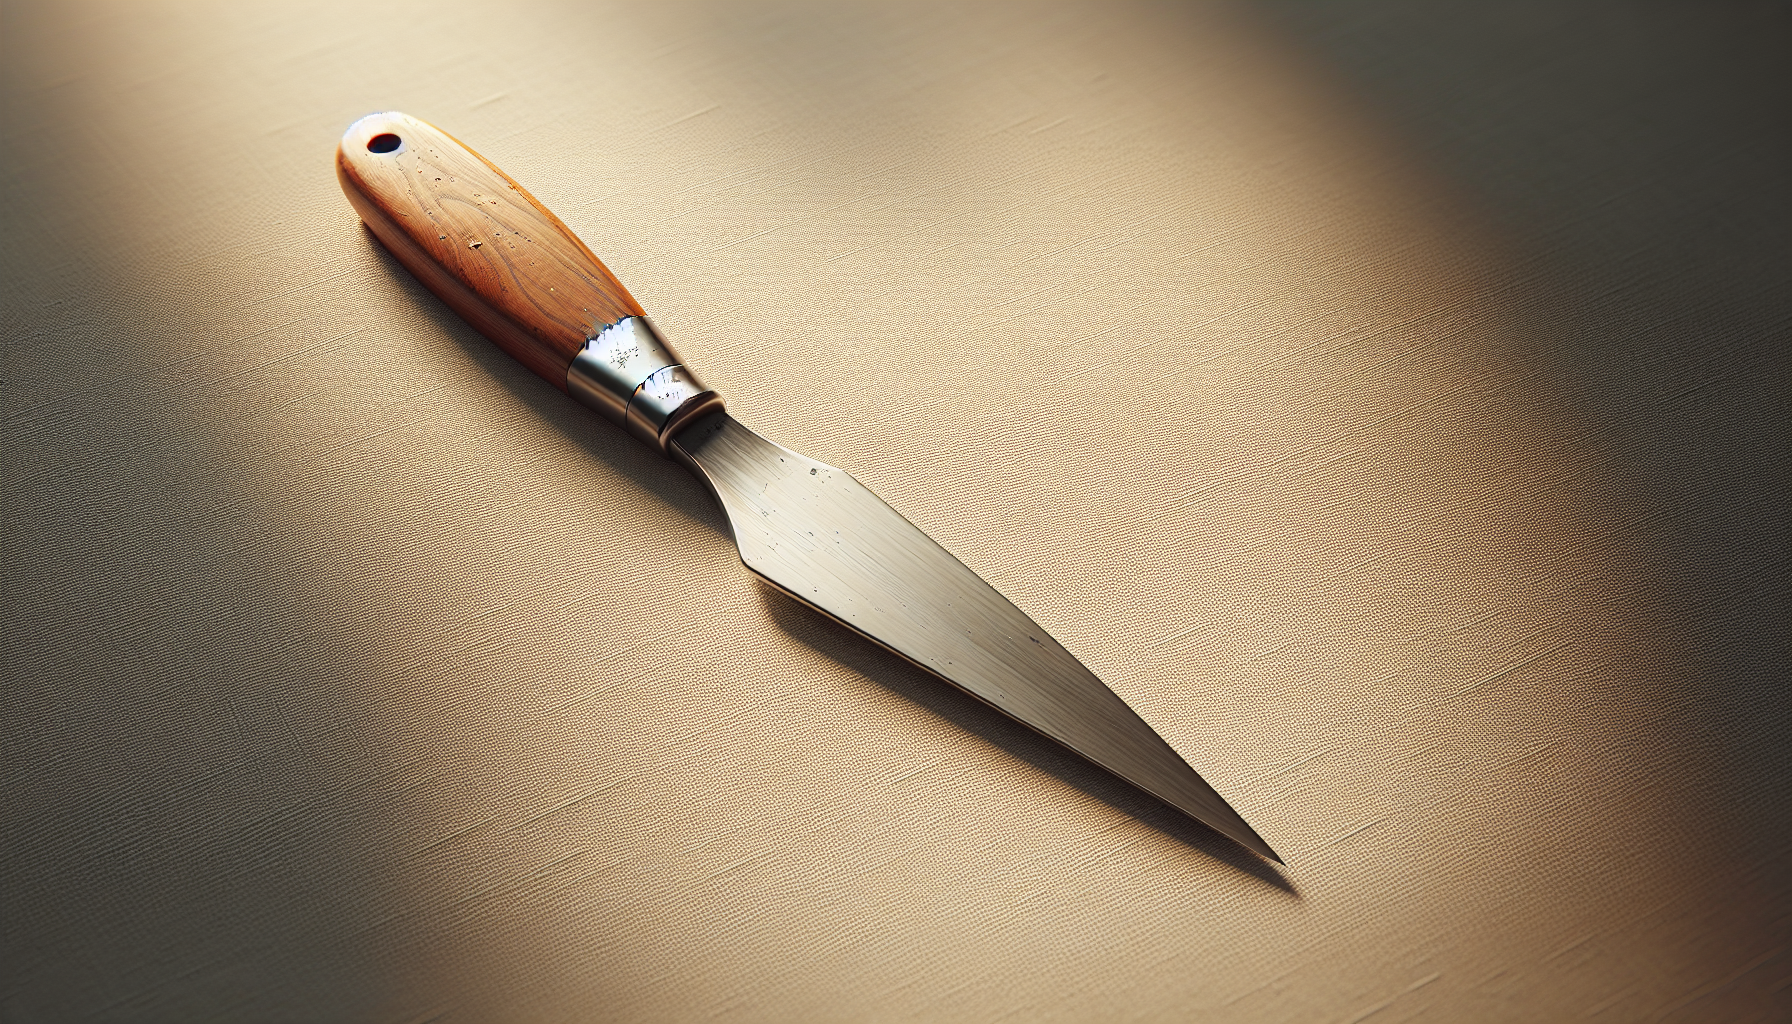
Marbling Comb and Tools
Specialized combs and tools are employed to manipulate the paint on the marbling bath. These come in various shapes and sizes, allowing you to create diverse patterns by dragging and swirling the paint.
Additional Supplies
- Pipettes or droppers for applying paint
- Protective gloves and apron
- Newspaper or tarps for workspace protection
- Skewers or toothpicks for finer details
Setting Up Your Workspace
Choosing the Right Environment
Setting up an ideal workspace is vital for a smooth marbling experience. Ensure you have a spacious, well-ventilated area to accommodate all your materials and protect surfaces from potential spills and stains.
Preparing the Marbling Bath
Start by mixing the thickening agent with water according to the manufacturer’s instructions. Once mixed, allow it to sit until it reaches the desired viscosity. The correct consistency should resemble thin syrup; neither too thick nor too thin.
| Agent | Mix Ratio | Notes |
|---|---|---|
| CMC | 1 tablespoon CMC to 1 liter of water | Allow it to sit for several hours or overnight |
| Methylcellulose | Mix as per package instructions | Typically requires less settling time |
Techniques for Marbling with Acrylic Paint
Basic Marbling Techniques
Once your workspace is ready, and the acrylic paints are prepared, you can begin with basic techniques to familiarize yourself with the process.
Step-by-Step Guide:
- Pour the Marbling Bath: Fill your container or tray with the prepared marbling bath, ensuring enough depth for your materials.
- Apply Paint: Use pipettes or droppers to gently apply drops of acrylic paint onto the bath’s surface. Start with small amounts and gradually add more to control the saturation and mixing of colors.
- Create Patterns: Utilize marbling combs or tools to swirl and drag the paint across the liquid surface, forming desired patterns.
- Transfer Design: Carefully lay paper or the chosen surface on the patterned paint, allowing it to absorb the colors.
- Remove and Dry: Lift off the paper or surface, allowing the paint to drip briefly before placing it on a drying rack or protected area.
Advanced Techniques for Intricate Patterns
As you become more proficient, you can experiment with complex techniques such as Spanish Wave, Nonpareil, or Feather patterns.
Spanish Wave Technique:
- Procedure: After applying colors, trace a wavy line using a skewer or marbling comb. Follow the line with further patterns to incorporate layers of movement and design.
Nonpareil Technique:
- Procedure: Once the surface colors are applied, use a marbling comb to create evenly spaced lines, then alternate pattern directions for a structured, rhythmic effect.
Troubleshooting Common Issues
While marbling is an exciting process, you may encounter challenges such as paint sinking or uneven patterns. Here are some troubleshooting tips:
- Sinking Paint: Check the consistency of your marbling bath. It may be too thin. Increase the thickening agent slightly.
- Uneven Patterns: Ensure paint is not too thick or heavy. Dilute it slightly with water for smoother application.

Safety and Cleanliness in Marbling
Personal Safety
Ensure you adhere to safety guidelines during marbling to prevent any adverse reactions or accidents. Wear protective gloves and an apron to protect your skin and clothing from paint and chemicals.
Maintaining a Clean Space
Maintaining cleanliness keeps your workspace safe and organized. Regularly wipe down surfaces, and store materials properly after use.
Application in Various Projects
Paper and Stationery
Acrylic marbling is ideal for creating unique, custom stationery. Consider marbling envelopes, bookmarks, or journal covers for personalized gifts or inventory.
Clothing and Fabrics
Fabric marbling involves slightly different techniques but offers amazing results. Ensure fabrics are pre-treated for marbling to ensure designs are colorfast and durable.
Home Décor
Expand your creativity by marbling home décor items such as vases, ceramics, or even furniture panels. Such additions can immensely elevate your space’s aesthetic appeal.
Conclusion
In mastering the art of marbling with acrylic paint, you combine skill, patience, and creativity to produce captivating designs. Whether you are a hobbyist or an aspiring artist, marbling offers endless possibilities for self-expression and artistic development. Through practice and exploration of various techniques and effects, your confidence and ability to innovate will surely grow. Embark on this journey and witness the potential beauty you can create with marbling.