Have you ever wondered how to create mesmerizing marble effects right in the comfort of your own home? Marbling is an ancient art form with a history steeped in tradition. It is a creative technique used to produce intricate, swirling, multi-colored patterns that mimic the natural veining found in marble stone. While traditionally associated with paper, marbling is a versatile art form that extends to fabrics, walls, and various other surfaces. This intricate art is an engaging way to add a personal touch to your decor or craft projects.
Understanding marbling may seem daunting at first, but with the right tools, materials, and techniques, you can transform plain surfaces into beautiful works of art. This comprehensive guide aims to explore the fascinating world of marbling, providing you with the necessary knowledge and skills to undertake your own marbling projects at home.
What is Marbling?
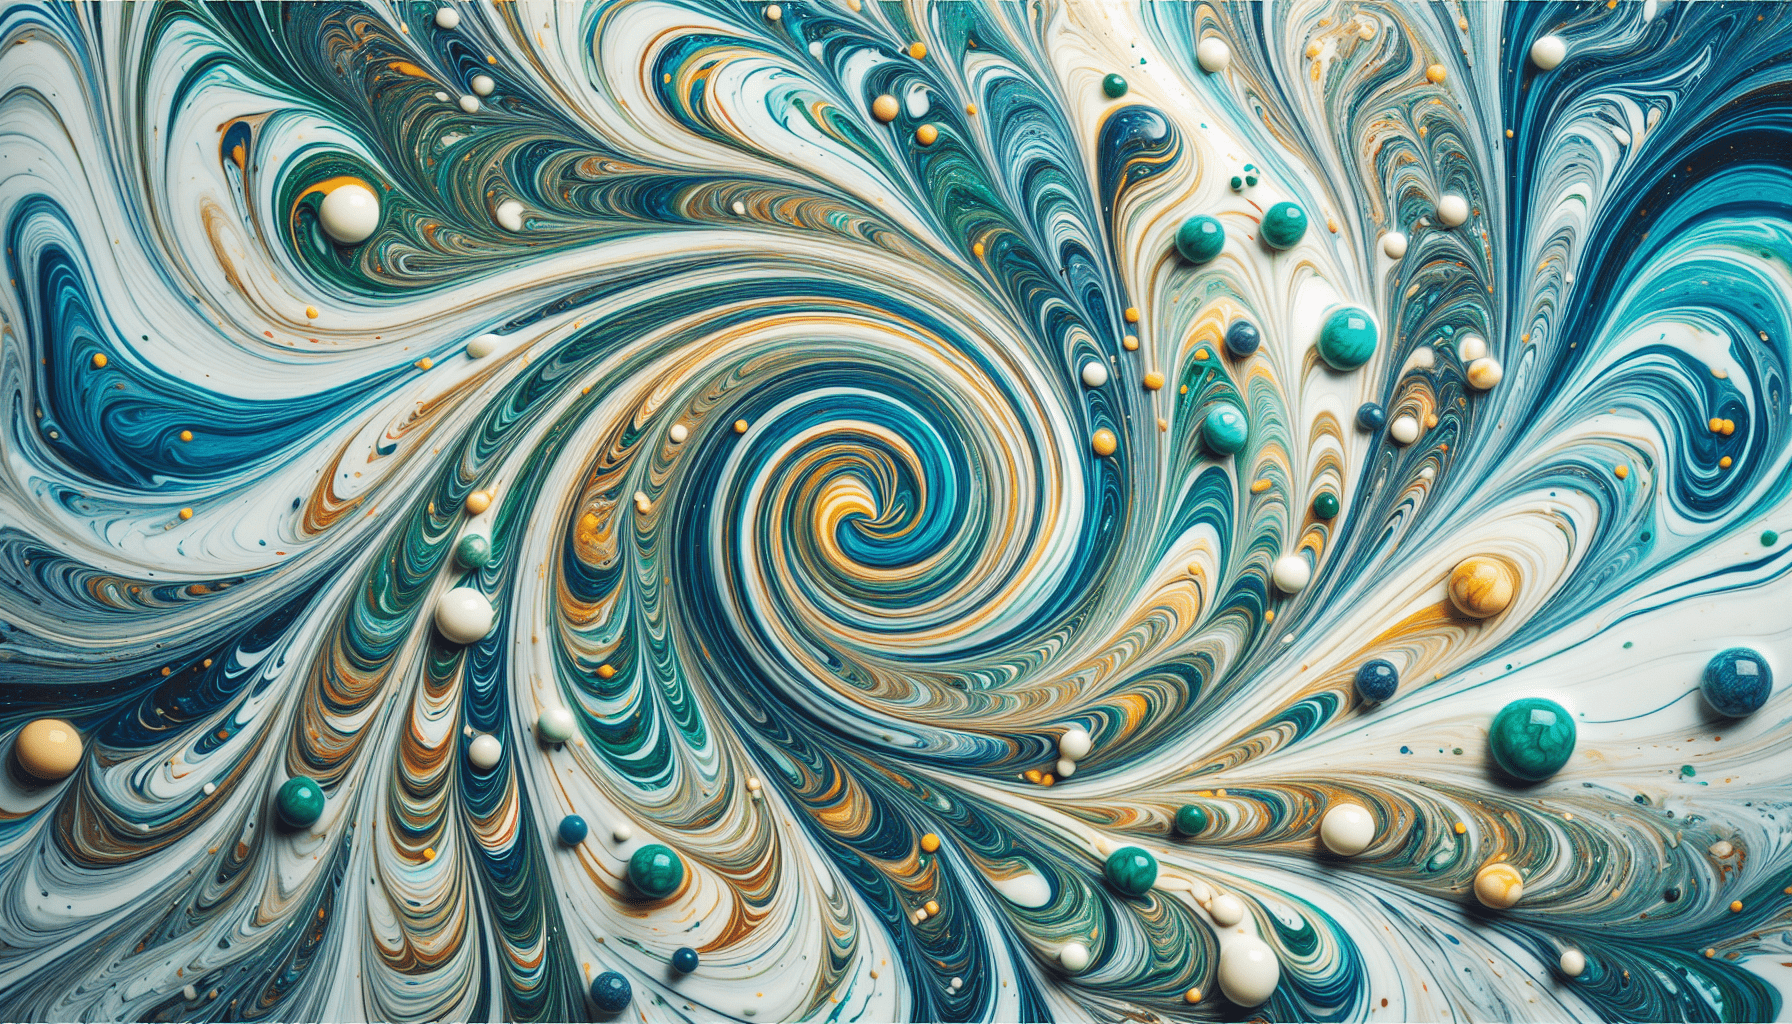
Marbling is an artistic technique that involves floating paint on the surface of a liquid medium, which is then transferred onto an absorbent surface. Originating in Asia, marbling has been practiced for centuries, with its roots tracing back to China and Japan before it made its way to Turkey, where it became known as “Ebru.” The process involves manipulating the paint into unique patterns, which are then captured on paper or cloth.
In its simplest form, marbling is a dance between liquid and pigment, where the two beautifully interact to create captivating designs. The medium’s fluidity allows you to create a range of designs, from delicate and detailed patterns to bold and abstract ones. The nature of marbling means that no two pieces are ever truly identical, lending a unique touch to each creation.
Why Try Marbling at Home?
Engaging in marbling can be highly rewarding, both creatively and aesthetically. It allows you to experiment with colors and shapes in a way that is both spontaneous and controlled. Whether you are customizing stationery or creating bespoke pieces for your interior spaces, marbling offers endless possibilities.
Not only does marbling provide a creative outlet, but it is also relaxing and meditative. Watching colors swirl and interact can be mesmerizing, while the physical act of marbling can offer a satisfying moment of focus and calm. Furthermore, the accessibility of materials makes it an art form that can be practiced by both beginners and experienced artists alike, making it perfect for artists aiming to expand their repertoire or for families seeking an engaging activity.
Tools and Materials Required
Essential Supplies
Before embarking on your marbling journey at home, gathering the necessary tools and materials is crucial. Ensuring you have everything you need will make the process smoother and more enjoyable. Here’s a basic list to get you started:
- Paints: Acrylic paints are commonly used for marbling. They are vibrant and versatile, allowing for a wide range of color manipulation.
- Medium: This can be a prepared marbling kit solution or you can create your own using a water and carrageenan mix.
- Tray: A shallow tray or container where you will layer your marbling medium.
- Paper or Fabric: Depending on your project, ensure your chosen material is absorbent.
- Droppers or Brushes: For applying paint onto the medium’s surface.
- Marbling Combs or Sticks: To create specific patterns in the floating paint.
- Protective Gear: Apron and gloves to protect clothing and skin from staining.
Additional Supplies
To enhance your marbling experience and create more intricate patterns, you might also consider acquiring the following:
| Item | Purpose |
|---|---|
| Alum | Used to treat paper or fabric, helping paint adhere better. |
| Racks or Line | For drying finished pieces without smudging. |
| Squeegee | To remove excess liquid from the finished product. |
| Additional Colors | Expands creative possibilities with more vibrant results. |

Preparing Your Workspace
Setting up an appropriate workspace is key to a successful marbling project. Ideally, you want a large, clean, and uncluttered area with enough room for your marbling tray, paints, materials, and drying racks. Cover any surfaces you wish to protect with plastic sheeting or newspapers, as marbling can be a messy process.
Ensure your workspace is well-ventilated, especially if you’re using any strong-smelling mediums or solvents. Having good lighting will help you better see and appreciate the colors and patterns as they develop on the medium’s surface. Organize your tools and materials within easy reach to maintain a smooth workflow during the marbling process.
Preparing the Marbling Medium
The medium serves as the base on which paint floats, allowing for pattern creation. One popular preparation involves carrageenan, a natural product derived from seaweed, mixed with water to create a thickened gel-like surface. This mixture is vital to accomplishing the marbling effect.
Making the Carrageenan Solution
To make your own carrageenan solution, follow these steps:
- Mix Water and Carrageenan: In a large container, mix carrageenan powder with warm water. Follow the manufacturer’s instructions for proportions, but a common ratio is 1 tablespoon of carrageenan per 2 cups of water.
- Blend Thoroughly: Use a whisk or an electric mixer to ensure the carrageenan dissolves completely.
- Let it Sit: Allow the mixture to sit for several hours, ideally overnight. This resting period helps to eliminate any bubbles and allows the thickener to fully activate.
- Pour into Tray: Once the solution is ready, carefully pour it into your marbling tray. Aim for a depth of about three to four inches.
Selecting Paints for Marbling
Choosing the right paints is critical in marbling. Acrylic paints are effective due to their range of vibrant colors and ability to maintain their integrity when mixed with water. However, they require some thinning before use in marbling. Secondary options include oil paints, which float naturally but are more challenging to clean.
Mixing Paints
To prepare acrylic paints for marbling:
- Dilute with Water: In a small container, mix your acrylic paint with water until it reaches a thin, ink-like consistency.
- Add Drop of Dish Soap: This helps the paint float better on the medium’s surface.
- Test Consistency: Drop a small amount onto the medium. If it sinks, adjust by adding more water or soap. If it spreads too easily or bubbles, it may be too thin.

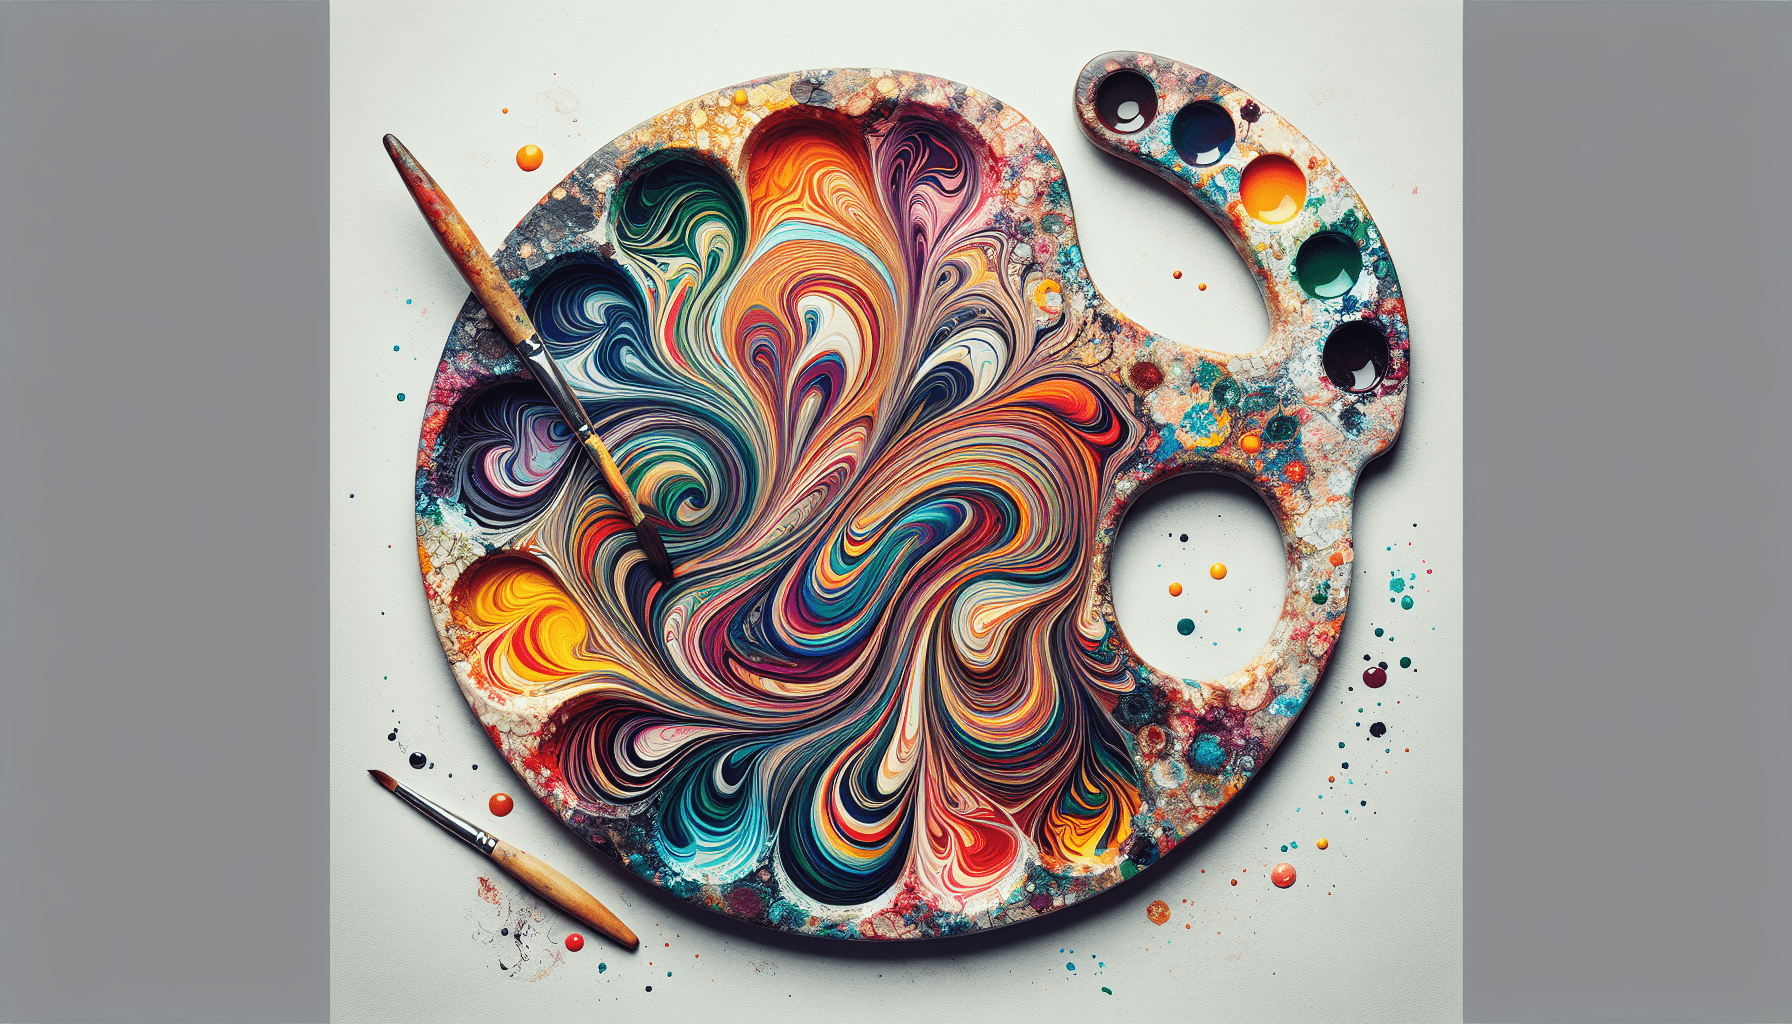
Pattern Creation Techniques
Creating patterns is where the true artistry of marbling begins. The design possibilities are virtually limitless, but they often start with a few basic techniques:
Basic Patterns
- Stone Pattern: Create random droplets of paint on the surface until it resembles scattered stones.
- Comb Patterns: Use a marbling comb or simple stick to create wavy or linear patterns in your design.
- Fan Patterns: Starting from the center of the tray, fan outward using a comb for sunburst effects.
Advanced Patterns
- Nonpareil: Make evenly spaced lines across your tray using a comb, then drag another tool through the lines at equal intervals to create characteristic waves.
- Peacock Patterns: Use vibrant colors to create circular or eye-shaped designs across the medium, achieved through a combination of drip and swipe motions.
Transferring Your Design to Paper or Fabric
Once you have a design you’re satisfied with on the medium’s surface, it’s time to transfer it onto your desired material. Follow these steps:
- Pre-Treat Material: For paper, consider treating it with alum to improve adherence. For fabric, ensure it’s been washed and ironed.
- Lay Material Gently: Carefully place your paper or fabric onto the surface of your medium. Avoid creating bubbles or ripples.
- Press Evenly: Use light pressure with a roller or your hands to ensure even contact between the material and the medium.
- Lift Carefully: Starting from one corner, gently lift your material away from the medium, revealing your marbled design.
Drying and Finishing
After transferring, proper drying is critical. Depending on the material used, air drying is typically sufficient. Use drying racks or a simple clothesline to hang pieces for optimal results. Make sure to provide ample space between pieces to prevent smudging.
For long-term preservation, consider applying a fixative or varnish, especially on fabrics. This helps to seal in colors and prevent fading over time.
Troubleshooting Common Issues
Marbling, while relatively straightforward, can present some challenges. Here are a few common problems and their respective solutions:
Paint Sinking
If your paint sinks rather than floats, it’s often due to inadequate dilution or heavy paint:
- Solution: Thin your paint further with water and add a drop of dish soap. This helps to reduce density, allowing it to float more effectively.
Uneven Patterns
Patterns may appear uneven if the surface tension is not uniform:
- Solution: Stir your medium gently before starting to break up any inconsistencies in the thickener.
Smudges on Print
Smudging can occur during the lifting process:
- Solution: Use careful lifting techniques. Ensure the material is evenly placed and only use gentle pressure.
Experimenting and Personalization
Once you’re familiar with the basic techniques, don’t hesitate to experiment with your marbling process. Different combinations of colors, tools, and techniques can yield surprising and beautiful results.
Customizing Colors
Mix paints to create your custom palette. Consider contrasting colors for bold effects or analogous tones for more subdued patterns. The possibilities are truly endless.
Unique Pattern Tools
Branch out from traditional sticks and combs. Use everyday objects like forks, toothbrushes, or sponges to create new pattern dynamics. This can lead to innovative effects distinctly yours.
Applying Marbling in Everyday Projects
Marbling isn’t just for paper or fabric. Its application can enhance a variety of household items:
- Stationery: Spruce up plain writing materials or notebooks with personalized marbled covers for a unique aesthetic.
- Home Decor: Consider marbling items like lamp shades, picture frames, or even wall panels for a sophisticated touch.
- Fashion: For the adventurous, try marbling scarves or canvas shoes to make a personal style statement.
Caring for Marbled Items
Proper care will extend the life of your marbled creations. For fabric items, gentle hand washing with mild detergent will help preserve colors. Store paper products in a cool, dry place away from direct sunlight.
Conclusion
Marbling is a time-honored craft that brings the beauty and randomness of nature right into your hands. Its versatility across different mediums and simplicity in execution make it a compelling art form to explore at home. With practice and experimentation, you’ll develop both skill and confidence, allowing your creativity to flourish in this captivating art. By learning the nuances of marbling, you embark on a journey where each swirl and color combination tells its own story, celebrating the fusion of color, movement, and imagination.
In embracing marbling, you wield the ability to create something beautiful and entirely unique, bringing your artistic visions to life in a tangible and visually stunning format.