Effectively maintaining your Wagner paint sprayer when using oil-based paints is crucial to ensure its longevity and performance. In the article “How to Clean Wagner Paint Sprayer Oil Based,” you will be guided through a systematic approach to cleaning your paint sprayer. From disassembling the sprayer and removing residual paint to thoroughly washing and inspecting individual components, this comprehensive guide equips you with the knowledge and steps needed to keep your equipment in optimal working condition. Have you ever wondered how to maintain and clean your Wagner paint sprayer after using oil-based paints? Cleaning your equipment is crucial to ensure its longevity and functionality. Failing to clean your sprayer properly can result in the malfunction of the unit and poor paint jobs down the line. This article will guide you through the steps necessary to clean a Wagner paint sprayer after using oil-based paints, ensuring it remains in optimal working condition for future projects.

Understanding Your Wagner Paint Sprayer
Before diving into the cleaning process, it’s essential to understand the different components of your Wagner paint sprayer. Knowledge of the equipment will help you clean it more effectively and handle it with care.
Key Components of Wagner Paint Sprayer
- Nozzle: The part where the paint is released.
- Pump: Pushes the paint from the container through the nozzles.
- Paint Container: Holds the paint to be sprayed.
- Trigger: Wrapped around the handle, controlling the release of paint.
Each of these parts needs attention during cleaning to prevent paint build-up and ensure smooth operation.
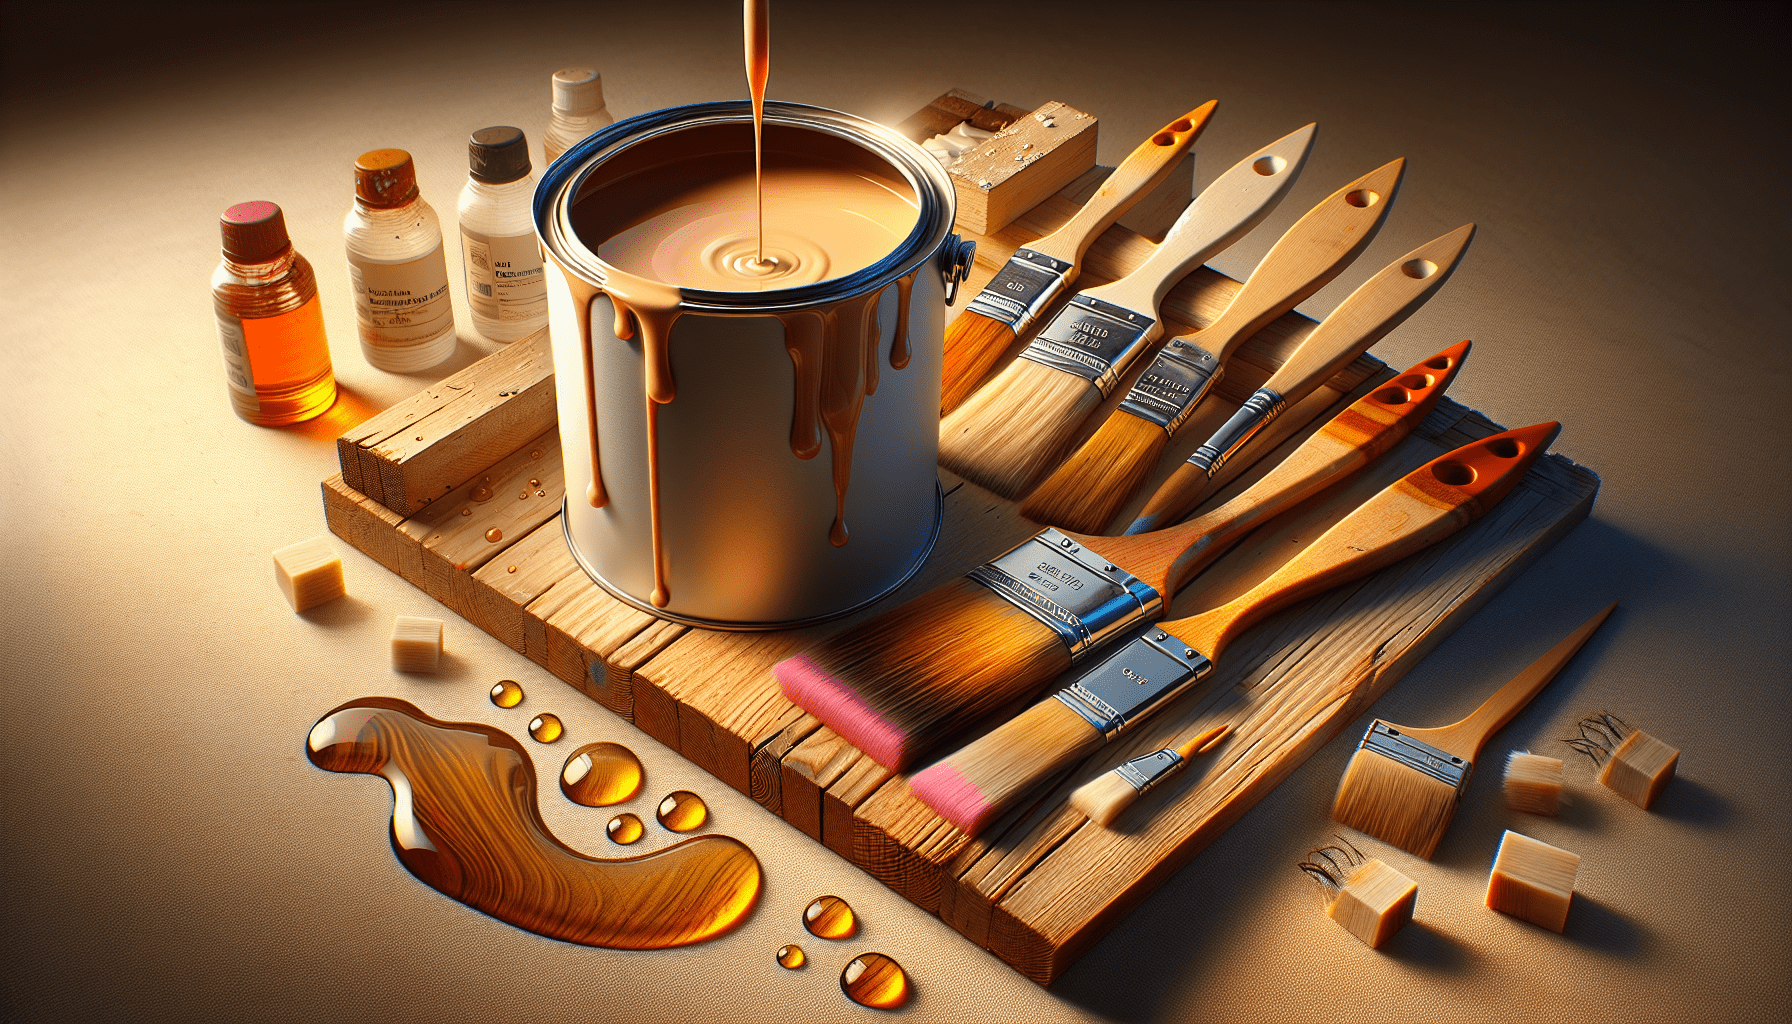
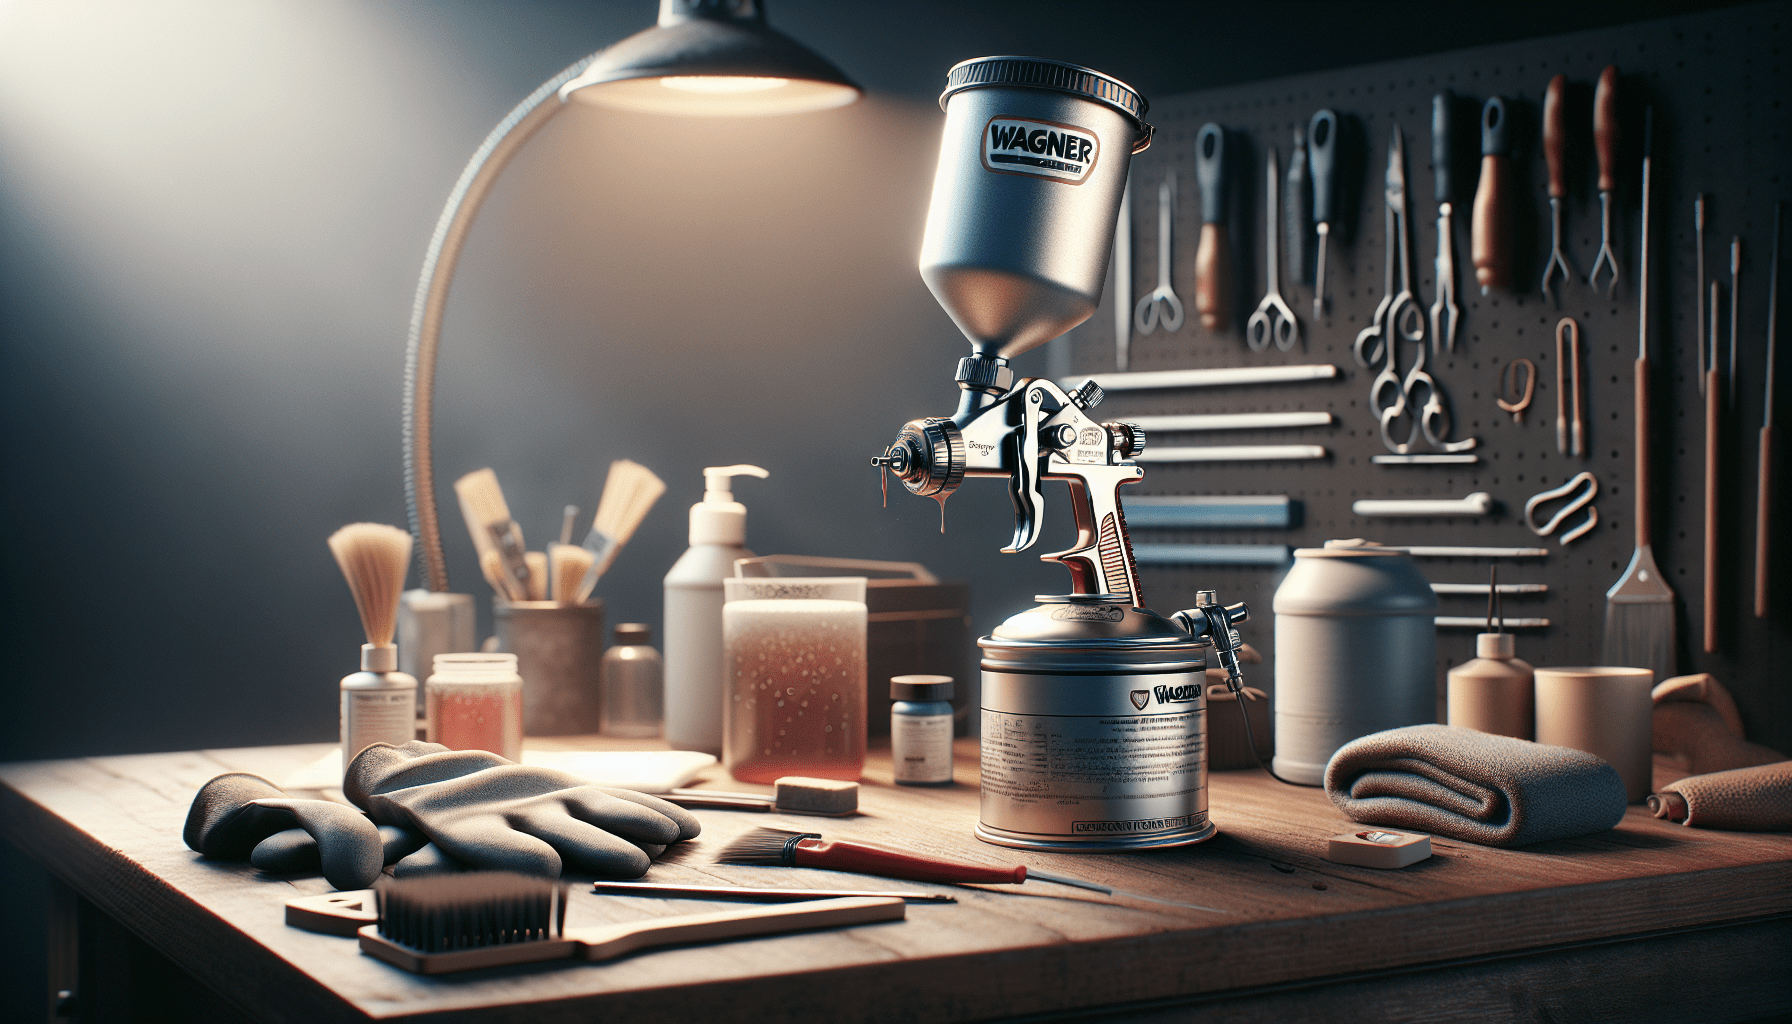
Preparation Before Cleaning
Preparing adequately before starting the cleaning process makes the task easier and more efficient. Here’s what you need to do to get ready.
Materials Needed
Gather these materials:
| Material | Purpose |
|---|---|
| Mineral spirits | Dissolves oil-based paint residues |
| Cleaning brush | Scrubs off paint build-up |
| Rags or cloths | Wipe down the sprayer and components |
| Container | Holds the cleaning solution or mineral spirits |
| Water | Rinse and initial paint dilution |
| Protective gear | Prevent exposure to chemicals and paint |
Ensure you have all the necessary equipment before you begin.
Workspace Setup
Choose a well-ventilated workspace to avoid inhaling any harmful fumes from the oil-based paints or cleaning solvents. Cover any surfaces with plastic sheets or newspapers to protect them from splatters.
Step-by-Step Cleaning Process
Now, let’s dive into the specific steps for cleaning your Wagner paint sprayer after using oil-based paint.
Step 1: Disassemble the Sprayer
First, disassemble the sprayer into its individual components.
- Unplug the sprayer and disconnect it from any power source.
- Detach the paint container and empty any remaining paint back into its original container.
- Remove the nozzle, pump, and trigger components.
Having the parts detached will make them more accessible for thorough cleaning.
Step 2: Initial Rinse
The initial rinse removes excess paint residue.
- Internal Rinse:
- Pour a small amount of water into the paint container.
- Use the sprayer to spray the water until it runs clear, ensuring most of the residual paint is washed away.
- External Wipe Down:
- Use a damp rag to wipe the outside parts of the sprayer, including the handle and exterior of the paint container.
Step 3: Clean the Paint Container
Cleaning the paint container involves removing residual paint and solvent.
- Pour some mineral spirits into the container.
- Swish it around to dissolve the oil-based paint.
- Use a brush to scrub the inside, ensuring to clean hard-to-reach areas.
- Empty the container and repeat if necessary.
Step 4: Clean the Nozzle
Proper cleaning of the nozzle is crucial for preventing blockages.
- Soak the nozzle in a container filled with mineral spirits.
- Use a needle or pin to clear any paint build-up in the spray tip.
- Scrub the nozzle with a soft brush, ensuring all paint residue is removed.
Step 5: Clean the Pump
The pump is an integral part of the sprayer and requires careful handling.
- Fill a container with fresh mineral spirits.
- Attach the pump to the container filled with mineral spirits if possible.
- Operate the sprayer to circulate the cleaning solution through the pump.
- Repeat until the discharged fluid is clear.
Step 6: Clean the Trigger and Other Small Parts
Small parts like the trigger need a detailed approach.
- Soak them in mineral spirits for a few minutes.
- Use a small brush to scrub them gently.
- Wipe them down with a clean cloth.
Step 7: Final Rinse and Dry
Finish off the cleaning process with a final rinse.
- Rinse all the components with clean water.
- Ensure you run water through the sprayer system as well.
- Wipe down and dry all the parts thoroughly before reassembling the sprayer.
Maintenance Tips
Regular maintenance will keep your Wagner paint sprayer in top shape and ready for future projects.
Regular Inspection
Regularly inspect the sprayer for signs of wear and tear or any paint build-up that may affect its performance. Replace worn out parts promptly.
Proper Storage
Store your Wagner paint sprayer in a cool, dry place. Ensure that all the components are completely dry before storing to prevent rust and corrosion.
Use Compatible Solvents
Always use solvents that are compatible with oil-based paints for cleaning your sprayer. Avoid strong chemicals that can damage the components.

Troubleshooting Common Issues
Even with regular maintenance, you may encounter some issues with your Wagner paint sprayer. Here are solutions to common problems:
| Problem | Solution |
|---|---|
| Clogged Nozzle | Soak in mineral spirits and use a needle to clear the blockage. |
| Uneven Spray | Clean the nozzle and ensure the paint is properly thinned. |
| Pump Not Working | Check for blockages and ensure the components are properly assembled. |
Conclusion
Cleaning your Wagner paint sprayer after using oil-based paints is a critical task that ensures the longevity and efficient operation of your equipment. By following the detailed steps and tips provided in this article, you can keep your sprayer in optimal condition, ready for any future painting projects. Regular maintenance paired with proper cleaning will prevent common issues and prolong the lifespan of your Wagner paint sprayer.