Maintaining the cleanliness and functionality of your painting tools is essential for achieving professional and flawless results. In the renowned article “How To Clean Dried Latex Paint Brush,” you will explore effective techniques and step-by-step instructions to restore the usability of a dried latex paint brush. By following these expert tips, you will not only prolong the lifespan of your brushes but also ensure that your future painting projects are executed with utmost precision.
Materials Needed
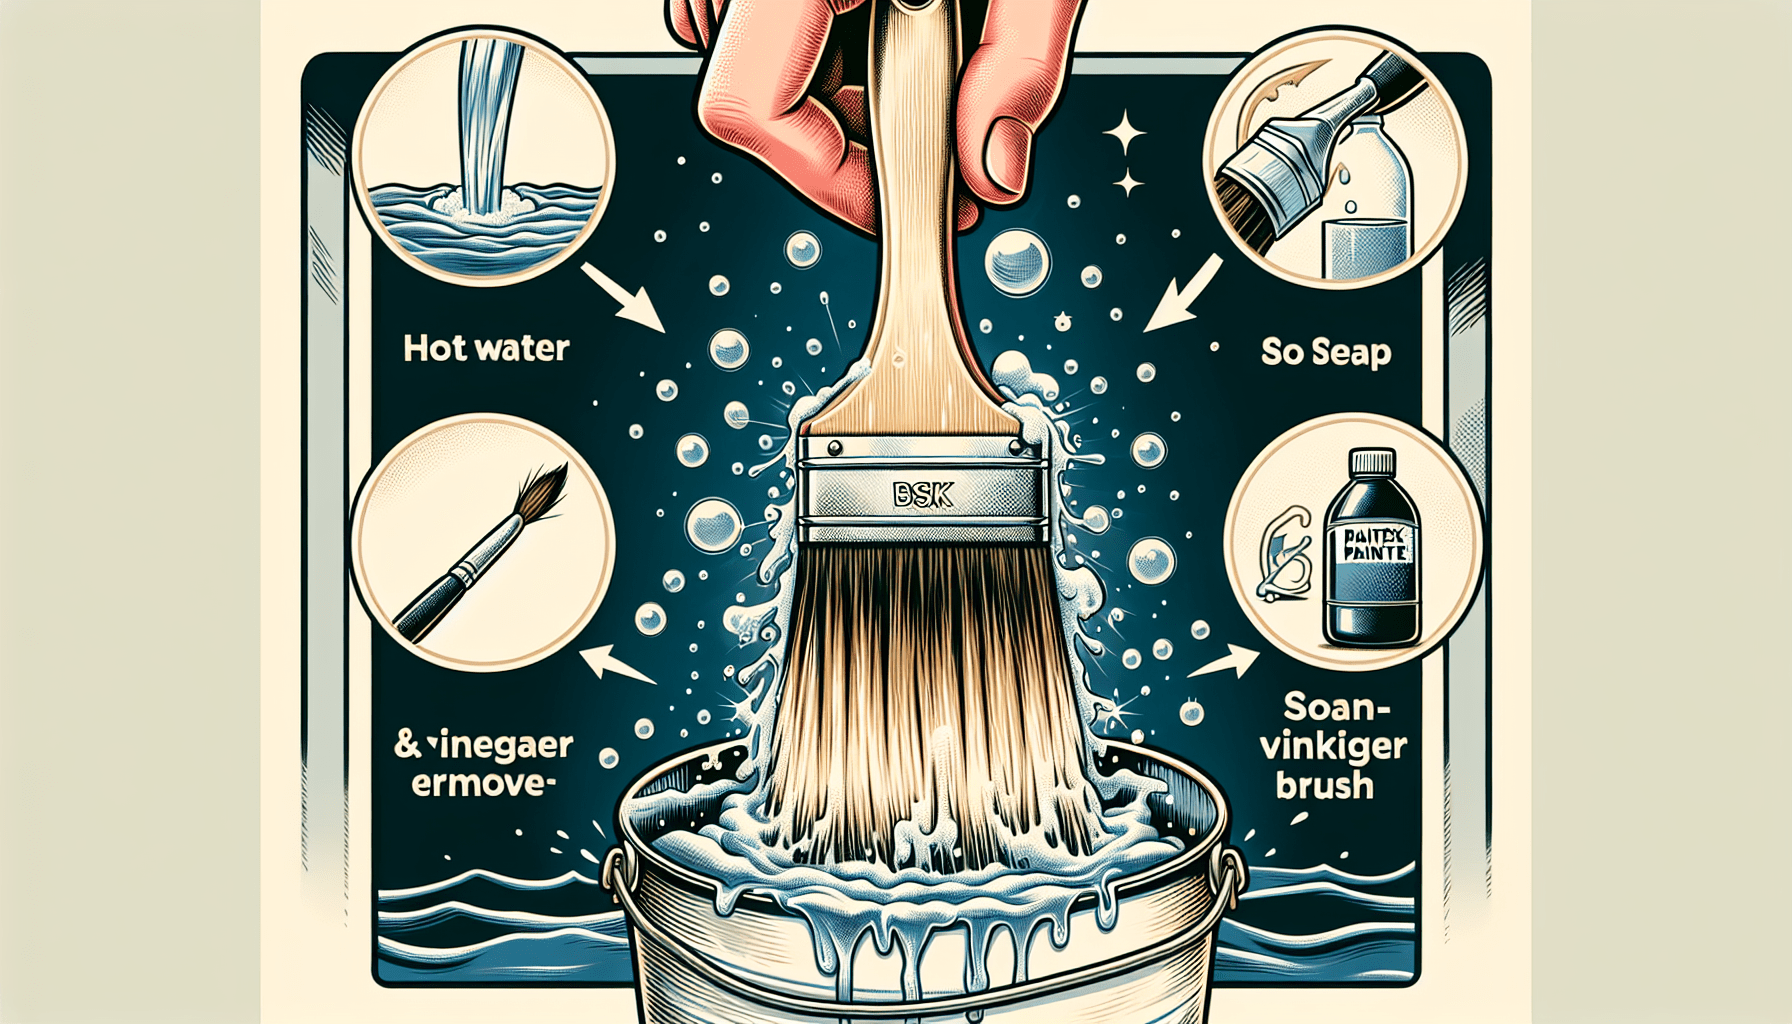
To clean a dried latex paint brush, you will need the following materials:
Warm water
Warm water is essential for softening the dried paint and making it easier to remove from the brush bristles.
Liquid dish soap
Liquid dish soap helps to break down the paint and remove any oils or residues from the brush.
Plastic container
A plastic container that is large enough to hold the paint brush will be used to soak the brush and clean it.
Old toothbrush
An old toothbrush will be used to scrub the bristles and loosen any dried paint particles.
Rubber gloves
Rubber gloves should be worn to protect your hands from any harsh chemicals or paint residues.
Clean cloth or paper towels
A clean cloth or paper towels will be used to dry the brush after cleaning.
Paint thinner (optional)
Paint thinner can be used if the dried paint is particularly stubborn and difficult to remove.
Wire brush (optional)
A wire brush can be used in combination with paint thinner to scrape off any remaining dried paint.
Removing Excess Paint
Before cleaning the brush, it is important to remove as much excess paint as possible. Follow these steps to remove excess paint:
- Scrape off any excess paint from the brush using a scraper or the edge of a putty knife. Be careful not to damage the bristles in the process.
- Once the excess paint has been scraped off, use a paper towel to blot the brush. This will help absorb any remaining wet paint and prevent it from spreading further.
- Repeat the blotting process until no more wet paint transfers onto the paper towel.

Preparation
Before starting the cleaning process, it is important to prepare the necessary materials and create a suitable cleaning environment. Follow these steps to prepare:
- Put on rubber gloves to protect your hands from any chemicals or paint residues.
- Prepare a warm soapy water mixture by filling a plastic container with warm water.
- Add a few drops of liquid dish soap to the water and mix until it becomes soapy. The warm, soapy water will help to loosen and dissolve the dried paint.
Cleaning Process
Once the necessary preparations have been made, follow these steps to clean the dried latex paint brush:
- Begin by soaking the brush in the soapy water mixture. Ensure that all bristles are completely submerged.
- Swirl the brush in the water, allowing the warm soapy water to penetrate the bristles and break down the dried paint.
- Gently scrub the bristles with an old toothbrush in a back-and-forth motion. This will help to loosen any remaining paint particles.
- Continue scrubbing until the bristles are clean and all dried paint has been removed.
- Rinse the brush under running water to remove any soapy residue and remaining paint particles.
- Inspect the bristles closely to check if there is any remaining paint. If necessary, repeat the cleaning process until the brush is completely clean.
- If the dried paint is particularly stubborn, you may need to use paint thinner. Apply a small amount of paint thinner to a cloth or paper towel, and gently rub the bristles with the paint thinner. Be sure to rinse the brush thoroughly afterwards to remove any paint thinner residue.
Drying the Brush
After cleaning the brush, it is important to ensure that it is properly dried before storing it. Follow these steps to dry the brush:
- Pat dry the bristles with a clean cloth or paper towels to remove any excess water.
- Reshape the bristles if necessary by gently combing through them with your fingers. This will help the brush maintain its original shape.
- Place the brush in a well-ventilated area, such as a drying rack or hanging it upside down, to air dry completely.
- Ensure that the brush is completely dry before storing it, as any moisture left on the bristles can lead to mold or mildew growth.
Extra Steps for Stubborn Paint
If the dried paint is particularly stubborn and difficult to remove, you can follow these additional steps:
- Create a paint thinner mixture by combining equal parts of paint thinner and warm water in a plastic container.
- Brush the paint thinner mixture onto the dried paint, making sure to fully saturate the bristles.
- Let the paint thinner mixture sit on the dried paint for a few minutes to soften the paint.
- Scrub the bristles with a wire brush in a back-and-forth motion to help loosen the dried paint particles.
- Rinse the brush thoroughly under running water to remove any remaining paint and paint thinner residue.
- Repeat the process if necessary until all the dried paint has been removed.
Tips and Precautions
To ensure the best results and protect your brushes, consider the following tips and precautions:
- Do not leave the brush soaking in paint thinner for too long, as this can damage the bristles.
- Avoid using excessive force when scrubbing the bristles to prevent damage.
- Clean the brush as soon as possible after use to prevent the paint from drying and becoming more difficult to remove.
- Always wear rubber gloves to protect your hands from any chemicals or paint residues.
- Dispose of or recycle any leftover paint properly, following local regulations and guidelines.
Conclusion
By following these steps, you can effectively clean a dried latex paint brush and prolong its lifespan. Regular maintenance and proper cleaning techniques will ensure that your brushes stay in good condition, ready for your next painting project. Taking the time to clean and care for your paint brushes will not only save you money in the long run but also result in better painting results.