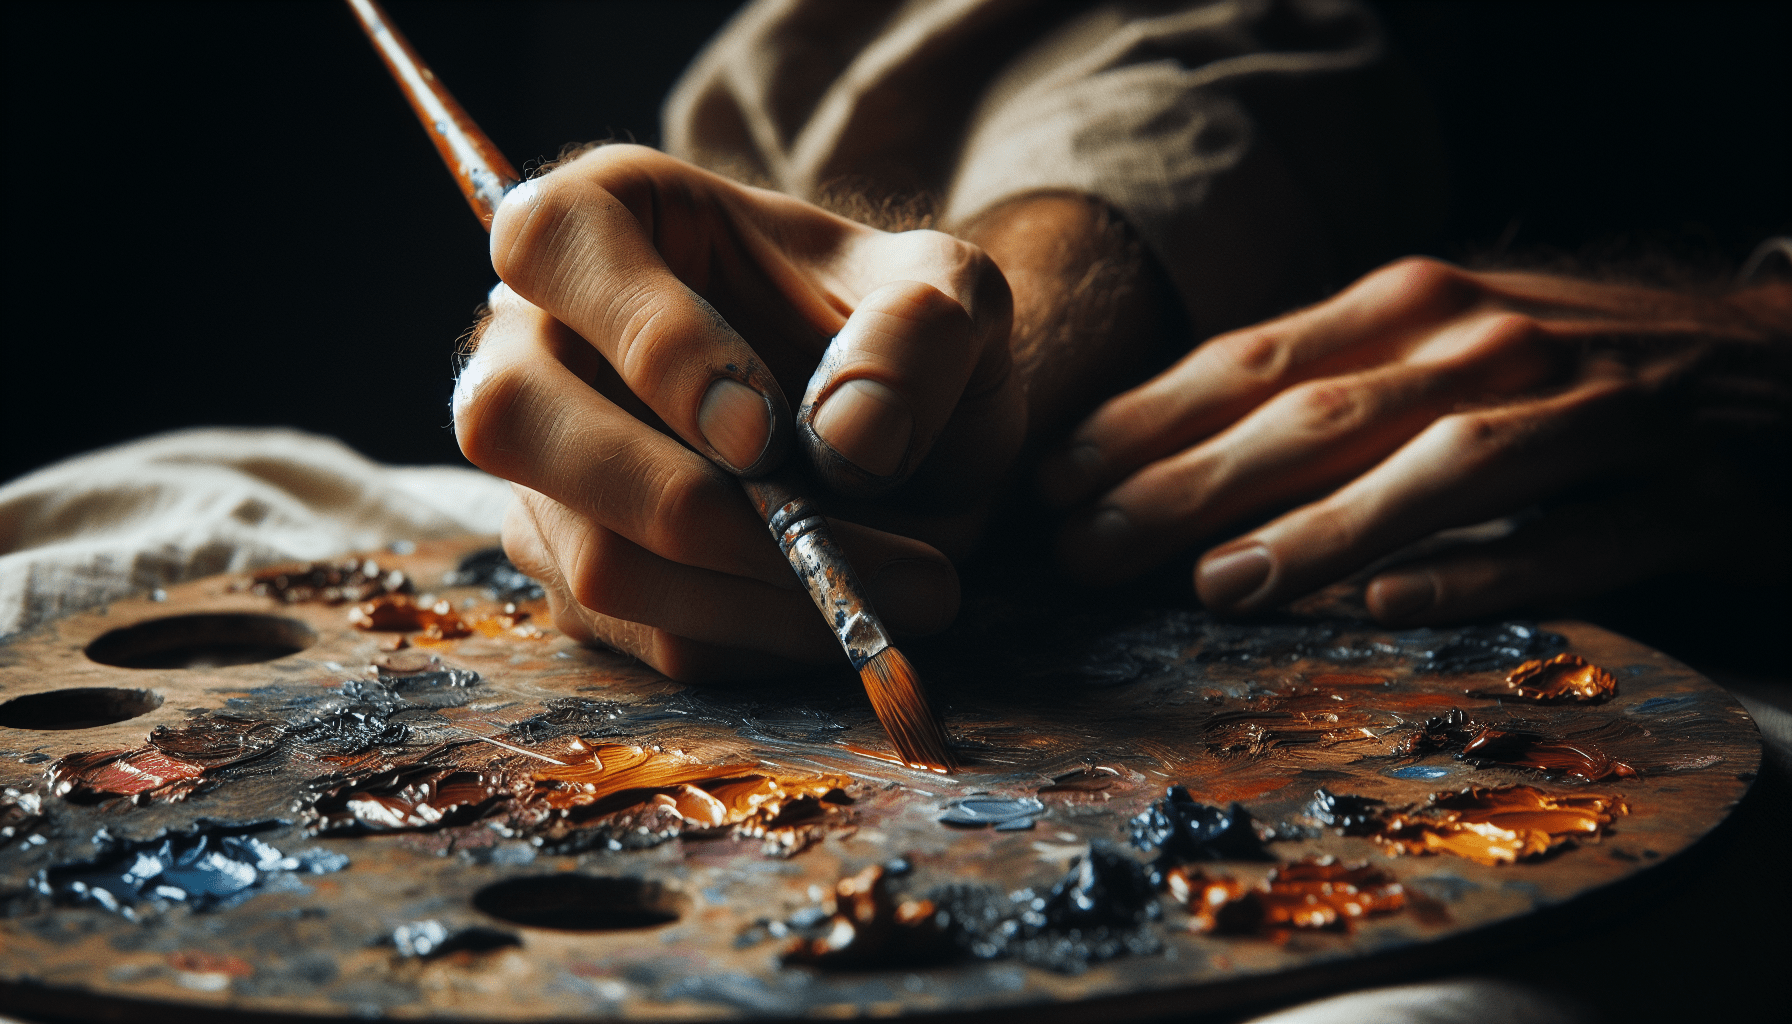
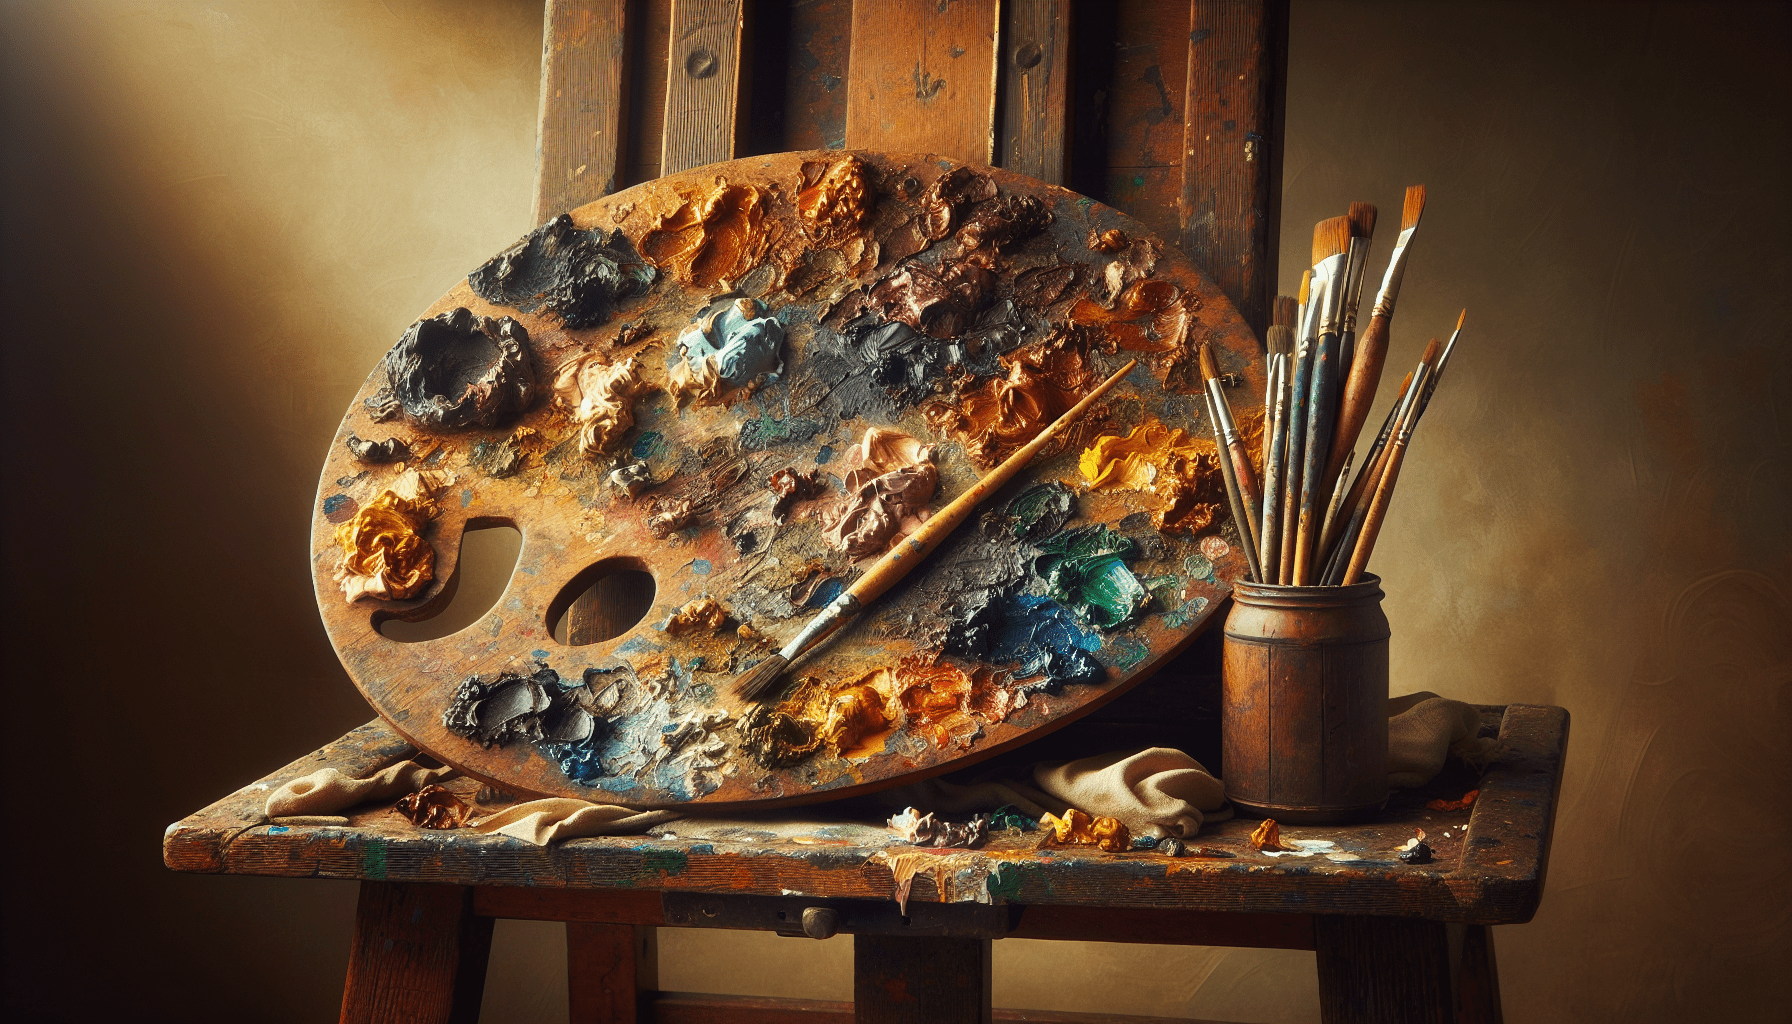
As an art enthusiast or a collector, proper care for artistic masterpieces, particularly old oil on canvas paintings, is an indispensable skill. “How To Clean An Old Oil On Canvas Painting” provides valuable insights into best practices for maintaining the pristine condition of your cherished pieces. This comprehensive guide empowers you with crucial know-how, from identifying signs of grime buildup to employing safe and effective cleaning strategies. Let’s embark on this journey of preserving the beauty of your precious works of art.

Assess the Condition of the Painting
Before embarking on the cleaning process, it’s crucial to assess the painting’s condition. Artworks, especially older ones, can be extraordinarily delicate, and the right approach can differ vastly from one piece to another.
Examine the painting for dirt, dust, and grime
Begin by looking for visible dust, dirt, and grime. Over time, these contaminants can gather on the surface of your painting, becoming more embedded in its texture as the years pass. Should these materials be left untreated, they could eventually damage the artwork, so make sure to examine every inch of the painting carefully.
Check for discoloration, yellowing, or darkening
Next, scrutinize the painting for any signs of discoloration, yellowing, or darkening. These changes can occur due to exposure to sunlight, humidity, or unsuitable storage conditions. They change the tone of the colors, diminishing the painting’s vibrant hues and distort the artist’s original intent.
Look for areas with flaking or peeling paint
Flaking or peeling paint is a critical sign of an endangered artwork: it indicates areas where the paint and the canvas are no longer in contact. Identify such areas during your examination as they require special care during the cleaning process.
Note any mold or mildew growth
Finally, check for signs of mold or mildew growth. These fungi not only blemish the painting’s aesthetics but also pose a risk to its longevity by breaking down the canvas and paint layers.
Preparing the Cleaning Area
Once you have examined your artwork, the next step is to prepare your cleaning area. An inadequately prepared workspace can inadvertently cause extra damage to the painting.
Choose a clean and well-ventilated area to work
The first requirement in preparing the cleaning area is to ensure cleanliness and ventilation. Working in a clean space minimizes the risk of introducing new contaminants, and good airflow aids in drying the painting later on.
Cover the work surface with a clean cloth or plastic sheet
Covering your work surface protects it from any cleaning solutions you’ll use, and prevents the backside of the painting from coming into direct contact with the surface. Choose a material that will not react with your cleaning solutions, like a clean cloth or plastic sheet.
Wear gloves to protect your hands
While cleaning, you will come into contact with different substances, possibly including mild irritants. By wearing gloves, you protect your skin and also prevent the transfer of body oils that could harm the painting’s surface.
Place a drop cloth or protective covering underneath the painting
Placing a drop cloth or protective covering under the painting helps to avoid any unintentional staining or discoloration from drips or spills that may occur during cleaning.
Dust Removal
The first step in the actual cleaning process involves removing loose dust and dirt from the painting.
Use a soft brush or a clean, lint-free cloth to gently remove loose dust and dirt
Avoid aggressive scrubbing and rubbing motions; instead, opt for light, delicate brush strokes or gentle dusting movements with your cloth.
Start from the top corner and work your way down
This approach allows the dust to fall away from the painting instead of settling in already-clean areas.
Be careful not to apply too much pressure or scrub the painting
Inappropriate pressure or scrubbing can inadvertently remove paint or damage the canvas. Remember, the goal is to remove dust, not the layers of the artwork itself.
Testing Cleaning Solutions
Your selected cleaning solution should be tested before applying it wholesale, to prevent accidental damage to the painting.
Perform a patch test on a small, inconspicuous area of the painting
Choose an area that is typically hidden from sight when the painting is displayed and test your cleaning solution here first.
Choose a mild cleaning solution such as distilled water or a specialized art conservation cleaner
Distilled water is often sufficient for cleaning paintings. If stronger cleaning is required, use a specialized art conservation cleaner. Avoid household cleaners, as they can damage the artwork.
Apply a small amount of the solution on a cotton swab or soft cloth
The swab or cloth helps you apply the solution more precisely, reducing the risk of over-saturation, which could damage the art.

Cleaning the Painting
With your tested cleaning solution ready to go, you can proceed to the main task at hand.
Dampen a clean cloth or cotton swab with the chosen cleaning solution
A swab or cloth is perfect for applying the solution to the painting without the risk of over-wetting the canvas.
Gently dab or wipe the surface of the painting in a circular motion
This ensures an even application, helping to remove dirt and grime in a controlled manner.
Continue cleaning small sections at a time
Instead of trying to clean the entire surface in one go, focus on small areas. This tactic allows you to pay more attention to each segment, thereby reducing the chances of unintentional damage.
Avoid excessive moisture and saturation of the canvas
Too much dampness can harm both the paint and the canvas, possibly causing fading, discoloration, or even mold growth if not dried adequately.
Removing Stubborn Stains or Discoloration
For more stubborn blemishes, you may need additional products.
For yellowed or darkened areas, consider using a specialized art restoration gel
These gels are designed to be gentle yet effective against discoloration. They are often safe on paint, though they should be tested just like the cleaning solution.
Follow the manufacturer’s instructions and apply the gel to the affected areas
By following the instructions, you ensure the best results while minimizing the risk of damaging the painting.
Allow the gel to sit for the recommended time before gently wiping it off
Letting the gel sit helps it break down the stains or discoloration, making them easier to remove when you wipe.
Dealing with Flaking or Peeling Paint
Flaking or peeling paint can be a complex issue to tackle on your own.
Consult a professional art restorer if the flaking or peeling is extensive
This issue can be evident of severe underlying problems, and your attempts to address it may cause further damage.
If the damage is minimal, apply a small amount of conservation adhesive using a fine brush
This adhesive can safely secure the loose paint back onto the canvas.
Carefully press down the loose paint and hold it in place until the adhesive dries
Be gentle in this process. Too much force can lead to more flakes or even tears in the canvas.
Addressing Mold or Mildew Growth
Mold and mildew can be severe and potentially dangerous issues requiring careful measures.
Wear a protective mask and gloves when dealing with mold or mildew
Mold and mildew spores can be hazardous to your health, so take proper precautions.
Isolate the affected area by covering it with plastic
Prevent spores from spreading to the rest of the painting or your workspace by isolating the affected segment.
Consult an art conservator for safe removal and treatment of mold or mildew
Because these fungi can be deeply ingrained and harmful to your health, it’s best to consult a professional for this task.
Drying and Restoring the Painting
After your thorough cleaning, you need to dry and restore the painting correctly.
After cleaning, allow the painting to air dry completely
Do not try to speed up the process with fans, heaters, or other forms of forced air, as these can do more harm than good. Let the artwork dry naturally.
Keep it in a well-ventilated area away from direct sunlight or heat sources
Maintain airflow around the painting while it dries, but keep it away from extreme temperatures or sunlight, which can cause damage.
Consider applying a protective varnish to the painting once it is fully dry
Varnish not only gives the painting a finished and vibrant look but also offers an extra layer of protection against future dirt and grime.
Seeking Professional Assistance
Even with the utmost care and preparation, some artworks may require the expertise of a professional to be properly maintained and conserved.
If you are uncertain about cleaning methods or dealing with specific issues, consult a professional art restorer or conservation expert
These professionals can provide expert advice and applied expertise, helping to ensure the longevity of your artwork.
They can provide tailored advice and expertise to preserve and restore the painting
Each piece of art is unique, and therefore, each can present unique challenges. Professionals bring experience with a wide variety of scenarios and will be able to guide you in the best possible way to maintain your oil painting.