Proper care of your cherished oil paintings does not always necessitate engaging professional restorers. The article “How To Clean An Oil Painting At Home” imparts essential knowledge on the techniques and precautions to use when undertaking this delicate endeavor. Guiding you through each step, this instructional piece aids you in maintaining the vibrancy and integrity of your artwork from the comforts of your own home.
Materials Needed
To begin, it is important to gather all of the necessary materials before you start with the cleaning process. You will need a soft bristle brush, which will be gentle on your painting, and won’t damage the pigment or the surface texture. A lint-free cloth is a must; this will ensure that no fibers are left behind on the sensitive painting surface. Mild dish soap is used in small amounts to help in removing stubborn stains. Remember to use distilled water, to prevent any potential mineral damage to your artwork. A microfiber cloth will be useful for various steps of the cleaning process. Use cotton swabs for detailed cleaning and isopropyl alcohol for removing old varnish.
Preparation
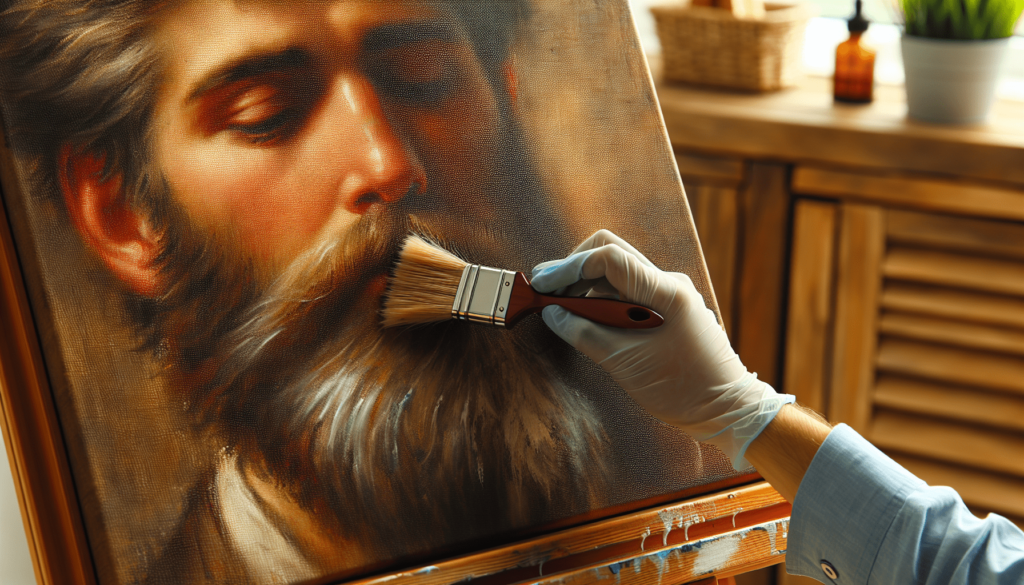
Start by choosing an area that is well-ventilated. This will keep the cleaning solution and any dust particles from contaminating your indoor environment. Next, protect your work surface before you lay your painting down. Gloves are recommended to protect both your hands and the painting from oils and other contaminants. Remove the painting from any direct sunlight before you commence work, to prevent accelerated fading or damage. Finally, take a photograph of your art piece for reference. It will be useful for comparison and for documentation purposes during and after cleaning.

Dust Removal
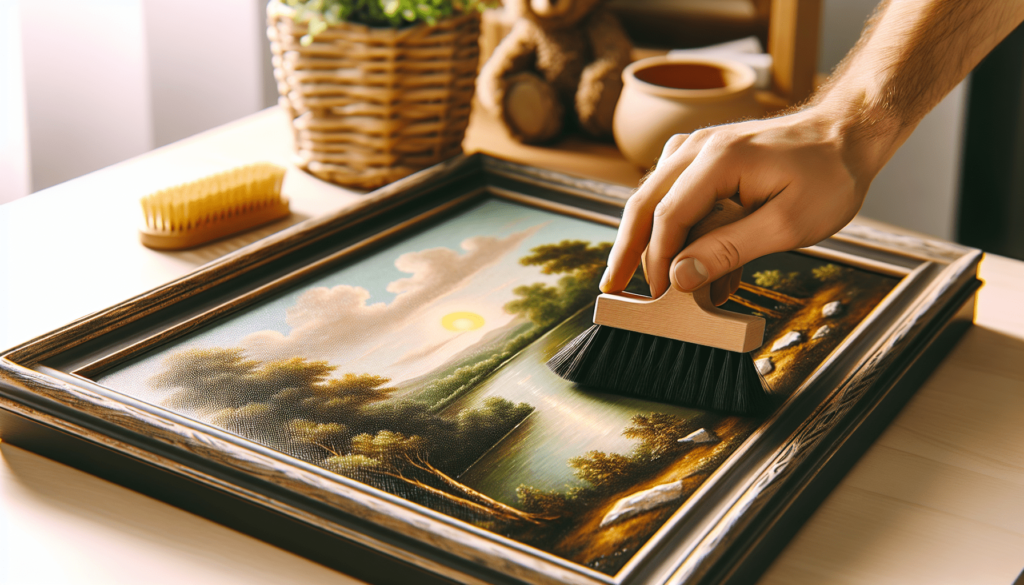
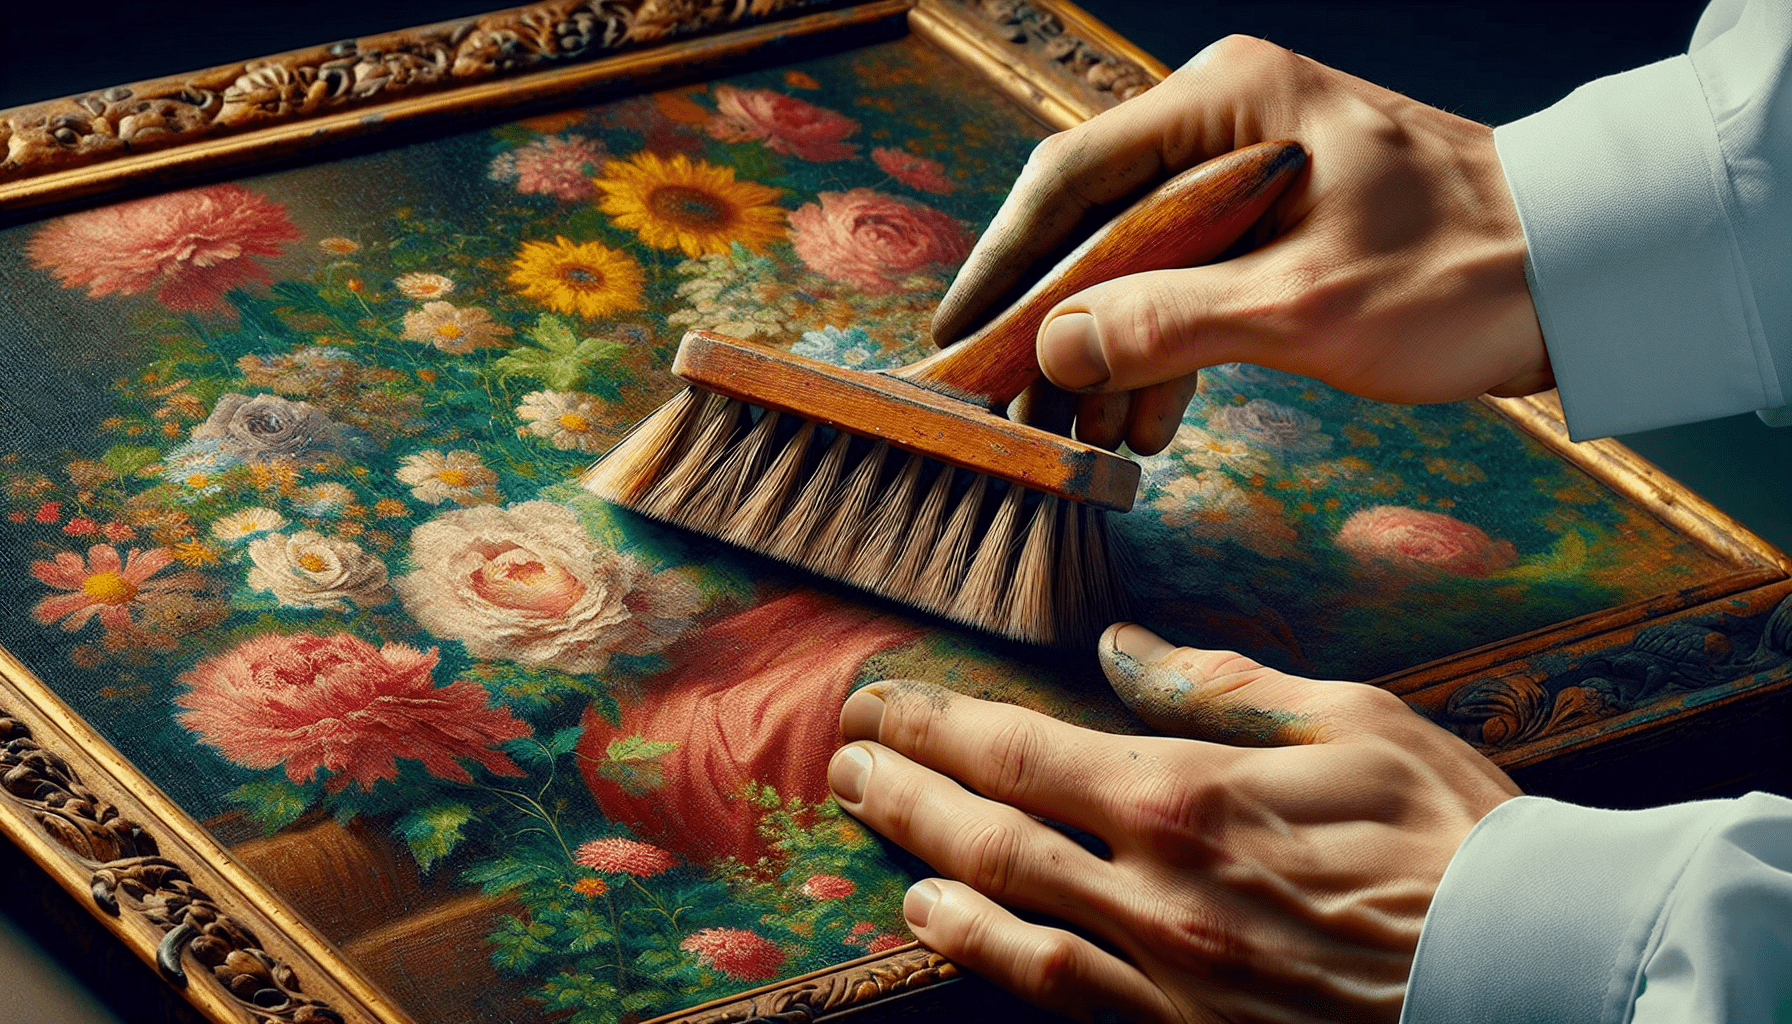
The first step towards cleaning your oil painting is dust removal. Dust particles can cause scratches on the surface or embed into the varnish, leading to damage. Gently brush the surface with your soft bristle brush to remove any loose dust. Supplement this with a lint-free cloth in a gentle sweeping motion. At this stage, refrain from using water or cleaning solutions, as the dry dust removal process should suffice.
Surface Cleaning
Once dust is removed, prepare a cleaning solution using mild soap and distilled water in a ratio suggested by the soap manufacturer. Prior to applying the solution over the entire surface, test the solution on an inconspicuous area to ensure it causes no damage or color distortion. Soak a lint-free cloth in the prepared solution and gently wipe the surface of the painting in small sections, ensuring that the cloth is not oversaturated to avoid excessive moisture which may damage the painting.

Removing Stubborn Stains
For hard-to-clean stains, apply a small amount of mild dish soap directly to the stain and gently rub the stained area with a cotton swab. Avoid exerting excessive pressure as it may result in paint loss. Rinse the area with distilled water, ensuring not to drench the canvas. Blot dry the area with a clean cloth and avoid scrubbing or dragging the cloth across the surface.
Dealing with Varnish
Varnish removal is a tricky business and if not experienced, consider seeking professional help. However, if you decide to proceed on your own, start by testing a small area with isopropyl alcohol. If it does not cause any damage, dampen a clean cloth with alcohol and gently rub the varnished area, again working in small sections. Remember to avoid applying excessive force, as it might lead to unintended damage.
Drying the Painting
Upon completion of the cleaning process, place the painting on a clean, dry surface and allow it to air dry naturally. It is important to avoid using excessive heat or direct sunlight, as drying the painting too quickly can lead to cracking or other forms of damage.
Revarnishing the Painting
Before revarnishing your painting, it’s advisable to consult an art restoration expert. If you decide to do it yourself, choose a varnish specifically designed for oil paintings. The varnish should be applied with a soft brush, in accordance with the manufacturer’s instructions. Make sure to allow the varnish to dry completely before moving or displaying the painting.
Displaying the Cleaned Painting
The frame you choose for your cleaned painting should not only complement the artwork but also offer protection. Consider using archival-quality materials to prevent any kind of environmental damage. Hang the painting away from direct sunlight and avoid areas of high humidity, to preserve its color and integrity.
Maintenance Tips
After successfully cleaning and displaying your beautiful oil painting, remember these maintenance tips: Regularly dust the surface of the painting. Avoid using water or harsh cleaning agents which can potentially degrade the image. Always handle the painting with clean, dry hands, and avoid touching the painted surface. Lastly, keep your artwork away from smoke or pollutants, as these could lead to discoloration and damage over time. Following these tips will ensure your oil painting remains in pristine condition for years to come.


