In this article, you will discover the step-by-step process to successfully chalk paint a dresser. A dresser is an essential piece of furniture in any home, providing both storage and style. By using chalk paint, you can transform an old, tired dresser into a stunning and unique piece that adds character to any room. Whether you are a seasoned DIY enthusiast or a beginner looking to take on a new project, this article will guide you through the techniques and materials needed to achieve a professional-looking chalk paint finish on your dresser. So, let’s get started and unleash your creativity with chalk paint!

Choosing the Right Dresser
When choosing a dresser to chalk paint, it’s important to consider the condition of the piece. Look for solid wood or sturdy furniture that is in good structural condition. Avoid dressers with major damage, such as warped or split wood, as these may not hold up well to the painting process. Additionally, evaluate the size and style of the dresser to ensure it fits your desired aesthetic and functional needs. Lastly, make sure the dresser is suitable for chalk painting. Some materials may not properly adhere to chalk paint, so it’s crucial to choose a dresser that will allow the paint to adhere and last.
Preparing the Dresser
Before starting the chalk painting process, it’s essential to properly prepare the dresser. Begin by removing any hardware and drawers. This will make it easier to paint the dresser and ensure that every part is covered evenly. Next, clean the dresser thoroughly. Use a mild soap and water solution to remove any dirt, dust, or grime from the surface. After cleaning, sand the dresser’s surface. This will roughen the surface slightly, allowing the paint to adhere better. Lastly, fill any imperfections or holes in the dresser with wood filler or putty. Smooth out the surface and let it dry before moving on to the next step.
Gathering the Supplies
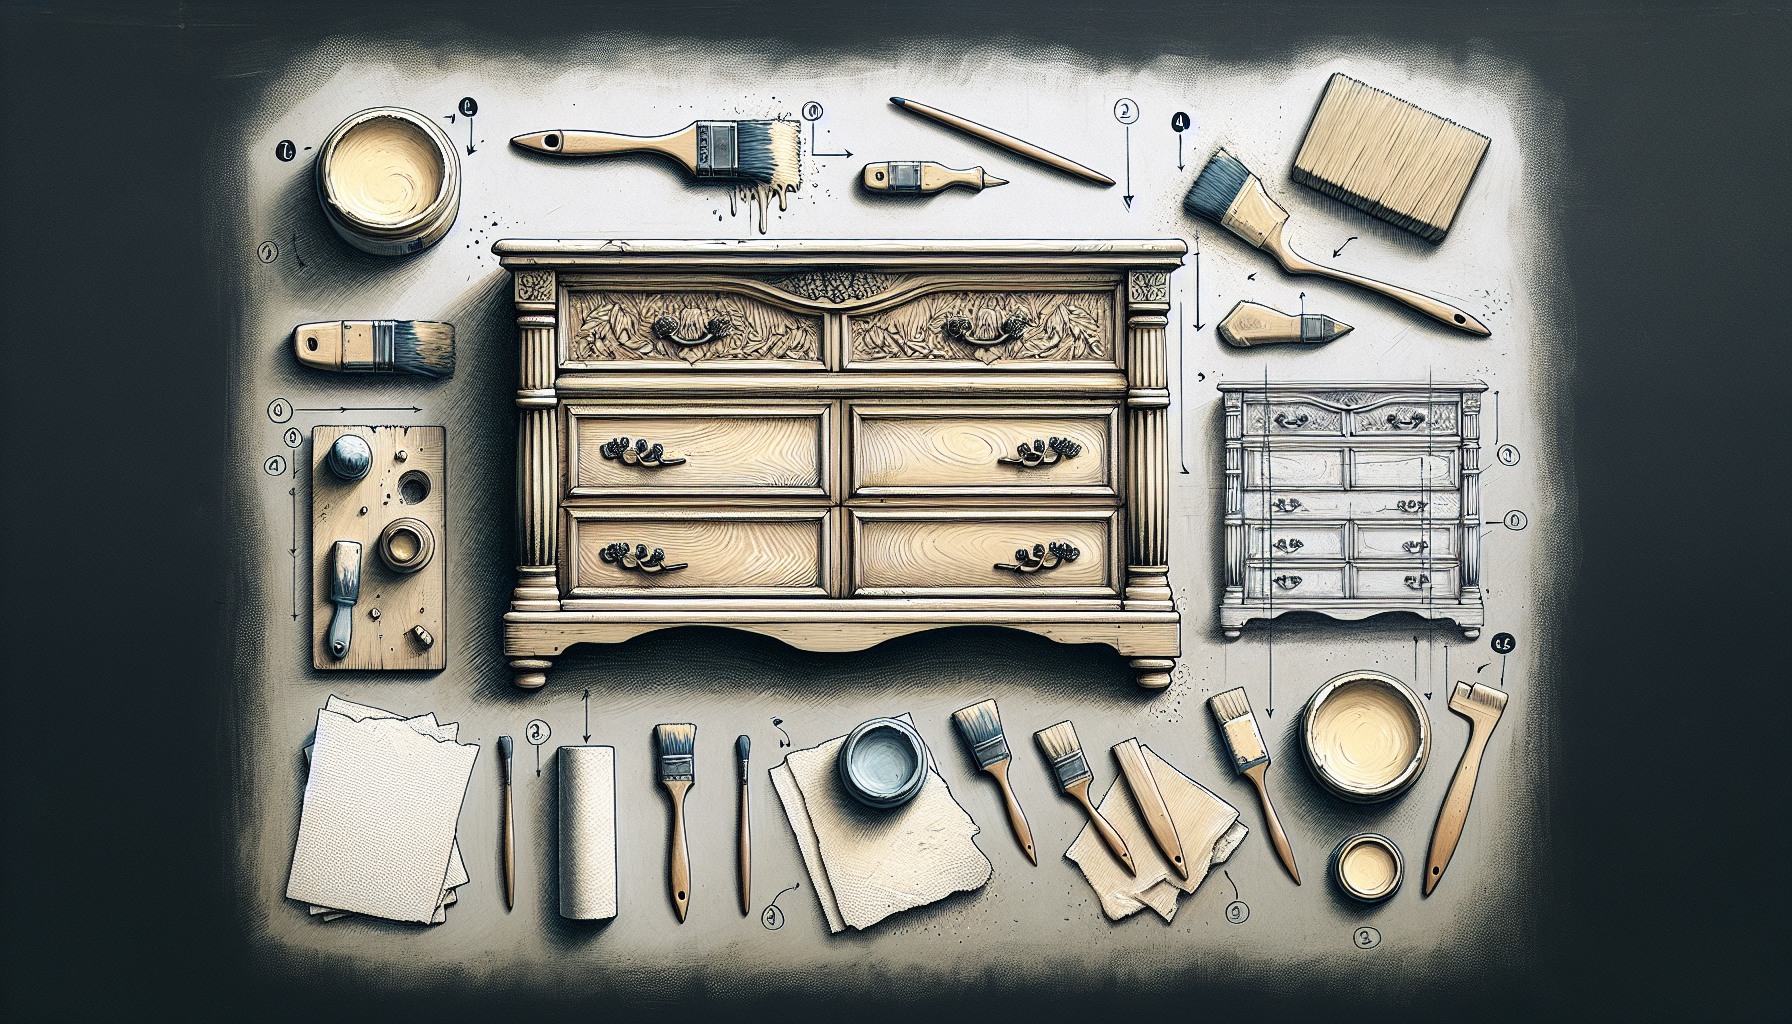
To successfully chalk paint a dresser, you will need a few essential supplies. First and foremost, you’ll need chalk paint. Choose a high-quality paint in the color of your choice. Paintbrushes are also necessary for applying the paint. Opt for brushes with natural bristles, as they will provide a smoother finish. Additionally, you’ll need a sanding block or sandpaper to distress the piece if desired. Painters tape will come in handy for masking off any areas you don’t want to paint. To protect the surrounding area, use a dropcloth or newspapers. Lastly, consider using wax or polyurethane as a sealer for your chalk paint, although this step is optional.
Applying the Chalk Paint
To begin painting your dresser, stir the chalk paint well to ensure it’s properly mixed. Apply the first coat of paint using your brush. Work in long, smooth strokes, following the direction of the wood grain. It’s essential to apply the paint evenly and cover the entire surface. Allow the first coat to dry completely before applying additional coats as needed. The number of coats will depend on the desired coverage and the opacity of the paint. Remember to follow the manufacturer’s instructions for drying and recoating times to achieve the best results.

Creating a Distressed or Vintage Look
If you want to achieve a distressed or vintage look, sanding is the key. After the paint has dried, use a sanding block or sandpaper to gently sand the edges and corners of the dresser. This will create a worn and weathered appearance. For additional distressing, consider using wax or polyurethane. Apply a thin layer in areas where you want the paint to appear worn or faded. Experiment with different distressing techniques to achieve the desired effect. Take your time and be mindful of the amount of distressing you want on your dresser.
Sealing the Painted Dresser
To protect your chalk-painted dresser and give it a finished look, consider using a sealer such as wax or polyurethane. Wax provides a soft sheen and enhances the vintage or distressed appearance of the piece. Polyurethane, on the other hand, offers a more durable and glossy finish. Choose the sealer that best suits your aesthetic preferences and the level of protection you desire for your dresser. Apply the sealer with a brush or cloth, following the manufacturer’s instructions. Allow the sealer to dry completely before moving on to the next step.
Reassembling the Dresser
Once the dresser has been painted, distressed, and sealed, it’s time to reassemble the piece. Begin by attaching the hardware back onto the dresser. Make sure everything is aligned properly and securely fastened. Then, carefully slide the drawers back into place, ensuring they glide smoothly and fit correctly. Take your time during this step, as a properly reassembled dresser will ensure its functionality and longevity.
Decorating or Staging the Dresser
After completing the chalk painting process and reassembling the dresser, it’s time to add the finishing touches. Choose complementary decor that enhances the newly painted piece. Consider the style and color palette of the dresser when selecting decorative elements such as lamps, picture frames, or vases. Place these items on top of the dresser to create a visually appealing arrangement. Additionally, think about the dresser’s placement in the room. Ensure it is positioned in a way that allows it to be both functional and aesthetically pleasing.
Maintaining the Chalk Painted Dresser
To keep your chalk-painted dresser looking its best, regular maintenance is essential. Use mild soap and water to clean the surface, avoiding harsh chemicals that may damage the paint. Gently wipe down the dresser with a soft cloth or sponge, taking care not to scrub too vigorously. If the paint starts to show signs of wear over time, reapply wax or sealer as needed to protect and rejuvenate the finish. By properly maintaining your chalk-painted dresser, you can extend its lifespan and continue to enjoy its beauty for years to come.
Troubleshooting Common Issues
If you encounter any issues during the chalk painting process, here are some troubleshooting tips to help address them:
-
If you notice brush or roller marks on the painted surface, lightly sand the area and apply an additional coat of paint. Make sure to use long, smooth strokes to minimize brush marks.
-
In case of paint chips or peeling, touch up the affected areas by applying a small amount of paint and blending it with the surrounding surface. Allow the touch-up to dry before applying any additional coats.
-
If you experience uneven coverage, check if the paint was properly mixed before application. Apply additional coats to achieve the desired level of coverage and ensure that each coat is applied evenly.
By following these troubleshooting tips, you can overcome common challenges and achieve a beautiful result with your chalk-painted dresser. Remember, practice and patience are key when working with any painting technique, so don’t be discouraged if it takes a few tries to get it just right. With time and experience, you’ll become more confident in your chalk painting skills. Enjoy the process and have fun transforming your dresser into a stunning focal point for your space.