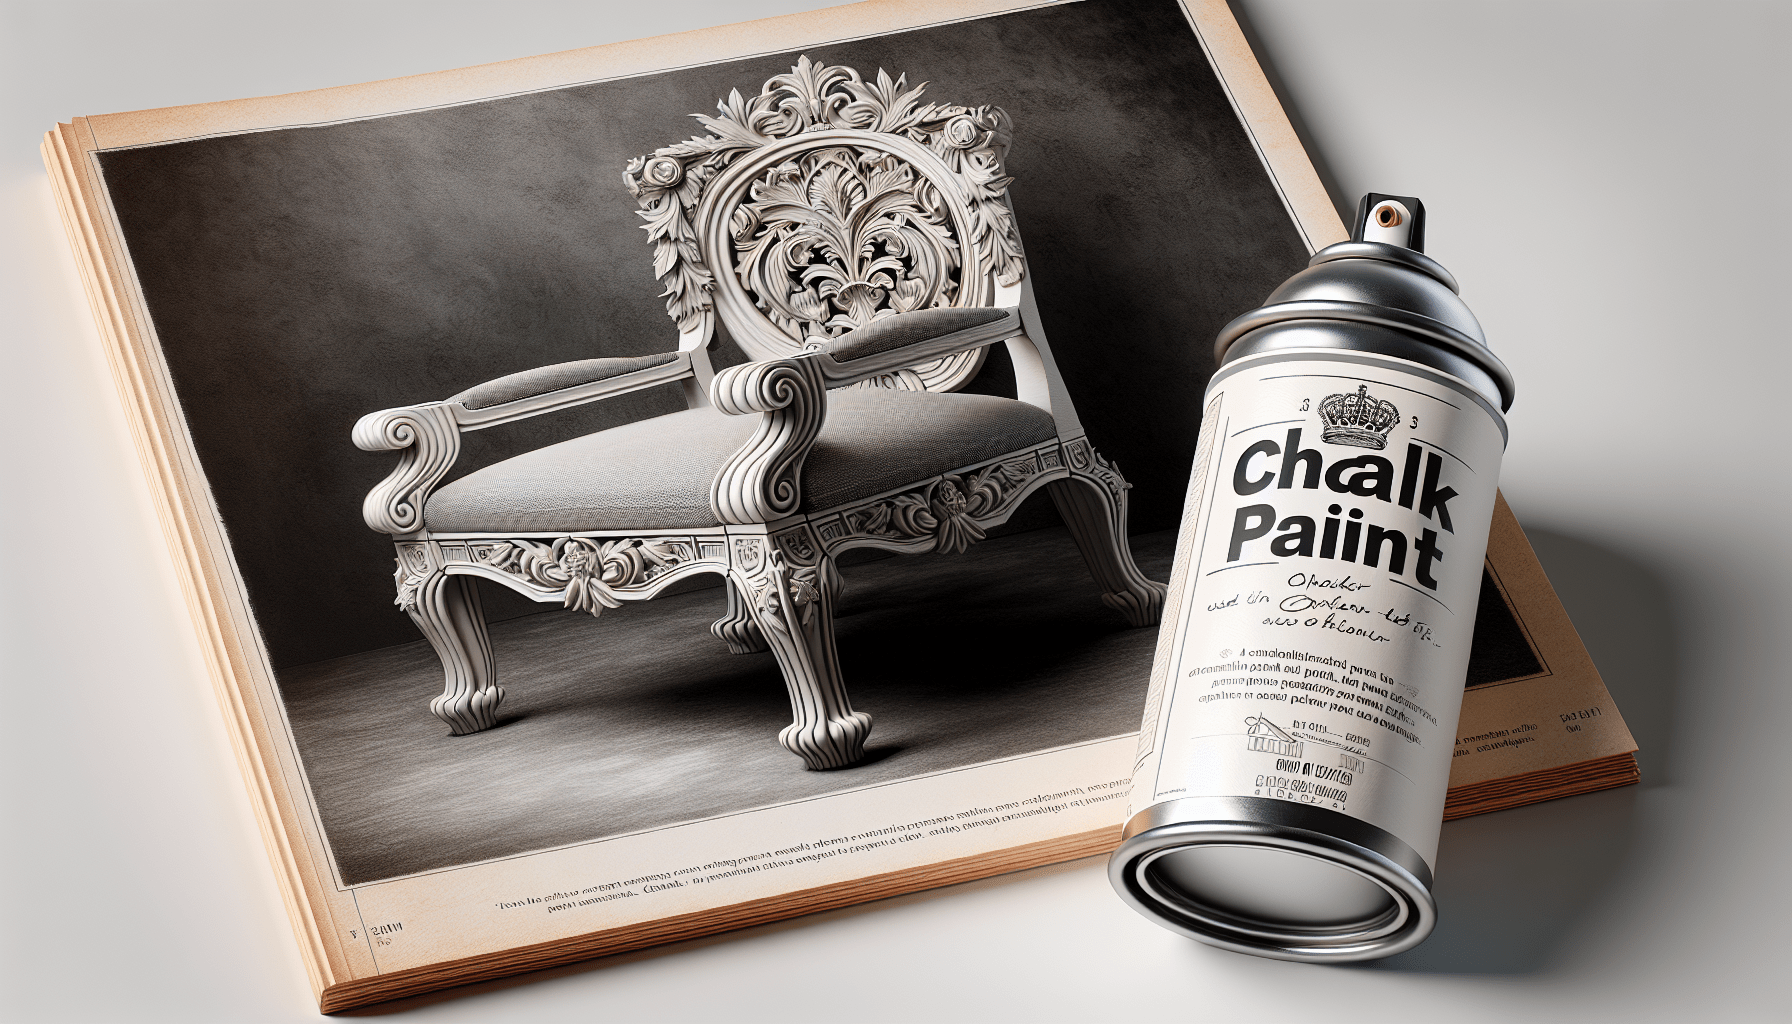
In this article, you will learn the step-by-step process of how to chalk paint a table to give it a chic and distressed look. From prepping the surface to applying the chalk paint and finishing it off with a protective sealant, you will be guided through the entire process with professional tips and techniques. By the end of this article, you will have the knowledge and skills to transform any ordinary table into a stylish piece of furniture using chalk paint. Have you been wanting to update your old table but aren’t sure where to start? Chalk painting is a trendy and cost-effective way to give new life to furniture. In this comprehensive guide, you will learn everything you need to know about how to chalk paint a table like a professional.

Getting Started with Chalk Painting
Chalk painting is a versatile technique that can be used on various surfaces, including wood, metal, and even plastic. Before you begin painting, make sure you have all the necessary supplies on hand. This includes chalk paint, paintbrushes, sandpaper, and a sealant.
If you’re new to chalk painting, practice on a small piece of furniture or a scrap piece of wood before tackling your table. This will help you get a feel for the paint and technique before diving into a larger project.
Choosing the Right Table for Chalk Painting
Not all tables are created equal when it comes to chalk painting. While you can technically paint any table, certain materials and finishes may provide better results. Ideally, look for tables made of wood or have a smooth, non-glossy surface for the chalk paint to adhere to.
When selecting a table for chalk painting, consider the style and design you want to achieve. Do you want a rustic, distressed look, or a more modern and sleek finish? The table’s shape and size will also play a role in how you approach the painting process.
Preparing Your Table for Chalk Painting
Before you start applying chalk paint to your table, it’s essential to properly prepare the surface. This will ensure that the paint adheres well and provides a smooth, professional-looking finish.
Cleaning the Table
Start by thoroughly cleaning your table to remove any dirt, grease, or grime from the surface. Use a mild detergent or a mixture of water and vinegar to clean the table. Once cleaned, allow the table to dry completely before moving on to the next step.
Sanding the Surface
If your table has a glossy finish or any imperfections, you may need to sand the surface before painting. Use fine-grit sandpaper to lightly sand the table, focusing on any rough spots or areas where the paint may not adhere well. Sanding will help the chalk paint adhere better and provide a smoother finish.
Taping Off Areas
If your table has any hardware or areas you do not want to paint, use painter’s tape to tape off these sections. This will help you achieve clean, crisp lines and prevent any accidental paint splatters on unwanted areas.
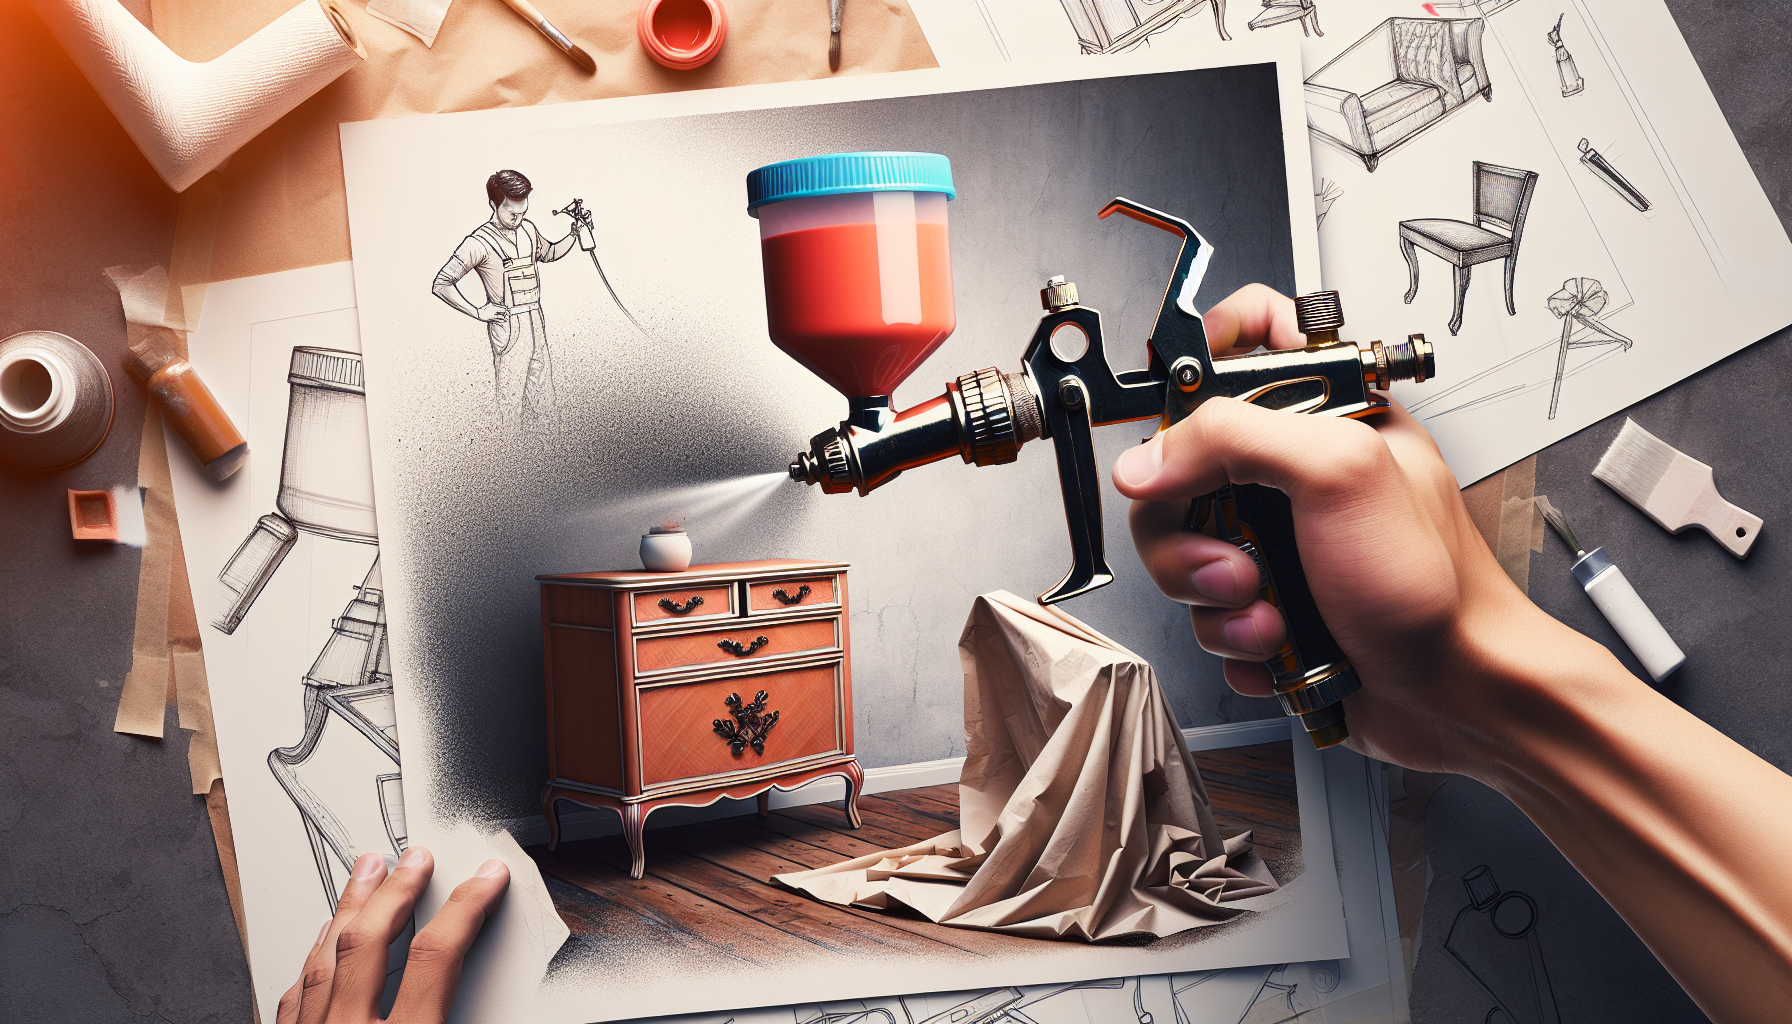
Applying Chalk Paint to Your Table
Now that your table is prepped and ready, it’s time to start painting. Chalk paint is known for its matte finish and excellent coverage, making it a popular choice for furniture refinishing projects.
Choosing the Right Chalk Paint
Chalk paint comes in a variety of colors and finishes, so choose a color that complements your existing decor or the look you want to achieve. When selecting chalk paint, consider the quality of the paint and how many coats you may need to achieve your desired finish.
Applying the First Coat
Start by applying a thin, even coat of chalk paint to your table using a high-quality paintbrush. Work in long, smooth strokes, following the grain of the wood. Allow the first coat to dry completely before applying additional coats.
Applying Additional Coats
Depending on the coverage you want, you may need to apply multiple coats of chalk paint. Each subsequent coat should be applied in the same manner as the first, allowing each coat to dry before adding another one. Make sure to inspect the table after each coat to ensure even coverage.
Distressing and Aging Your Table
One of the unique features of chalk paint is its ability to be distressed and aged for a vintage or rustic look. Distressing involves sanding certain areas of the table to reveal the wood underneath, giving it a worn and weathered appearance.
Choosing Areas to Distress
Decide which areas of your table you want to distress. Common areas include edges, corners, and areas that would naturally wear over time. Use fine-grit sandpaper to gently sand these areas, exposing the wood underneath the paint.
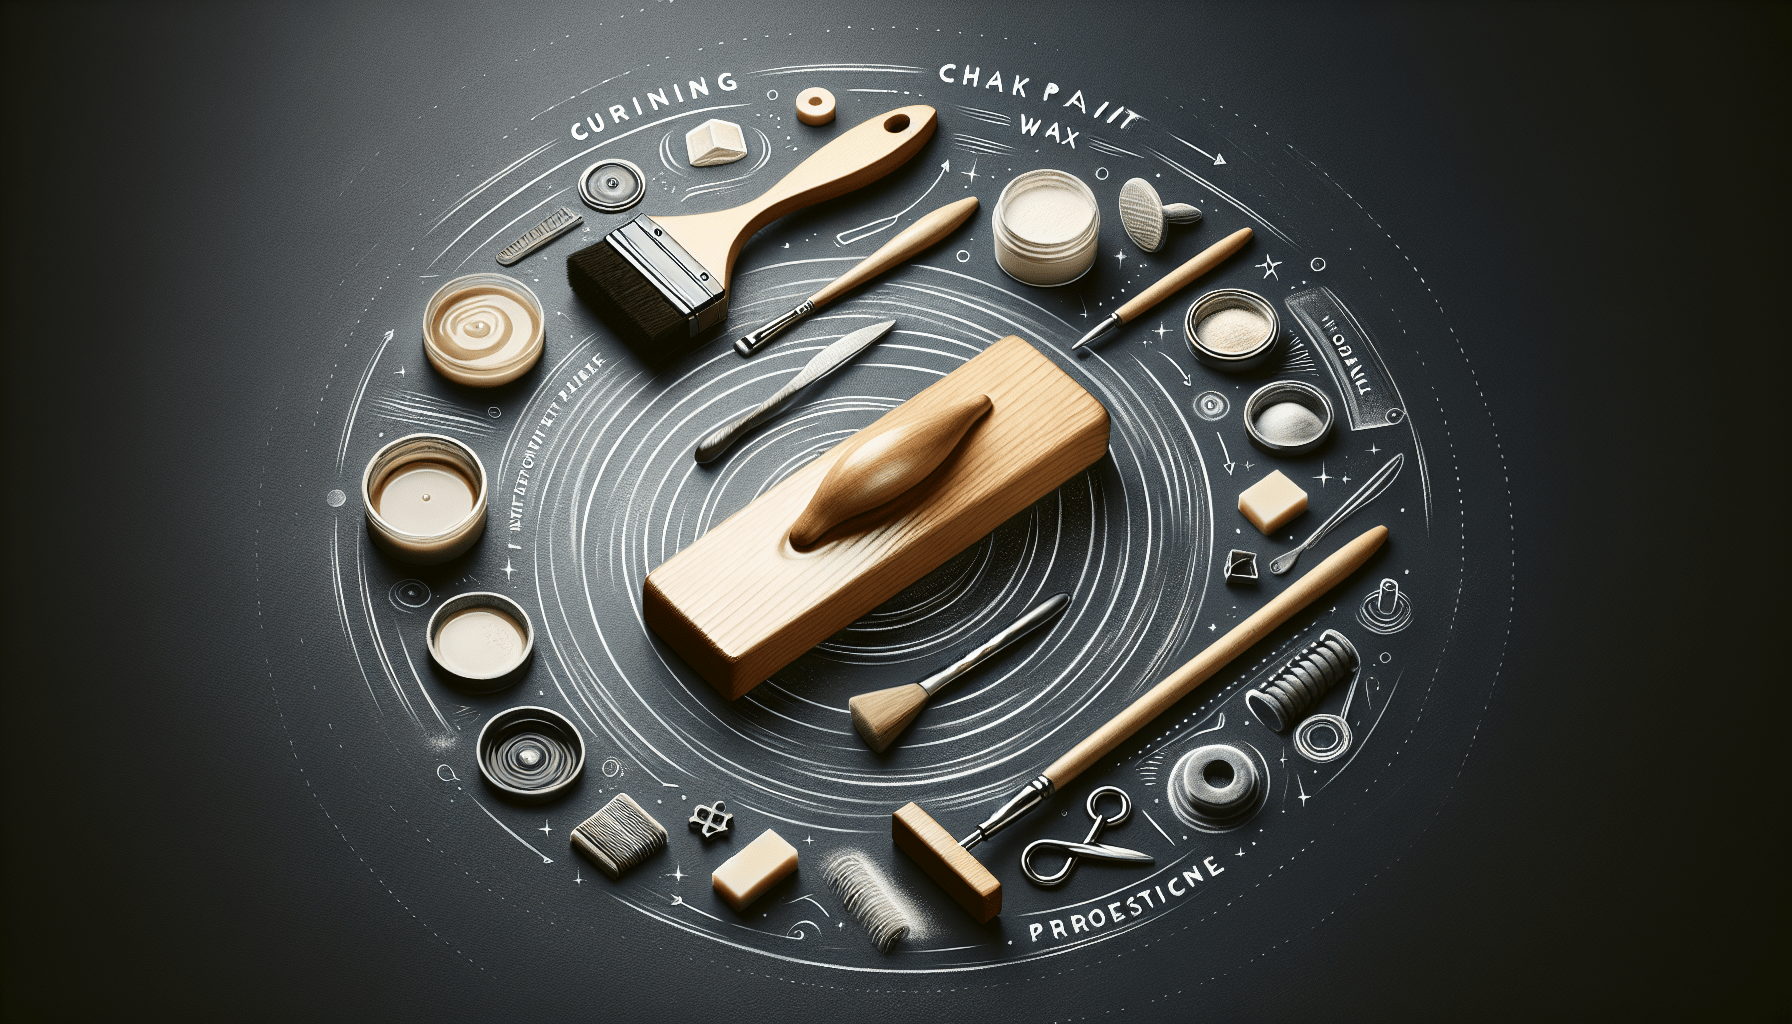
Adding an Antiquing Wax
To further age your table and give it a more distressed look, consider adding an antiquing wax. Apply the wax to the areas you distressed with a clean cloth or brush, focusing on crevices and edges. The wax will settle into these areas, giving the table a more aged appearance.

Sealing and Protecting Your Table
To ensure your newly chalk-painted table stays looking its best for years to come, it’s essential to seal and protect the paint. A sealant will not only protect the finish but also make it easier to clean and maintain.
Choosing the Right Sealant
There are several options for sealing chalk paint, including clear wax, polyurethane, or a topcoat specifically designed for chalk paint. Consider the level of durability and the look you want to achieve when selecting a sealant.
Applying the Sealant
Once your chalk paint is completely dry, apply a thin, even coat of the sealant to the table using a clean paintbrush or cloth. Work in small sections, making sure to cover the entire surface. Allow the sealant to dry according to the manufacturer’s instructions before using the table.
Maintaining Your Chalk-Painted Table
Proper maintenance is key to keeping your chalk-painted table looking its best for years to come. With the right care and attention, your table will continue to be a statement piece in your home.
Cleaning Your Table
To clean your chalk-painted table, simply use a damp cloth or sponge to wipe down the surface. Avoid using harsh chemicals or abrasive cleaners, as these can damage the paint and finish. Regular dusting and cleaning will help maintain the table’s appearance.
Touch-Ups and Repairs
Over time, your chalk-painted table may show signs of wear or damage. For minor touch-ups, use the same chalk paint color and a small brush to fill in any chips or scratches. For more extensive repairs, consider repainting the table following the same steps outlined in this guide.
Avoiding Heat and Moisture
Chalk paint is relatively durable but is not immune to damage from heat or moisture. Avoid placing hot items directly on the table’s surface and use coasters or placemats to protect against spills and water rings. Properly caring for your table will help prolong its lifespan and maintain its appearance.
In conclusion, chalk painting a table is a fun and rewarding DIY project that can transform an old piece of furniture into a stylish centerpiece for your home. By following these steps and tips, you can achieve a professional-looking finish that will impress your friends and family. So grab your paintbrush and get ready to revamp your table with chalk paint!