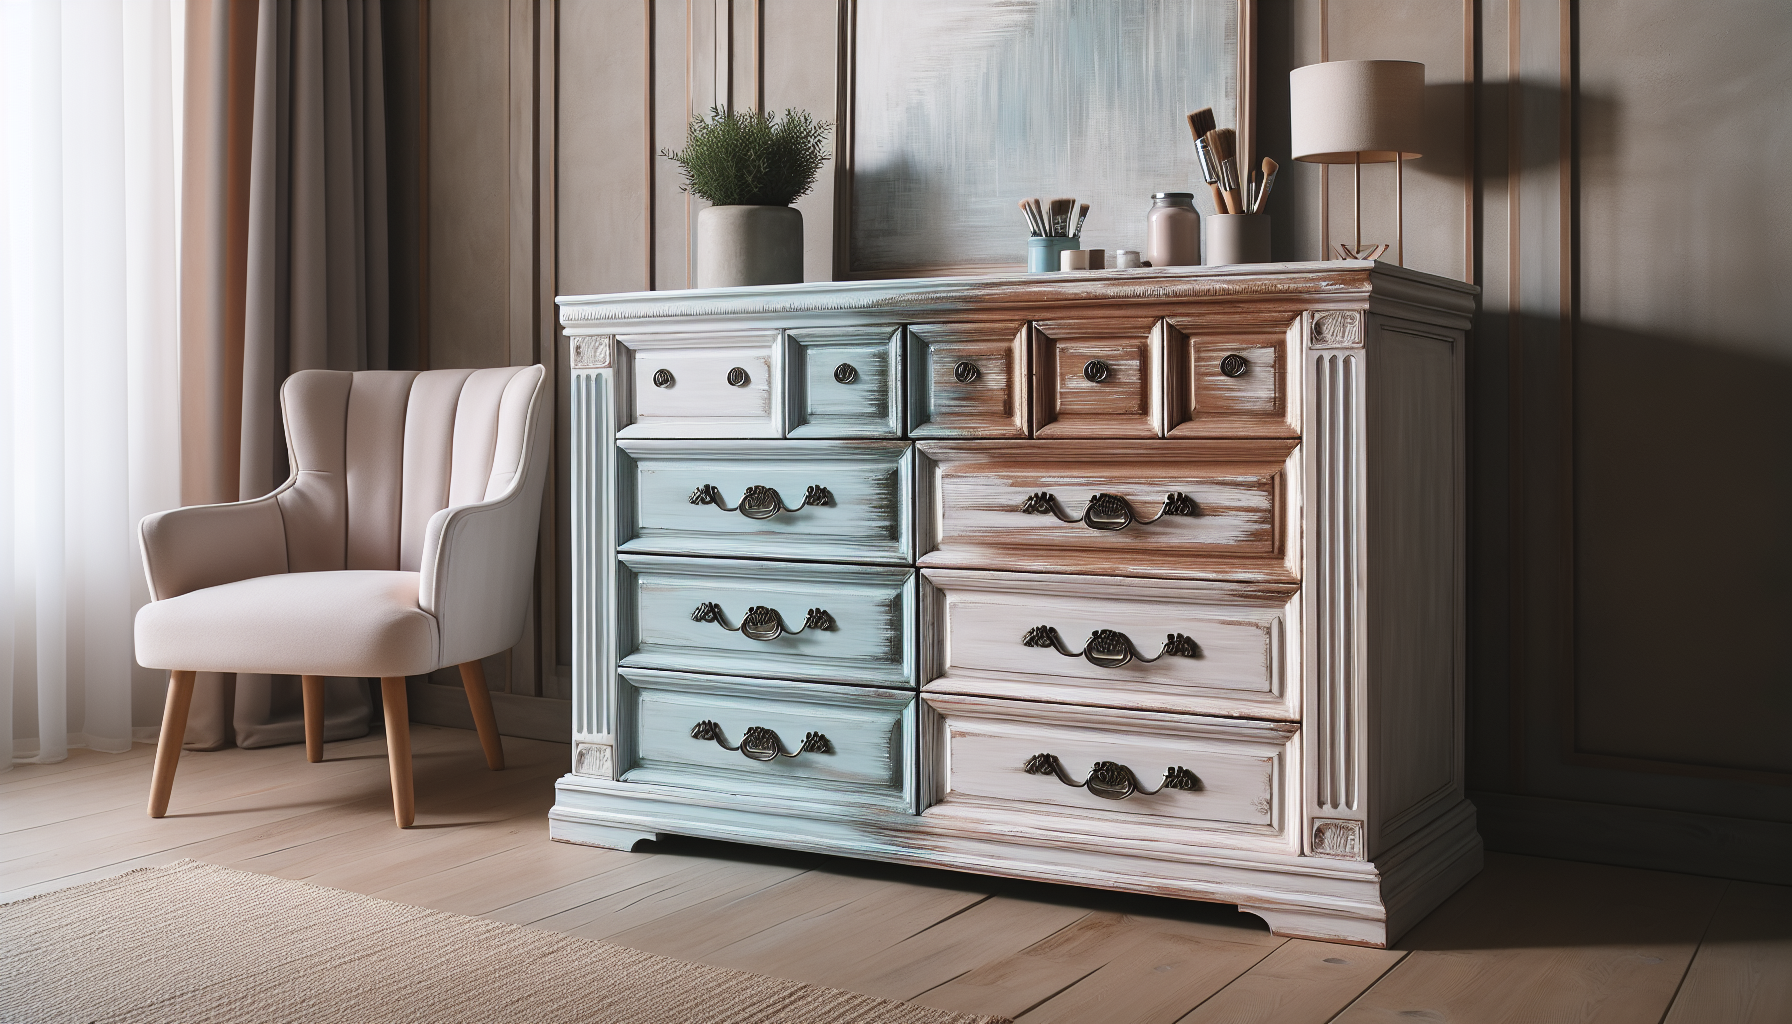
In this article, you will learn the step-by-step process of achieving a beautiful chalk-painted finish on a dresser. Chalk paint has gained a significant following in recent years due to its versatility and ability to transform furniture into stunning pieces with a vintage, matte appearance. By following these easy instructions, you will be able to elevate the aesthetic appeal of your dresser and create a unique focal point in any room. So, let’s delve into the world of chalk painting and transform your dresser into a work of art.
Supplies Needed
To successfully chalk paint a dresser, you will need a few essential supplies. These include chalk paint, a paintbrush, sandpaper, a clean cloth, primer, painter’s tape, a drop cloth, a tack cloth, and wax or sealant. Additionally, if you want to add a decorative touch to your dresser, you can consider getting some decorative knobs or pulls.
Chalk Paint
Chalk paint is a popular choice for furniture painting projects as it provides a matte, vintage-like finish. It has a unique texture and is available in various colors, allowing you to achieve the desired look for your dresser.
Paintbrush
Choose a high-quality paintbrush with natural bristles or a brush specifically designed for chalk paint. The right brush will help you evenly apply the paint and achieve a smooth finish.
Sandpaper
Sandpaper is essential for preparing the surface of your dresser before painting. It helps in removing any existing roughness, imperfections, or previous finishes, ensuring a clean and smooth surface for the paint to adhere to.
Clean Cloth
A clean cloth is necessary for wiping away any dust or dirt from the surface of the dresser. It ensures that the paint will adhere properly and provides a clean starting point for your project.
Primer
A primer is not always necessary when using chalk paint, as it has excellent coverage. However, if your dresser has a dark or glossy finish, using a primer can help enhance the adhesion and durability of the chalk paint.
Painter’s Tape
Painter’s tape is crucial for protecting the edges and other areas that you don’t want to get paint on. It creates clean lines and prevents any accidental smudges or drips.
Drop Cloth
To protect your floor and any nearby furniture from paint splatters or drips, lay down a drop cloth. This will make your workspace more organized and prevent any potential damage.
Tack Cloth
A tack cloth is a sticky cloth that is used for picking up fine debris or dust particles from the surface of the dresser before painting. It ensures a smooth and clean surface and helps the paint adhere better.
Wax or Sealant
After painting, using a wax or sealant is essential to protect the finish and make it more durable. Wax provides a soft, matte finish, while a sealant offers added protection, especially if the dresser will be subject to heavy use.
Optional: Decorative Knobs or Pulls
If you want to give your dresser a unique and personalized touch, consider adding decorative knobs or pulls. These can transform the entire look of the dresser and complement your desired aesthetic. Choose ones that match your style and the overall design of the dresser.
Preparing the Dresser
Before you begin painting, it is essential to properly prepare the dresser. This ensures that the paint will adhere well and provides a smooth surface to work with.
Remove any Existing Hardware
Start by removing any existing hardware, such as knobs or pulls, from the dresser. This will make it easier to paint and prevent any unwanted paint on the hardware itself. Set aside the hardware in a safe place to avoid misplacing anything.
Clean the Dresser
Use a clean cloth to wipe down the entire surface of the dresser. Remove any dust, dirt, or grease that may be present. This step ensures that the paint will adhere properly and allows for a smoother painting process.
Sand the Surface
Using sandpaper, lightly sand the surface of the dresser. Focus on any rough patches, imperfections, or glossy areas. Sanding helps create a better surface for the paint to adhere to and enhances the overall finish of your dresser.
Remove Dust with Tack Cloth
After sanding, use a tack cloth to remove any dust or debris from the surface of the dresser. Gently wipe the entire surface to ensure that it is clean and free from any particles that could affect the finish.

Protecting Surrounding Areas
To avoid any unwanted paint on the floor or nearby furniture, take the necessary precautions to protect the surrounding areas.
Cover the Floor and Nearby Furniture with Drop Cloth
Cover the floor beneath the dresser and any nearby furniture with a drop cloth. This will protect them from any accidental paint drips or spills. It is always better to be safe and prevent any potential damage.
Use Painter’s Tape to Protect Edges
Apply painter’s tape to the edges of the dresser that you want to keep paint-free. This could include the sides, trim, or any other areas that you don’t want to paint. Ensure that the tape is applied securely to create clean lines and avoid any bleeding of the paint.
Applying Primer
While not always necessary for chalk paint, applying a primer can be beneficial, especially if your dresser has a dark or glossy finish.
Stir the Primer
Before applying the primer, make sure to stir it well. This evenly distributes the components and ensures that the primer will be effective.
Apply an Even Coat of Primer to the Dresser
Using a paintbrush or foam roller, apply a thin, even coat of primer to the entire surface of the dresser. Ensure that the primer is applied smoothly and covers the surface evenly. Allow the primer to dry completely before proceeding with painting.

Painting with Chalk Paint
Now that your dresser is properly prepared and primed (if necessary), it’s time to start painting with chalk paint.
Stir the Chalk Paint
Just like the primer, it’s important to stir the chalk paint well before applying it to the dresser. This ensures that the paint’s pigments are evenly mixed and consistent throughout.
Apply the First Coat of Chalk Paint
Using a paintbrush or a foam roller, apply the first coat of chalk paint to the dresser. Work in smooth, even strokes, following the grain of the wood if applicable. Ensure that the paint is applied evenly and covers the entire surface.
Allow it to Dry
After applying the first coat of chalk paint, allow it to dry completely. The drying time can vary depending on the paint brand and environmental conditions. Follow the manufacturer’s instructions for the recommended drying time.
Apply Additional Coats if Needed
Once the first coat is dry, assess if additional coats of chalk paint are necessary. Chalk paint often requires multiple coats to achieve full coverage, especially if you are transforming a dark-colored or previously finished dresser. Apply additional coats as needed, allowing each coat to dry completely before applying the next.
Distressing the Surface
One of the appealing aspects of chalk paint is its versatility in achieving various finishes, including a distressed look. If you desire a distressed appearance, follow these steps.
Decide on the Desired Distressing Technique
Before distressing the surface, decide on the technique you want to use. You can focus on distressing the edges and corners or create a more overall distressed look by sanding random areas on the dresser. This decision will affect where and how much you sand later in the process.
Sand the Edges and Corners
Using sandpaper, gently sand the edges and corners of the dresser. Focus on these areas to mimic natural wear and tear. Sand in a back-and-forth or circular motion to achieve the desired distressed effect. Take care not to over-sand, as you can always add more distressing later if needed.
Use Sandpaper on Other Areas for a Distressed Look
If you want additional areas of the dresser to appear distressed, use sandpaper to gently sand those areas. This could include flat surfaces or certain design elements of the dresser. Experiment with different levels of sanding to achieve the desired effect.
Adding Decorative Touches
To give your dresser a personalized touch, consider adding decorative knobs or pulls.
Consider Adding Decorative Knobs or Pulls
Evaluate if your dresser would benefit from decorative knobs or pulls. These small additions can elevate the overall aesthetic and complement your chosen style. Choose knobs or pulls that match the dresser’s design and your personal preference. Ensure they are properly sized and compatible with the existing hardware holes or make any necessary adjustments before installing.
Sealing the Paint
To protect the finish and ensure its durability, applying a wax or sealant is crucial.
Choose a Wax or Sealant
There are multiple options available for sealing your chalk-painted dresser. Wax is a popular choice as it provides a soft, matte finish and enhances the antique look. Alternatively, you can opt for a polyurethane sealant, which offers more durability and protection, especially for high-traffic areas. Decide on the option that suits your desired finish and level of use.
Apply a Thin, Even Coat to Protect the Paint
Using a clean cloth or a waxing brush, apply a thin, even coat of wax or sealant to the entire surface of the painted dresser. Work in small sections, ensuring complete coverage. Follow the manufacturer’s instructions for the recommended drying and curing time.
Allowing to Dry and Cure
After completing the sealing process, allow the dresser to dry and cure thoroughly.
Let the Dresser Dry for at Least 24 Hours
Give the dresser ample time to dry after sealing. It is recommended to let it dry for at least 24 hours or follow the product-specific guidelines for drying time. Avoid placing any items on top of the dresser during this period.
Allow Additional Time for the Paint to Fully Cure
While the dresser may be dry to the touch, it is crucial to allow the paint to fully cure before subjecting it to regular use. Follow the paint manufacturer’s instructions for the recommended curing time, which typically ranges from a few days to a couple of weeks. This ensures the paint has enough time to harden and become durable.
Cleaning Up
Once your chalk painting project is complete, it’s time to clean up.
Clean Brushes and Tools Properly
Thoroughly clean your paintbrushes, sandpaper, and any other tools you used during the dresser painting process. Follow the proper cleaning instructions based on the type of supplies used. This ensures their longevity and allows you to reuse them for future projects.
Dispose of Any Waste Materials
Dispose of any waste materials, such as used drop cloths or empty paint cans, according to local regulations. Properly disposing of these materials helps maintain a clean and safe working environment.
By following these steps, you can successfully chalk paint a dresser and transform it into a unique and beautiful piece of furniture. Remember to work in a well-ventilated area, take your time, and enjoy the process. Happy painting!