In the article “How To Apply Polycrylic Over Chalk Paint,” you will learn the step-by-step process of applying polycrylic over chalk paint to achieve a long-lasting and professional finish. From preparing the surface to selecting the right tools and techniques, this comprehensive guide will provide you with the necessary knowledge and skills to successfully protect and enhance your chalk-painted surfaces. Whether you’re a DIY enthusiast or a professional painter, this article will equip you with valuable insights to ensure a flawless application of polycrylic over chalk paint.
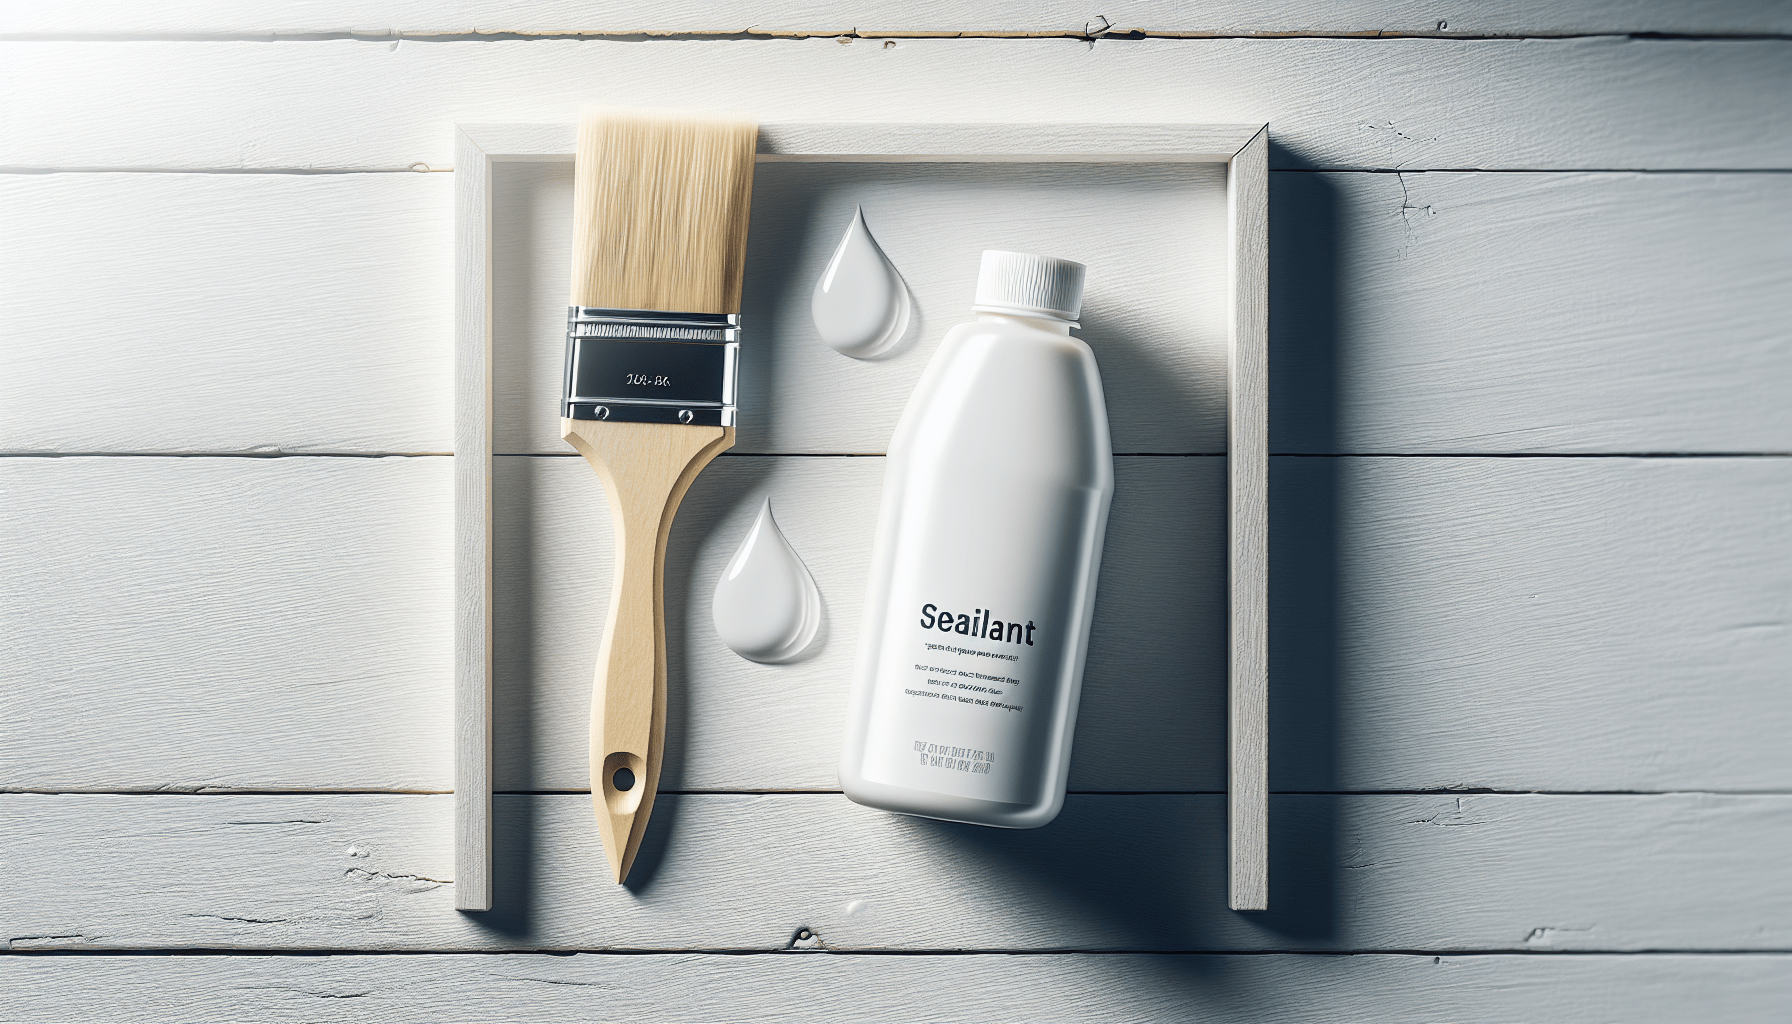
Preparing the Surface
Cleaning the Surface
Before applying polycrylic, it is important to have a clean and dirt-free surface. Start by wiping down the surface with a clean cloth or sponge to remove any dust, dirt, or debris. If there are stubborn stains, you may need to use a mild soap and water solution to scrub the surface gently. Allow the surface to dry completely before proceeding to the next step.
Sanding the Surface
Sanding the surface is an essential step to ensure proper adhesion of the polycrylic. Use sandpaper with a fine grit (around 220) and sand the surface in smooth, even strokes. This will help remove any rough patches or imperfections on the surface and create a smooth surface for the polycrylic to adhere to. After sanding, make sure to wipe away any dust or debris with a lint-free cloth.
Removing Dust
After sanding the surface, it is crucial to remove any dust particles before applying the polycrylic. You can use a tack cloth, which is a slightly sticky cloth designed specifically for removing dust. Gently wipe the tack cloth over the entire surface, ensuring that all the dust is removed. This step is important to achieve a smooth and flawless finish.
Taping off Areas
If there are any areas you want to protect from the polycrylic, such as hardware or edges, it is recommended to use painter’s tape to carefully tape off these areas. This will create clean lines and prevent any unintentional application of the polycrylic on those areas. Make sure the tape adheres well to the surface, and press firmly along the edges to prevent any seepage.
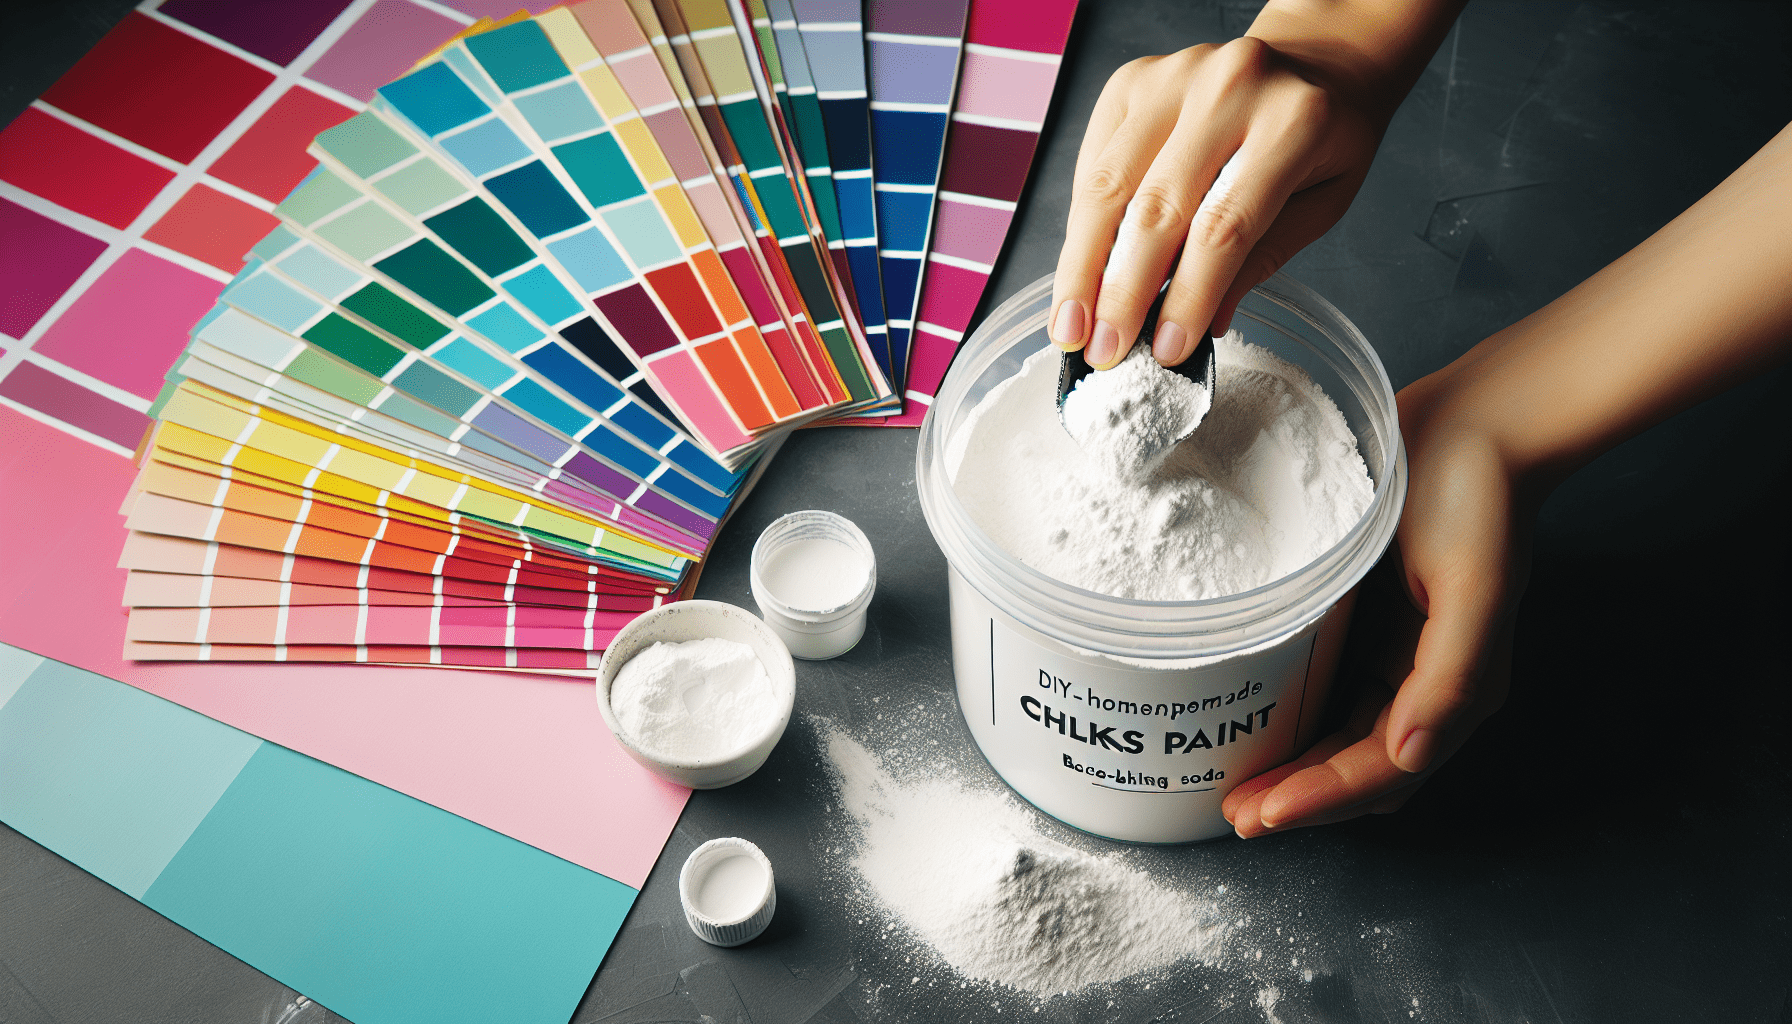
Choosing the Right Polycrylic
Water-based Polycrylic
Water-based polycrylic is a popular choice due to its quick-drying and low odor properties. It is also easy to clean up with soap and water. This type of polycrylic is ideal for surfaces that will be exposed to moisture, such as bathroom cabinets or kitchen countertops. It dries clear and has a minimal impact on the underlying color or finish of the surface.
Oil-based Polycrylic
Oil-based polycrylic provides a durable and protective finish with excellent resistance to water and chemicals. It is commonly used on surfaces that require a higher level of protection, such as tabletops or flooring. However, it has a longer drying time and can emit strong fumes, so working in a well-ventilated area is crucial when using oil-based polycrylic. Cleanup requires the use of mineral spirits or paint thinner.
Satin, Semi-Gloss, or Gloss Finish
Polycrylic finishes are available in three main sheens: satin, semi-gloss, and gloss. The choice of finish depends on personal preference and the desired look of the finished project. A satin finish provides a subtle sheen, while a semi-gloss finish offers a moderate shine. Gloss finish, on the other hand, provides a high level of shine and reflects more light. Consider the overall aesthetic of the project and the level of sheen desired when selecting the appropriate finish.

Gathering Supplies
To ensure a successful application of polycrylic, gather all the necessary supplies beforehand. Here are the supplies you will need:
Polycrylic
Choose the appropriate type and finish of polycrylic based on the previous section. Make sure you have enough polycrylic to cover the entire surface with multiple coats if necessary.
Paintbrush or Foam Brush
Select a high-quality paintbrush or foam brush that is suitable for the size of the project. A bristle brush will work well for smaller surfaces, while a foam brush is ideal for larger projects.
Painter’s Tape
Have a roll of painter’s tape on hand to tape off any areas you want to protect from the polycrylic.
Sandpaper
Prepare sandpaper with a fine grit (around 220) to sand the surface before applying the polycrylic and for sanding between coats if necessary.
Lint-Free Cloth
Use a lint-free cloth to wipe down the surface before and after sanding, as well as for removing dust between coats.
Tack Cloth
Have a tack cloth available to remove any dust particles from the surface before applying the polycrylic.
Applying the Polycrylic
Stirring the Polycrylic
Before applying polycrylic, it is important to stir the contents thoroughly to ensure an even consistency. Use a stir stick and gently stir the polycrylic without creating excessive air bubbles. Stirring will help eliminate any settled solids and ensure a smooth application.
Applying the First Coat
Start by applying a thin and even coat of polycrylic to the prepared surface. Working in small sections, brush the polycrylic in the direction of the wood grain using smooth, overlapping strokes. Avoid applying too much pressure or overbrushing, as this can lead to brush marks or streaks. Make sure to cover the entire surface evenly.
Sanding Between Coats
Allow the first coat of polycrylic to dry according to the manufacturer’s instructions. Once dry, lightly sand the surface with a fine-grit sandpaper (around 220) to remove any imperfections or raised grain. Wipe away any dust with a lint-free cloth before applying subsequent coats. Sanding between coats helps create a smooth and flawless finish.
Applying Subsequent Coats
Repeat the process of applying thin and even coats of polycrylic, allowing each coat to dry and sanding lightly between coats. The number of coats required will depend on the desired level of protection and durability. Typically, 2-3 coats are sufficient, but for higher traffic areas, additional coats may be necessary. Make sure to maintain a consistent application and avoid thick coats to prevent drips or uneven drying.

Tips for Applying Polycrylic
Work in a Well-Ventilated Area
Polycrylic emits fumes during the application process, especially when using oil-based polycrylic. It is important to work in a well-ventilated area to prevent inhalation of these fumes. Open windows or doors, or use a fan to improve air circulation.
Avoid Overbrushing
Overbrushing can lead to visible brush marks or streaks on the finished surface. To avoid this, apply the polycrylic in thin and even coats, allowing each coat to dry properly before applying the next. Use smooth, overlapping strokes in the direction of the wood grain to achieve a uniform finish.
Avoid Applying Thick Coats
Applying thick coats of polycrylic can result in problems such as uneven drying, drips, or an overly glossy finish. It is best to apply thin coats and allow each coat to dry completely before adding additional coats. This will ensure a smooth and professional-looking finish.
Watch for Bubbles
While applying polycrylic, bubbles may occasionally form due to air entrapment. To minimize this, avoid vigorous brushing or shaking the container excessively. If bubbles do appear, lightly brush over them with a long, smooth stroke to eliminate them. Alternatively, using a foam brush or a spray gun can also help minimize bubble formation.
Consider Using a Spray Gun
For larger surfaces or projects, using a spray gun can provide a more even and efficient application of polycrylic. Spray guns allow for better control and a smoother finish, particularly with water-based polycrylic. However, proper spray gun technique and equipment cleaning are essential to ensure a successful application.
Drying and Curing
Drying Time
The drying time for polycrylic can vary based on the product and environmental conditions. Typically, water-based polycrylic dries within 2-4 hours, while oil-based polycrylic may take up to 24 hours to dry completely. Refer to the manufacturer’s instructions for specific drying times. It is crucial to allow the polycrylic to dry completely before proceeding with any additional coats or handling to avoid smudges or damage.
Curing Time
While polycrylic may feel dry to the touch after the recommended drying time, it is important to note that it still needs time to fully cure. Curing refers to the hardening and strengthening of the polycrylic film. Water-based polycrylic generally takes around 24 hours to cure, while oil-based polycrylic may take several days or even up to a week to fully cure. Avoid subjecting the surface to heavy use or placing objects on it until it has fully cured.
Avoiding Use During Curing
During the curing process, it is crucial to avoid using or placing any items on the finished surface. Objects left on the surface can cause impressions or damage to the polycrylic finish. Additionally, avoid exposing the newly finished surface to excessive heat or moisture during the curing period, as this can negatively impact the final result.
Finishing Touches
Removing Tape
After the final coat of polycrylic has dried and cured, it is time to remove the painter’s tape. Carefully peel off the tape, pulling it back at a 45-degree angle to ensure clean lines. If any Polycrylic seeped under the tape, you can use a small craft or utility knife to gently scrape away the excess before removing the tape completely. Take your time to achieve a clean and professional-looking finish.
Inspecting the Finish
Once the tape is removed, take a close look at the entire surface to inspect the finish. Check for any drips, brush marks, or imperfections that may need to be addressed. If you notice any areas that require attention, refer to the next section on removing imperfections.
Removing Imperfections
If you find any drips, brush marks, or imperfections on the polycrylic finish, they can be fixed. For minor imperfections, lightly sand the affected area with a fine-grit sandpaper. Wipe away any dust with a lint-free cloth. If the imperfections are more significant, you may need to sand down the entire surface and apply another coat or two of polycrylic, following the previous application steps.
Applying Wax
Applying a thin layer of wax after the polycrylic has dried and cured can provide additional protection and enhance the appearance of the finished surface. Use a soft, lint-free cloth to apply the wax in circular motions, making sure to cover the entire surface. Allow the wax to dry according to the manufacturer’s instructions, then buff the surface with a clean cloth for a smooth and lustrous finish.
Caring for Your Polycrylic Finish
Regular Cleaning
To maintain the beauty and longevity of your polycrylic finish, regular cleaning is essential. Simply wipe the surface with a damp, non-abrasive cloth or sponge to remove any dust or dirt. Avoid using harsh chemicals or abrasive cleaners that can damage the finish or leave scratches.
Avoiding Harsh Chemicals
When cleaning your polycrylic finish, it is important to avoid using harsh chemicals or solvents. These can strip away the protective layer and damage the finish. Stick to mild soap and water solutions or non-abrasive cleaners specifically designed for use on painted surfaces.
Reapplying Polycrylic
Over time, the polycrylic finish may begin to wear or show signs of damage. If this happens, you can reapply polycrylic to restore the surface’s protection and appearance. Follow the steps outlined in the previous sections, ensuring that you properly clean and prepare the surface before applying new coats of polycrylic.
By following these steps and tips, you can confidently apply polycrylic over chalk paint and achieve a professional and durable finish. With proper preparation, application, and care, your polycrylic finish will enhance the beauty and longevity of your painted projects.