You’re about to unlock the skill of spray painting a pistol! Consider this a thrilling journey where you’ll gain understanding of the right materials to use, the proper preparation process, and the actual execution of spray painting your firearm. Plus, we’ll navigate the best practices to ensure the paint job lasts, all the while maintaining the integrity of your pistol. Get ready to create a unique piece that not just performs excellently, but looks fantastic too!
Choosing the Right Location
Choosing the right location to spray paint your pistol can significantly influence your overall results and safety. The location should be carefully thought out and set up before the painting process begins.
Ventilation
A well-ventilated area is essential when spray painting a pistol. It helps to keep the air clean and free of paint fumes, which can be harmful if inhaled. Choose an outdoor location or an airy indoor one with open windows or fans to provide a constant flow of fresh air.
Open Space
Spray painting requires plenty of open space. You want to ensure that the paint particles don’t settle on any nearby objects inadvertently. Aim for a wide-open space that offers you room to maneuver the pistol and the spray paint.
Covering Surfaces
Before you start painting, cover all the surfaces you don’t want to get paint on. This preparation includes the floor, nearby furniture, or any equipment. Use drop cloths, newspaper, or plastic to cover and protect these surfaces.
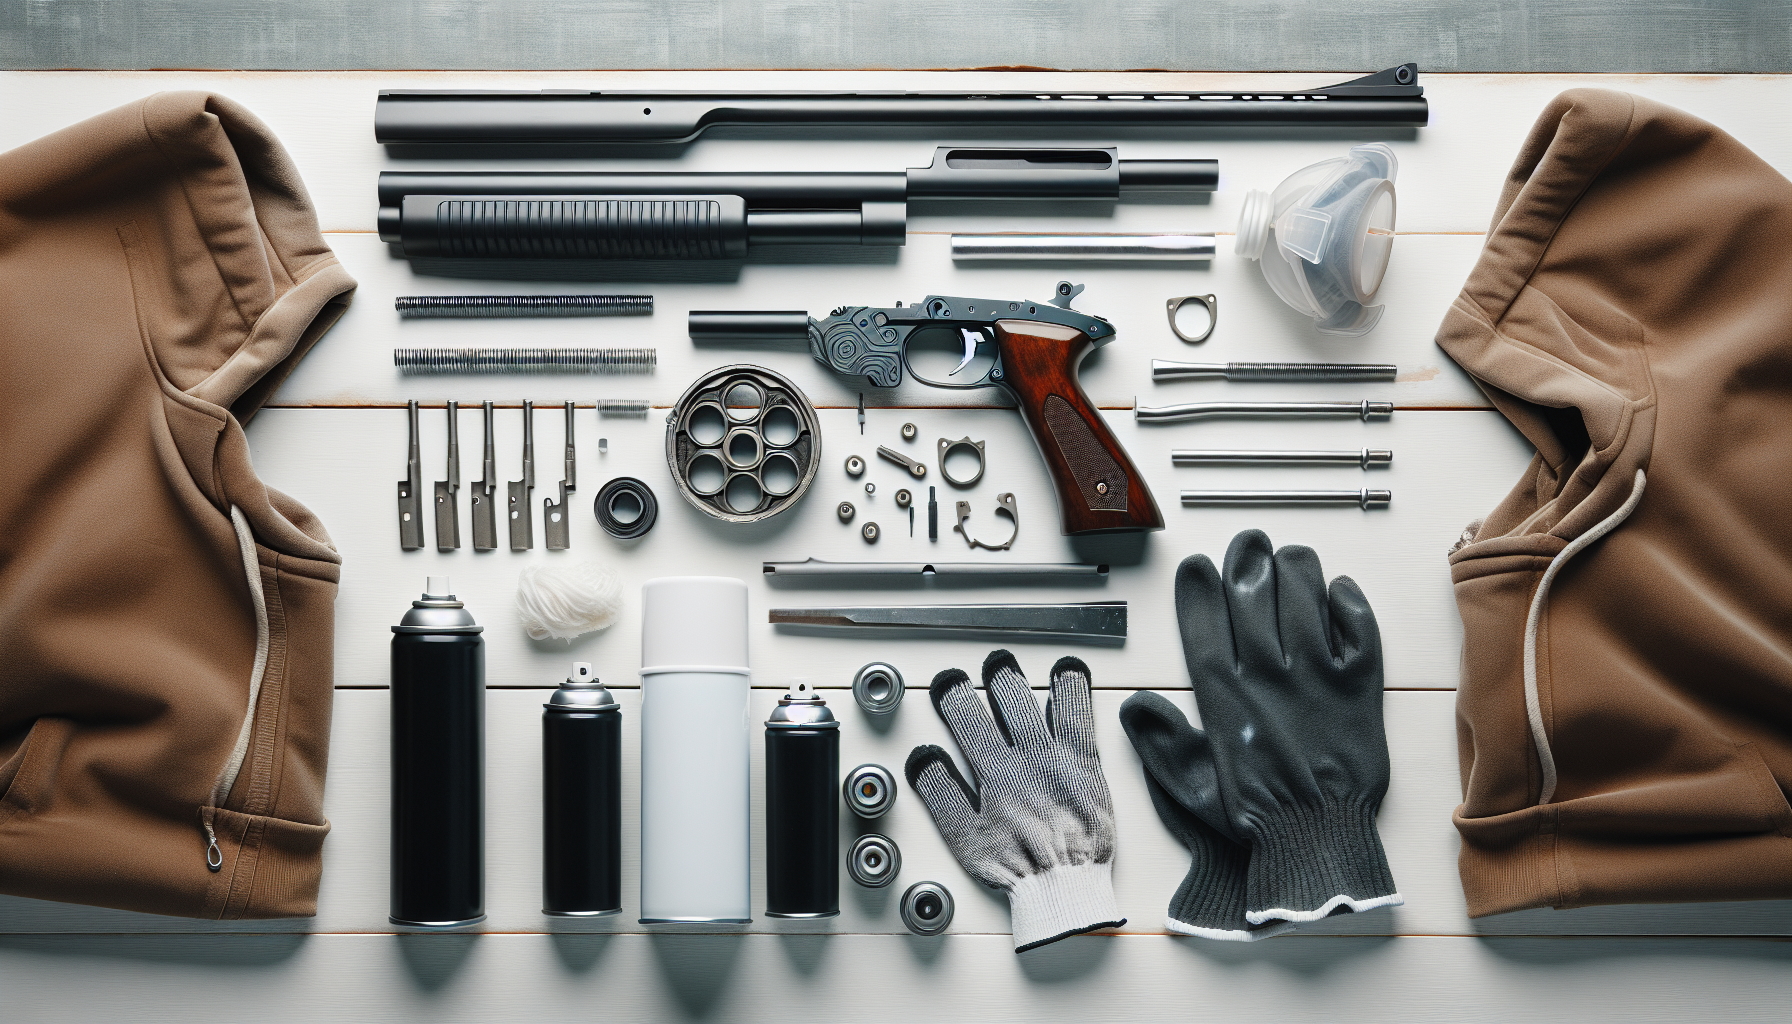
Preparing the Pistol
Before painting, your pistol should be properly prepared. This process includes disassembling it, cleaning all the components, and removing any accessories.
Disassembling the Pistol
To disassemble the pistol, refer to its user manual to avoid damaging any parts. It’s essential to separate the parts to access all the areas you want to paint, ensuring a neat and uniform finish.
Cleaning the Pistol
Once you have disassembled your pistol, give each part a thorough clean. Use degreaser or rubbing alcohol to remove any oil, grease, or grime. A clean surface allows better paint adhesion, meaning your paint job will last longer and look better.
Removing Accessories
If your pistol has accessories such as lights, lasers, or grips, remove them before painting. Painting these could affect their functionality or appearance.
Prepping the Pistol
Prepping the pistol includes sanding it down, cleaning the surface once again, and applying a primer for a flawless finish.
Sanding the Pistol
Sanding the pistol helps create a rough surface for the spray paint to adhere to. Use fine-grit sandpaper to lightly sand the entire surface of the pistol. Just ensure to sand carefully to avoid damaging any edges or indentations.
Cleaning the Surface
After sanding, clean the pistol surface again to get rid of any dust. A quick wipe down with a damp cloth, followed by a dry one, should suffice.
Applying Primer
Apply a layer of primer to the pistol before painting it. The primer helps the paint adhere better to the surface and increases paint durability.

Selecting the Paint
Your choice of paint can greatly affect the look and durability of the painted pistol. Consider the type of paint, color preference, and durability.
Choosing the Type of Paint
For painting a pistol, enamel or acrylic spray paint is recommended since they are suited for metal surfaces. They also hold up well against the wear and tear a pistol typically faces.
Choosing the Color
Choose a color that suits your style and purpose. If you’re seeking a camouflage effect, consider earth tone colors.
Considering Durability
Invest in a high-quality, durable paint. A durable paint withstands the test of time and the impacts of use.
Applying the Paint
When applying the paint, shake the spray paint can first, hold the pistol properly, and always go for thin initial coats of paint.
Shaking the Spray Paint Can
Shake the spray paint can before using it to mix the paint inside properly. It aids in consistent color and proper function.
Holding the Pistol Properly
Holding the pistol properly can help in achieving a smoother, more even finish. Use a bent wire or coat hanger to hold the disassembled parts while you paint.
Applying Thin Initial Coats
Start by applying thin initial coats of the paint. This method gives a smoother finish as each layer gets a chance to dry properly before applying the next layer.
Painting Techniques
To achieve the best finish, employ certain painting techniques. Use a back and forth motion, create even layers, and avoid drips and runs.
Using a Back and Forth Motion
Use a back and forth motion when spray painting. It helps in achieving an even layer of paint.
Creating Even Layers
Aim to create even layers across the pistol’s surface. It gives your paint job a professional-looking finish.
Avoiding Drips and Runs
Avoid applying too much paint at once, which can lead to drips and runs. Be patient and apply the paint in thin coats.
Drying and Curing
Leave your painted pistol to dry adequately, cure the paint and consider heat curing if required.
Allowing Sufficient Drying Time
Allow your pistol sufficient drying time. This waiting time ensures each layer of paint properly dries before the next phase.
Curing the Paint
Once the paint is entirely dry, it should be cured. Curing hardens the paint and helps protect it against future damage.
Heat Curing (Optional)
Heat curing is optional but can help speed up the curing process and improve durability. This process involves baking the painted pistol parts in an oven at low temperatures.
Reassembling the Pistol
Once you’re satisfied with the paint job, it’s time to reassemble the pistol. Clean the painted parts, lubricate the moving components, and then put the pistol back together.
Cleaning Painted Parts
Before assembling, clean the painted parts to ensure no dust is trapped. A gentle wipe-down with a dry, clean cloth should suffice.
Lubricating Moving Components
Lubricate all moving parts to ensure smooth operation once reassembled.
Properly Reassembling the Pistol
With everything cleaned and lubricated, carefully reassemble your pistol. Ensure everything fits together properly and functions smoothly.
Finishing Touches
Give your painted pistol the finishing touches. Add a protective clear coat, remove any tape and coverings, and clean up your work area.
Adding Protective Clear Coat
Once the paint fully cures, apply a protective clear coat. This coat further protects the paint job, adds gloss, and enhances durability.
Removing Tape and Coverings
After everything dries and cures, remove any tape or coverings you used to protect certain parts of the pistol.
Cleaning Up the Work Area
Clean your work area. Dispose of any used materials properly and keep your work area neat for future projects.
Safety Measures
Safety should always come first when painting a pistol. Wear safety gear, ensure you work in a well-ventilated area, and keep flammable substances away.
Wearing Safety Gear
Always wear the right safety gear. This gear includes gloves, safety glasses, and a face mask to protect yourself from harmful fumes and accidental splashes of paint.
Working in a Well-Ventilated Area
Don’t overlook ventilation when considering safety measures. This tip has been mentioned before, but it’s crucial enough to repeat – always work in a well-ventilated area to prevent inhaling harmful fumes.
Keeping Flammable Substances Away
Lastly, always keep flammable substances away from your workspace. Spray paint can easily ignite, so it’s crucial to keep your work area free from any potential dangers.
There you have it – a comprehensive guide on how to spray paint a pistol. Remember to take your time, pay attention to detail, and always prioritize safety. Happy painting!