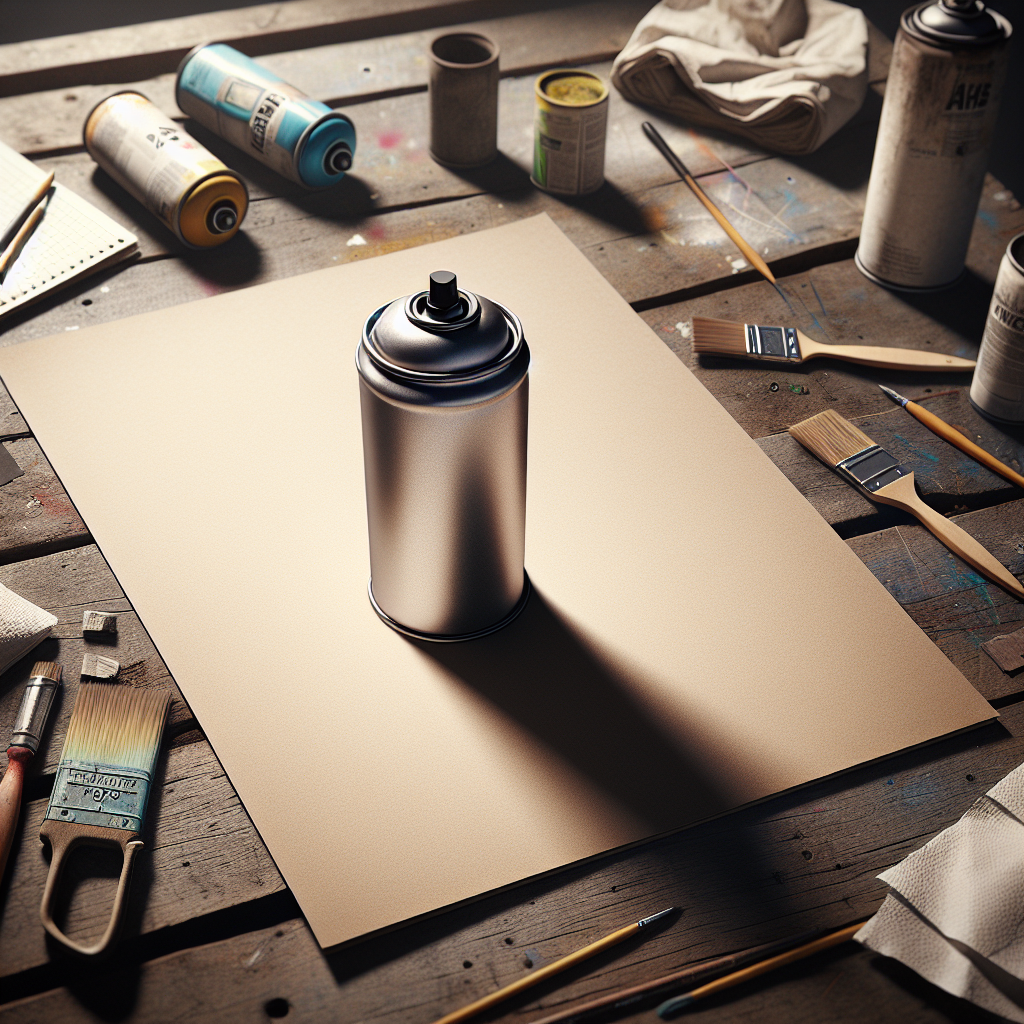
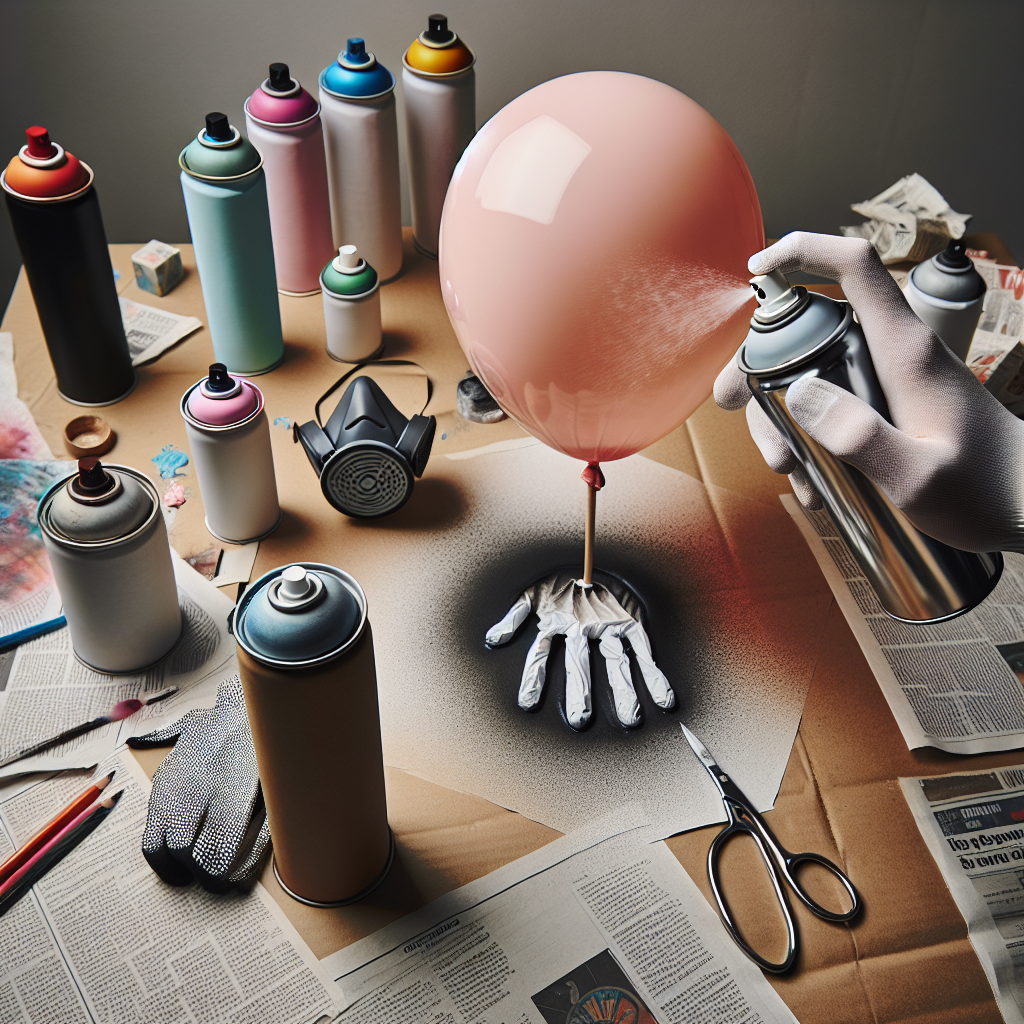
Who said that cardstock paper could only have one look? Shake up your arts and crafts routine and add a fresh dash of color to your projects with spray paint. Yes, you heard it right! Definitely you can spray paint your cardstock paper. This unusual yet effective technique can turn your typical cardstock into something dazzling and unique. Whether you’re a professional artist or simply love getting creative, this article is perfect for you. It details the process of spray painting on cardstock paper, its pros and cons, tips for the best results, and so much more. You’re about to embark on a journey of artistic exploration and the destination is stunning!

Preparation
Embarking on a creative project like spray painting cardstock paper requires some prep work before you dive right in. This ensures you achieve top-tier results, and also keeps the process smooth and enjoyable. Proper preparation is the cornerstone of a successful spray painting project.
Gathering Materials
First things first. Before you start painting, you’ll want to gather everything you’ll need. This includes, of course, the spray paint. But you’ll also need the cardstock you’ll be painting as well as a primer, sandpaper, a clean cloth, protective sealant, and a mask for safety. Having all your materials ready in one place saves time and makes your project more efficient.
Choosing the Right Paint
Finding the right paint is key to your project’s success. When selecting your spray paint, consider the color and finish that you desire. Different brands offer a variety of colors and finishes, so spend some time choosing the perfect fit for your project. Moreover, make sure it is suitable for use on paper surfaces.
Preparing the Work Area
The area where you’ll be working is just as important as the paint and cardstock itself. You should make sure it is well-ventilated, to protect from inhalation of paint fumes. Also, ensure that the space is well-lit so you can see the fine details of your work, and easy to clean, in case of any paint splatters or spills.
Preparing the Cardstock
Cleaning the Cardstock
Before you start spray painting, it is crucial to clean the cardstock. The slightest bit of dust or debris can cause complicacies in your project. Use a clean, dry cloth to wipe off any dust particles from the cardstock’s surface.
Applying Primer
While not always necessary, applying a primer can improve the paint’s adhesion to the cardstock, and also help the colors pop. You can find primer at your local paint or craft store. Apply the primer using a brush or paint sprayer, ensuring a smooth, even coat, and then let it dry.
Sanding the Cardstock
Once the primer has dried, you have an optional step to make the surface of your cardstock smoother. Lightly sand the surface with fine-grit sandpaper. This will help create a perfect base for the spray paint.
Spray Painting the Cardstock
Using Thin Layers
When it comes to spray painting, it’s always better to go with several thin layers rather than one thick one. This helps prevent drips and makes the finished product look smoother and more professional. Spray a thin layer and wait for it to dry before proceeding to the next layer.
Maintaining Proper Distance
Hold your spray can about 10-12 inches away from the cardstock. This distance allows for an even distribution of paint and prevents heavy areas, which can lead to drips and an uneven finish.
Avoiding Dripping and Running
Drips are primarily due to over-spraying or holding the can too close to the surface. As already mentioned, using thin layers and maintaining proper distance can effectively help avoid this.
Applying Multiple Coats
Once your first thin layer has dried, apply subsequent thin coats to achieve the desired color intensity and finish. This also ensures the longest-lasting results.
Drying and Curing
Allowing Sufficient Drying Time
Resist the temptation to rush the drying process. Allow each layer of paint to dry completely before applying more paint to prevent smudging and preserve the integrity of the design.
Using a Heat Source for Curing
If you’re in a rush, you can speed up the drying time by using a heat source like a hairdryer. Just ensure that it’s not too hot or too close, to prevent warping the cardstock.

Finishing Touches
Adding a Protective Sealant
To protect your creation and extend its longevity, apply a protective sealant. This can be a clear spray paint or a specialized product, which will add a protective layer to prevent the colors from fading or chipping.
Experimenting with Techniques and Effects
Congratulations on mastering the basics of spray painting cardstock! Now that you’re more comfortable, feel free to experiment with different spray painting techniques like stencil or gradient effects, and create your very own design masterpieces.
Considerations and Troubleshooting
Working in a Well-Ventilated Area
Always remember to work in a well-ventilated area and wear protective gear like a mask to avoid inhalation of potentially harmful paint fumes.
Avoiding Over-Saturation
Too much paint on your cardstock can result in over-saturation, causing running or warping of your paper. Remember, thin coats work best!
Addressing Common Issues
If you face any troubles like patches, drips, or the paint not adhering properly, consider tweaking your strategy. Use fewer layers, allow more drying time, or reassess your choice of paint or primer.
DIY Alternatives
Painting with Acrylics
If you’re not quite ready for spray painting, acrylic paints are an excellent alternative suitable for cardstock, providing vibrant and durable colors.
Creating Patterns with Stencils
Using stencils can add an extra touch to your cardstock projects. You can either opt for store-bought designs or make your own custom stencils.
Cardstock Paper Types
Understanding Different Cardstock Varieties
There are various types of cardstock available, each with its own characteristics. You can choose from textured cardstock, patterned cardstock, or vellum cardstock among others based on your project requirement.
Applications for Spray Painted Cardstock
Craft and Art Projects
Spray painted cardstock is perfect for various craft and art projects. You can create unique gift tags, bookmarks, or even bring your scrapbook pages to life.
Card Making and Scrapbooking
Spray paint can add a fresh and vibrant touch to your homemade greeting cards or scrapbooks, giving them a professional and high-quality appearance.
Decorative Hangings and Displays
Spray-painted cardstock can make beautiful wall art or decorative hangings for your home. Experiment with colors, designs, and adding embellishments to create stunning visual displays.
Conclusion
Spray painting cardstock is a versatile and fun skill that can be used in a multitude of projects, from scrapbooking to DIY home decor. By following the preparation steps, using the correct materials, and applying the necessary considerations, you can create beautiful and durable spray-painted cardstock. It’s a fantastic way to express your creativity, personalize your items, and even get the kids involved on a rainy day. Dive in and let your creativity shine through!


