Have you ever wondered whether metallic paint can be wet sanded? This question often arises among car enthusiasts and professionals seeking to achieve a flawless finish on their vehicles. Metallic paint, known for its distinctive shimmer and depth, adds a unique aesthetic to any car. However, achieving and maintaining that perfect look involves specific procedures and care.
Wet sanding, a process used to smooth out the paint surface, remove defects, and prepare for additional coats, is more nuanced when dealing with metallic paints. This article provides comprehensive information on whether metallic paint can be wet sanded and offers step-by-step instructions to help you achieve optimal results.

Understanding Metallic Paint
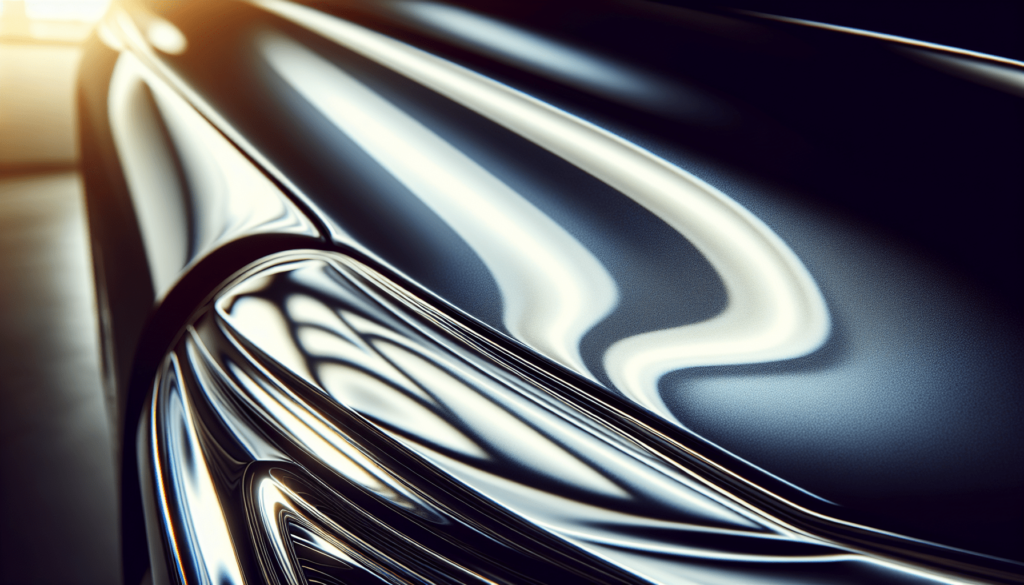
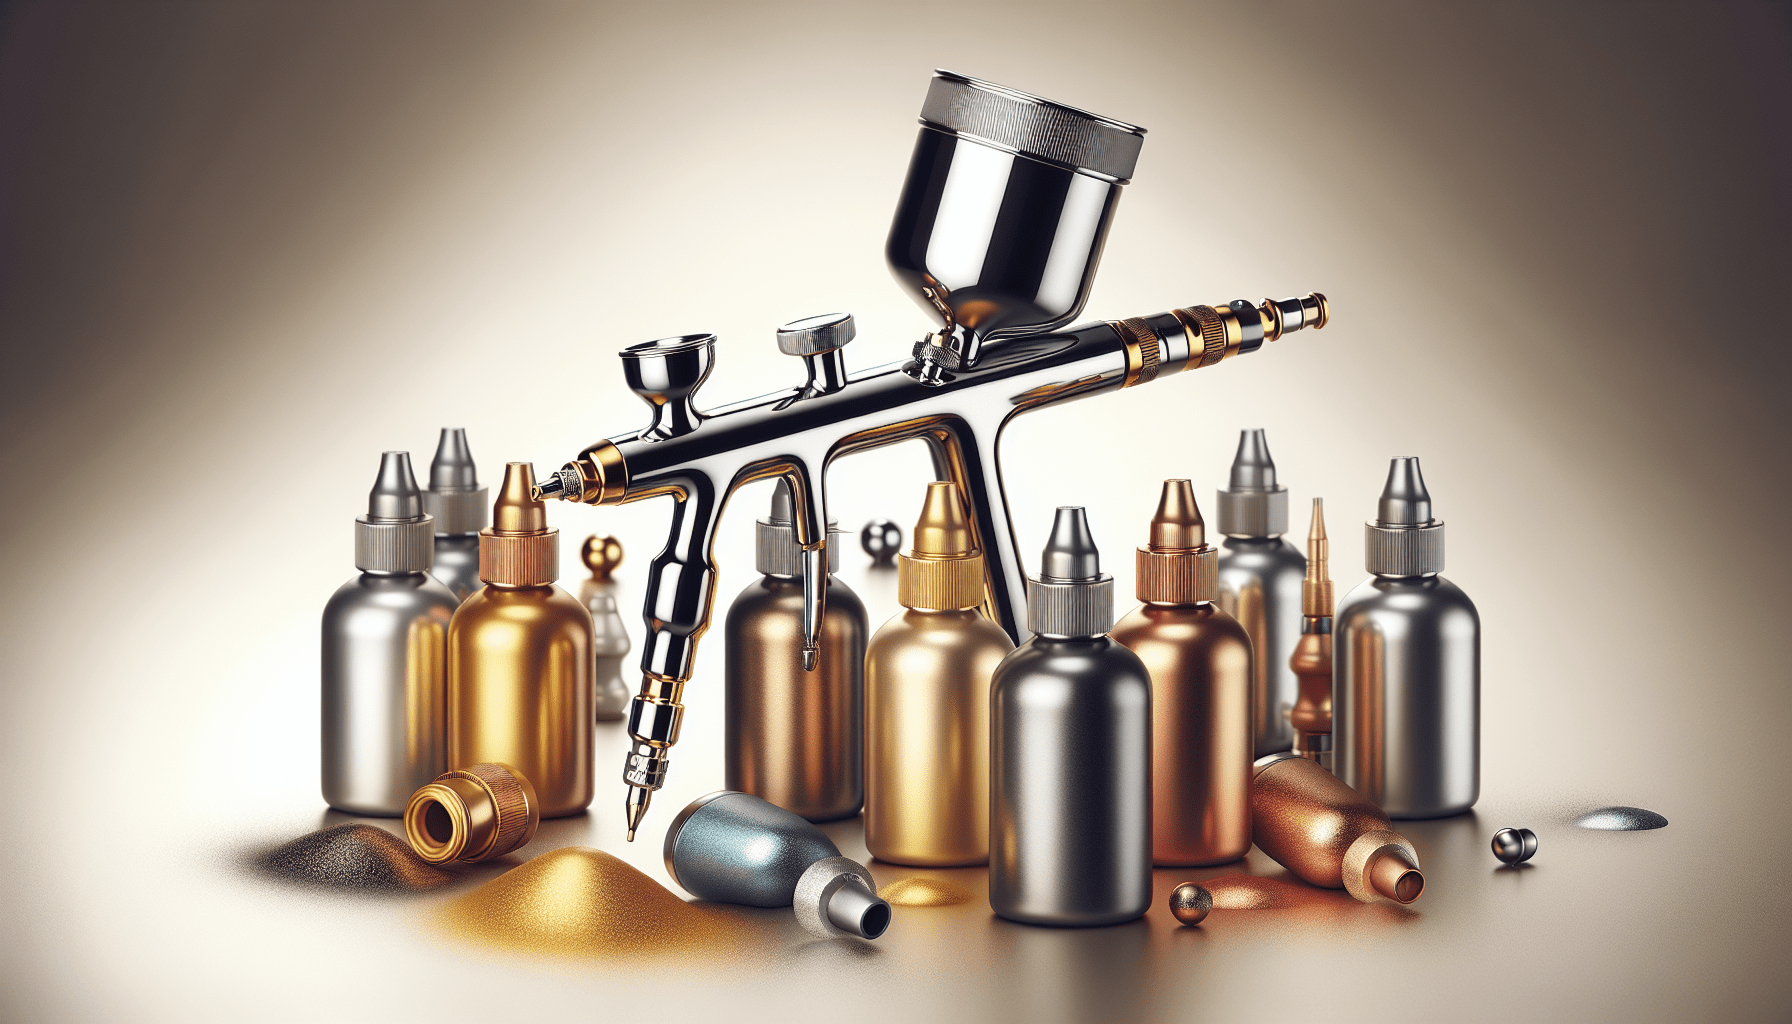
Before delving into whether metallic paint can be wet sanded, it’s essential to understand its composition and purpose. Metallic paint contains minute metal flakes that reflect light, giving the paint its characteristic shine. These flakes can be made of aluminum, copper, or other metals. The paint also contains pigments, binders, and solvents that contribute to the color and adhesion to the car’s surface.
Why Choose Metallic Paint?
Metallic paint is preferred by many for several reasons:
- Aesthetic Appeal: The reflective metal flakes create a unique, eye-catching shimmer.
- Depth and Dimension: The multi-faceted look adds depth to the car’s appearance.
- Resale Value: The sophisticated finish can often increase the resale value of a vehicle.
Challenges of Working with Metallic Paint
While metallic paints offer various aesthetic benefits, they also come with unique challenges:
- Even Distribution of Flakes: Achieving an even spread of metal flakes can be difficult.
- Color Matching: Repairs and touch-ups are more challenging due to the need to match the metal flakes’ distribution.
- Surface Preparation: Any imperfections are more likely to be reflected in the final finish, necessitating meticulous surface preparation.
Can Metallic Paint Be Wet Sanded?
Yes, metallic paint can be wet sanded, but it requires careful execution to avoid damaging the finish. Wet sanding can effectively smooth out minor imperfections in the paint surface, such as orange peel, scratches, and dust nibs. However, you must proceed with caution to prevent uneven distribution of metallic flakes and avoid dulling the paint’s finish.
When to Wet Sand Metallic Paint
Wet sanding should be considered in the following scenarios:
- Surface Imperfections: To remove orange peel, dust particles, and minor scratches.
- Preparing for Additional Coats: To create a smooth surface for subsequent layers of paint or clear coat.
- Final Finish: To achieve a mirror-like finish by smoothing out the surface before polishing.
When to Avoid Wet Sanding
Avoid wet sanding metallic paint under these circumstances:
- Poorly Applied Paint: If the metallic paint layers are unevenly applied, wet sanding may worsen the appearance.
- Inexperience: If you are inexperienced, you risk damaging the paint and causing dull spots.
- Thin Paint Layers: Wet sanding can remove too much material, leading to visible base coat or primer.
Step-by-Step Guide to Wet Sanding Metallic Paint
Follow these steps meticulously to wet sand metallic paint without causing damage.
Materials Needed
- Water
- Wet/dry sandpaper (1500 to 3000 grit)
- Sanding block
- Spray bottle
- Clean microfiber cloths
- Polishing compound
- Buffing machine (optional)
- Clear coat and base coat touch-up (if necessary)
| Material | Purpose |
|---|---|
| Water | Lubricates sandpaper to prevent scratching |
| Wet/dry sandpaper | Smooths paint surface |
| Sanding block | Ensures even pressure |
| Spray bottle | Applies water evenly |
| Microfiber cloths | Cleans and dries surface |
| Polishing compound | Restores shine |
| Buffing machine | Speeds up polishing process |
Preparation
- Clean the Surface: Ensure the car’s surface is thoroughly cleaned to remove any dirt or debris. Any contaminants can cause scratches during the sanding process.
- Protect Surrounding Areas: Use masking tape and paper to cover areas you do not want to sand accidentally.
Wet Sanding Process
-
Soak Sandpaper: Immerse your sandpaper in water for about 10-15 minutes before using it. This helps to soften the paper and reduce scratching.
-
Start with Highest Grit: Begin with a higher grit sandpaper (1500 to 2000 grit). Attach the sandpaper to a sanding block to ensure even pressure.
-
Spray with Water: Use a spray bottle to lightly mist the surface with water. This reduces friction and helps to carry away particles that might scratch the surface.
-
Gentle Sanding: Sand the surface lightly, using a back-and-forth motion. Avoid circular motions which can create swirl marks. Apply minimal pressure and frequently check your progress.
-
Wipe and Inspect: Periodically wipe the sanded area with a clean microfiber cloth to inspect the surface. Look for an evenly matte finish, which indicates the surface is smooth.
-
Switch to Higher Grits: Once the initial sanding is complete, switch to higher grit sandpaper (2000 to 3000 grit) to further refine the surface.
Polishing
-
Clean the Surface Again: Thoroughly clean the surface to remove any sanding residue.
-
Apply Polishing Compound: Use a clean microfiber cloth or a buffing machine to apply a polishing compound. This restores the shine and smooths out any fine scratches left by the sanding process.
-
Buff to Shine: Buff the surface until the desired shine is achieved. Be patient, as this process can take some time.
Final Inspection and Touch-Ups
-
Inspect under Various Lighting Conditions: Examine the surface in different lighting to ensure uniformity and absence of dull spots.
-
Apply Clear Coat (if necessary): If you notice any areas where the clear coat appears thin, consider applying an additional layer. Follow the manufacturer’s instructions for drying and curing.
-
Final Buffing: After applying any new clear coat, a final light buffing will ensure a seamless, glossy finish.
Tips and Precautions
Dos and Don’ts
-
Do:
- Ensure a pristine, clean workspace to avoid contaminants.
- Use the right tools and materials listed.
- Apply minimal pressure when sanding.
- Frequently inspect the surface to monitor progress.
-
Don’t:
- Rush the sanding process. Thoroughness is key.
- Use dry sandpaper, which can cause deep scratches.
- Ignore signs of paint thinning or damage.
Common Mistakes to Avoid
Uneven Pressure
Uneven pressure during sanding can create an inconsistent finish with high and low spots that are visible under certain lighting conditions. Always use a sanding block to distribute pressure evenly.
Over-sanding
Over-sanding can remove too much material, potentially exposing the base coat or primer and dulling the metallic effect. Stick to gentle, even strokes and frequently check your progress.
Ignoring Cleanliness
Dirt and debris can cause scratches that defeat the purpose of wet sanding. Always clean the surface and your tools thoroughly.

Benefits of Proper Wet Sanding
Enhanced Aesthetic Appeal
Properly executed wet sanding can significantly enhance the look of your vehicle. The smooth, glossy finish eliminates imperfections and improves the reflective quality of the metallic flakes.
Longevity of Paint
Wet sanding smooths out minor defects and improves adhesion of additional paint layers, extending the longevity of the paint job.
Cost Savings
Addressing minor defects and achieving a professional finish through wet sanding can save you the cost of a full repaint or professional detailing.
Conclusion
In conclusion, wet sanding metallic paint is indeed possible and can yield exceptional results when done correctly. It requires a keen eye for detail, patience, and the right materials and techniques. By understanding the nuances of metallic paint and adhering to the outlined steps, you can achieve a show-stopping finish that enhances your vehicle’s aesthetic appeal.
Ensuring a meticulous approach will help you avoid common pitfalls and unlock the full potential of your metallic paint job. Whether you are a seasoned professional or an enthusiastic DIYer, the information in this article provides a comprehensive guide to mastering the art of wet sanding metallic paint.


